
Bread machines make it easy to bake homemade bread, but small details can make a big difference. This guide covers bread machine basics, common settings, and simple troubleshooting tips so you can get great results every time.
Bread machine recipes are perfect when you want homemade bread without extra work. These tips and reliable bread machine recipes will help you make great bread every time.
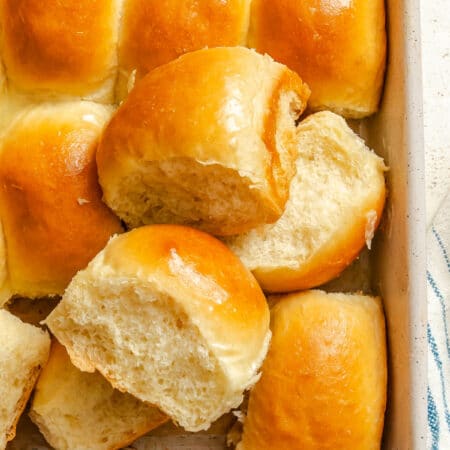
Why bake with a bread machine
Bread machines are one of the easiest ways to make homemade bread, but it can be difficult to get started. Small details like ingredient order, yeast type, or settings can make a big difference.
This guide walks you through bread machine basics, including common settings and simple troubleshooting so you can get reliable results without overthinking it. Whether you’re brand new to bread machines or trying to figure out why a loaf didn’t turn out, this page is meant to help you feel confident using your bread machine.
When you’re ready to bake, I’ve also included a collection of easy bread machine recipes below that use simple ingredients and clear settings. They’re perfect for getting started or building confidence.
Bread machine basics – how to use a bread machine
This section will walk you through basics about what a bread machine does, bread machine settings, why the order of ingredients matters, about yeast, and why weighing flour can make a difference.
What does a bread machine do?
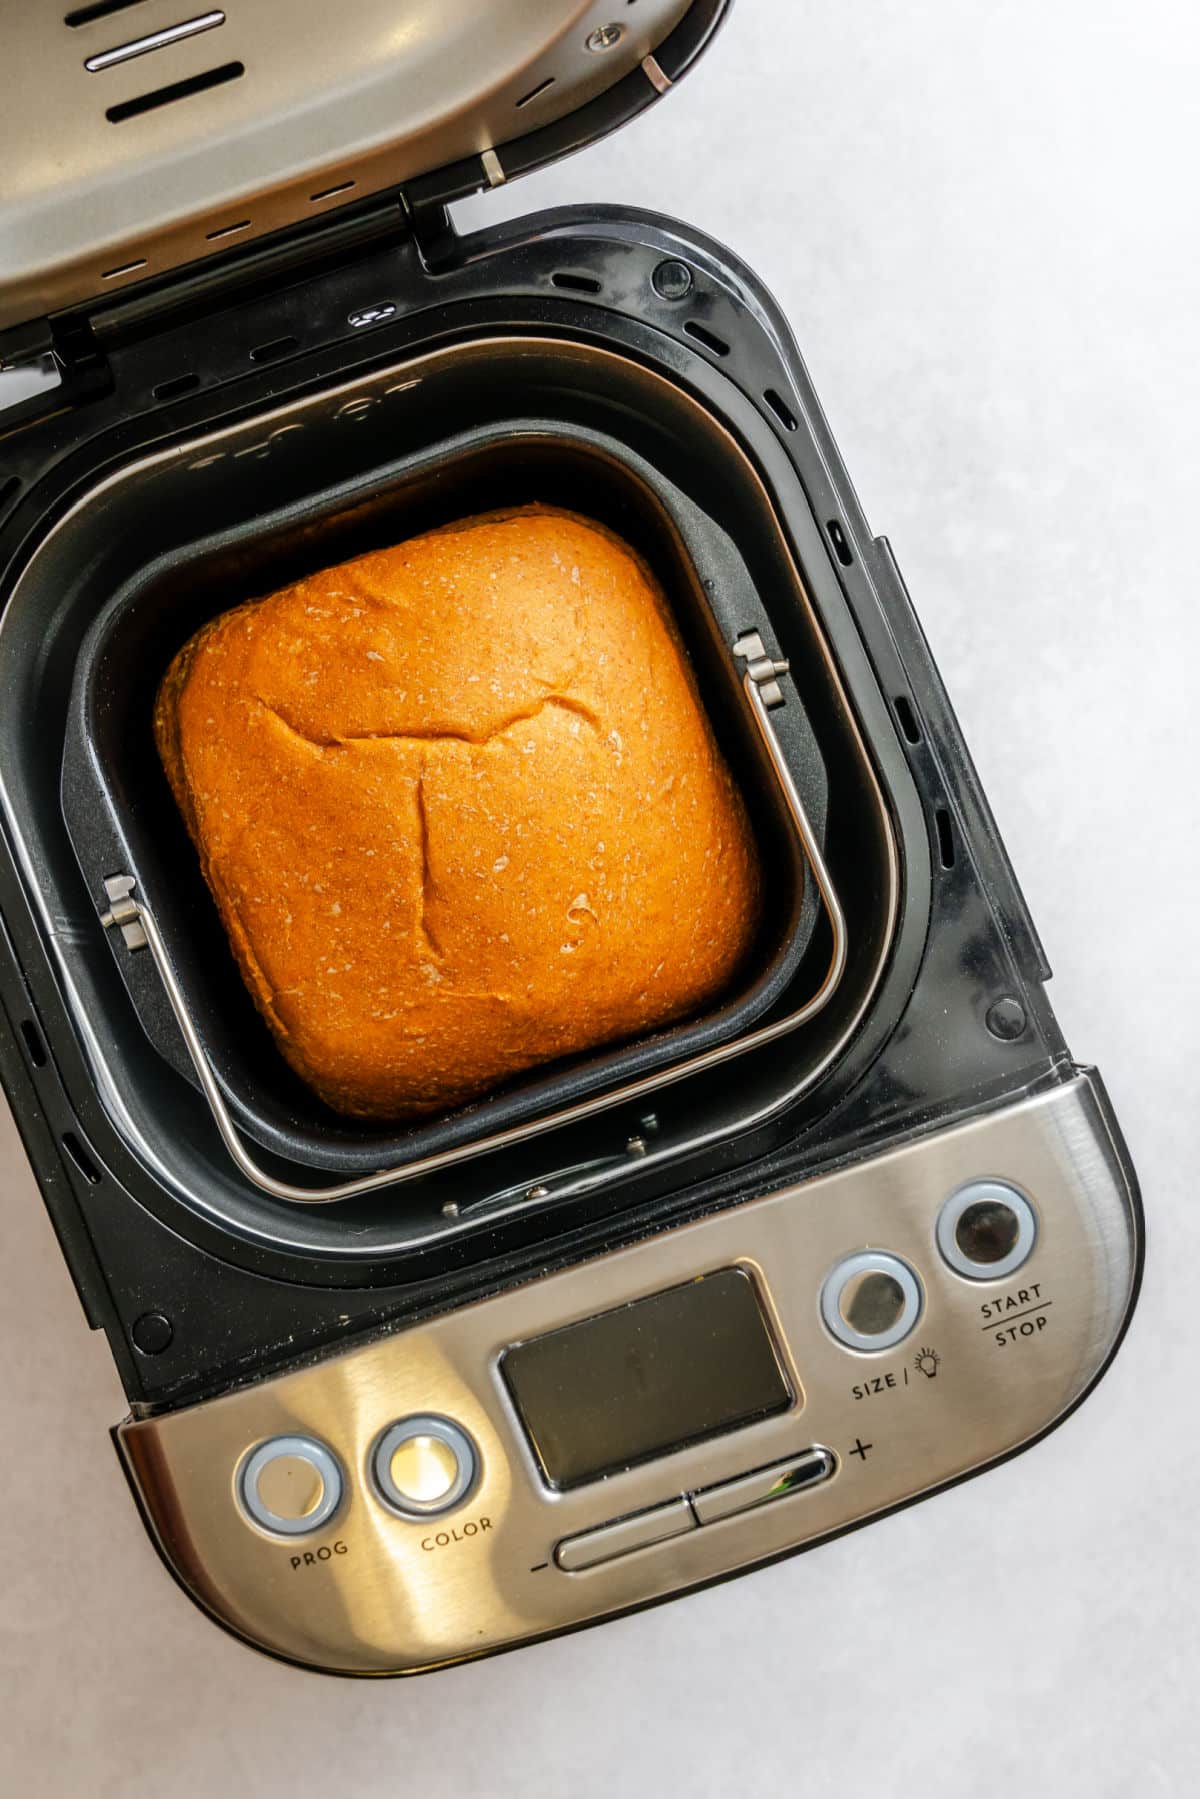
A bread machine handles the mixing, kneading, rising, and baking all in one place. Once the ingredients are added and the cycle is selected, the machine does the rest of the work for you.
Because everything happens in the same pan, small details like ingredient order and measurements matter a bit more than they would with hand-mixed dough. The good news is that once you understand those basics, your part in the bread making can be quick and easy.
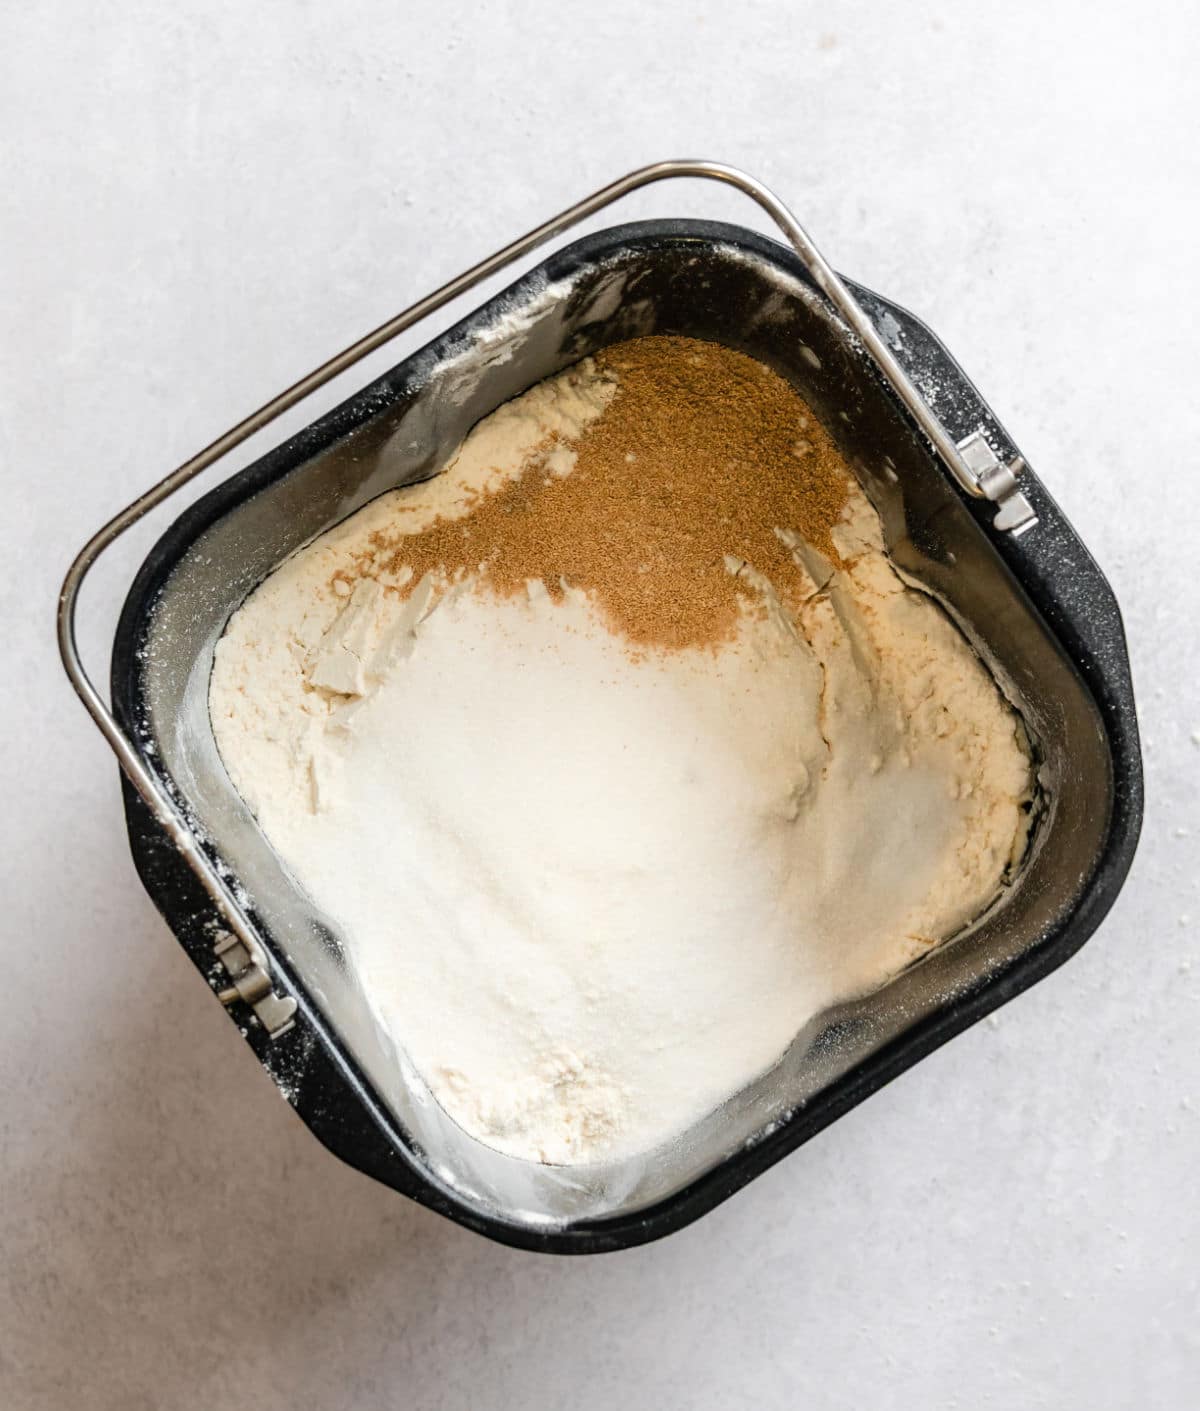
Why the order of ingredients matters
Most bread machines are designed so the liquids go in first and the yeast goes in last. This keeps the yeast from activating too early, especially if the machine has a delayed start.
If the yeast touches liquid before the machine begins mixing, it can start working too soon and affect how the bread rises. Following the recommended order helps the machine control each step and gives you more reliable results.
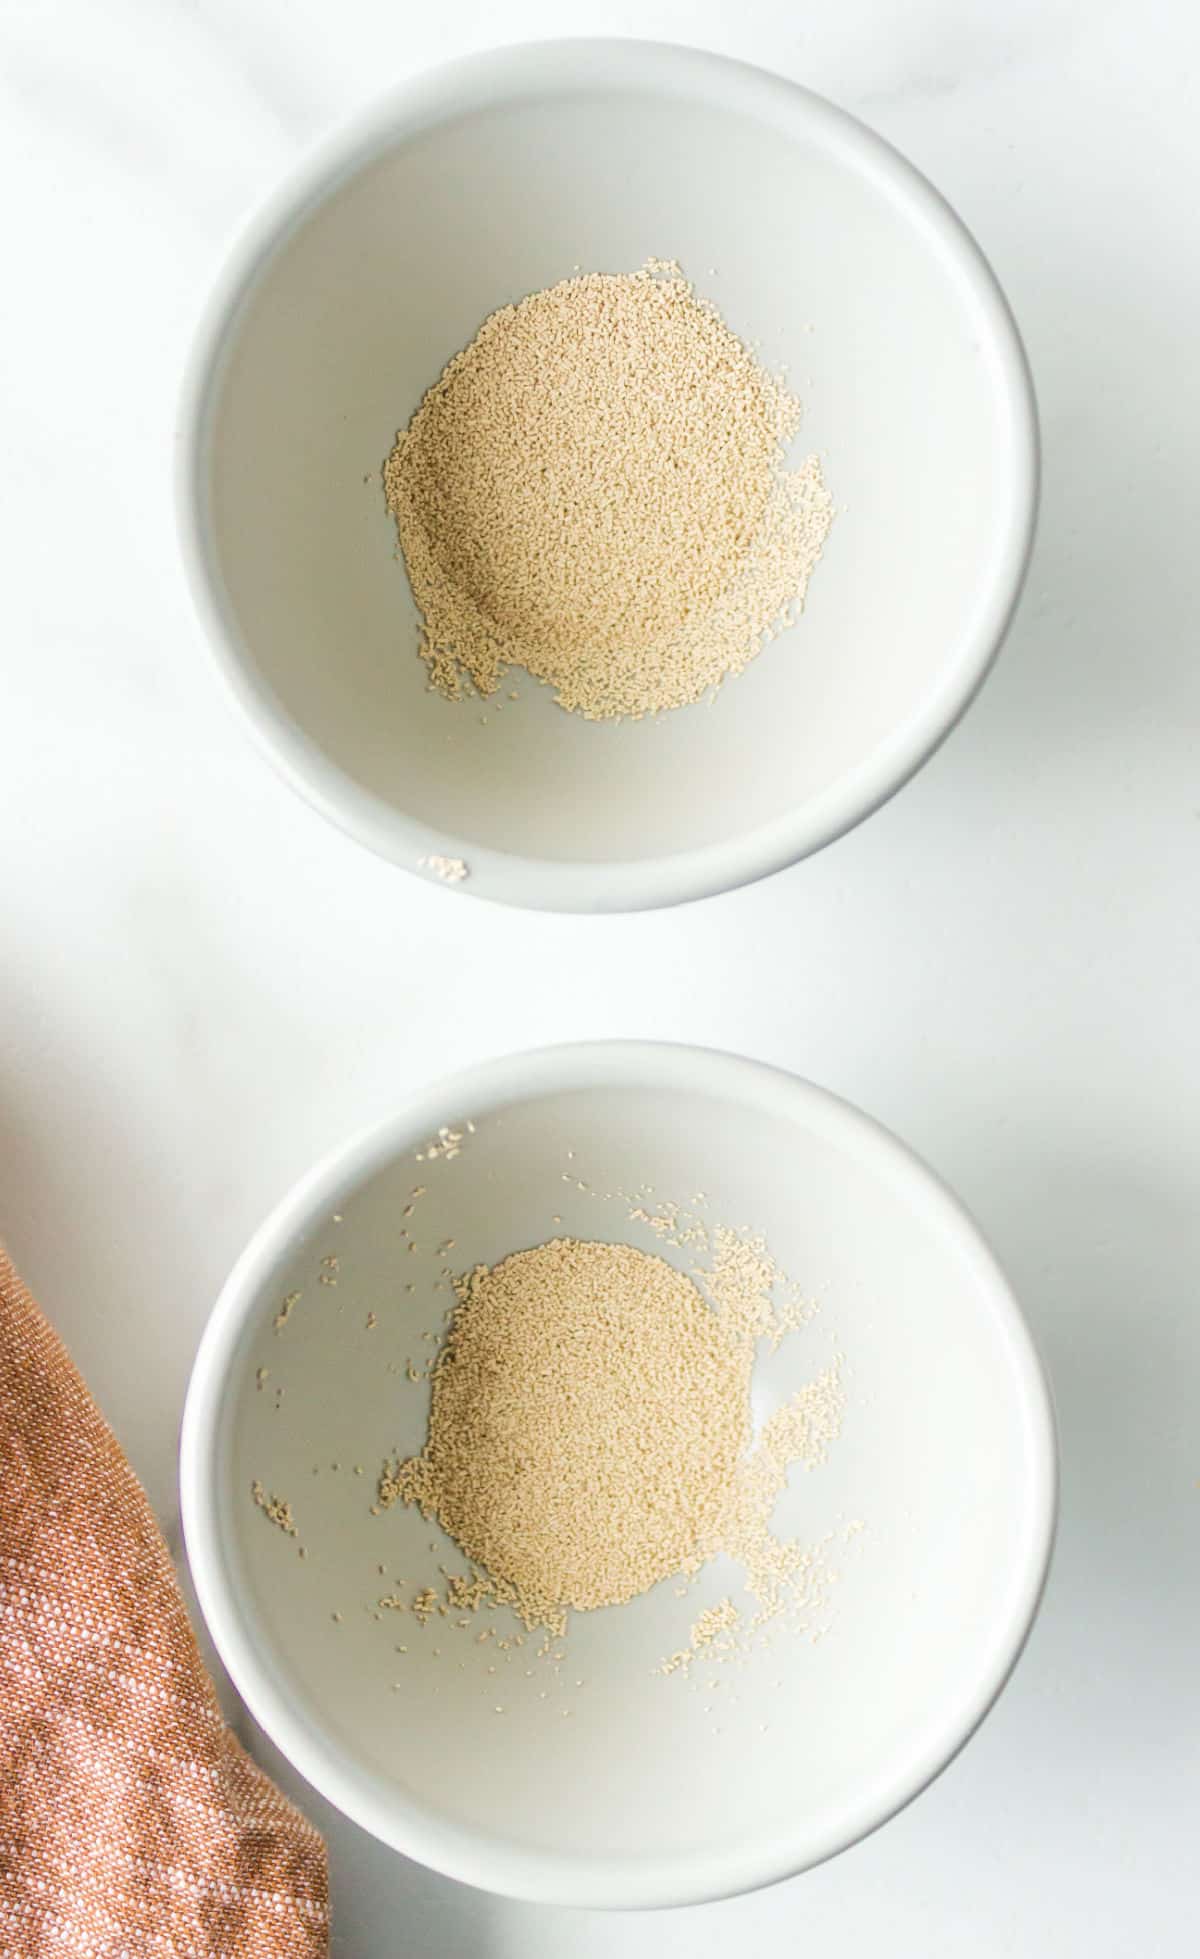
Bread machine yeast vs active dry yeast
Bread machine yeast is designed to work quickly and reliably in a bread machine environment, which is why many recipes call for it specifically. It can be added directly to the pan without being dissolved first.
Active dry yeast can also be used in a bread machine in most cases. If you’re using active dry yeast, make sure it’s fresh and measured carefully. Many bread machine recipes work well with either type, but using bread machine yeast can help simplify things when you’re getting started.
Why weighing flour can help
Measuring flour by volume can vary depending on how it’s scooped or packed, which can affect bread texture. Using a kitchen scale removes that guesswork and helps keep the flour-to-liquid ratio consistent. You can find the weights for my recipes by clicking “metric” immediately above the ingredients.
That said, weighing flour isn’t required for good bread machine results. If you’re measuring by cups, checking the dough during the first knead and making small adjustments as needed works just as well.
Bread machine settings
Bread machine settings can look overwhelming at first, but most everyday breads work well on just one or two cycles. If you’re unsure which setting to choose, the Basic (or White) cycle is a reliable place to start.
Below is a quick overview of the most common bread machine settings and when to use them.
Basic / White cycle
This is the most commonly used setting and works for the majority of bread machine recipes.
Use this cycle for breads like white bread, olive oil bread, herb breads, and oat breads. If a recipe doesn’t specify a cycle, the basic/white setting is usually the right choice.
Whole Wheat cycle
The whole wheat cycle allows for longer mixing and rising times, which helps heavier doughs develop properly.
Use this cycle for whole wheat breads or breads with a high percentage of whole wheat flour. If a loaf feels dense on the basic cycle, switching to the whole wheat cycle can often help.
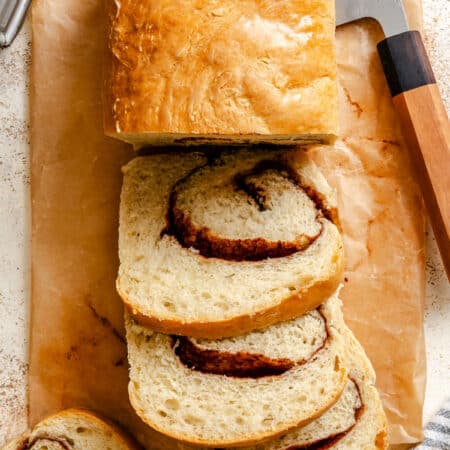
Sweet Bread cycle
The sweet cycle adjusts the rise and bake times to accommodate higher amounts of sugar. Use this cycle for breads like cinnamon bread, slightly sweet breakfast breads, breads with significant amount of honey, sugar, or molasses as a main ingredient
This cycle helps prevent over-browning and gives sweet breads a softer texture.
Dough cycle
The dough cycle mixes, kneads, and allows the dough to rise, but does not bake it.
Use this cycle when making dinner rolls or shaped breads, you want to bake bread in the oven instead of the machine, or preparing dough ahead of time.
Rapid / Quick cycle
The rapid cycle shortens rise times to produce bread more quickly. This setting can be useful when you’re short on time, but the texture is often not quite as soft or flavorful as a full cycle. For best results, use a standard cycle whenever possible.
Crust settings
Most bread machines allow you to choose a light, medium, or dark crust. Recipes will suggest a setting, but you can always adjust that according to how you like your bread to turn out.
- Medium is a good default
- Light works well for softer breads
- Dark adds more color but can dry bread slightly
If your bread is consistently too dark or too light, adjusting the crust setting is an easy fix.
Bread machines I use
I test my bread machine recipes on multiple machines to make sure they work reliably across different models and brands. These are the bread machines I regularly use when developing and testing recipes.
I have an older Cuisinart as well as the newer Cuisinart model. I also have the KBS, and a Hamilton Beach.
Troubleshooting or common bread machine problems
This is one of the most common bread machine issues, and it’s usually related to yeast. Yeast may be expired, added incorrectly, or affected by liquid that was too hot or too cold. Try checking the yeast’s freshness and making sure liquids are warm—not hot—before starting the machine.
It can also help to check the dough during the first knead. If it looks very dry or crumbly, a tablespoon or two of extra liquid can make a big difference.
A collapsed loaf often means the dough rose too much and then couldn’t support itself. This can happen if there’s too much yeast, too much liquid, or if the bread machine was set to the wrong cycle.
If this happens, try slightly reducing the yeast next time or using the basic/white cycle instead of a rapid or sweet cycle.
Dense bread is usually a sign that the dough didn’t have enough structure or rise time. This can happen with too much flour, not enough liquid, or inactive yeast.
If your bread feels heavy, check the dough during mixing. It should form a soft, smooth ball and not be stiff or dry. A small adjustment during mixing often fixes the issue.
Bread machine bread relies on balance. Too little salt can make bread taste flat, while too much sweetener can overpower the flavor.
If your bread tastes bland, double-check the salt measurement and consider letting the bread cool completely before slicing as flavor develops as it cools.
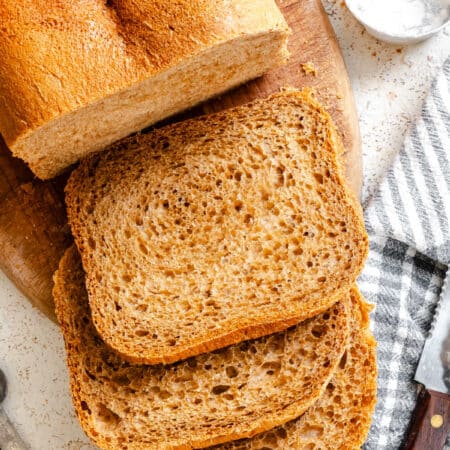
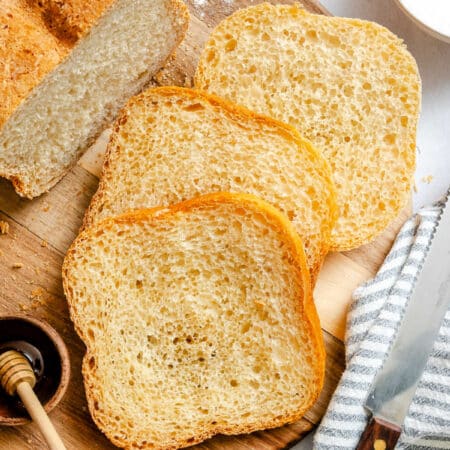
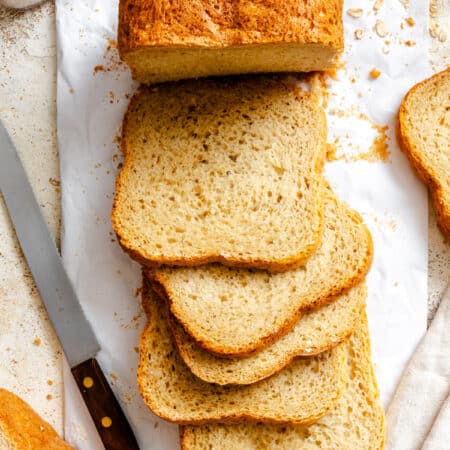
Bread machine recipes
Storage
Bread machine bread doesn’t contain preservatives, so proper storage helps keep it fresh and enjoyable.
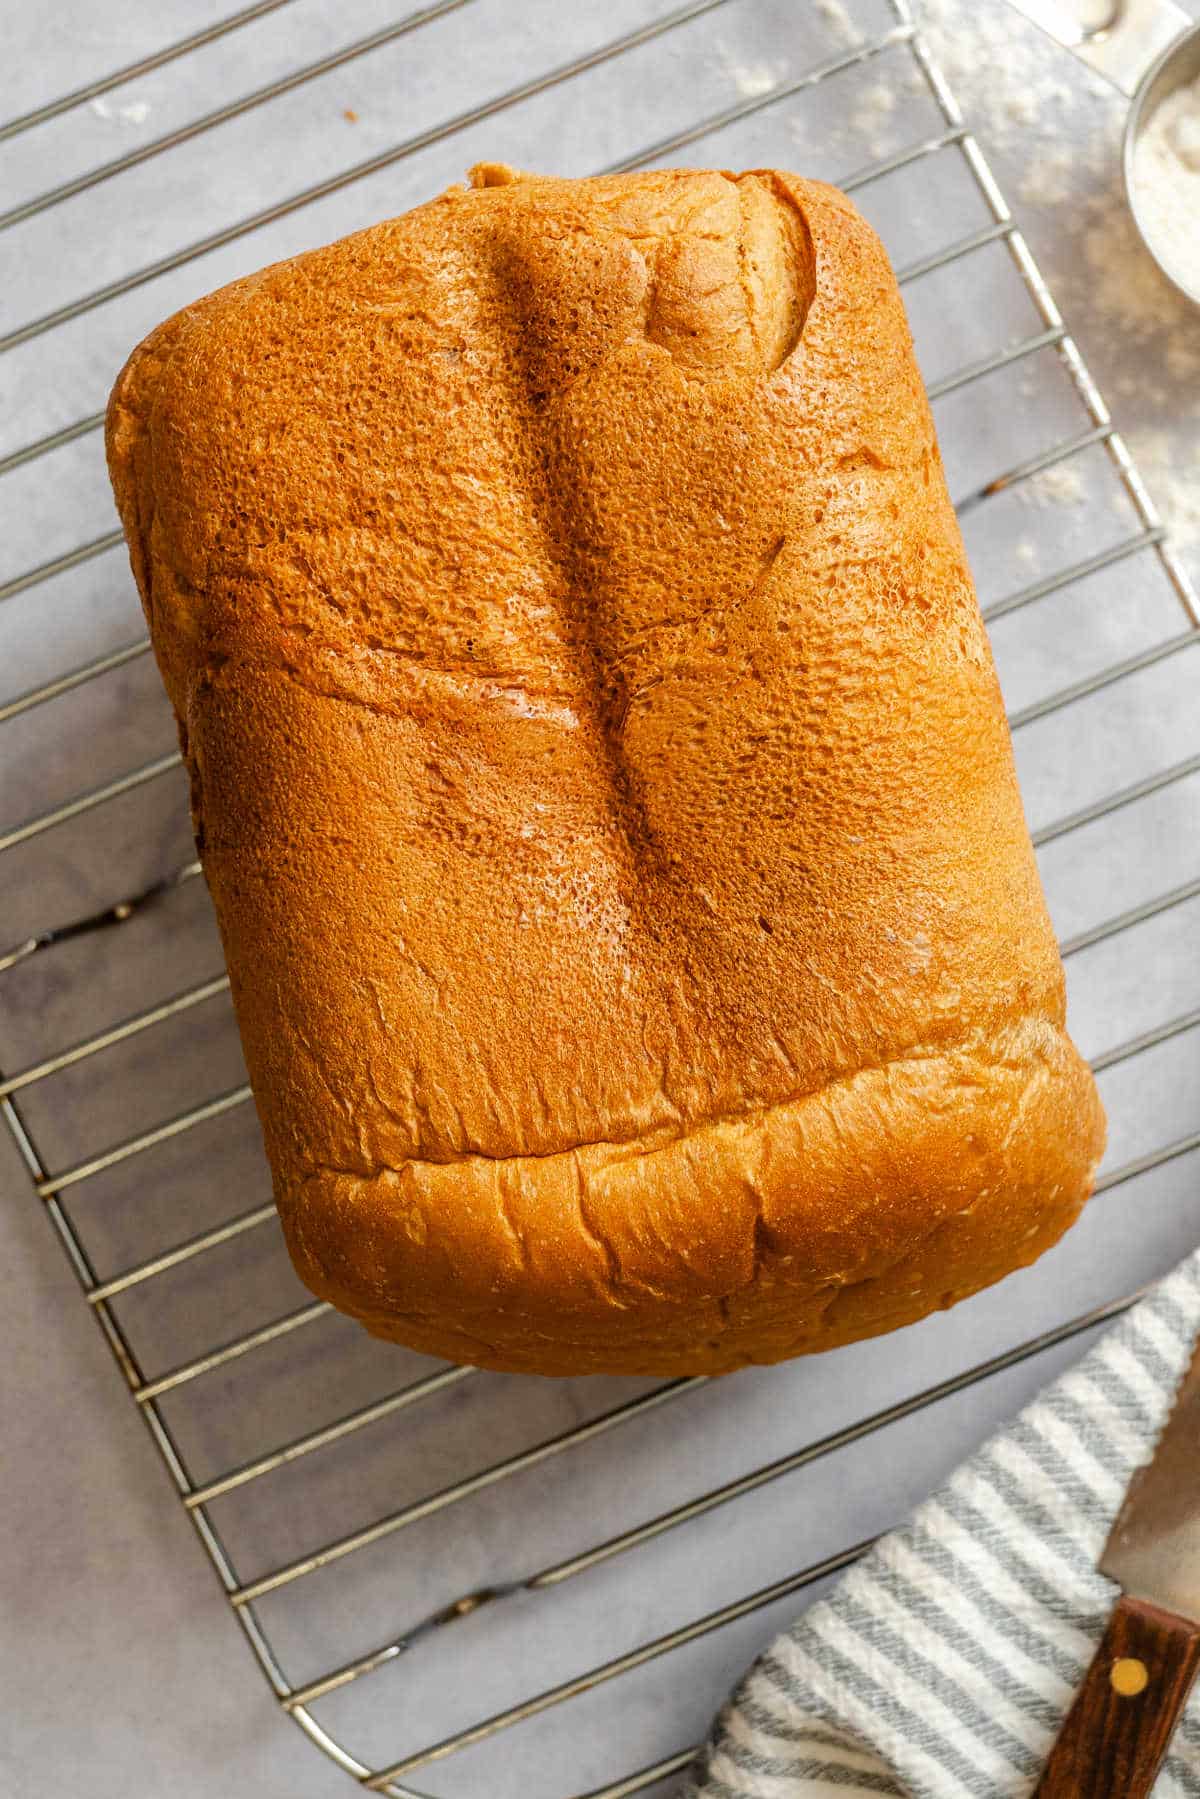
Once the bread has finished baking, remove it from the pan and let it cool completely on a wire rack. Cooling allows the crumb to set, flavors to finish developing, and helps prevent a gummy texture.
For short-term storage, keep bread at room temperature in an airtight container for up to 2–3 days. Avoid storing bread in the refrigerator, as it tends to dry out faster.
To freeze bread machine bread, slice the loaf once it has cooled completely, wrap tightly in plastic wrap, and place it in a freezer-safe bag or container. Frozen bread keeps well for up to 3 months and can be thawed at room temperature or toasted straight from the freezer.


Love this recipe?
Share your thoughts below and let’s chat! Make sure to connect with me on your favorite social platform below and show me what you made!