Pumpkin pie bars are pumpkin pie in bar form. These bars have spiced pumpkin filling on top of a simple homemade pie crust. These bars are the perfect end to any Thanksgiving dinner!
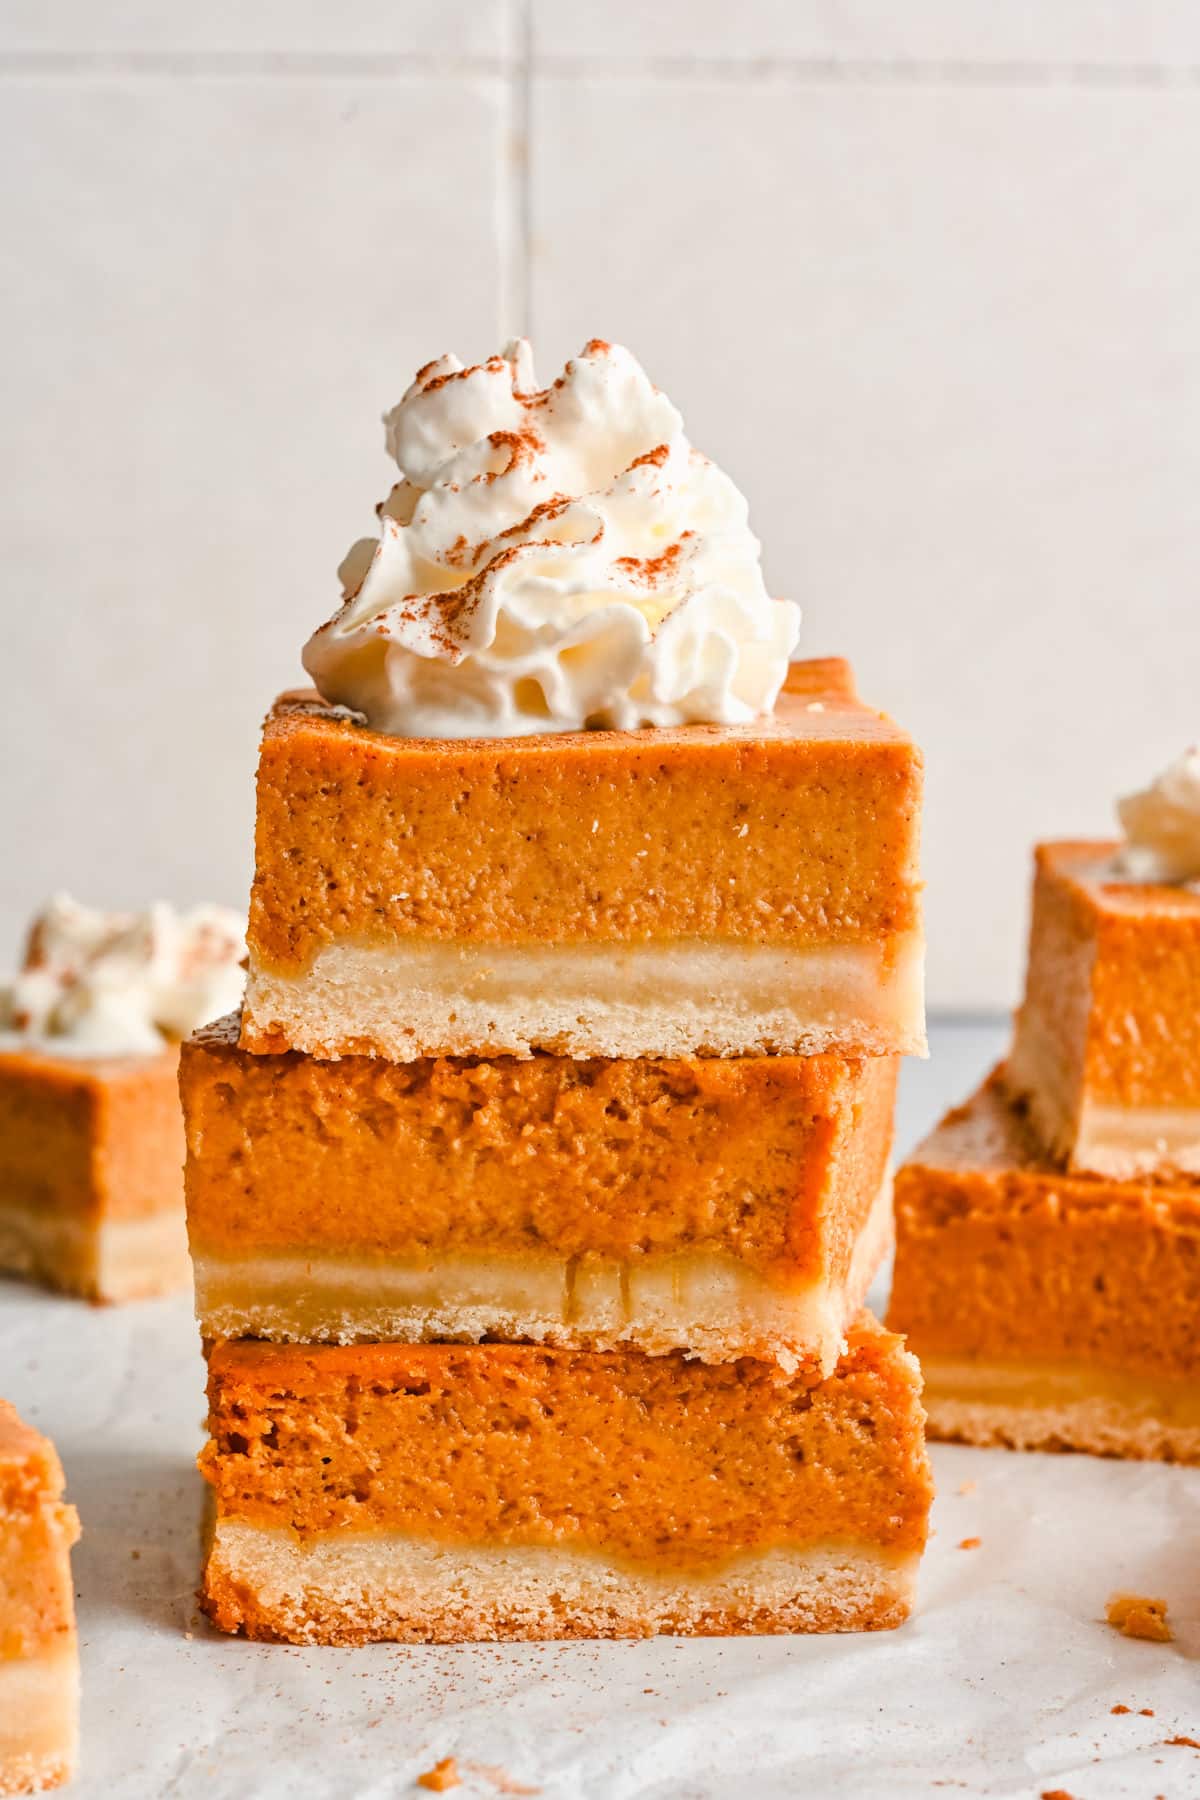
End your Thanksgiving feast with a delightful twist on a classic dessert – Pumpkin Pie Bars! This delicious dessert has the rich, creamy goodness of traditional pumpkin pie in a convenient bar form.
The buttery shortbread crust perfectly complements the creamy pumpkin filling. With their ease of preparation and impressive presentation, these easy pumpkin pie bars will undoubtedly become a Thanksgiving staple at your house.
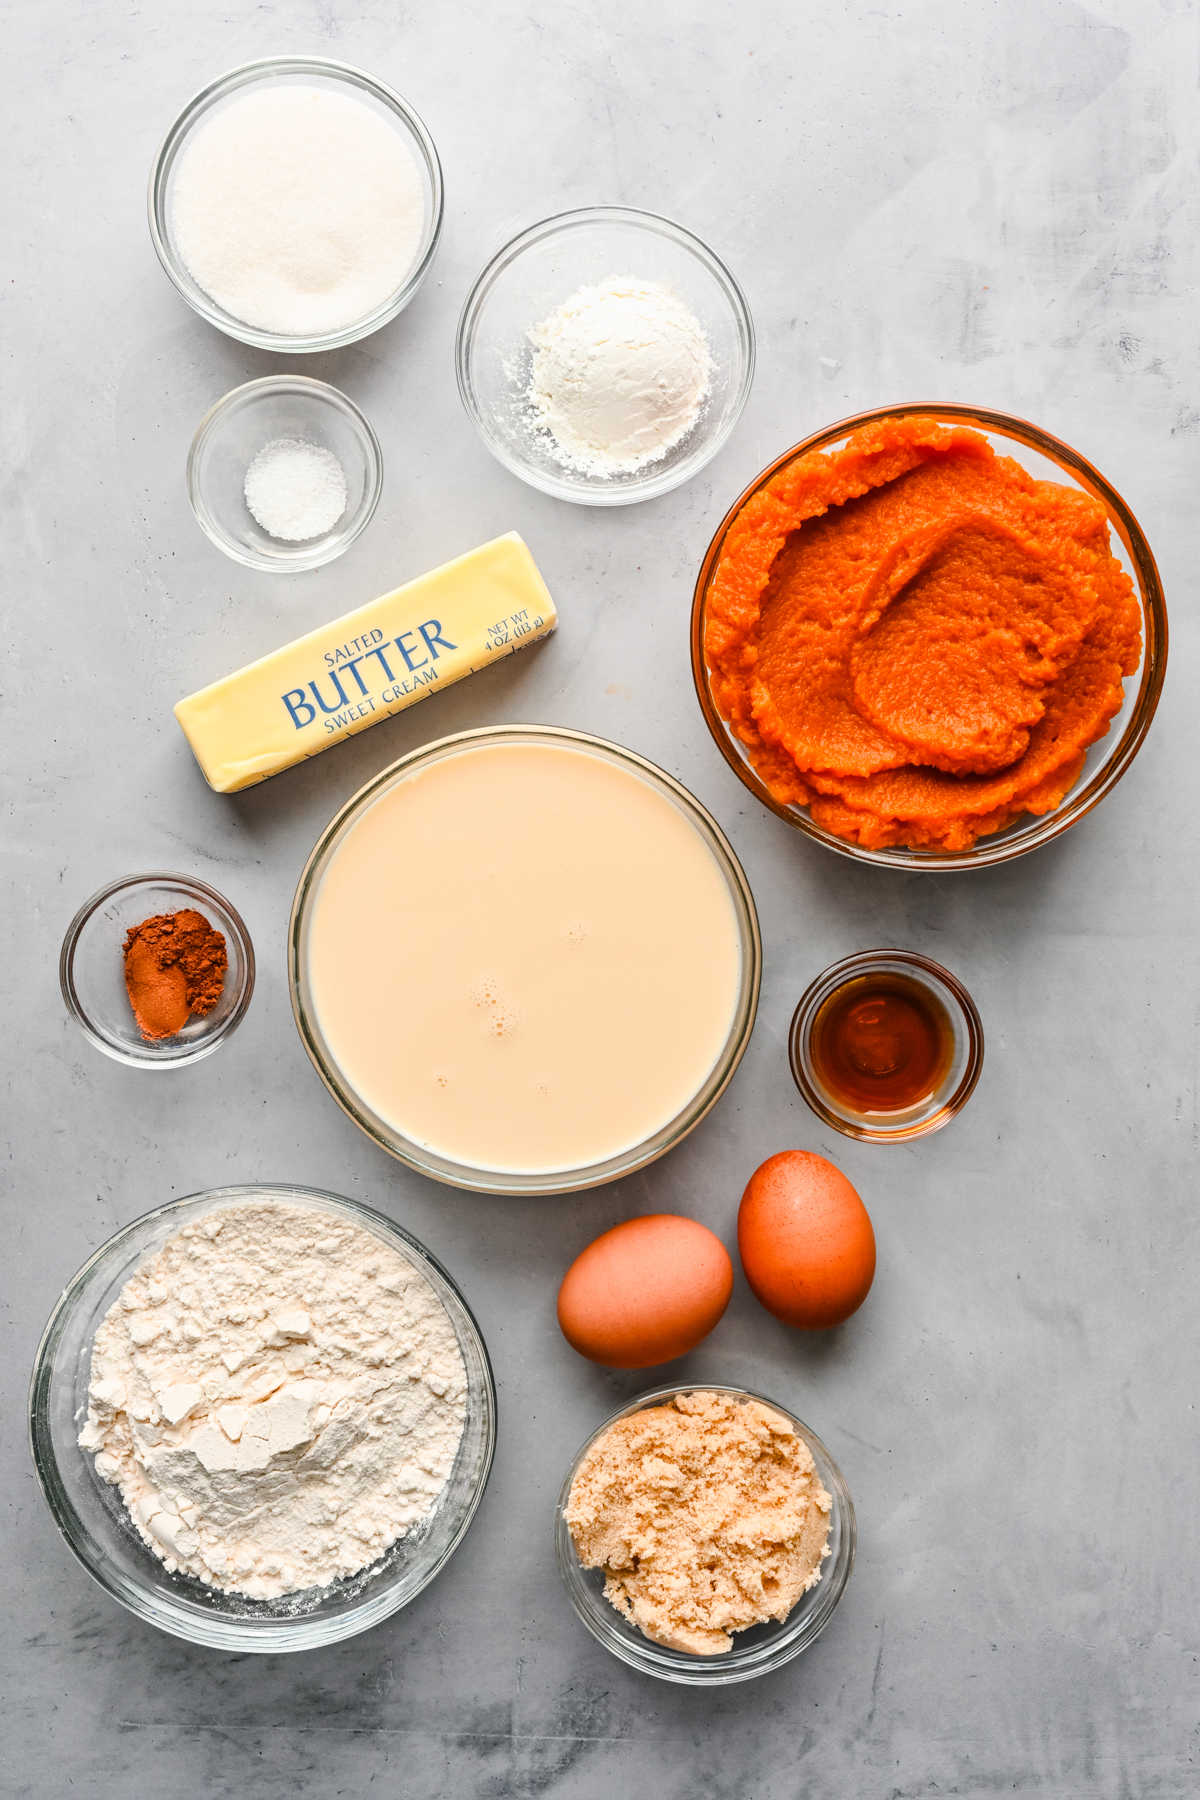
Ingredient notes and substitutions
- Butter: I use salted butter in this recipe. You can use unsalted butter + 1/4 teaspoon of salt.
- Pumpkin puree: Be sure to use pumpkin puree and not pumpkin pie mix.
- Evaporated milk: I use regular evaporated milk, but 2% evaporated milk will also work. Be sure to use evaporated milk and not sweetened condensed milk.
- Brown sugar: Light brown sugar or dark brown sugar will work.
- Pumpkin pie spice: The pie bars are lightly spiced to allow the pumpkin flavor to come through. If you’d like more spice flavor, simply increase the amount of pumpkin pie spice. You can also make your own homemade pumpkin pie spice blend with this recipe.
How to make pumpkin pie bars
Here you’ll find step-by-step photos showing how to make this recipe. The full recipe, including ingredients, is given below.
Step 1: Preheat oven to 425˚F. Line an 8 x 8 pan with parchment paper.
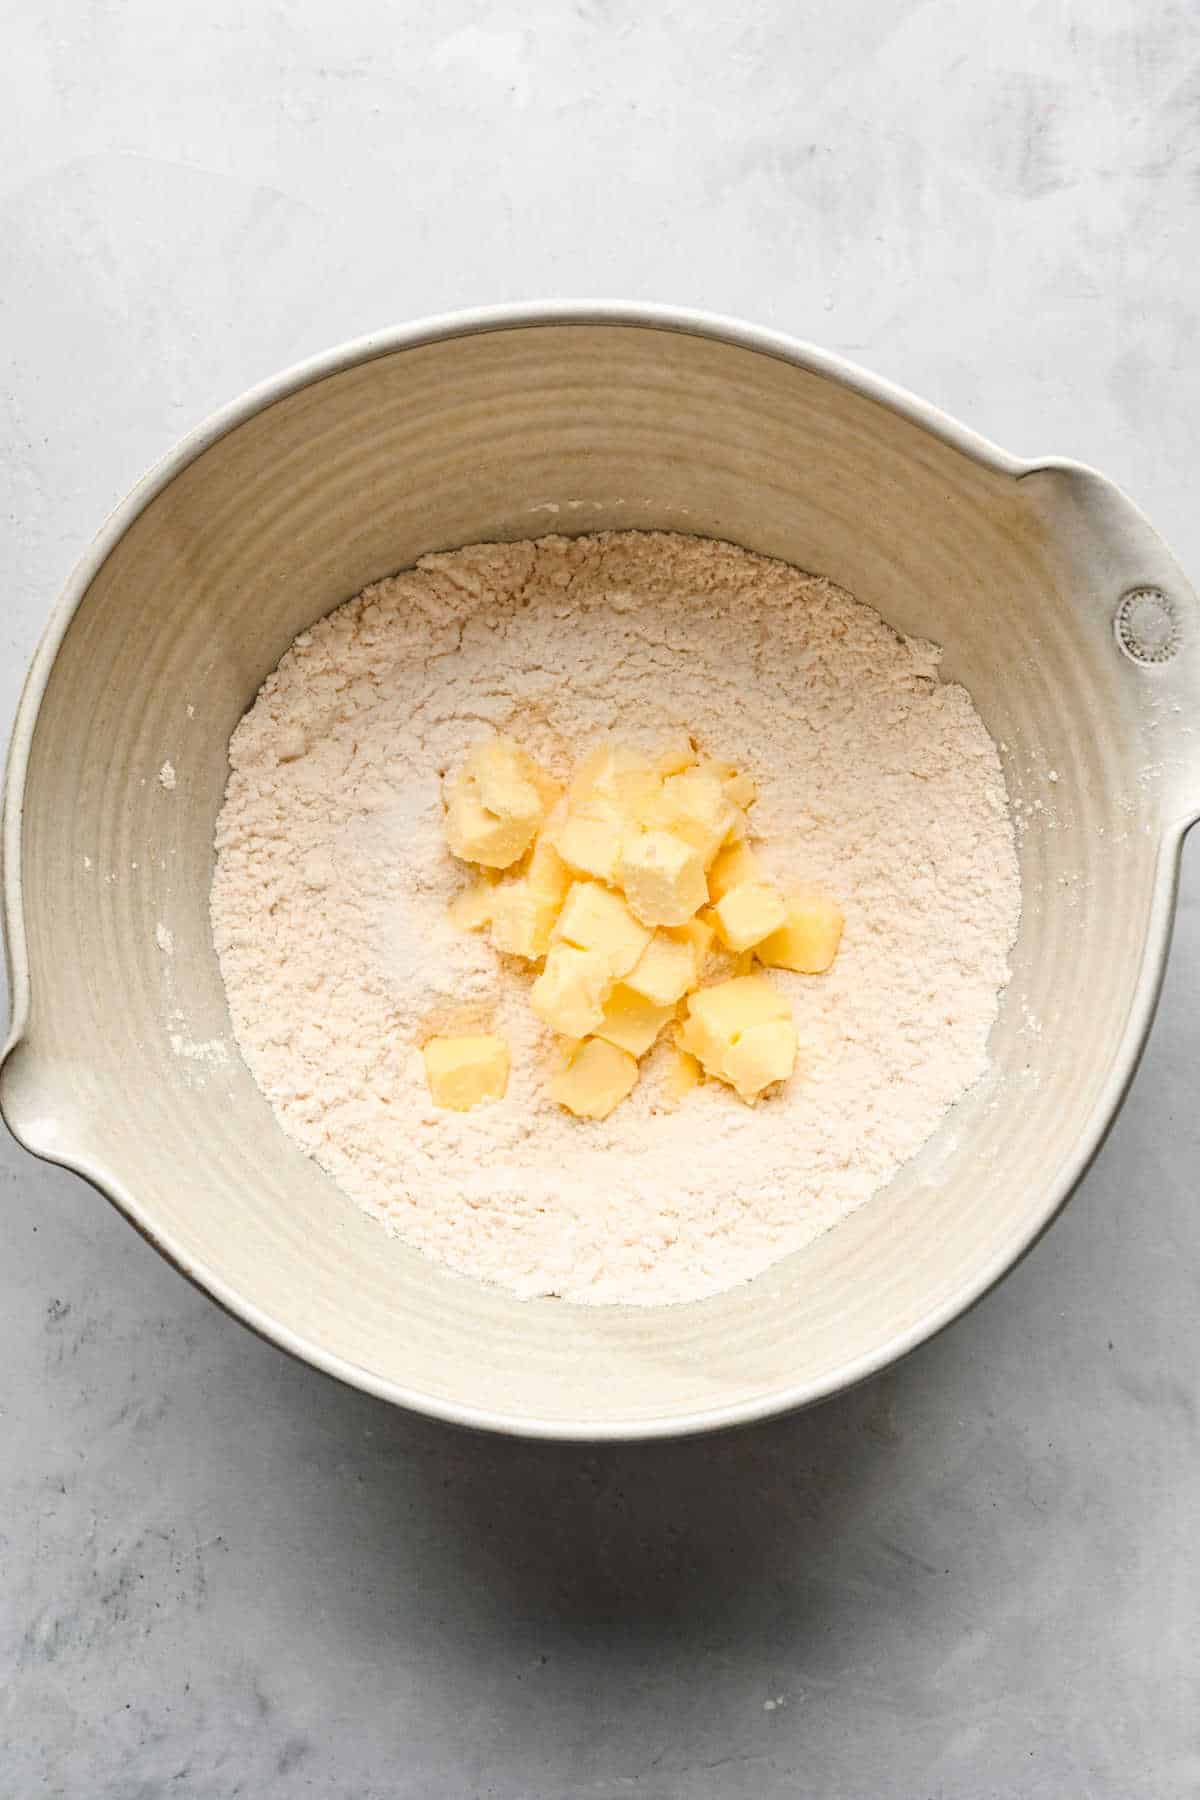
Step 2: To make the crust, stir together the flour, sugar, and cornstarch in a large mixing bowl.
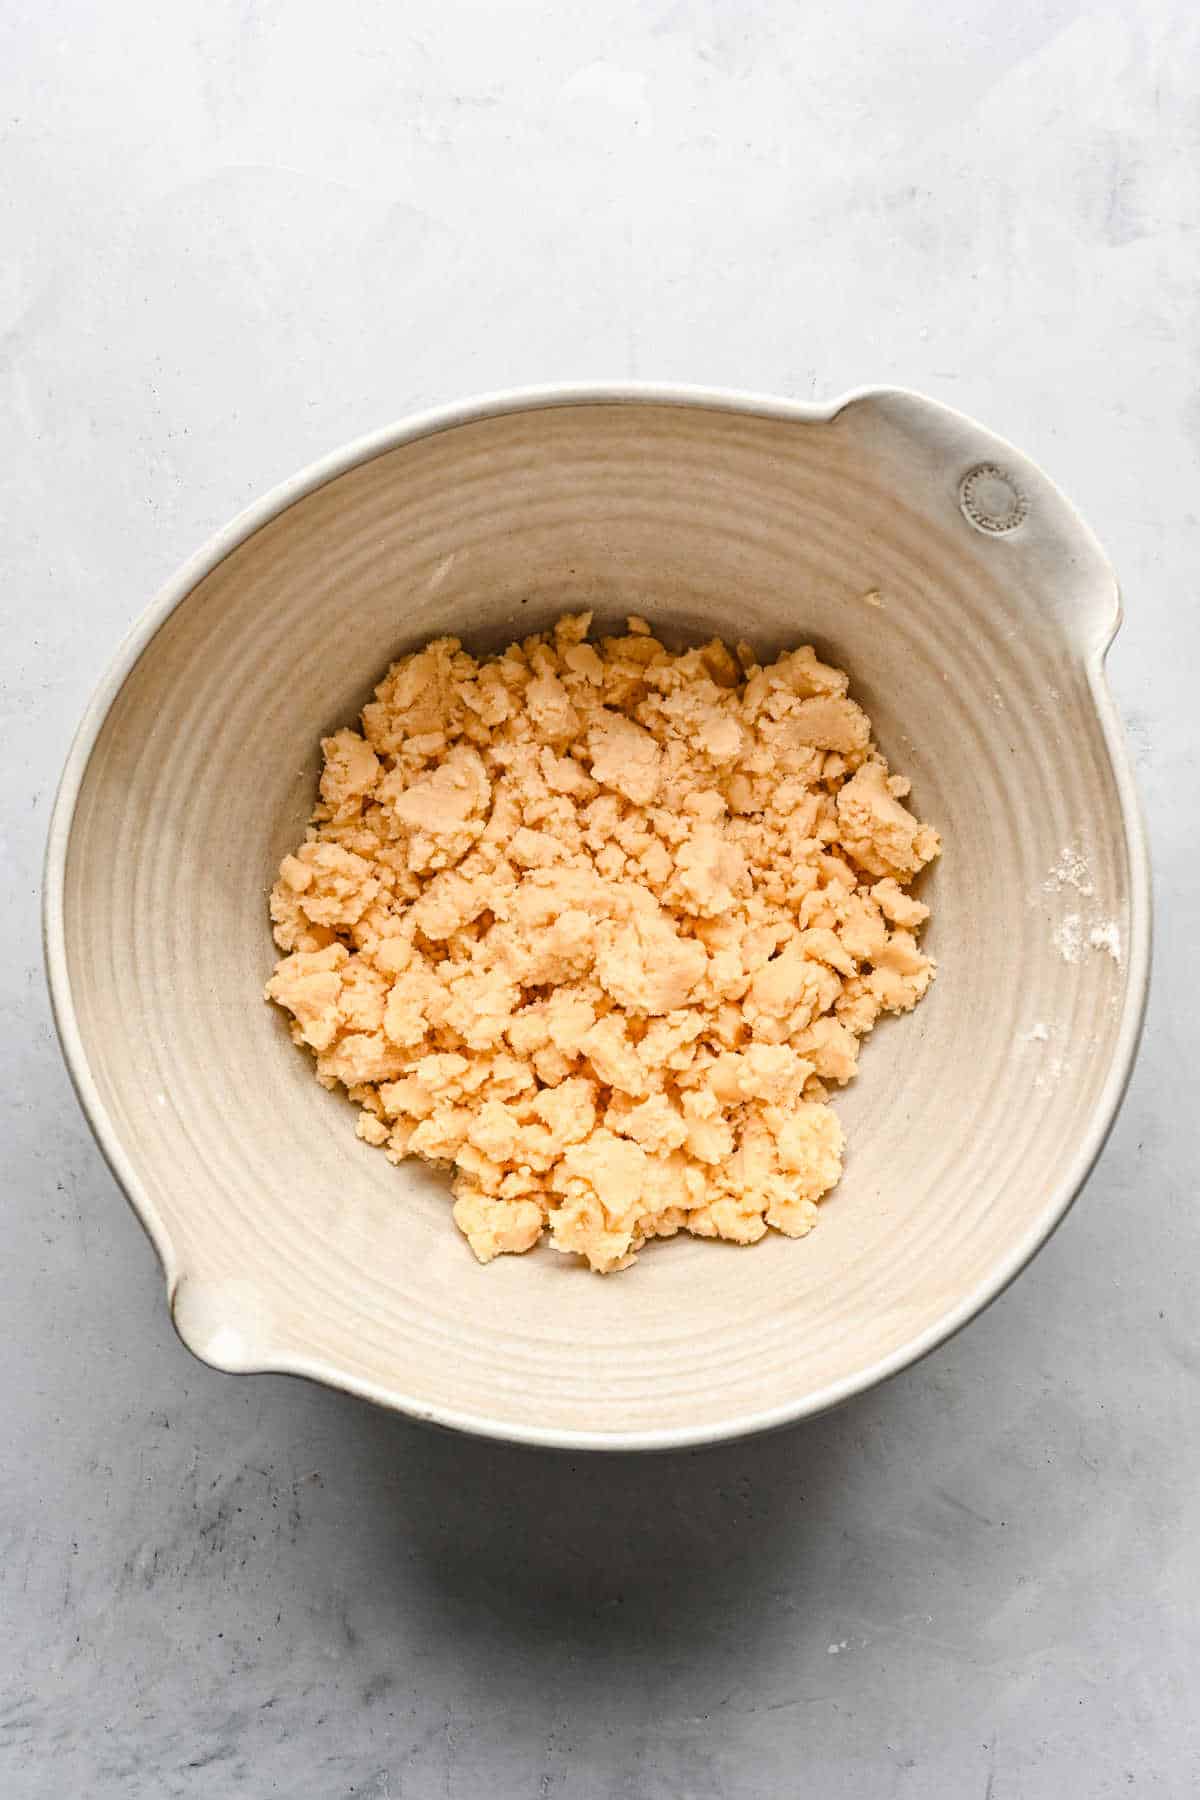
Step 3: Cut the butter into the dough using a pastry cutter or your hands, mixing until the dough comes together.
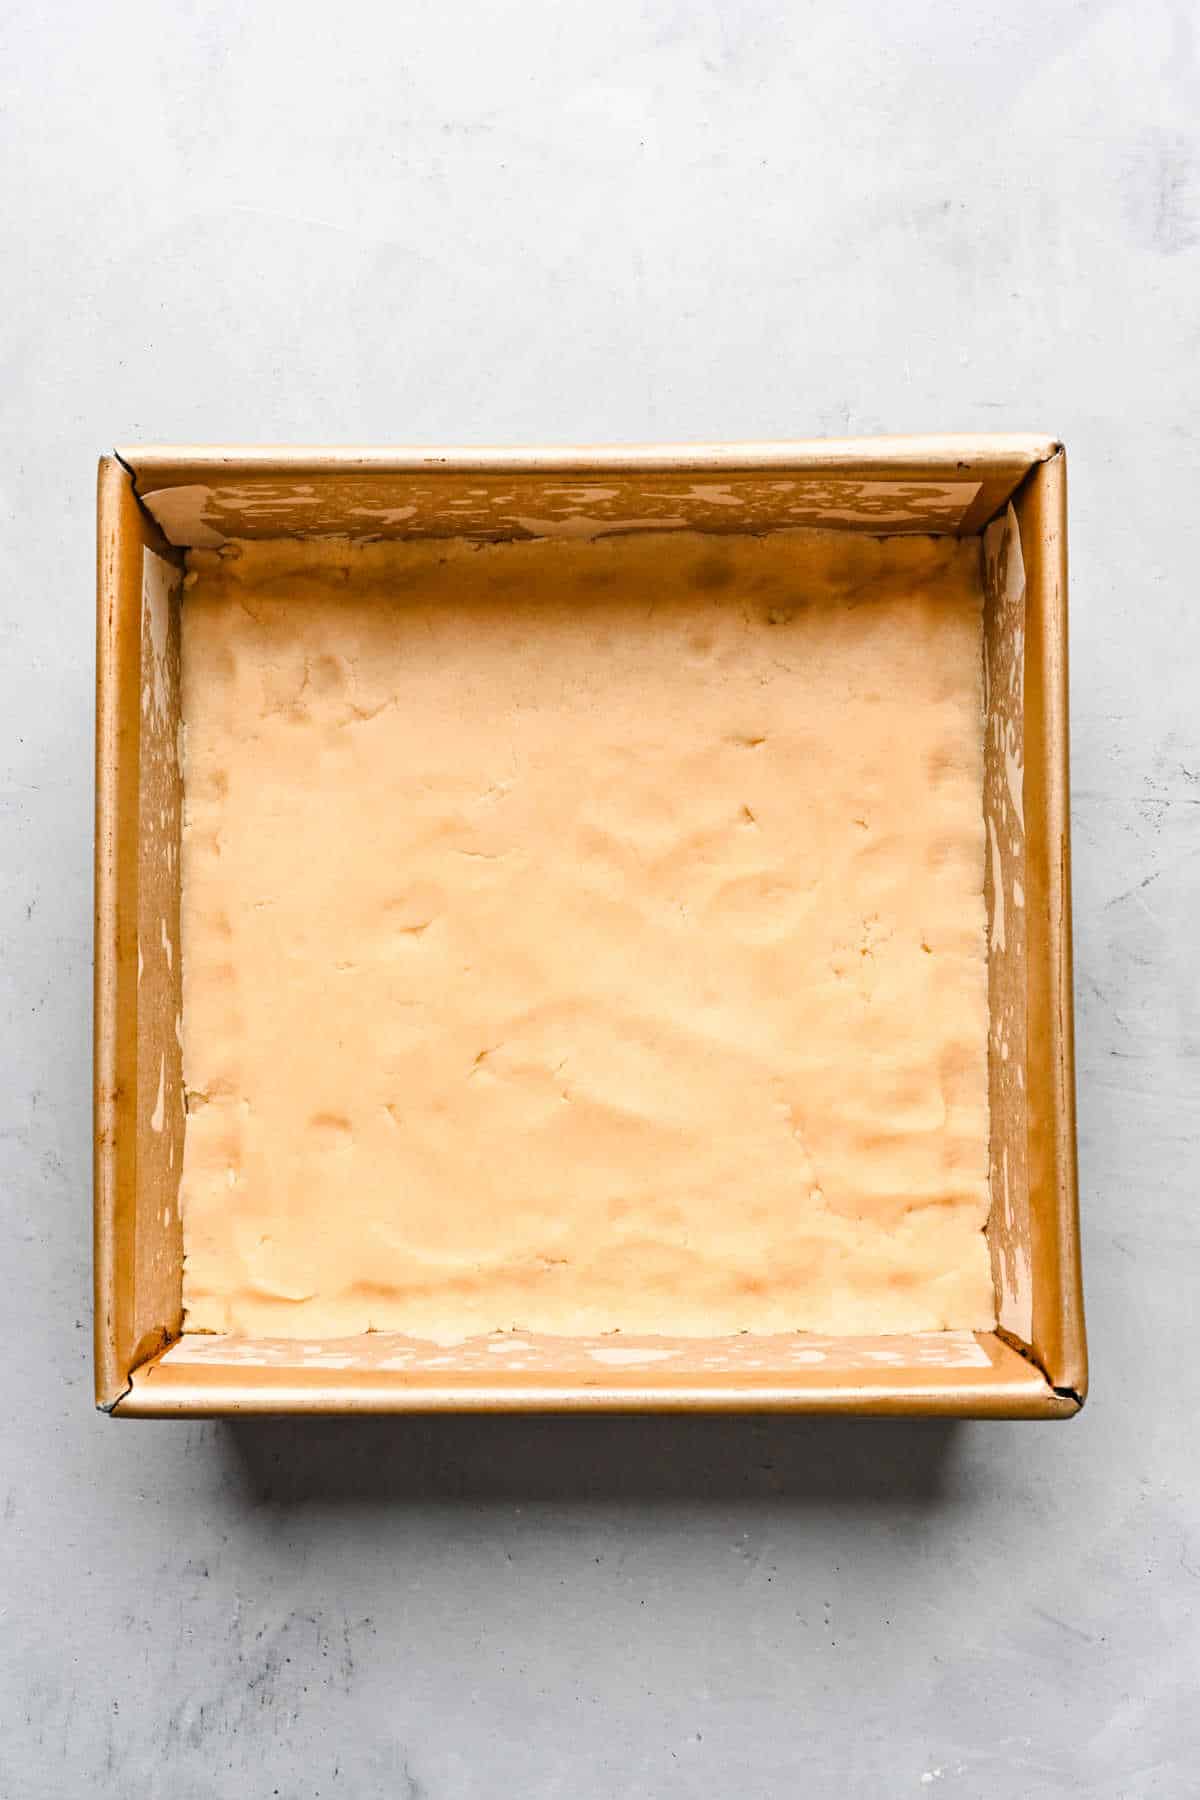
Step 4: Press the dough into an even layer in the bottom of the pan.
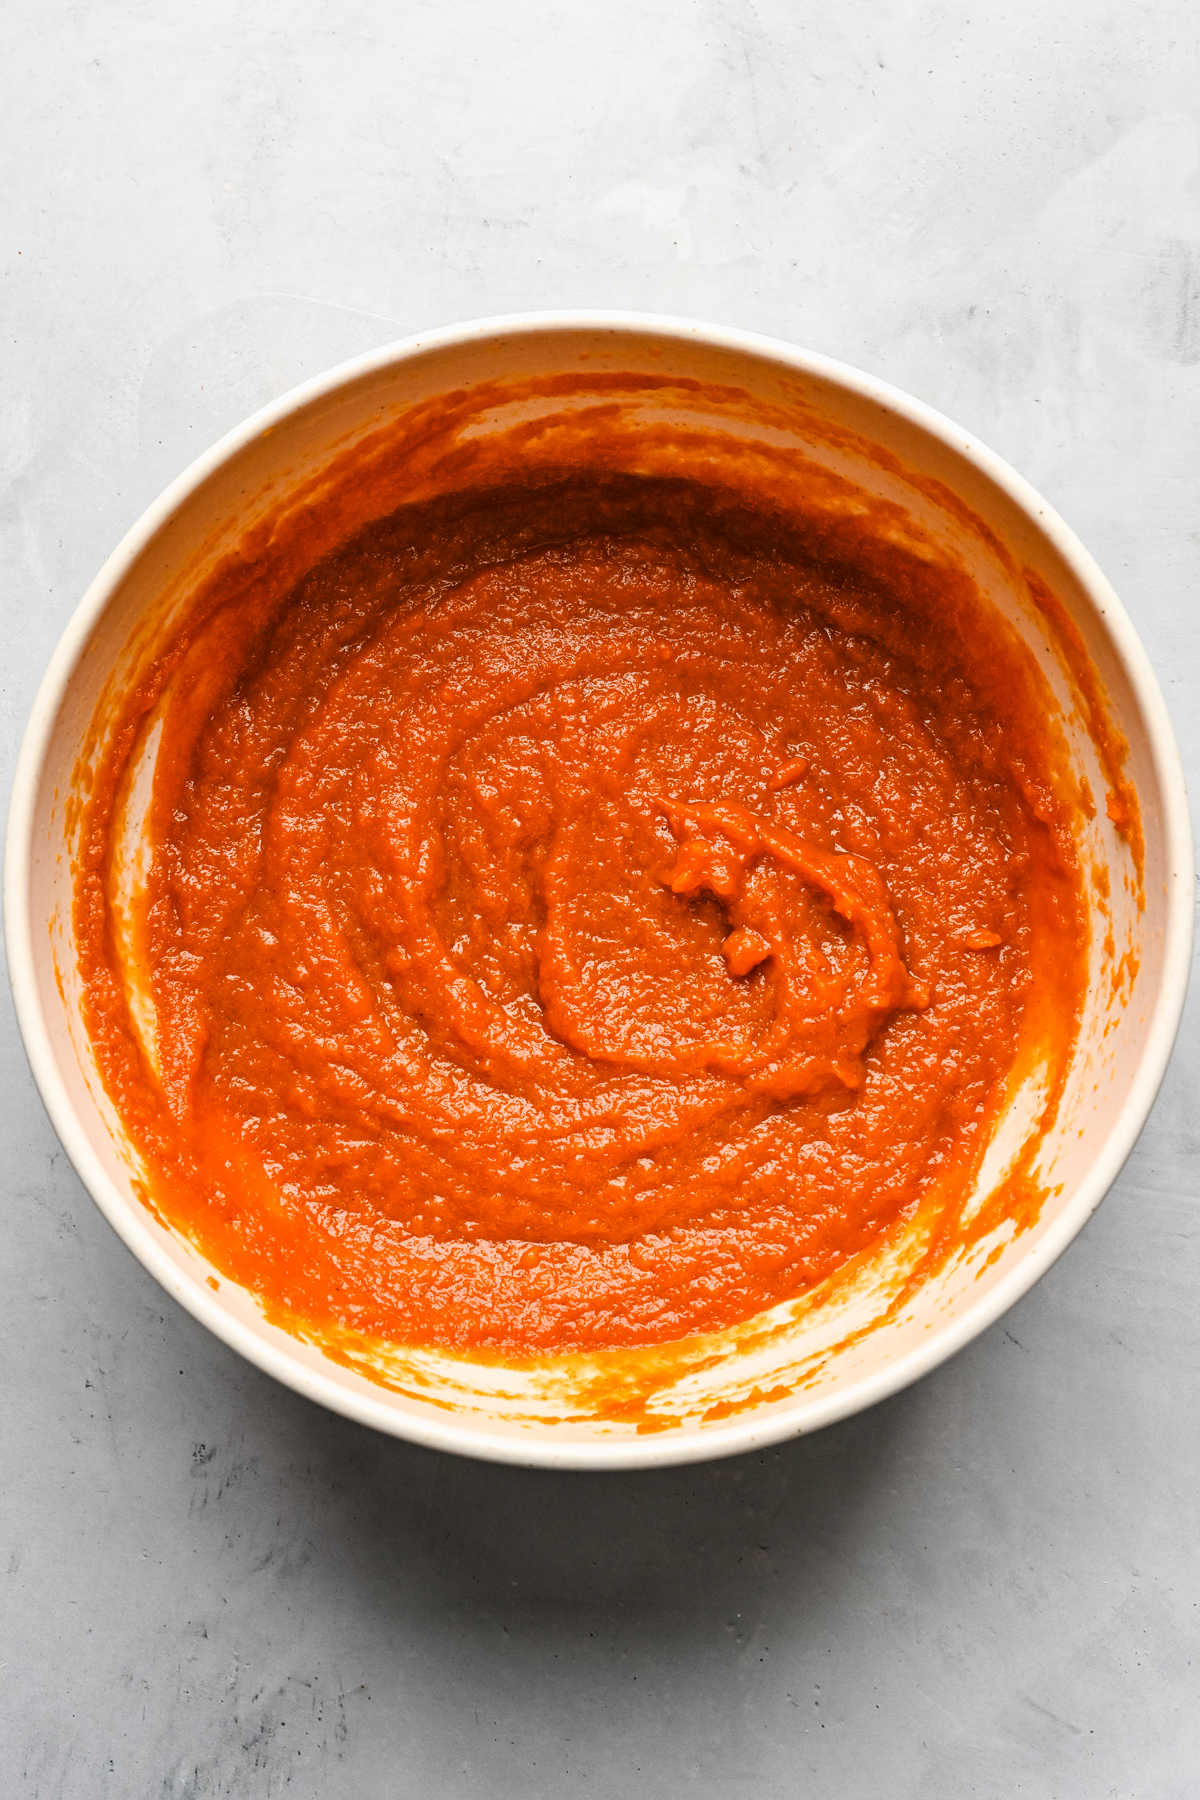
Step 5: In a separate large bowl, whisk together the pumpkin, eggs, both sugars, pumpkin spice and salt until smooth.
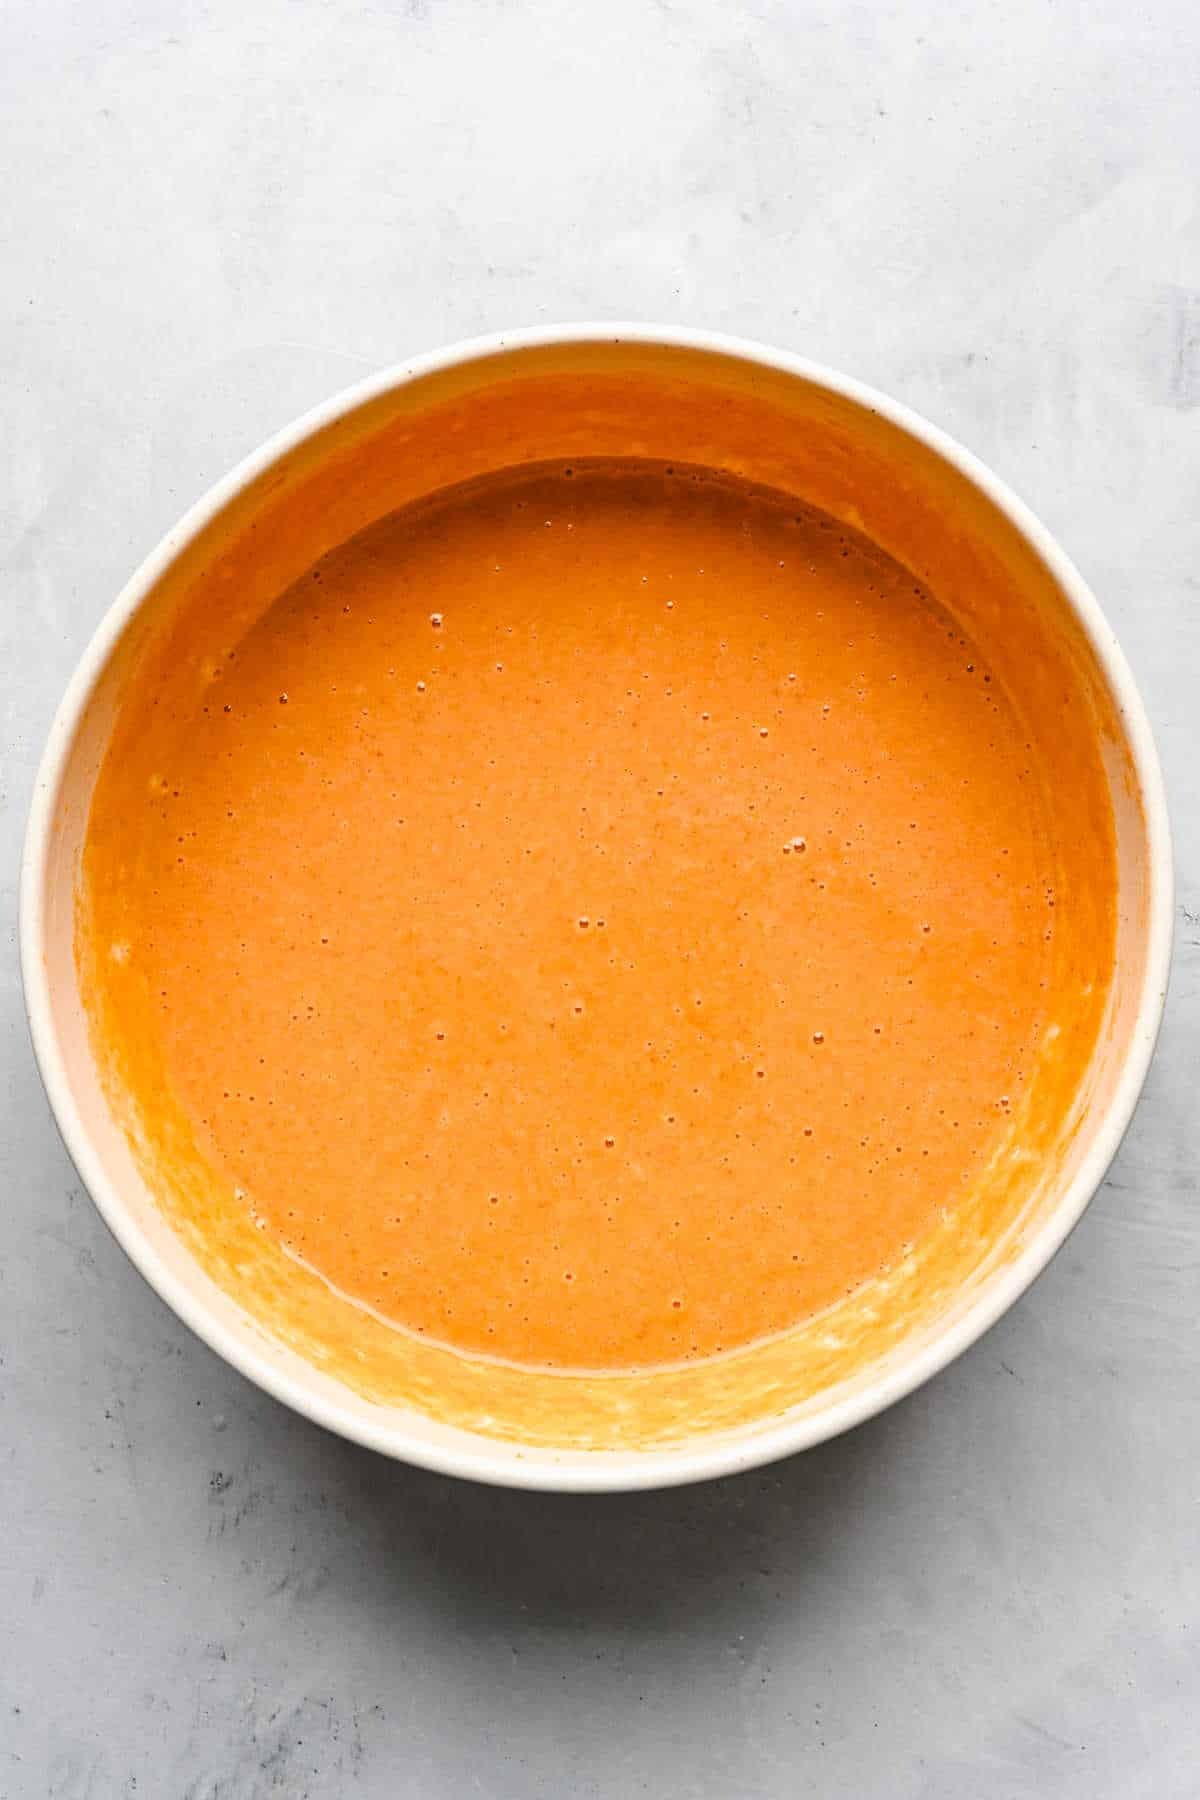
Step 6: Whisk in the evaporated milk and vanilla extract and continue mixing until smooth.
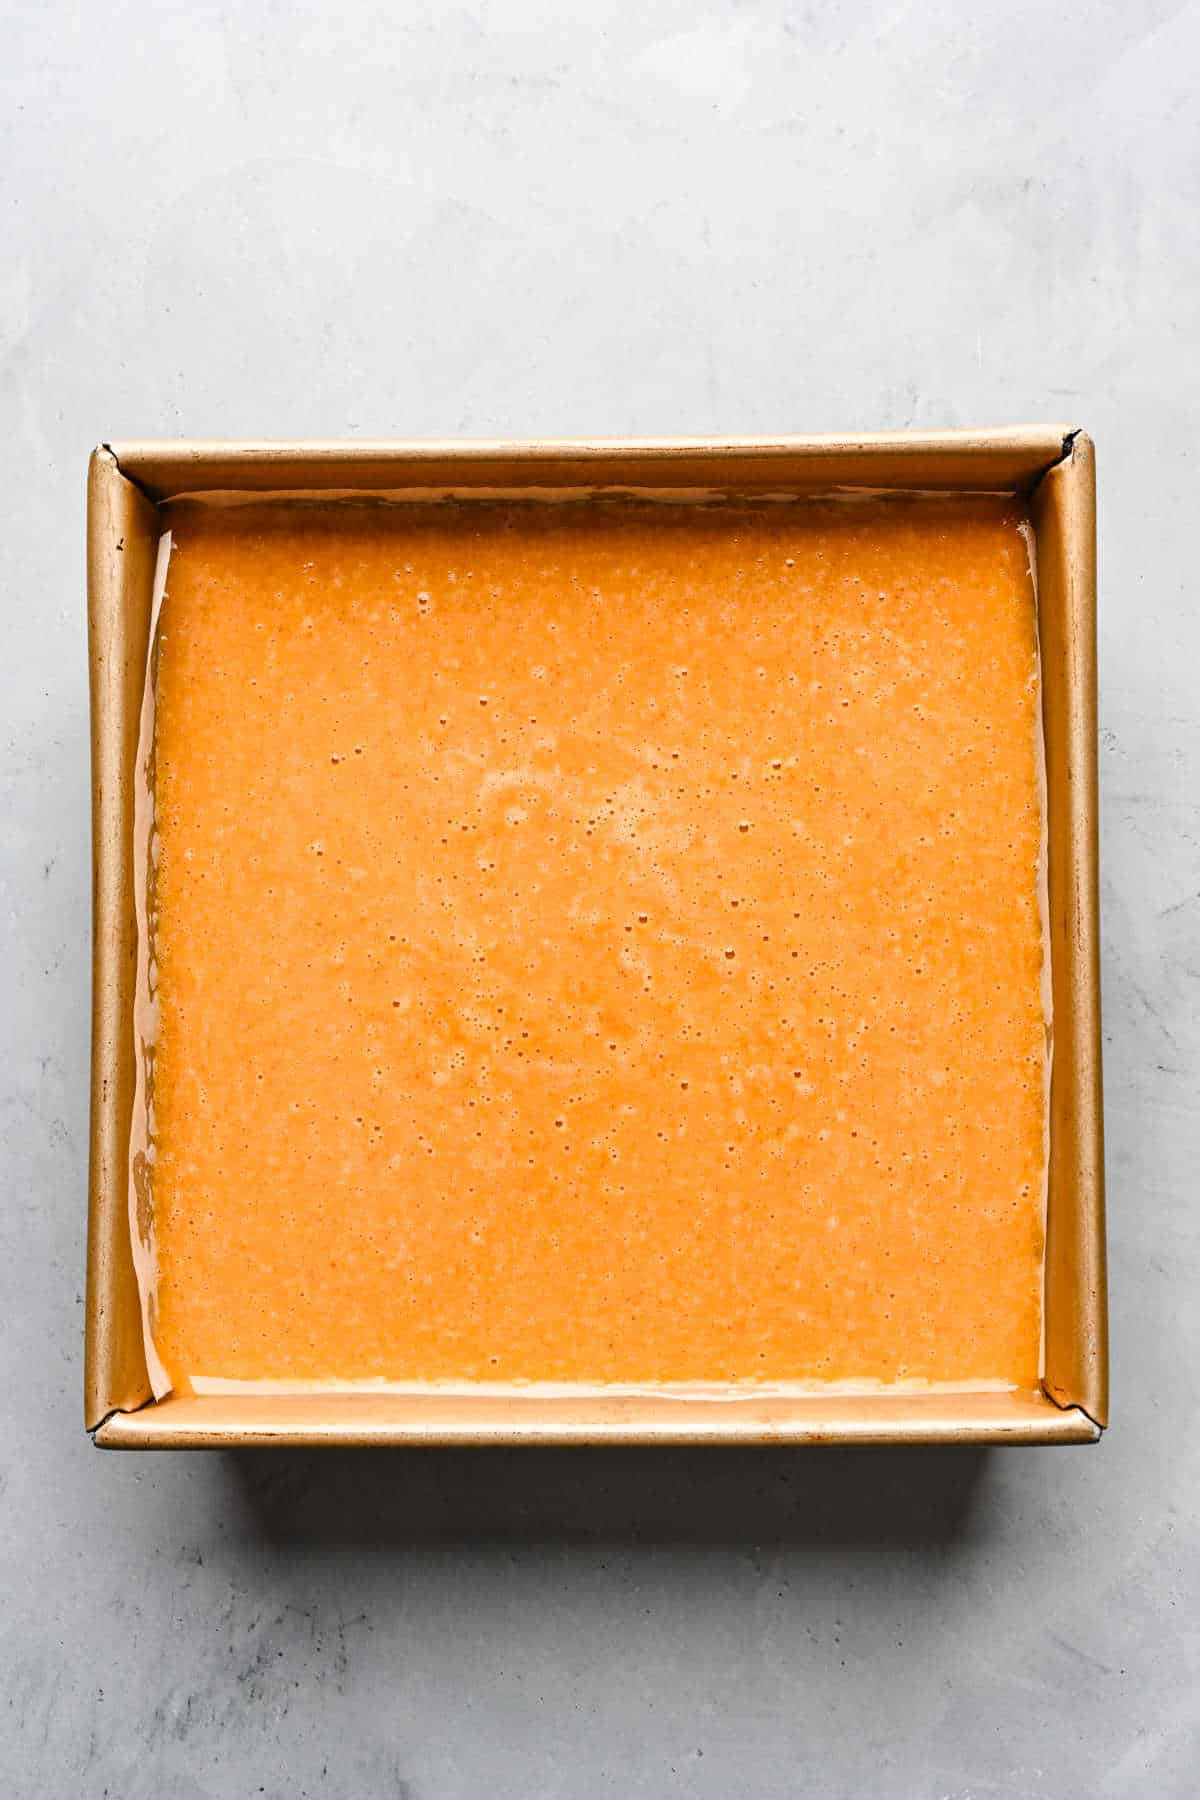
Step 7: Pour the filling over the crust.
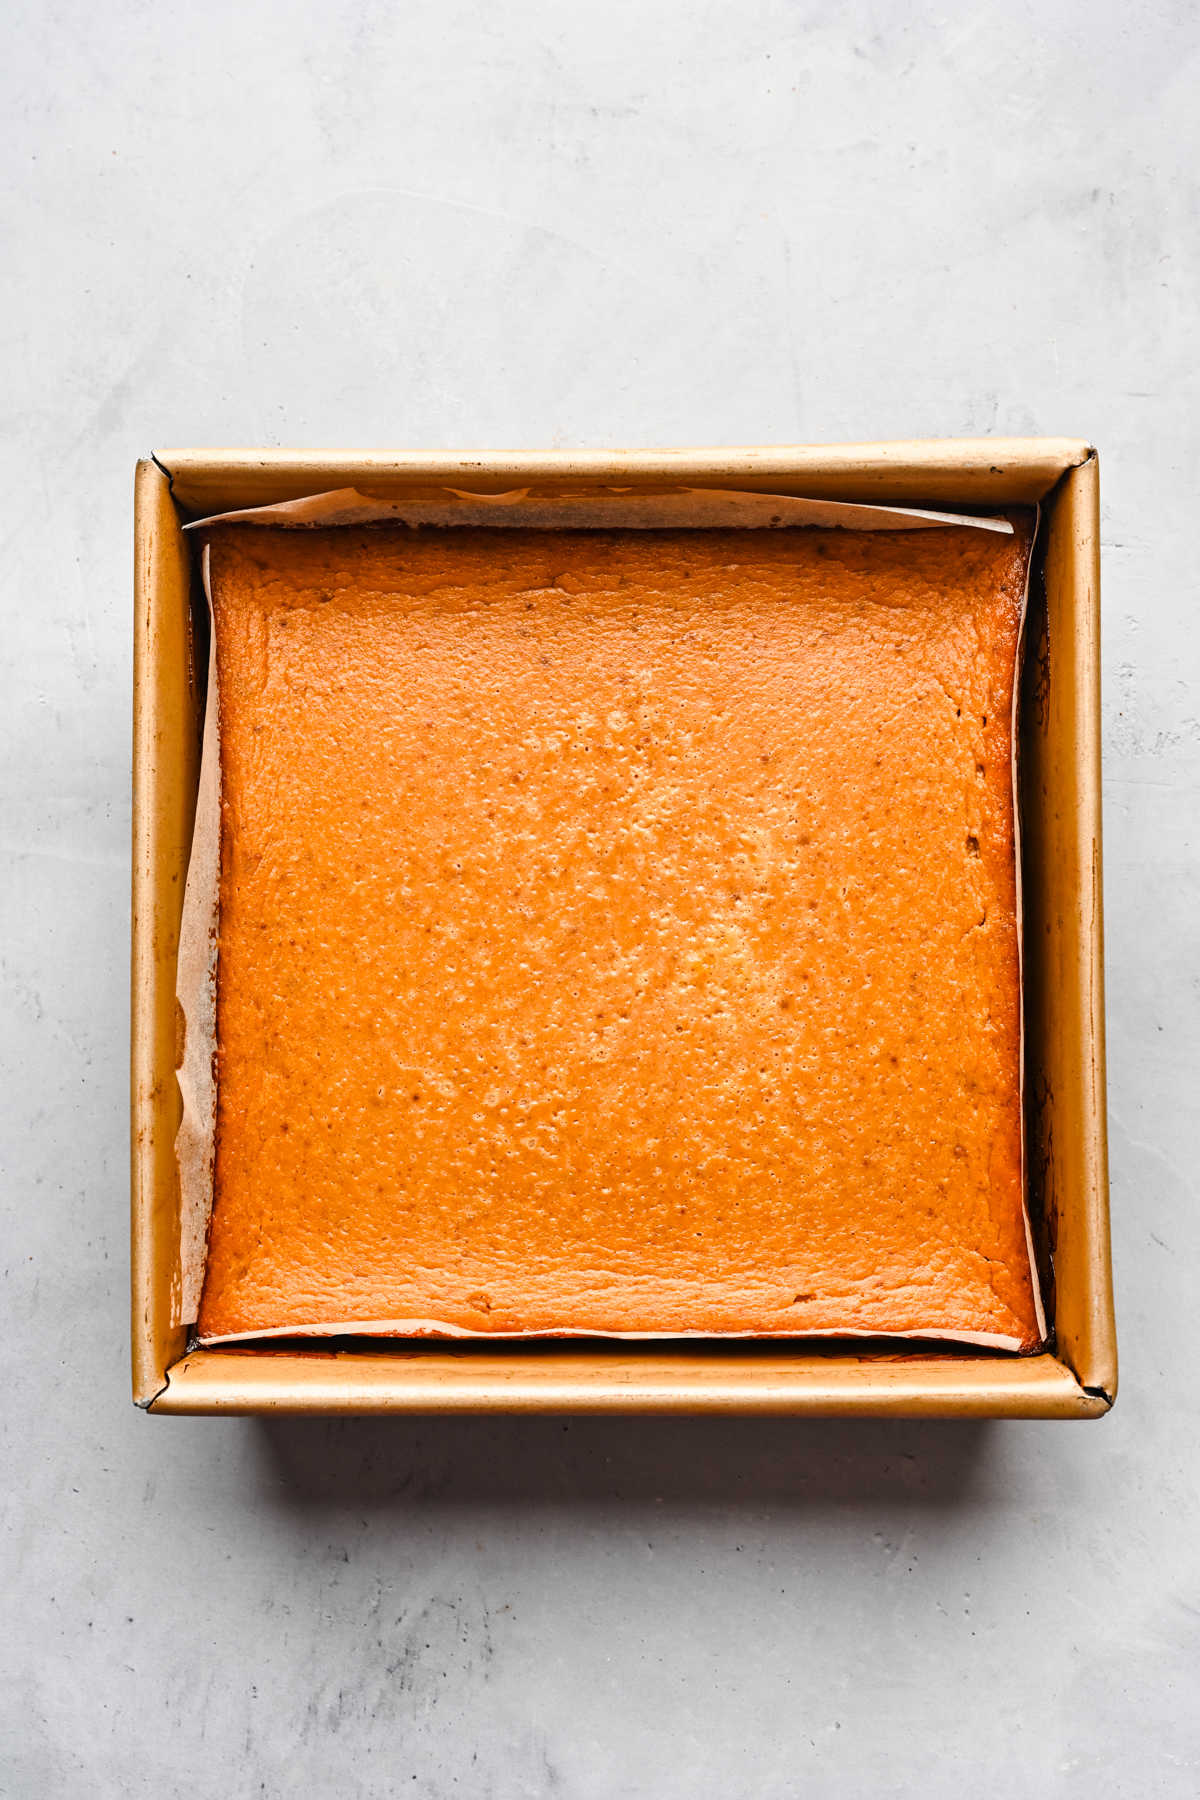
Step 8: Bake at 425˚F for 15 minutes, then reduce heat to 350˚F and bake for an additional 30-35 minutes.
Tip >> It’s done when the edges are set and the center is still a little jiggly. Note that it will continue to firm up as it cools.
Step 9: Let cool completely in the pan, then transfer to the refrigerator and chill for 2-3 more hours before slicing and serving.
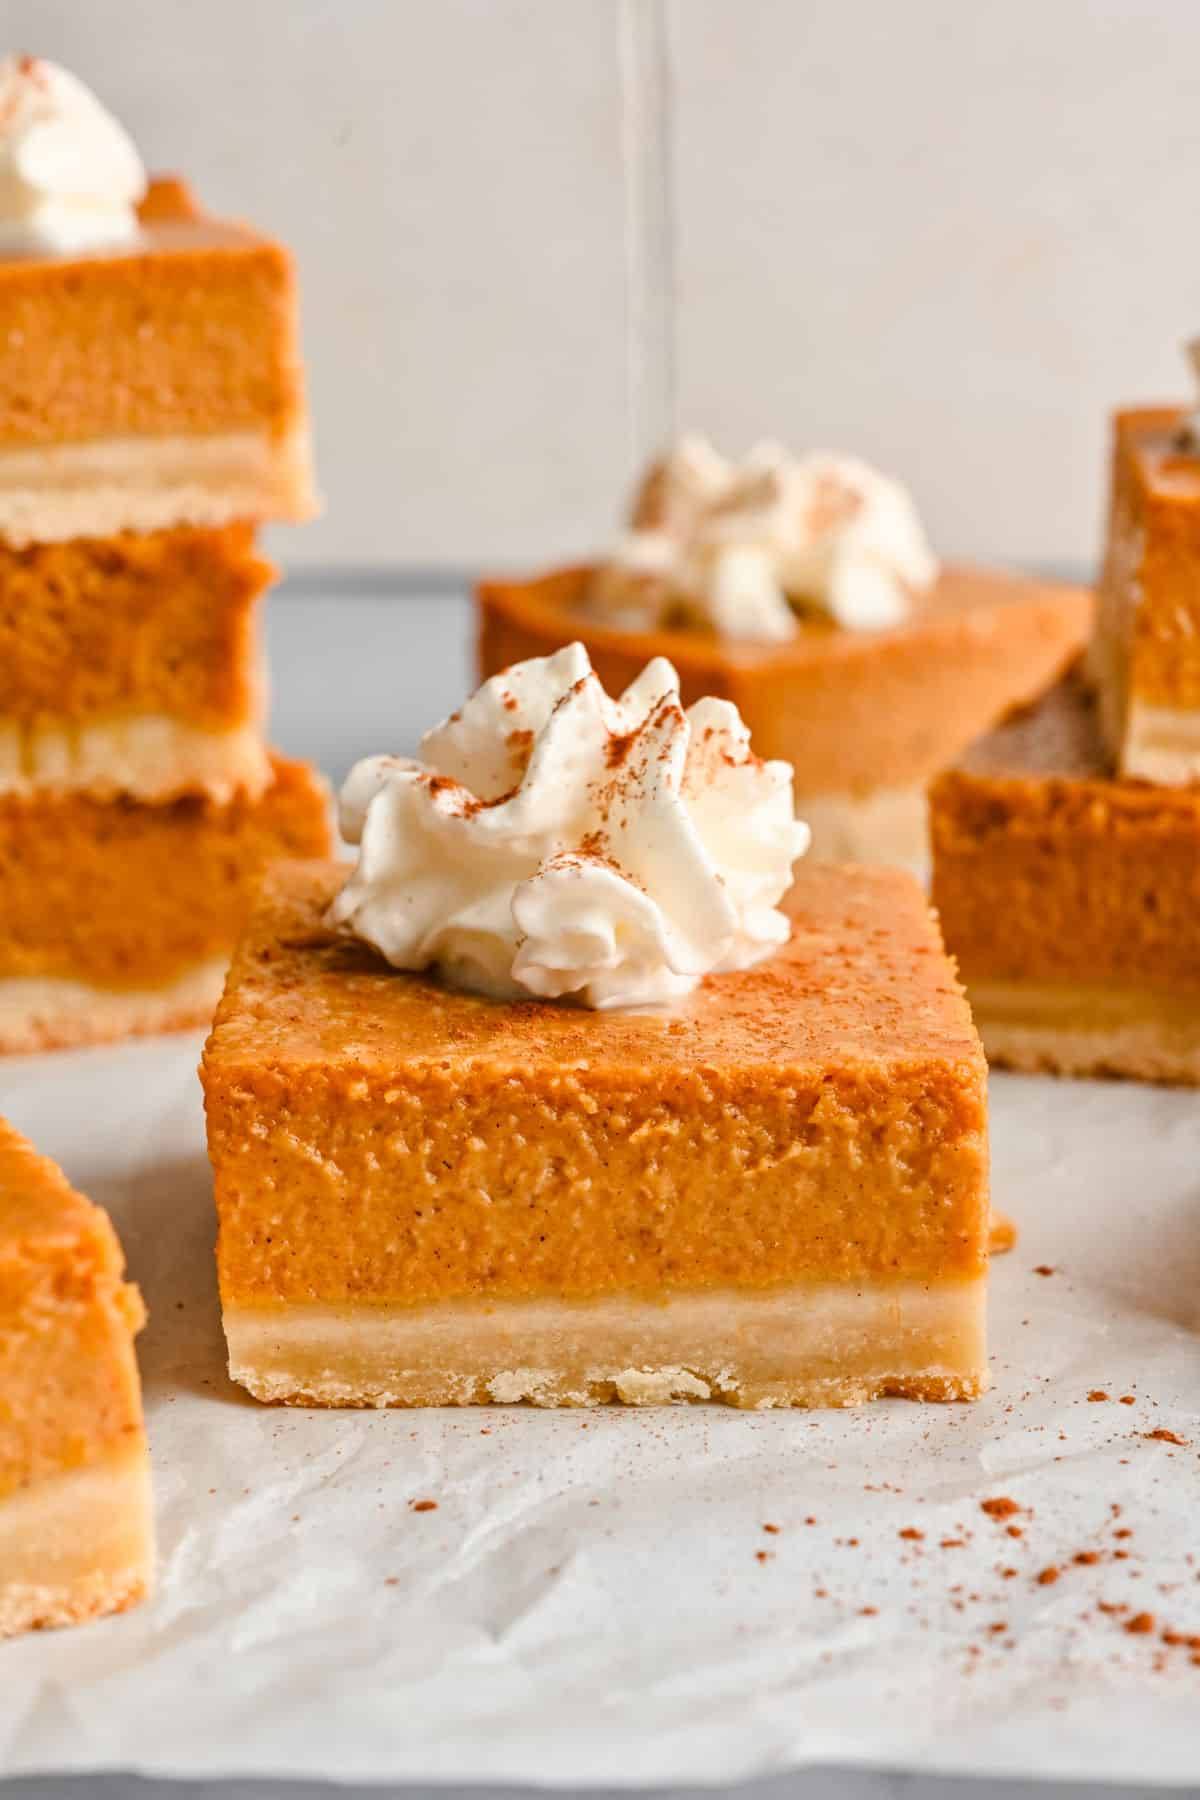
Recipe Tips!
- Lining the pan: I recommend lining the pan with parchment paper instead of greasing the pan. Lining the pan will allow you to lift the bars out to easily cut and serve.
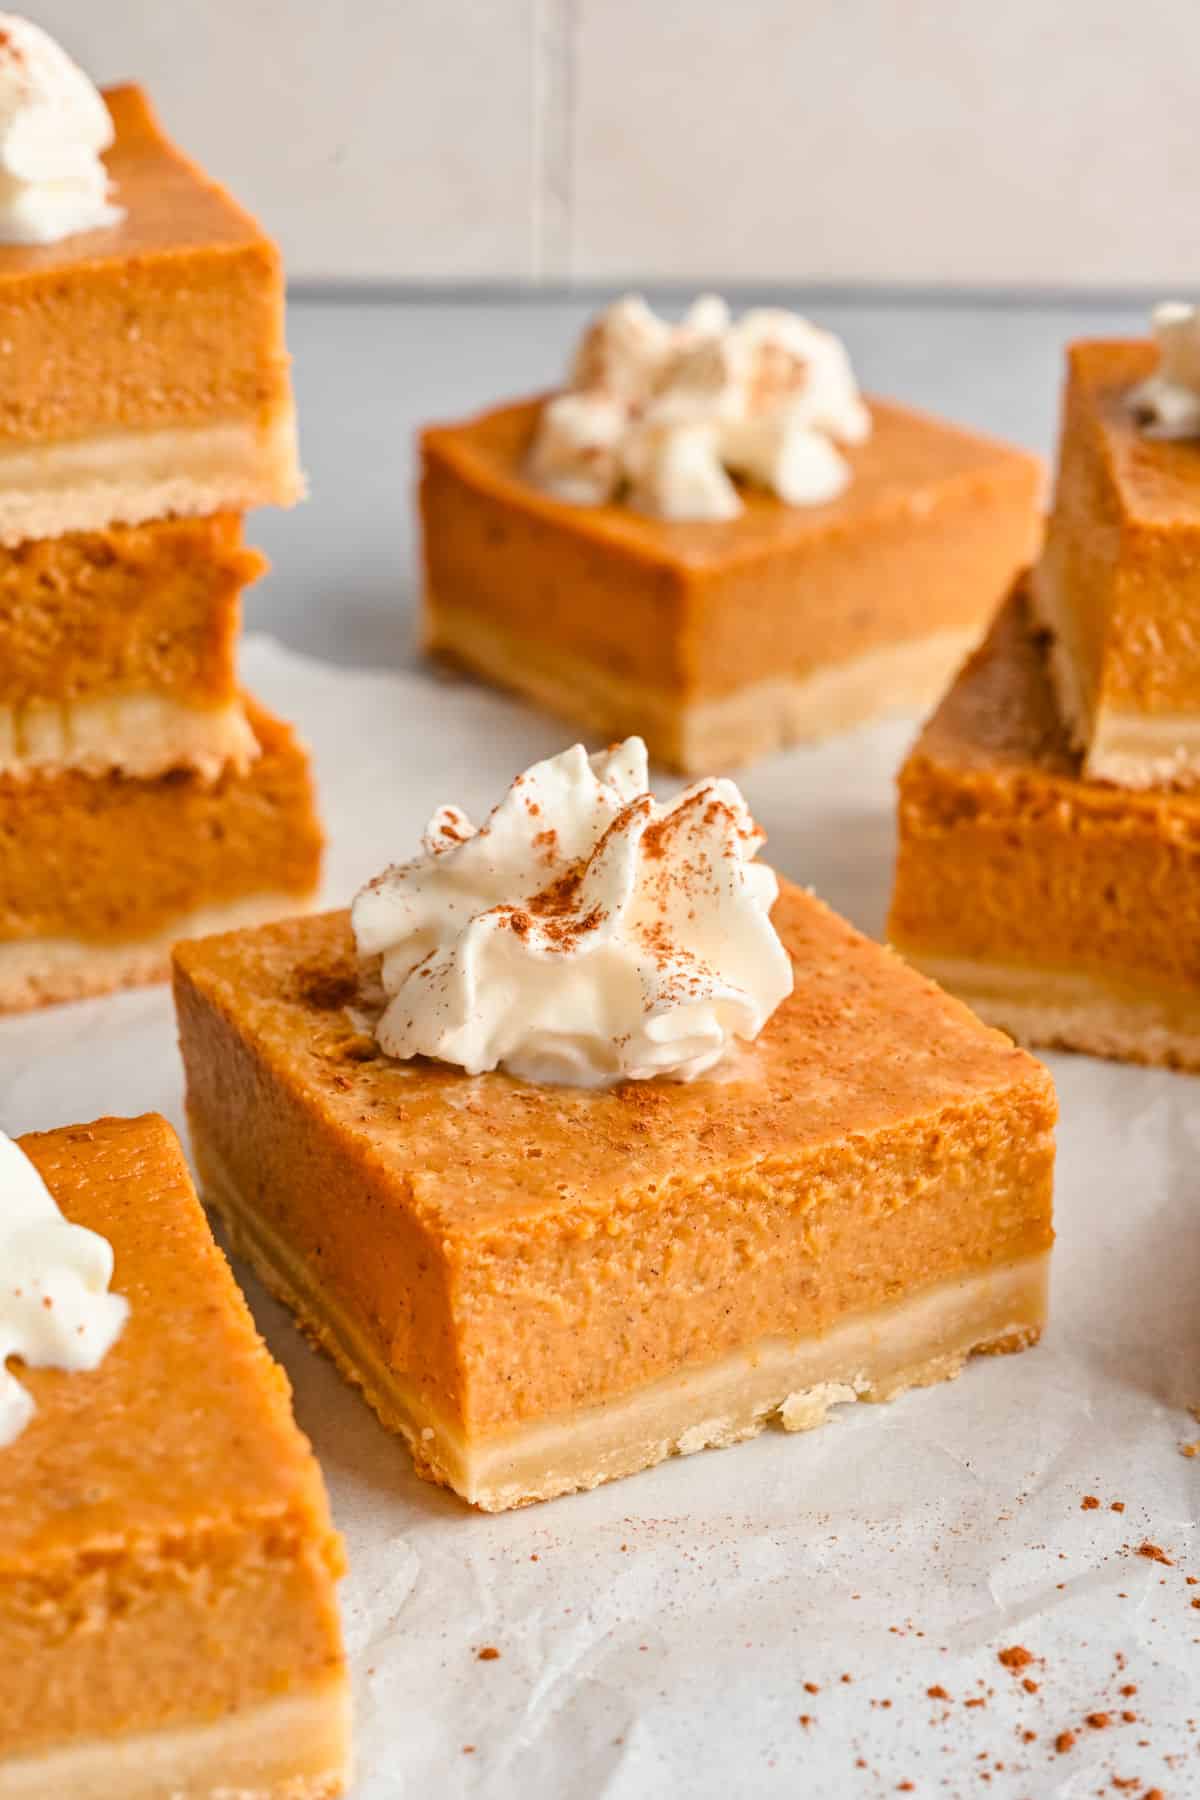
- Serving suggestion: The pumpkin pie bars pair perfectly with homemade whipped cream and a light dusting of cinnamon or top the pumpkin bars with a scoop of vanilla ice cream.
Recipe FAQs
Yes, you can double the recipe in a 9×13-inch baking pan. Begin checking the bars around 30 minutes and continue baking until done.
You can! Since the bars need to chill, they make a great make-ahead dessert. You can make them a day or so ahead of serving and store them, covered, in the fridge until serving.
Storage
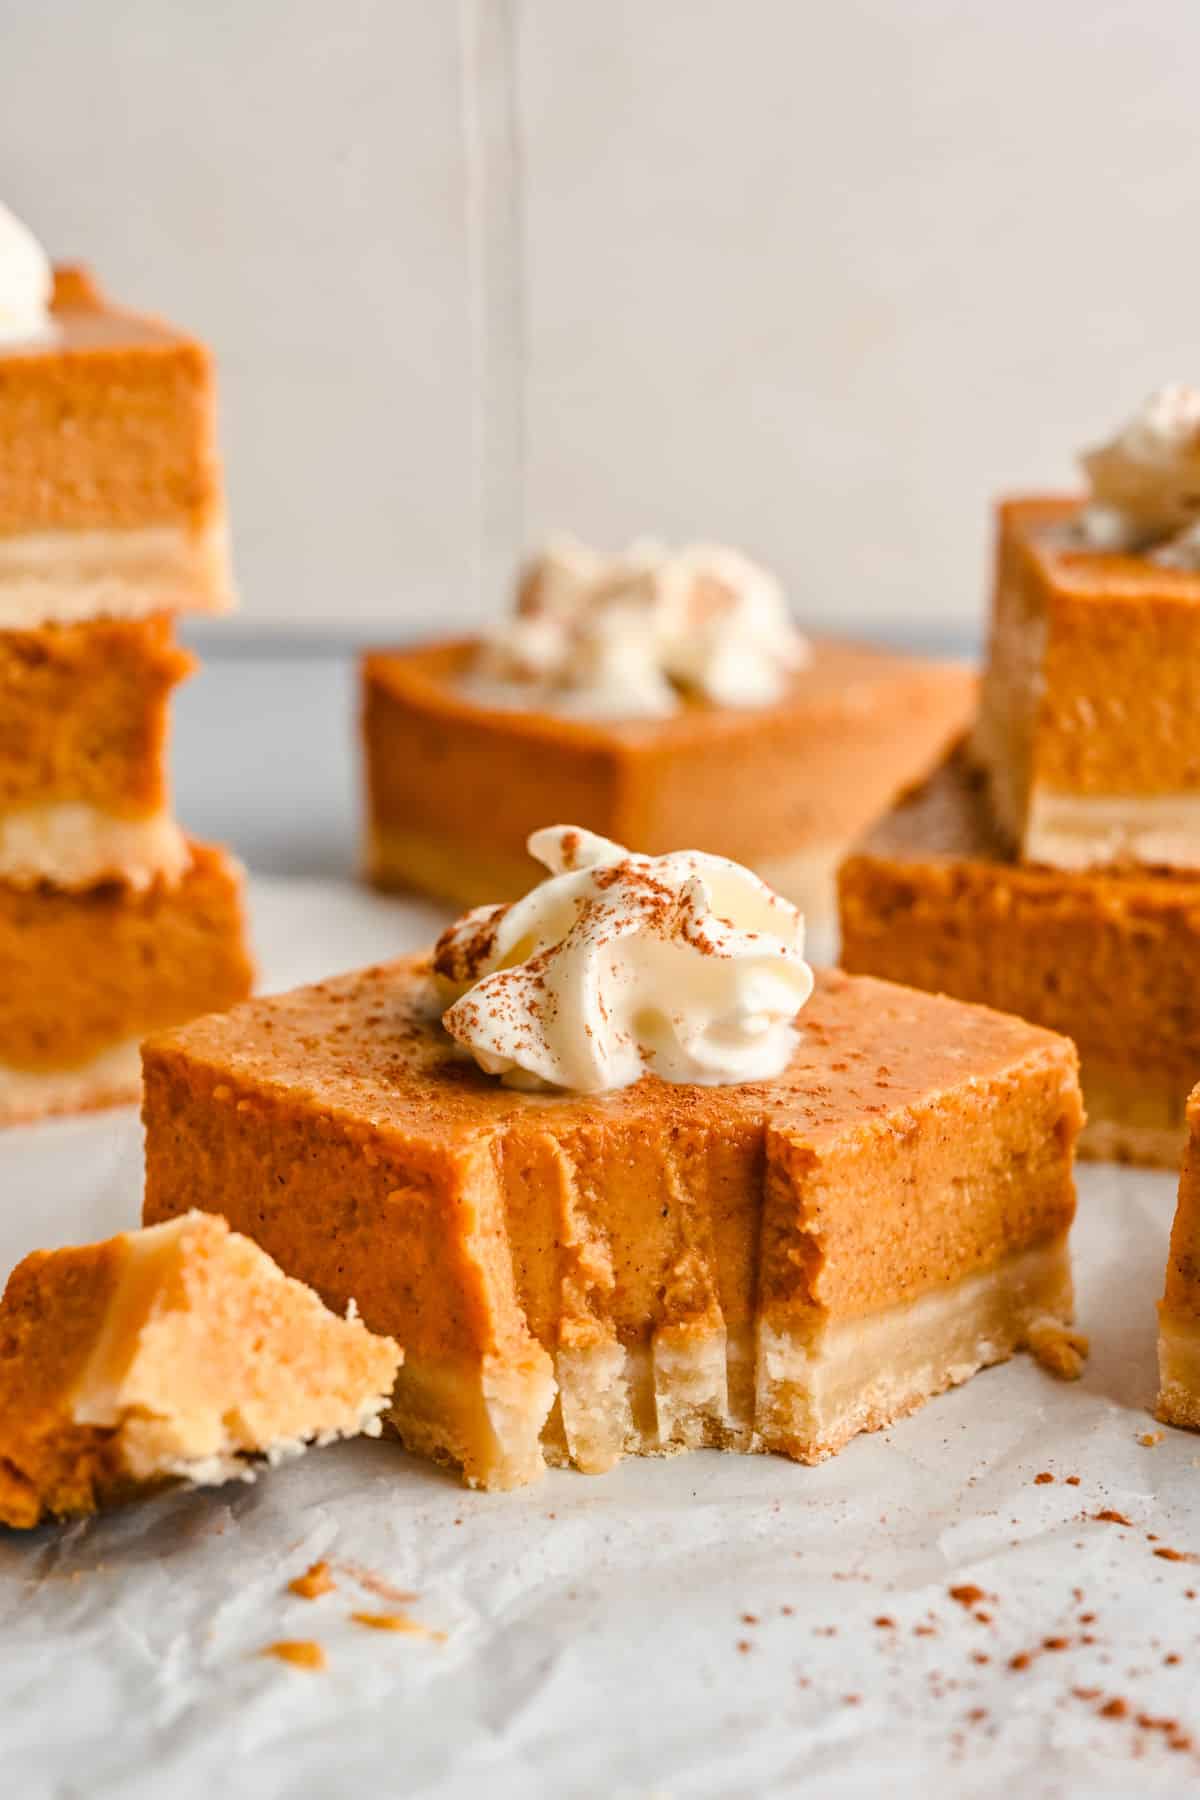
Store any leftover pumpkin pie bars in an airtight container in the refrigerator. The bars will keep for up to 4 days when properly stored in the fridge.
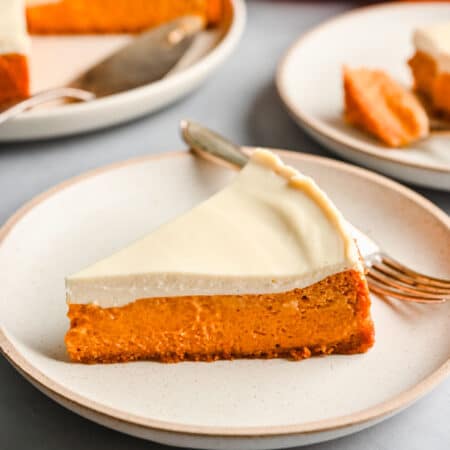
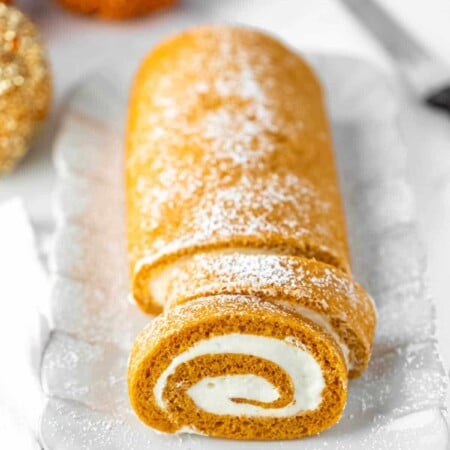
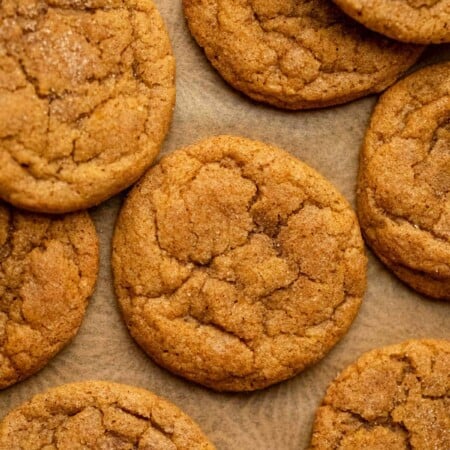
More pumpkin dessert recipes!
If you’ve tried this pumpkin pie bar recipe, don’t forget to rate the recipe and leave me a comment below. I love to hear from people who’ve made my recipes!
You can subscribe to receive my latest recipe newsletters or follow me on Facebook, Instagram and Pinterest for even more delicious food.
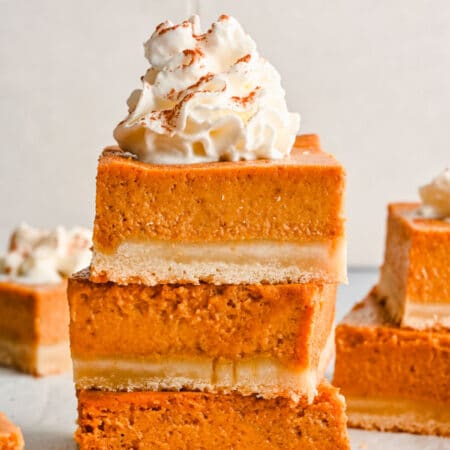

Pumpkin Pie Bars
Equipment
- 8×8 pan
Ingredients
Crust
- 1/2 cup salted butter cubed and softened to room temperature
- 1 cup all purpose flour
- 1/4 cup granulated sugar
- 2 tablespoons cornstarch
Pumpkin pie filling
- 15 ounce can pumpkin puree
- 2 large eggs
- 12 ounce can evaporated milk
- 3/4 teaspoon vanilla extract
- 1/3 cup granulated sugar
- 1/3 cup brown sugar
- 1 ½ teaspoons pumpkin pie spice
- 1/4 teaspoon salt
Instructions
- Preheat oven to 425˚F. Line an 8 x 8 pan with parchment paper.
- To make the crust, stir together the flour, sugar, and cornstarch in a large mixing bowl.
- Cut the butter into the dough using a pastry cutter or your hands, mixing until the dough comes together.
- Press the dough into the bottom of the prepared pan.
- In a separate large bowl, whisk together the pumpkin, eggs, both sugars, pumpkin spice and salt until smooth.
- Whisk in the evaporated milk and vanilla extract and continue mixing until smooth.
- Pour the filling over the crust.
- Bake at 425˚F for 15 minutes.
- Without removing the bars from the oven, reduce heat to 350˚F and continue to bake for an additional 30-35 minutes, or until done. It’s done when the edges are set and the center is still a little jiggly. Note that it will continue to firm up as it cools.
- Let cool completely in the pan, then transfer to the refrigerator and chill for 2-3 more hours before slicing and serving. Serve with whipped cream and cinnamon.
Notes
- Butter: I use salted butter in this recipe. You can use unsalted butter + 1/4 teaspoon of salt.
- Pumpkin puree: Be sure to use pumpkin puree and not pumpkin pie mix.
- Evaporated milk: I use regular evaporated milk, but 2% evaporated milk will also work. Be sure to use evaporated milk and not sweetened condensed milk.
- Brown sugar: Light brown sugar or dark brown sugar will work.
- Pumpkin pie spice: The pie bars are lightly spiced to allow the pumpkin flavor to come through. If you’d like more spice flavor, simply increase the amount of pumpkin pie spice. You can also make your own homemade pumpkin pie spice blend with this recipe.
- Nutrition values are estimates.
Nutrition
Did You Make This Recipe?
Share it with me on Instagram @i_heart_eating and follow on Youtube @katedean and Pinterest @katedean for more!
Reader Interactions
Love this recipe?
Share your thoughts below and let’s chat! Make sure to connect with me on your favorite social platform below and show me what you made!



Comments & Reviews
Celeste says
Hi Kate,
I don’t know what you did but your e-mails now go to my inbox not my junk box.
Thank you, I love your recipes.
Kate says
Hi! Gosh! I wish I knew what to do to make that happen for everyone, but I’m glad that you’re getting the emails now! Happy Thanksgiving!