Homemade Crescent Roll Recipe is an easy crescent roll recipe that takes just 1 hour to make from scratch!
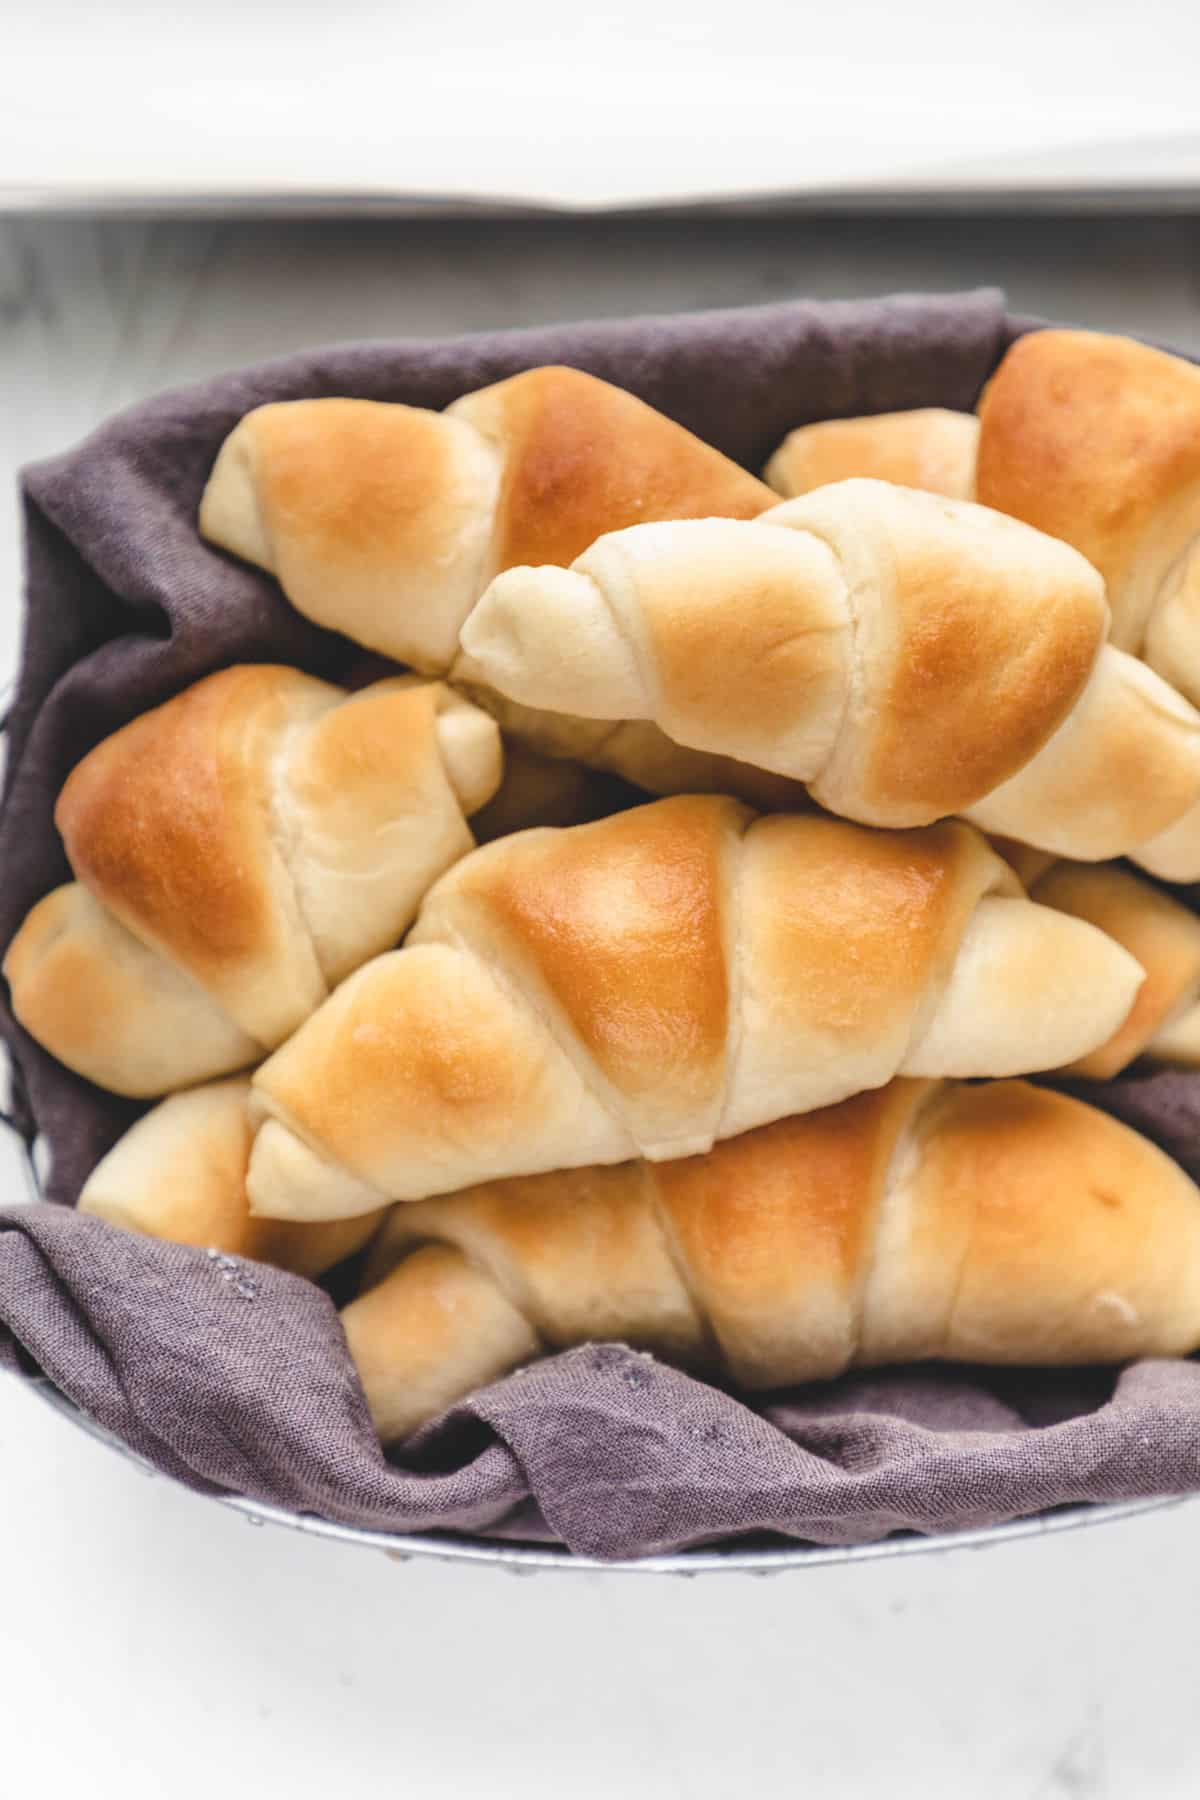
There’s no such thing as too many easy bread recipes! This homemade crescent roll recipe is a richer, slightly sweeter, butterier version of my 60 minute dinner rolls.
These crescent rolls are perfect for those times when you want rolls but don’t want to spend a lot of time making bread. They only require about 10-15 minutes of hands-time, and the rest of the time they’re either rising or baking.
How to make crescent rolls
Step 1: Line a rimmed baking sheet with parchment paper or a silicone baking mat. Set aside.
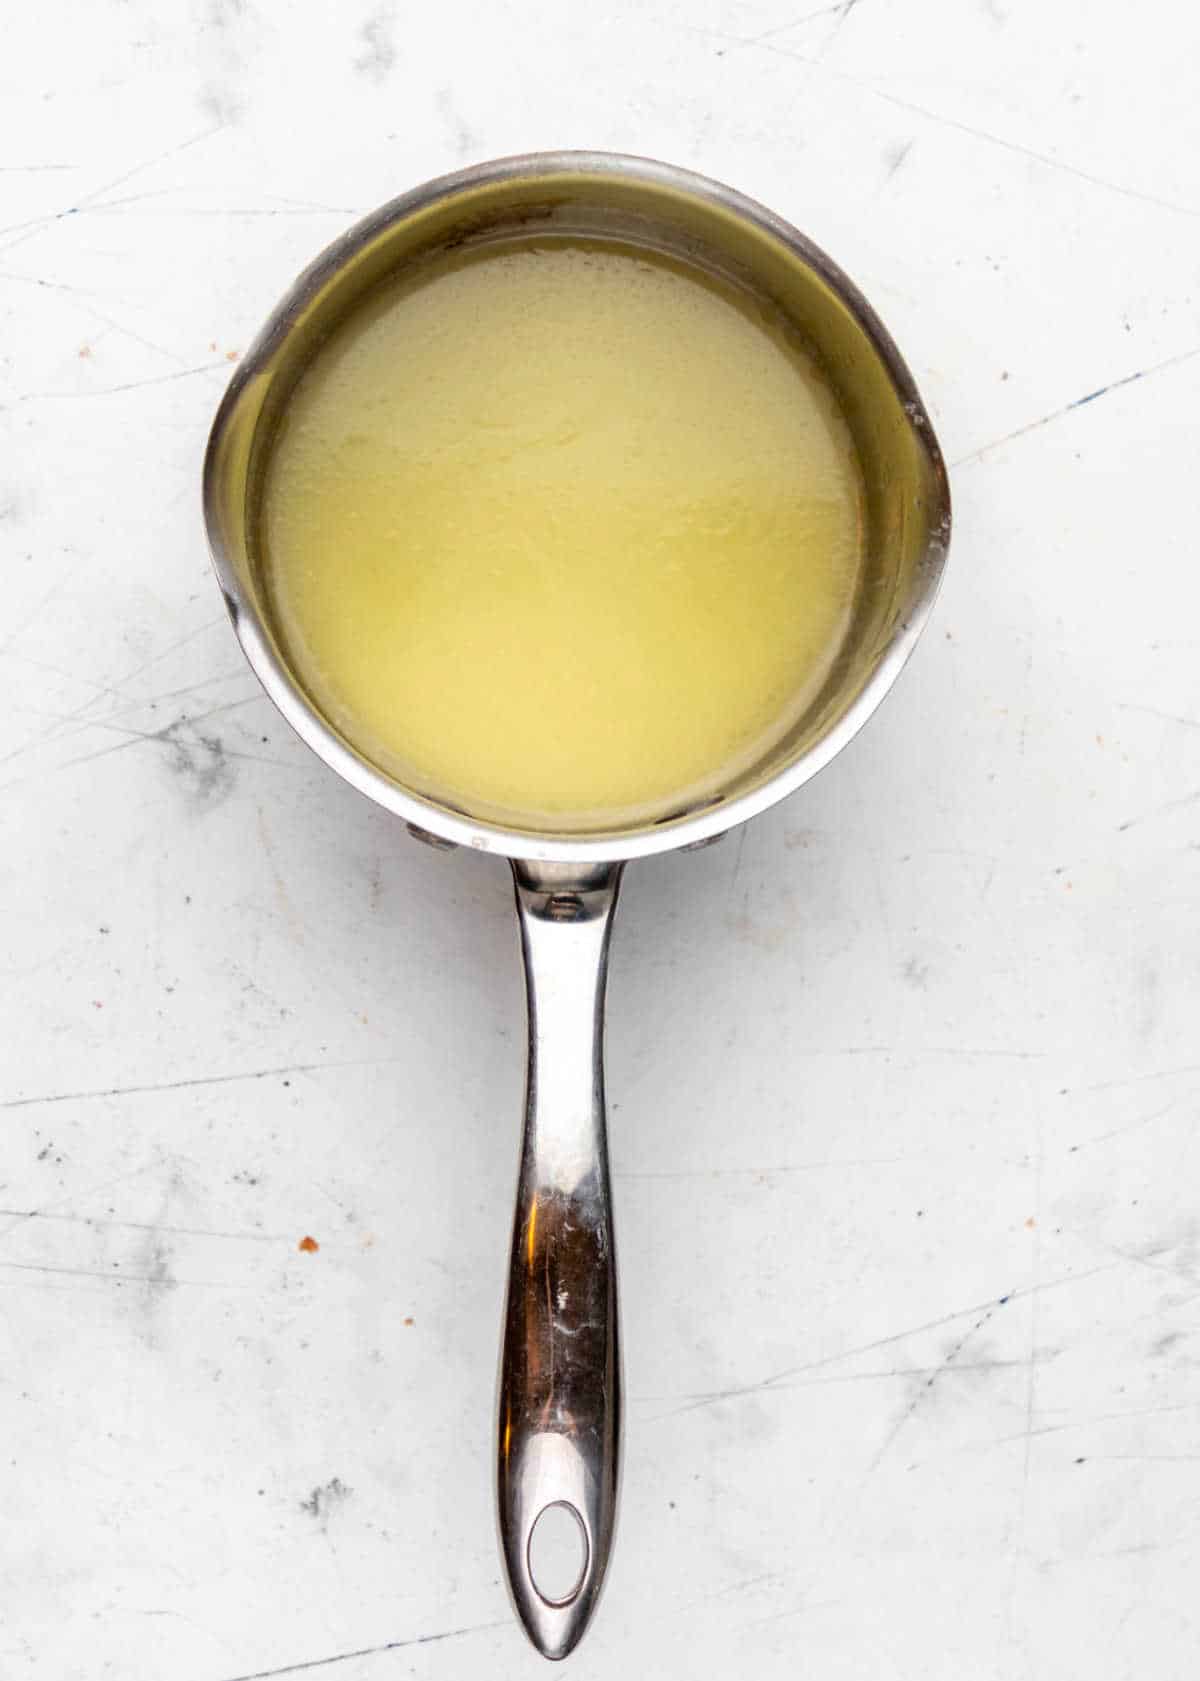
Step 2: In a small saucepan, stir milk, sugar, and ⅓ cup butter together. Heat over low heat just until butter melts and sugar dissolves. Cool to about 100-105 F.
Step 3: Pour the milk mixture into the bowl of a stand mixer.
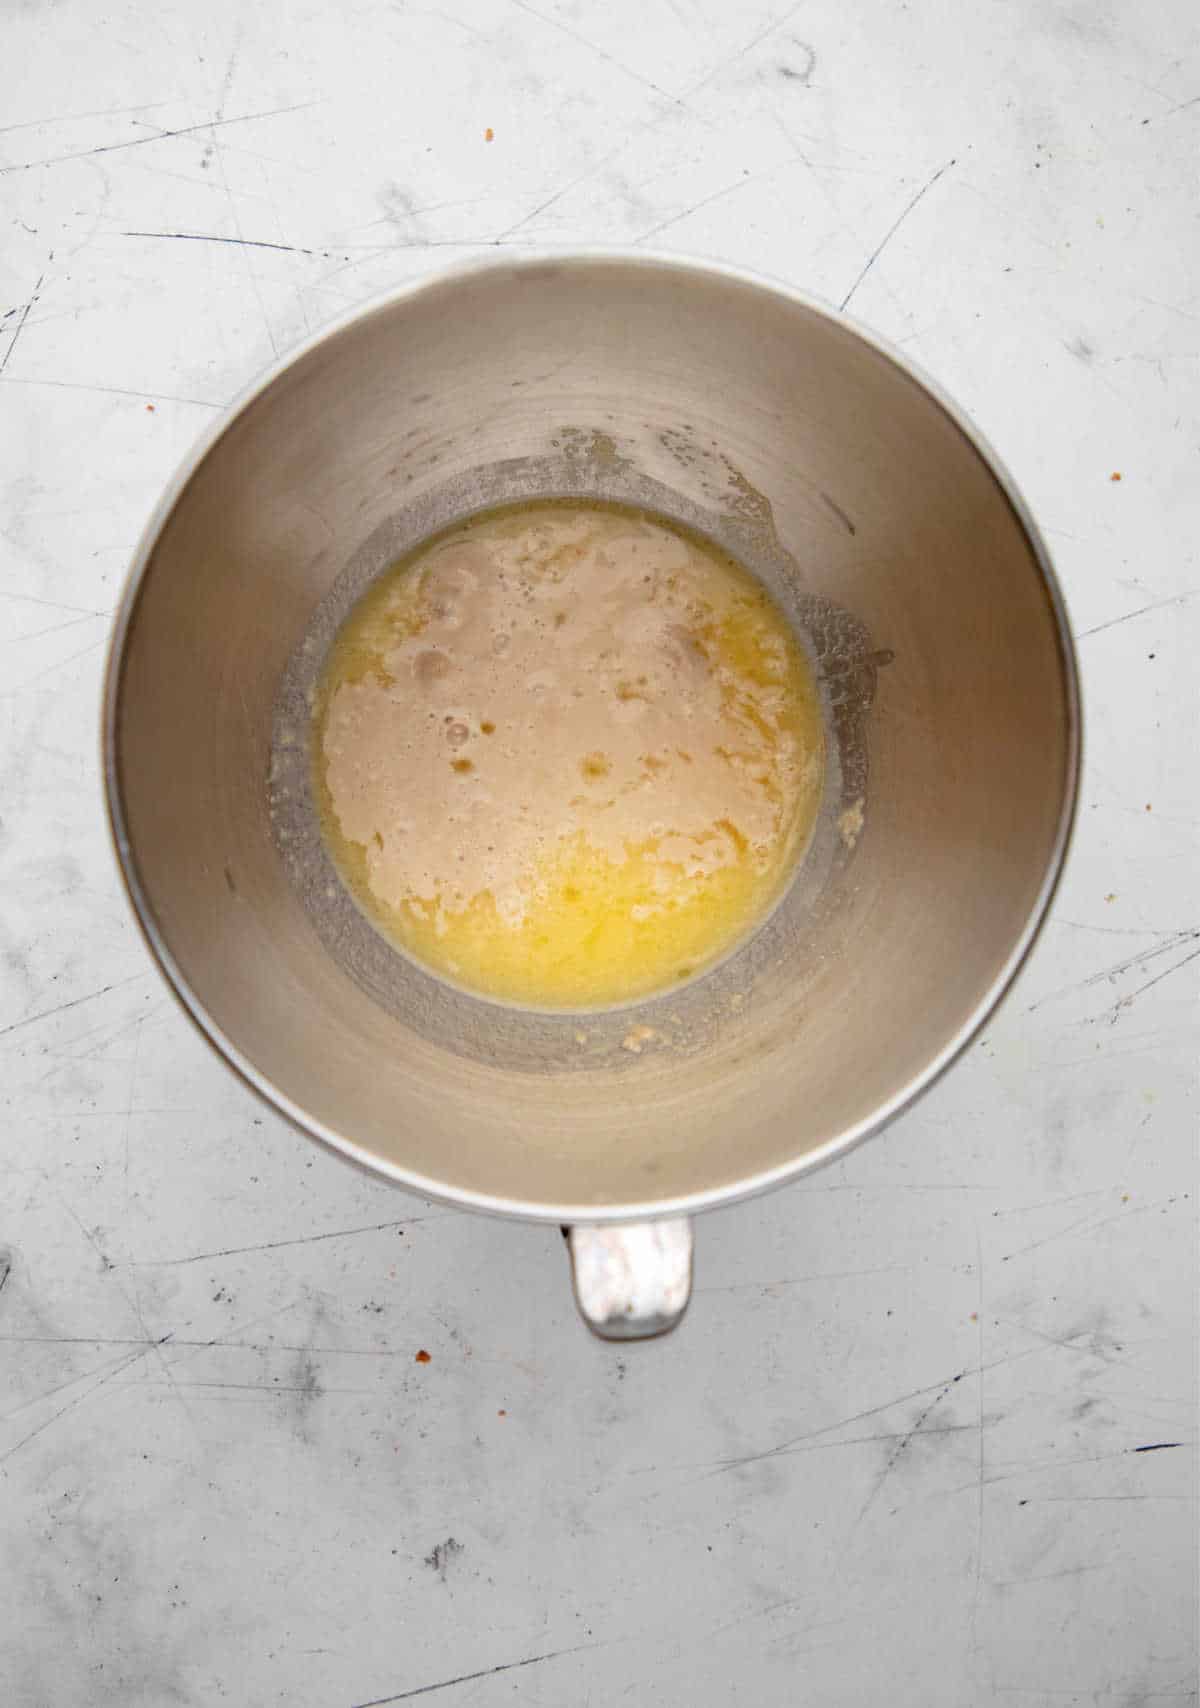
Step 4: Add the yeast and warm water. Let stand for 5-10 minutes, or until yeast is foamy.
Step 5: Add 2 cups flour and salt to yeast mixture. Using a dough hook, mix on low speed for about 1 minute.
Step 6: With the mixer still going, add remaining flour, ½ cup at a time. Mix about 1 ½ minutes, or until dough starts to clean the sides of the bowl.
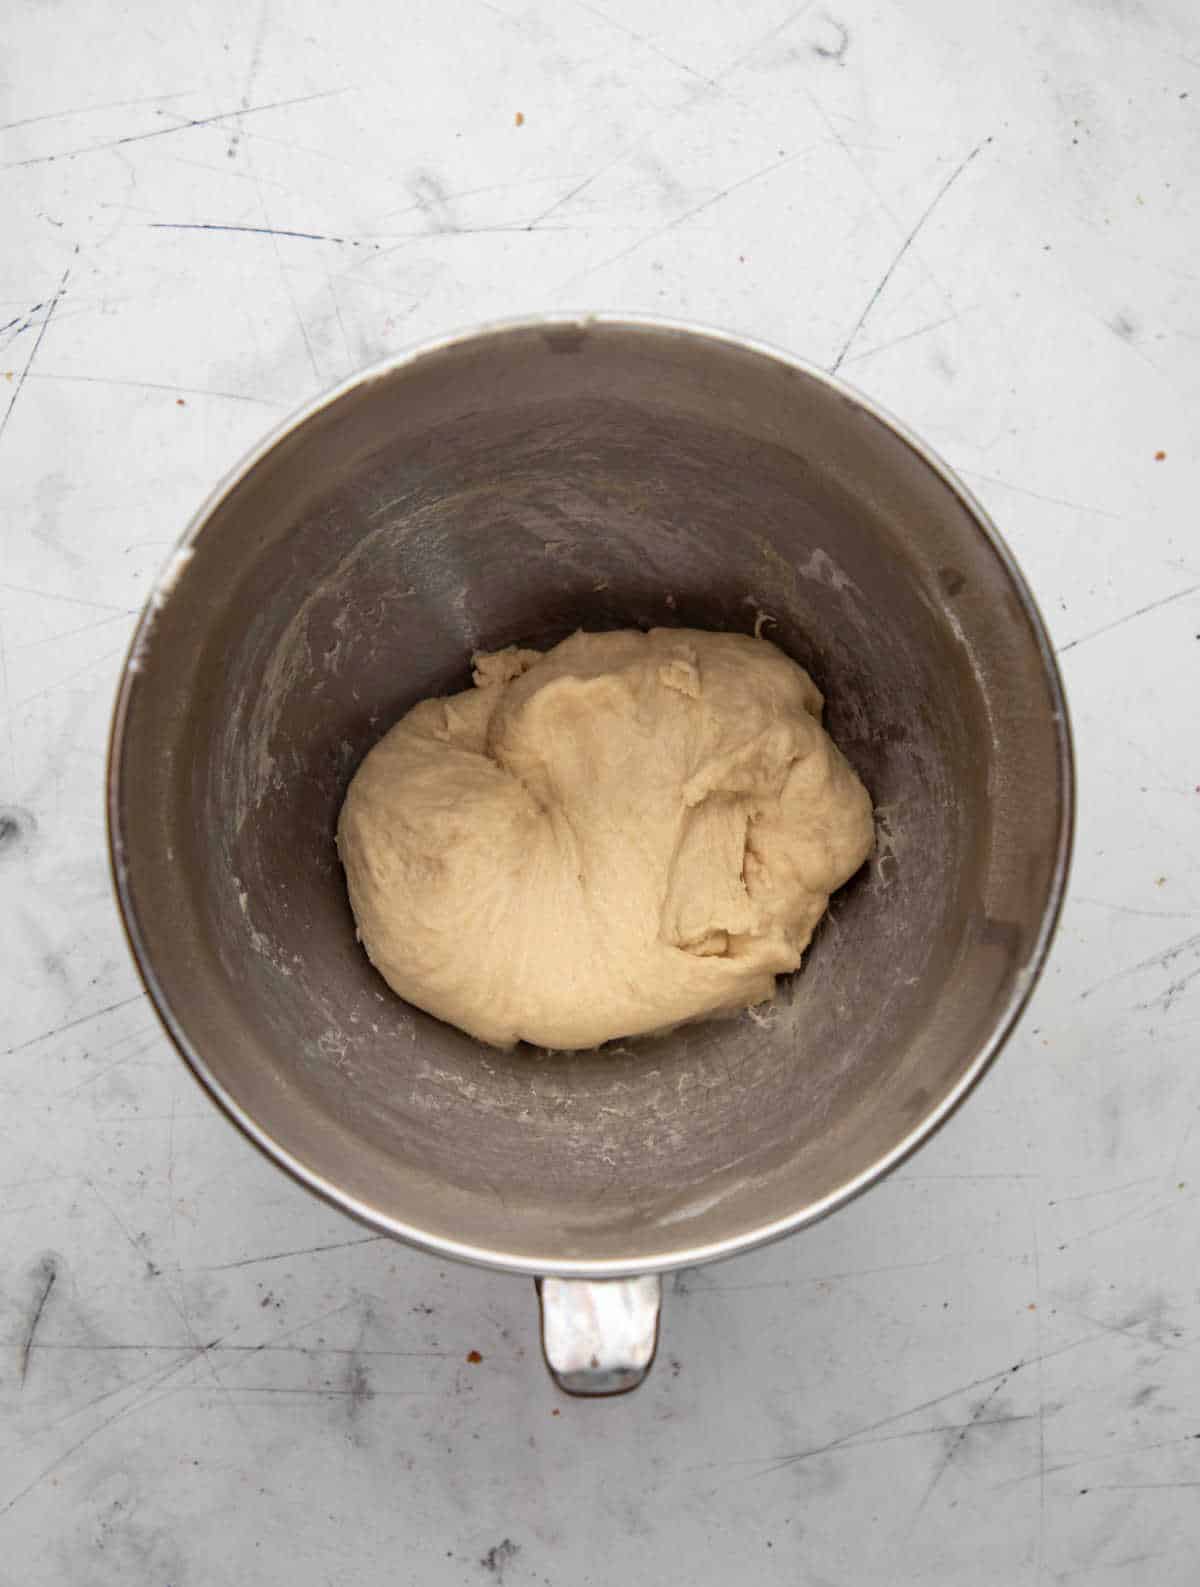
Step 7: Knead on low speed for about 2 more minutes, or until dough is smooth and elastic – the dough will still be slightly sticky to the touch.
Step 8: Place dough in a greased bowl, turning it to grease the top. Cover the dough with a clean, dry dish towel.
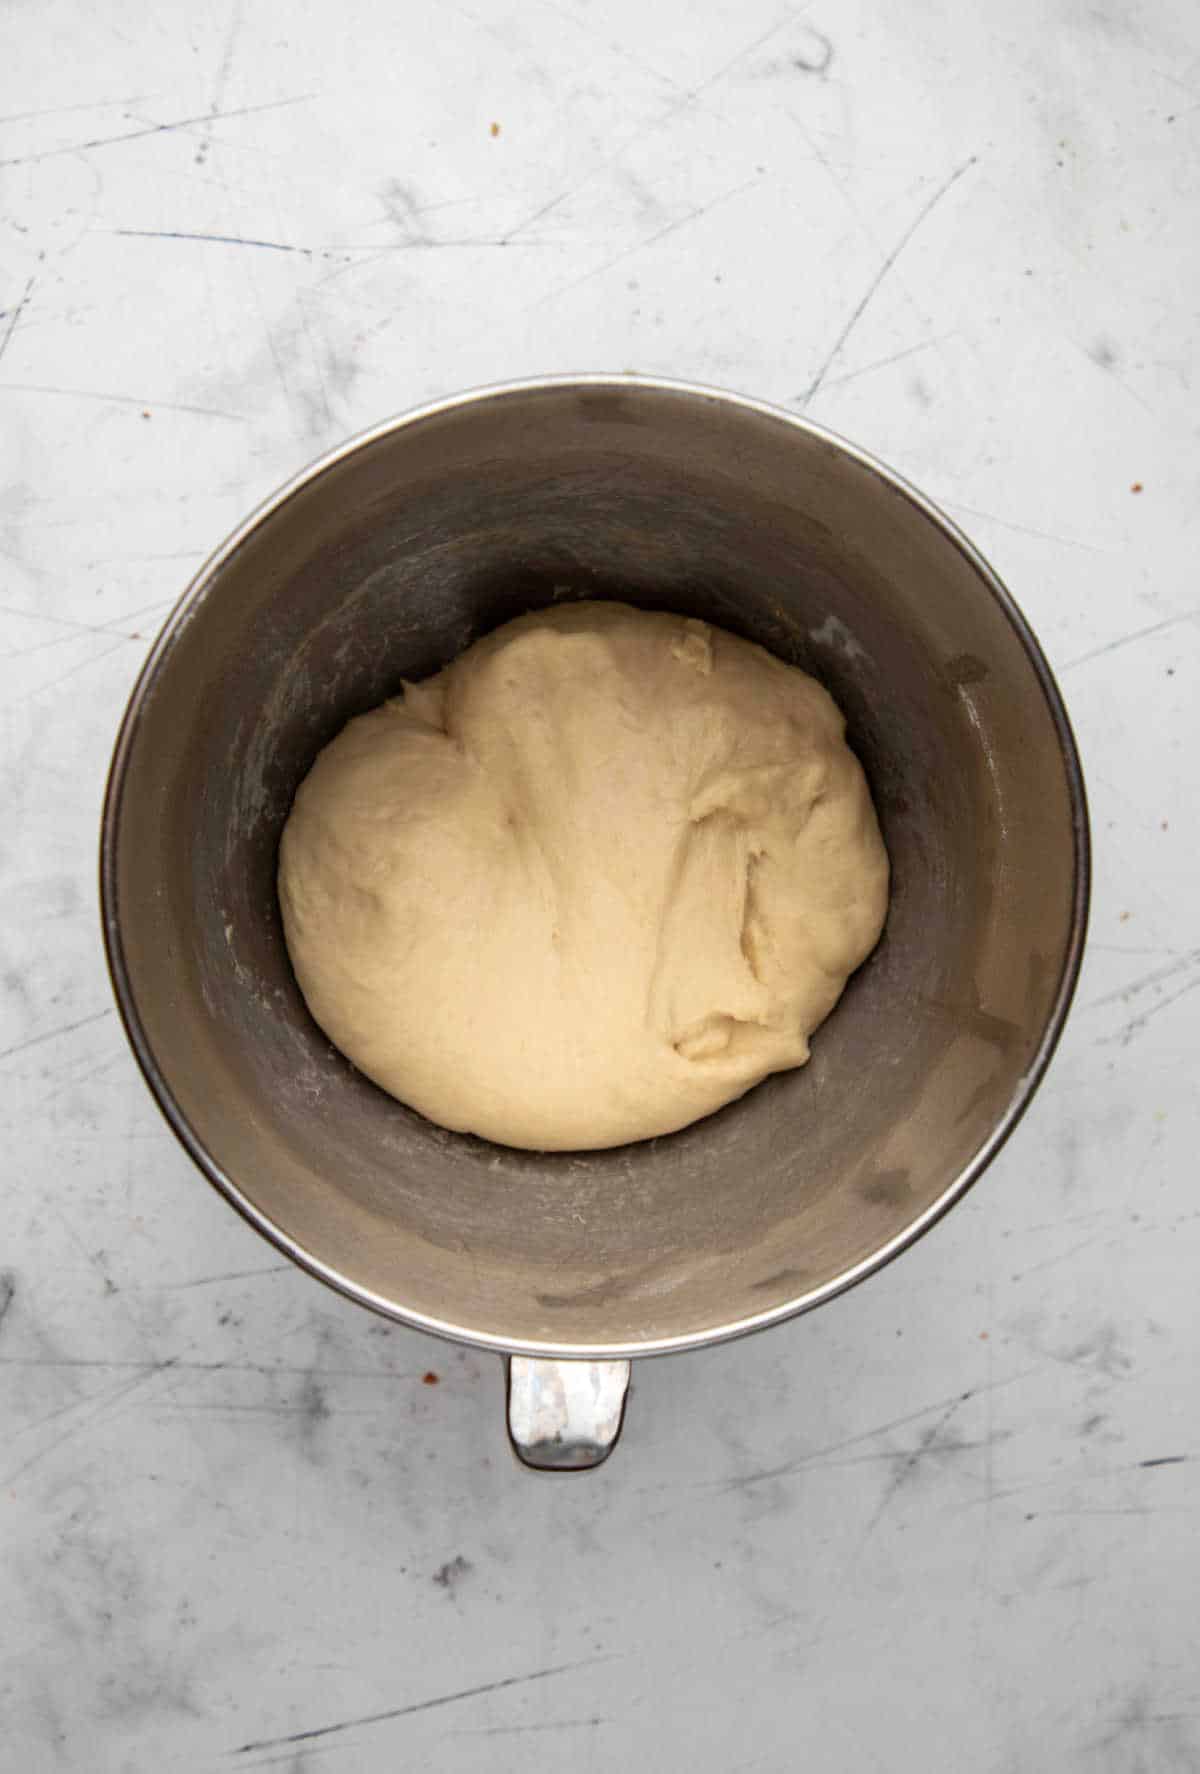
Step 9: Let it rise in a warm place, free from draft, for about 15 minutes.
Step 10: Turn the dough onto a lightly floured surface, and divide into 2 equal pieces.
Step 11: On a lightly floured surface, roll one piece of dough a circle that’s about 9 inches in diameter and brush with half of the remaining melted butter.
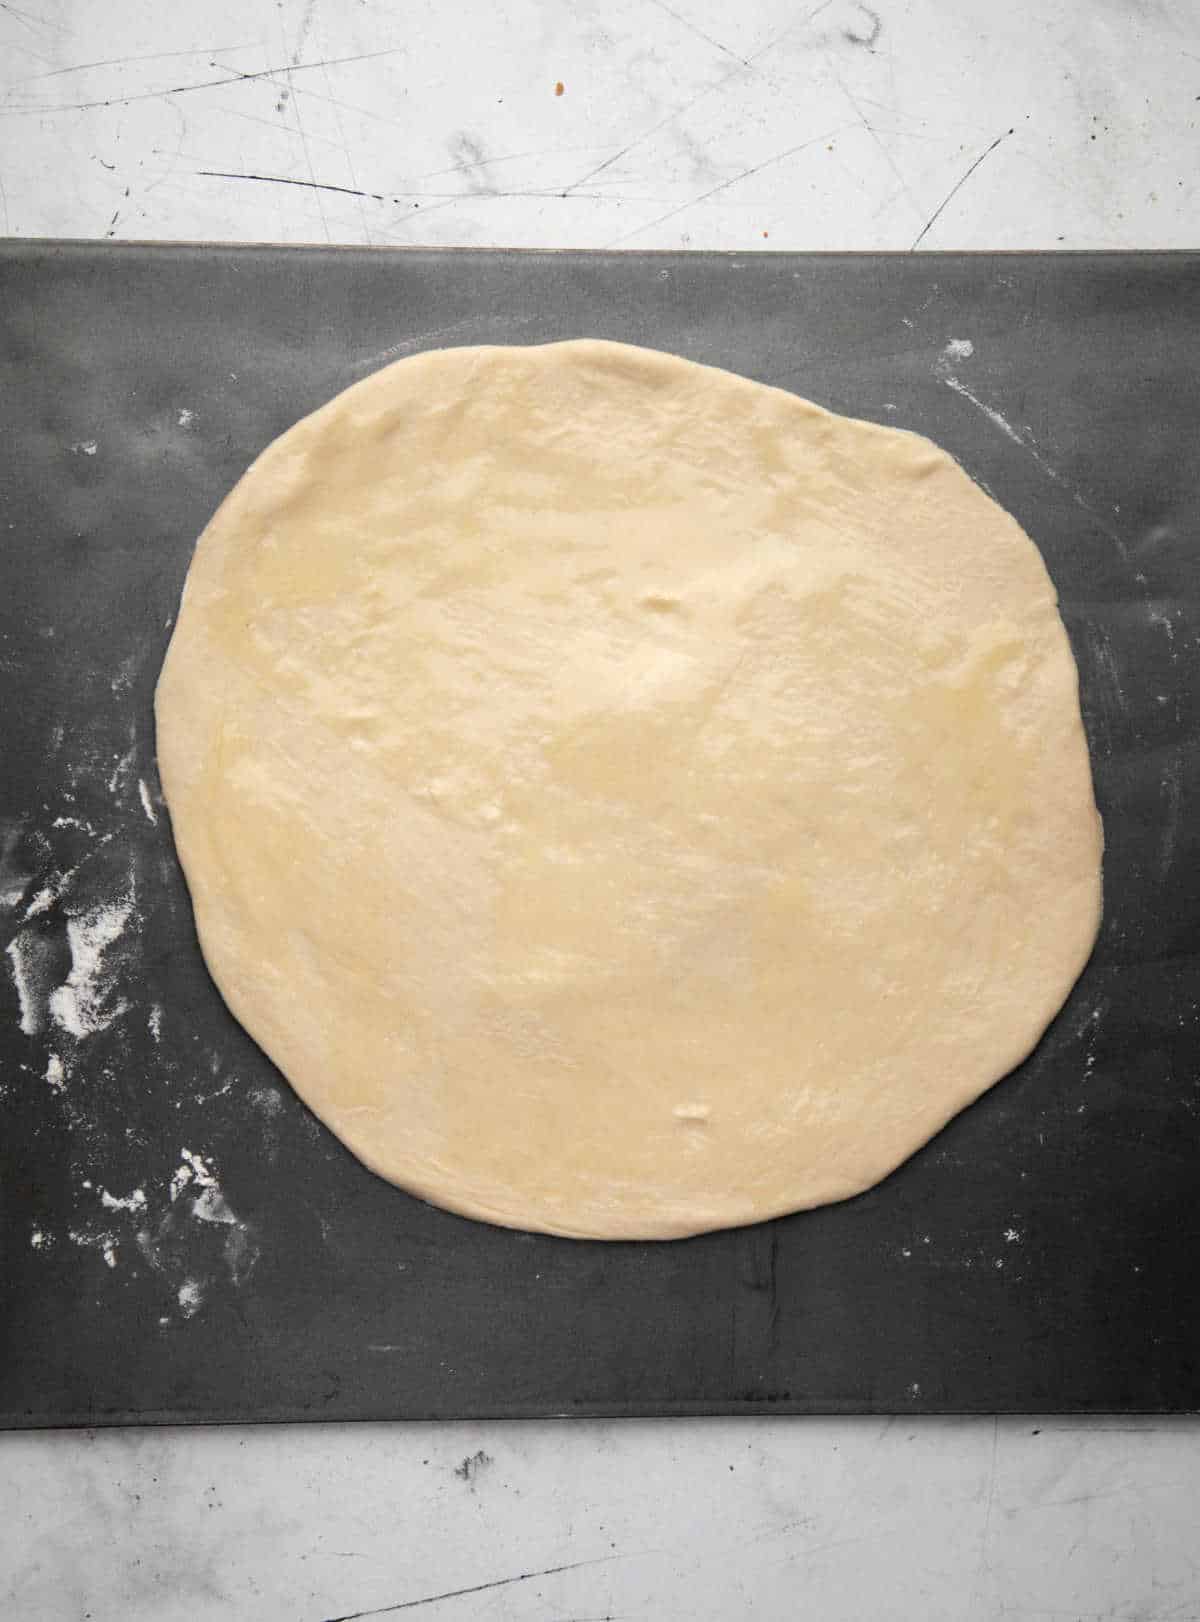
Step 12: Cut into dough into 8 pieces.
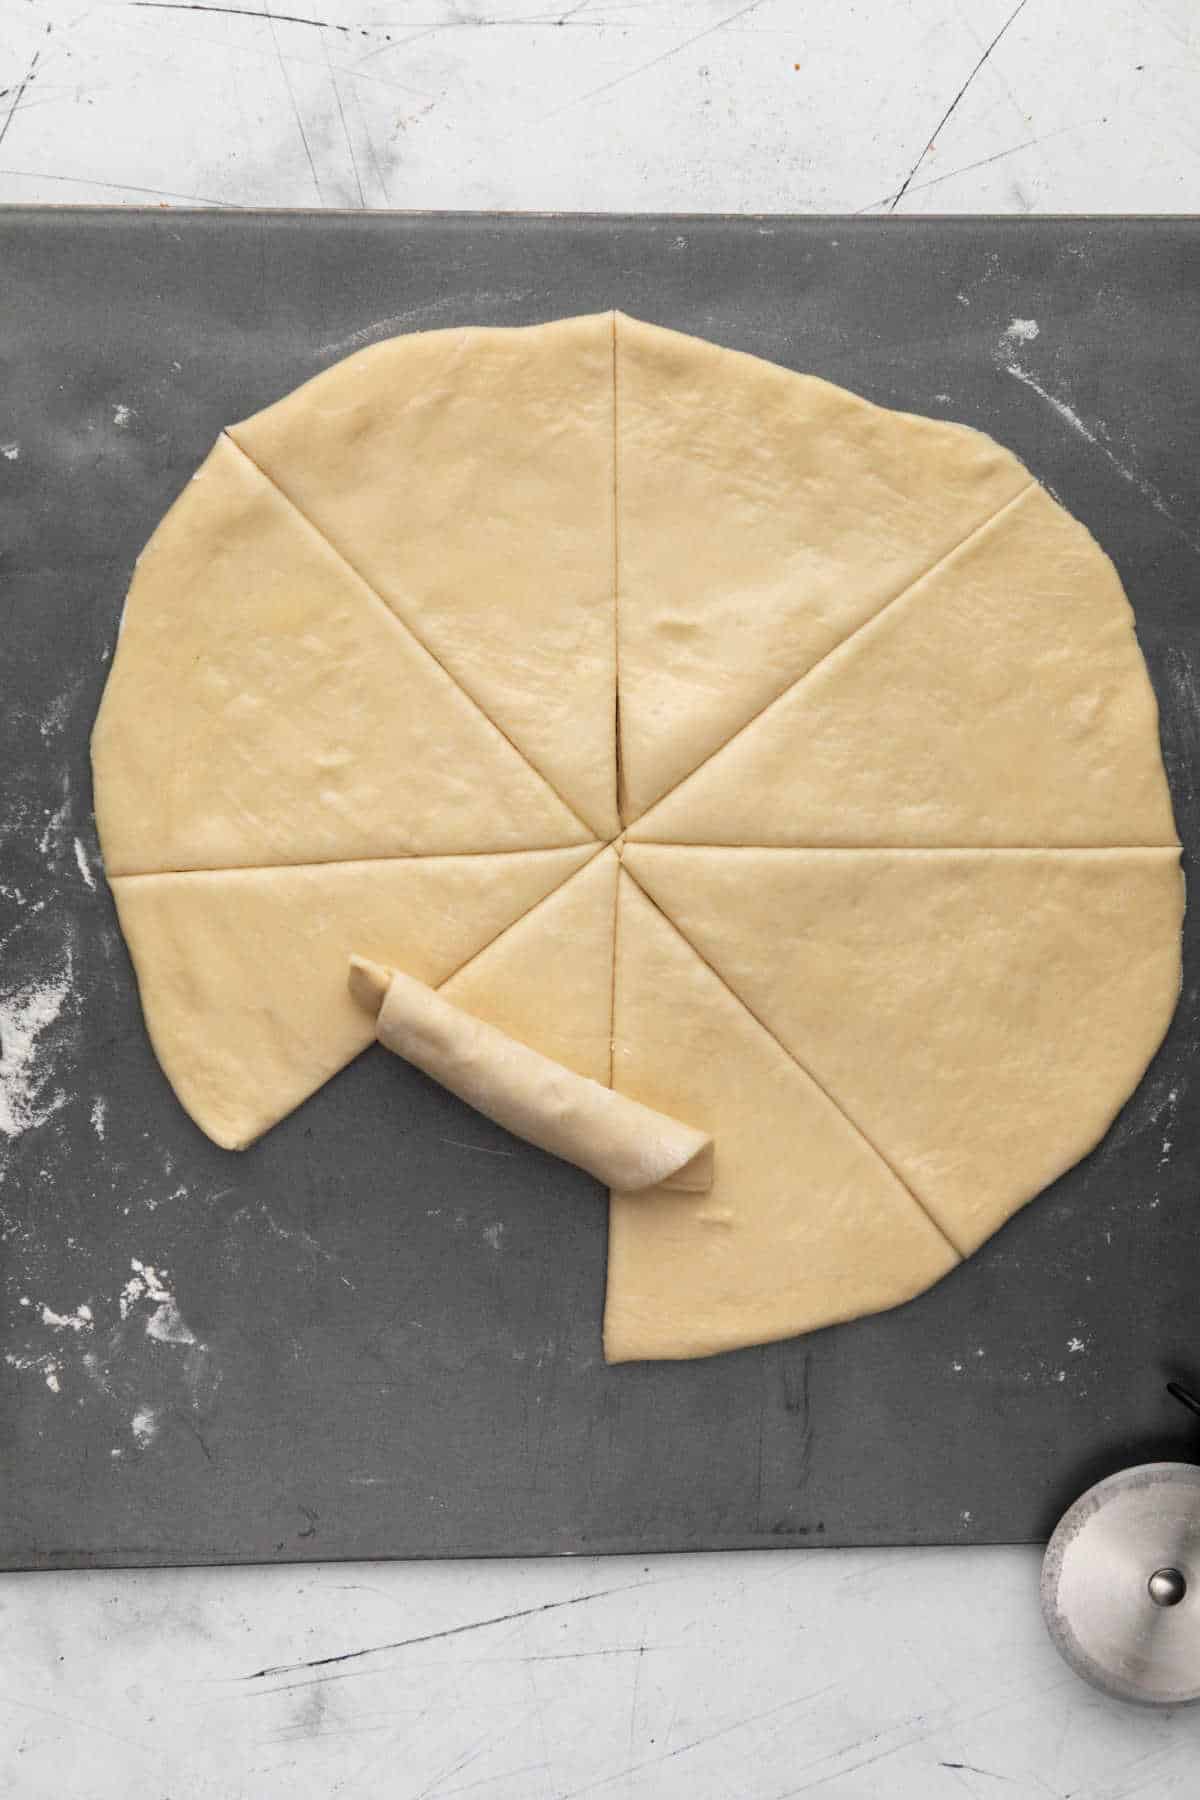
Step 13: Roll each piece up, starting at the wide end.
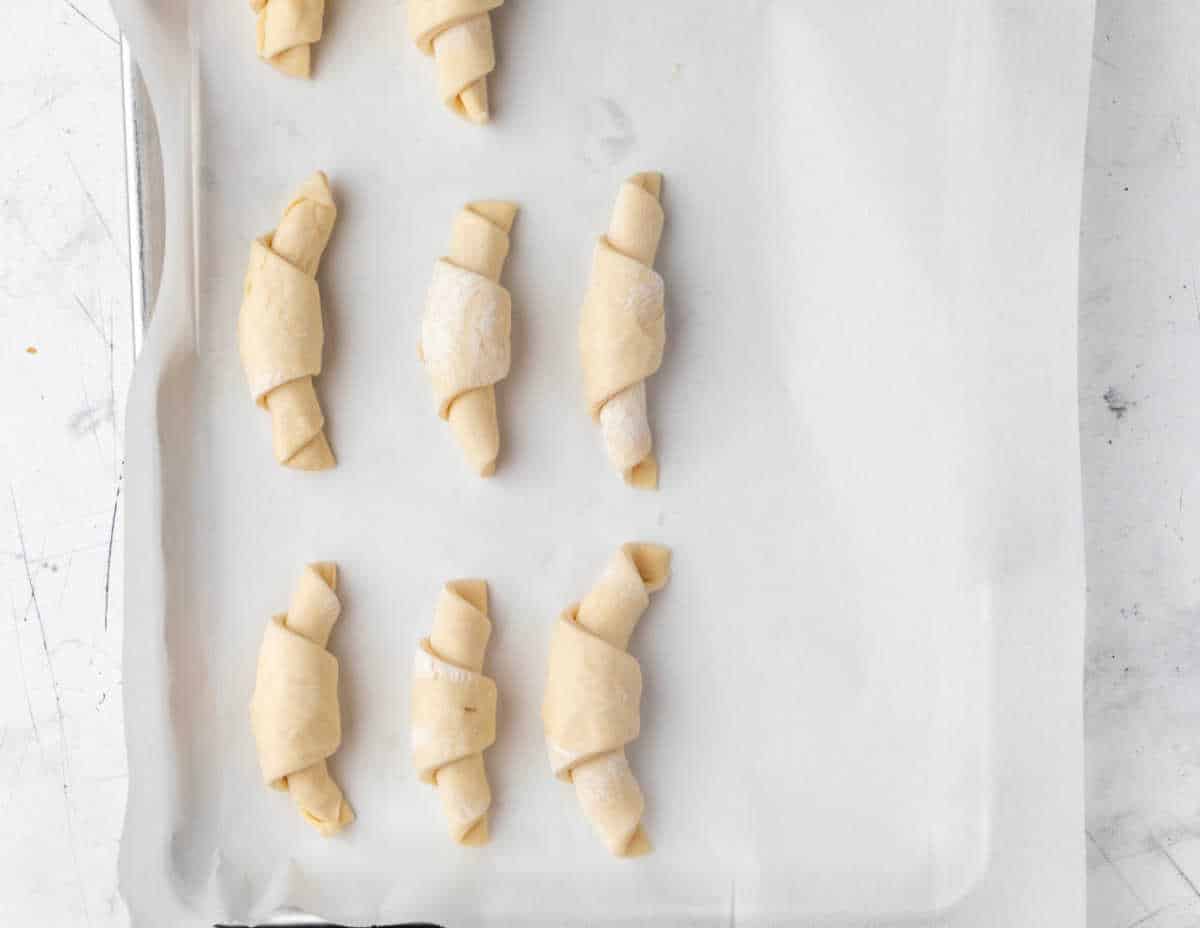
Step 14: Place on rimmed baking sheet lined with parchment paper or a silicone baking mat.
Step 15: Repeat with remaining dough.
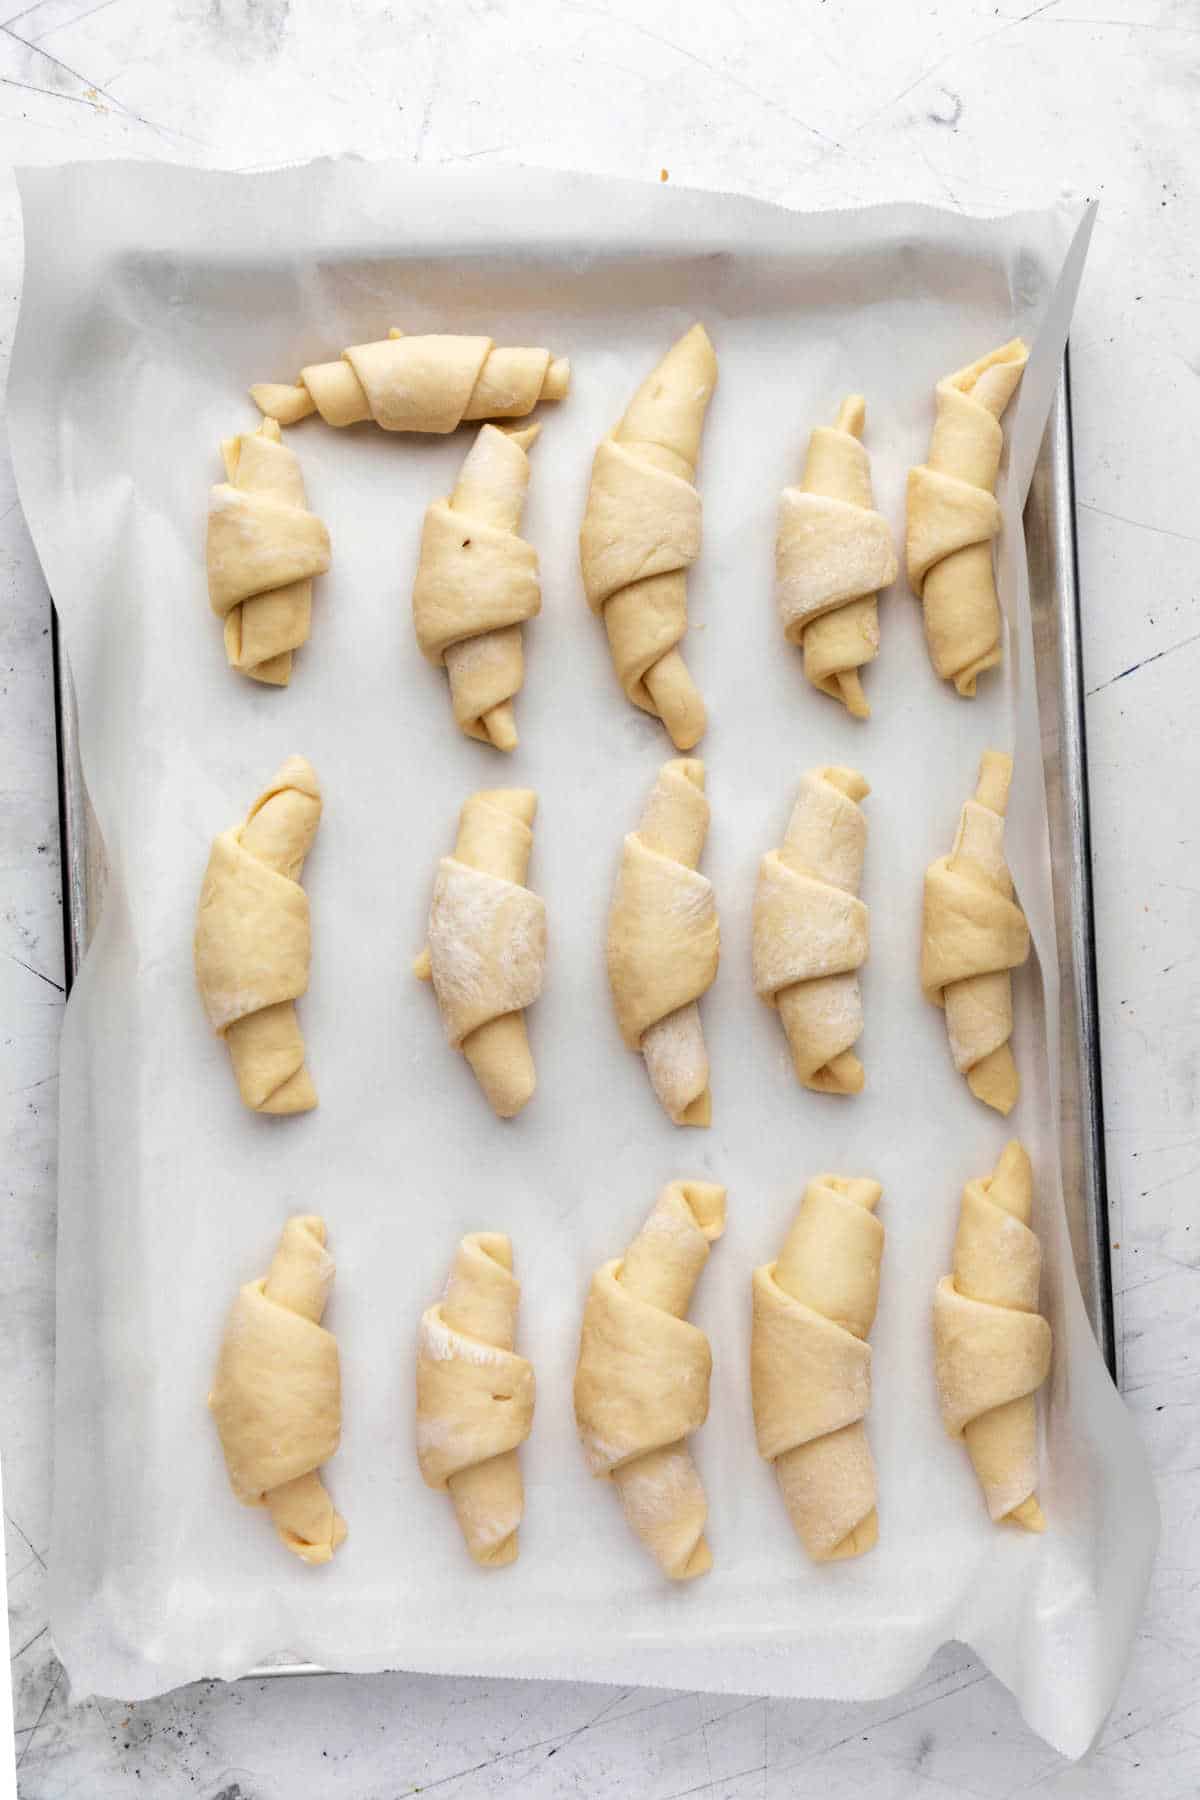
Step 16: Cover the baking sheet with a dish towel, and let the dough rise for about 15 minutes.
Step 17: Preheat oven to 400 F.
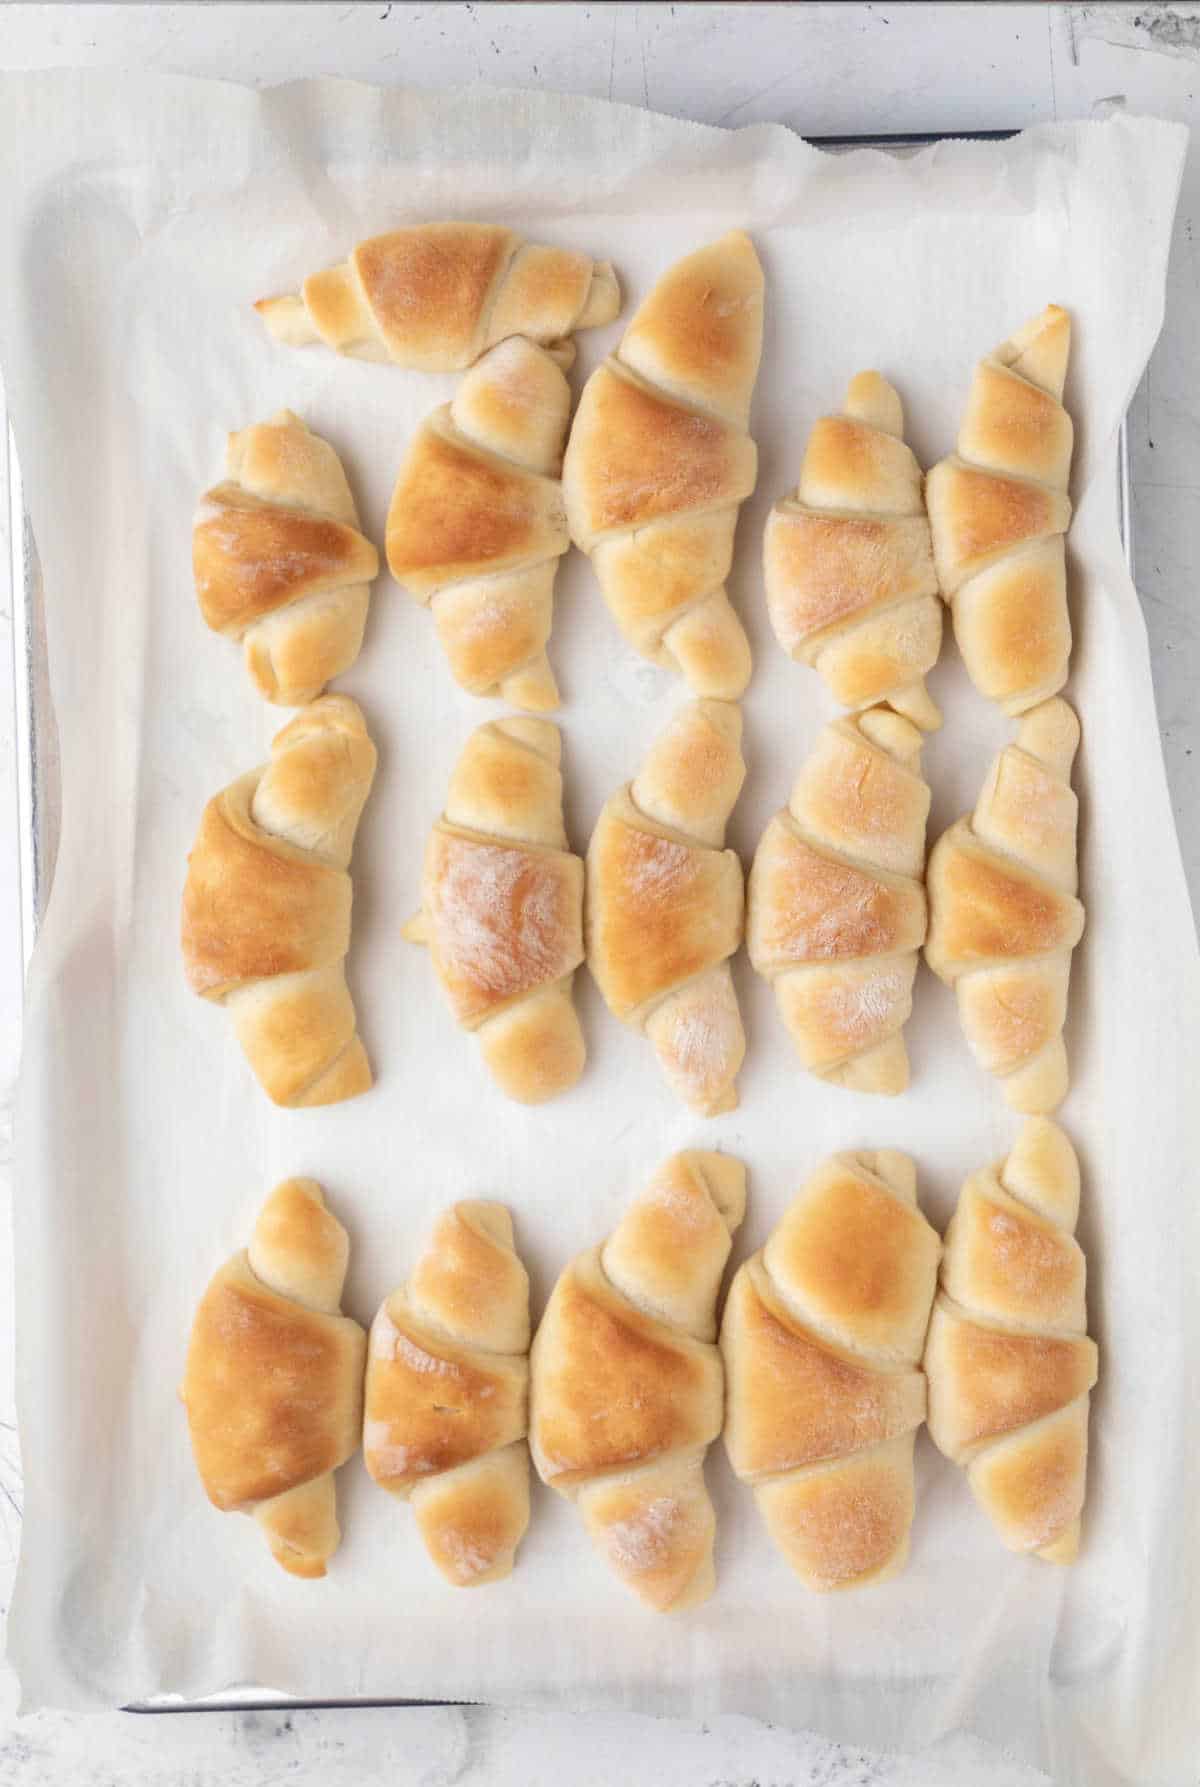
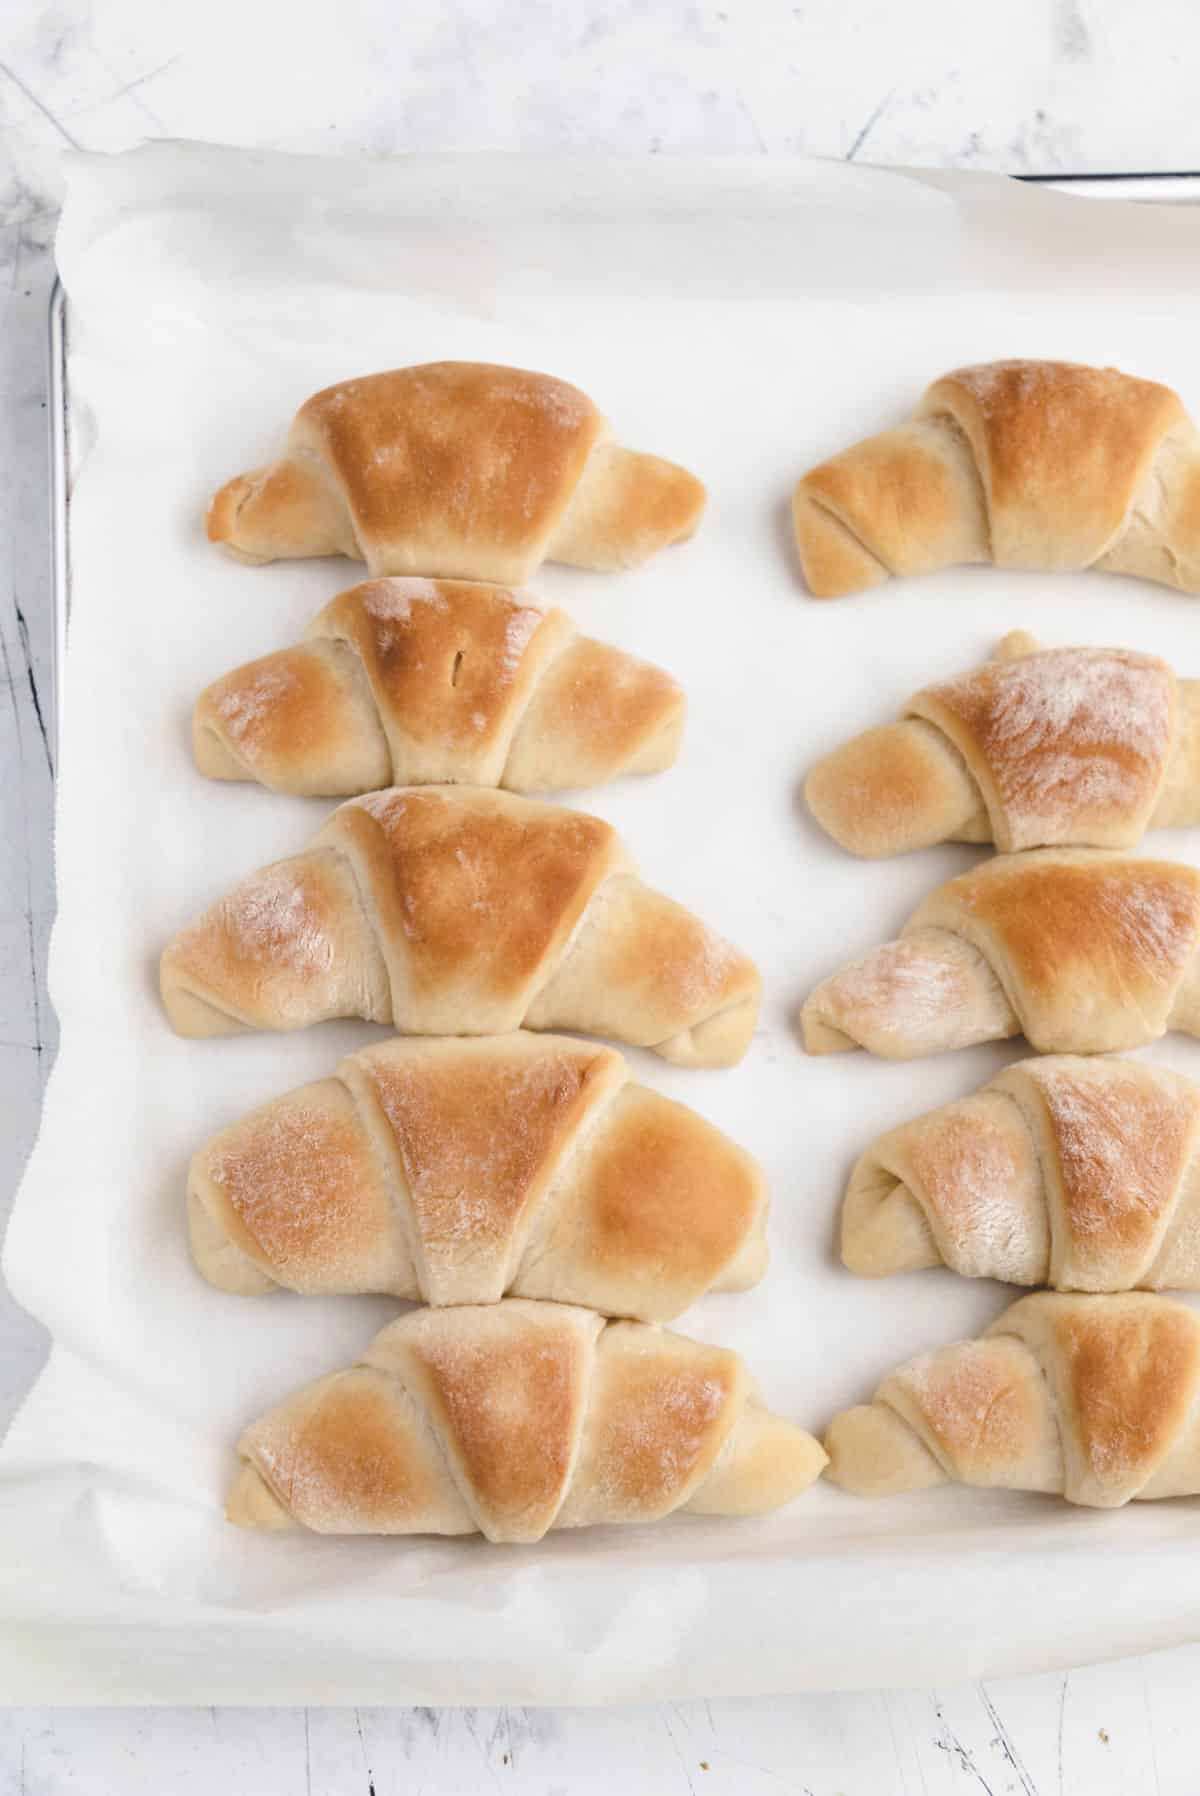
Step 18: Bake for about 7-10 minutes, or until the rolls are golden brown. Rolls are best enjoyed while warm.
Tips
- In step 2, if your milk mixture has gotten really hot, use part of all of the 3/4 cup of water to cool it to 100 F. Simply use lukewarm water instead of warm water to cool off the milk mixture.
- I suggest using a pizza cutter to cut the dough into rolls. It’s the easiest (and fastest) way to get clean dough cuts.
- In step 14, place the rolls onto the prepared baking sheet with the point on the front of the crescent tucked under the roll. This will help the roll keep its shape as it rises and bakes.

Storage
Store any leftover rolls in an airtight container at room temperature. The rolls will keep for 3-4 days when properly stored.
More yeast bread recipes!
If you’ve tried this homemade crescent roll recipe, don’t forget to rate the recipe and leave me a comment below. I love to hear from people who’ve made my recipes!
You can subscribe to receive my latest recipe newsletters or follow me on Facebook, Instagram and Pinterest for even more delicious food.


Homemade Crescent Rolls
Ingredients
- 1/4 cup milk
- 3 tablespoons granulated sugar
- 1/2 cup butter divided
- 1 tablespoon active dry yeast
- 3/4 cup warm water 105F – 115F
- 2 ½ –3 cups all-purpose flour
- 1/2 teaspoon salt
Instructions
- Line a rimmed baking sheet with parchment paper or a silicone baking mat. Set aside.
- In a small saucepan, stir milk, sugar, and 1/3 cup butter together. Heat over low heat just until butter melts and sugar dissolves. Cool to about 100-105 F.
- Pour the milk mixture into the bowl of a stand mixer.
- Add the yeast and warm water. Let stand for 5-10 minutes, or until yeast is foamy.
- Add 2 cups flour and salt to yeast mixture. Using a dough hook, mix on low speed for about 1 minute.
- With the mixer still going, add remaining flour, 1/2 cup at a time. Mix about 1 ½ minutes, or until dough starts to clean the sides of the bowl.
- Knead on low speed for about 2 more minutes, or until dough is smooth and elastic – the dough will still be slightly sticky to the touch.
- Place dough in a greased bowl, turning it to grease the top. Cover the dough with a clean, dry dish towel.
- Let it rise in a warm place, free from draft, for about 15 minutes.
- Turn the dough onto a lightly floured surface, and divide into 2 equal pieces.
- On a lightly floured surface, roll one piece of dough a circle that’s about 9 inches in diameter.
- Melt the remaining butter, and brush dough with half of the remaining melted butter.
- Cut into dough into 8 pieces.
- Roll each piece up, starting at the wide end.
- Place on rimmed baking sheet lined with parchment paper or a silicone baking mat.
- Repeat with remaining dough, using the remaining half of the melted butter.
- Cover the baking sheet with a dish towel, and let the dough rise for about 15 minutes.
- Preheat oven to 400 F.
- Bake for about 7-10 minutes, or until the rolls are golden brown.
- Rolls are best enjoyed while warm.
Notes
- I’ve used everything from skim milk to whole milk to make these rolls, and they work well with every type of milk.
- If you’d like to use instant yeast, substitute an equal amount of instant yeast. Skip the 5-10 minute wait, and continue with the recipe as written.
- Nutrition facts are estimates.
Nutrition
Did You Make This Recipe?
Share it with me on Instagram @i_heart_eating and follow on Youtube @katedean and Pinterest @katedean for more!
Originally published: 11/18/13. Post Updated with new photos and tips: 3/15/18.
Reader Interactions
Love this recipe?
Share your thoughts below and let’s chat! Make sure to connect with me on your favorite social platform below and show me what you made!


Comments & Reviews
Tina says
This sounds super great & I have been searching for a recipe for homemade crescent rolls for a long time since my grandma passed away so this wont be her recipe but it will be great!
Kate says
Thank you! No one can replace a grandma’s recipes, but I hope that this recipe can bring back some memories!
Lawr L says
This recipe is a true winner!
I have made these several times, now, and my family raves about how soft and delicious they are every time. They are really are fast and easy to make. Also, I have doubled the recipe for holiday gatherings with no problem, perfect every time.
Kate says
Yay!! I’m so glad that you like it! Thank you for commenting!
Denise says
Wondering if I could use this dough as a crescent roll sheet to top a casserole? Would I just skip the rise time?
Kate says
Hi! The rolls are crescent shaped, and they have the texture of a traditional butter roll. They aren’t as flaky like Pillsbury crescent rolls. I hope that helps!
Shelly says
If you brush the discs with butter before you roll the triangles, they are AMAZING! And they brown up a little better. :) Delicious!
Kate says
Great tip! Thank you for sharing that. =)
Allie says
Kate,
Are these rolls still good after sitting for couple of hours or do they harden up? I want to use the dough to make ham and cheese rolls to take to a brunch. They will be cooked at least two hours before the brunch, so they will be served at room temperature. Thanks.
Kate says
Hi! That sounds delicious! I haven’t had any issues with the rolls getting hard. I do loosely cover them with plastic wrap rather than letting them sit out. Good luck! =)
Gareth James says
What an absolute gem of a recipe!
All your recipies seem so easy to follow and really add to the appeal of the dish.
I have been following your blog for a couple of years now and today I decided that it was these breads that I wanted. It’s been a tough old month here for us and not only was I pumped to get back in the kitchen and making something new but this was just the write recipe. These bread rolls have been a real comfort. The texture of the dough when we started rolling it out, the smell as we cooked them and the taste? Oh the taste! Incredibly delicious!
I will be sure to comment more often now.
Thank you and greetings from Finland.
Kate says
Thank you! I love to hear from people who have made my recipes, and it’s so fun to hear from people around the world. I spent an afternoon in Helsinki about 10 years ago, and it was lovely. I wish I would have had time to see more of the country. I’m sorry that it’s been a tough month, but I really appreciate you taking the time to come back and leave such a kind comment.
Mandy says
So good! I was planning a recipe that required crescent rolls (chicken wrapped in crescent rolls with a mushroom gravy cooked over it), and decided to pass on buying them at the store. I thought, nah I can figure out a way to make them. I followed the recipe and they turned out perfect! Even my husband said that he was so glad I didn’t buy them from the store and made them instead. Two thumbs up!
Kate says
I’m so glad that you liked them! The ones from the store are certainly convenient, but I agree that homemade tastes so much better. Thank you for taking the time to come back and leave such a nice comment! =)
Tara says
These were just.. meh. My husband liked them. They were way too time consuming and were not not as good as I expected.
Kate says
Yours is the first negative comment that I’ve received on this recipe. I’m glad that your husband liked them, though. Honestly, I’m surprised that you found an hour too time consuming for a homemade roll recipe, but I wish you luck in finding a recipe that’s more to your liking.
evon markus says
looks yummy about how many folks does it make I didn’t see that in the description ?
Kate says
Thanks!! It should make 16 rolls.
Julia says
So I made these for Christmas dinner. They were a hit. We love bread and had company so I made a double batch. Well, when I am cooking up a big meal, sometimes I get flustered and don’t think things through completely. I did everything right until it was time to roll them out. I read divide dough into 2 parts. So that’s what I did. As I was rolling them and shaping them into Crescents, I started thinking “this isn’t going to make enough rolls” and then “these seem to be awfully big.” I looked at the recipe again. I realized my mistake and laughed. I should have divided the dough into 4 parts! I did divide the 2nd half in half again. So we had giant rolls and normal rolls. There was plenty even a few left over. I liked making them so much I decided to try modifying them a bit to make cinnamon rolls. They came out great! :D Basically the only thing I did is at the rolling out step, I did not separate the dough. I just rolled it all out and spread butter on it. Then sprinkled with sugar and cinnamon. Rolled the dough into a log and cut into rolls. Put them in a buttered pan and let raise 15 minutes. Dripped a little bit of melted butter on top. Sprinkled on more sugar. Then I baked them on 375 for 25 minutes. Frosted them. Delicious!
Kate says
That sounds delicious! Cinnamon rolls are one of my absolute favorites, so I love that you used this recipe to make cinnamon rolls. And I’m so glad that your family enjoyed the rolls! Thank you for taking the time to come back and leave a comment! =)
cayla says
Have you made these ahead and frozen them before? Wondering if they are just as good after being frozen?
Kate says
I haven’t made these ahead of time. We usually eat them all right away =). If you try it, it would be great if you’d let me know how it works out!
cayla says
I did it, froze half a batch when I mixed em up last week. Froze it in a plastic bag and just let the dough thaw in warm sunshine and it began to rise/expand as before. The dough was just as it had been prior to freezing. Tasted just as good and cooked up the same. No problems with it at all! These are good, but to me they seem more like a dinner roll rather than a crescent roll. Tastes a little too yeasty (if that’s a word) and not quite the light, flakey texture I’m used to with canned crescent rolls. And that wasn’t just with them being frozen, the freshly made batch was the same. Still tastey and will use for dinner roll recipe, maybe for Christmas dinner even!
Kate says
Thanks for coming back to let me know how that worked! I’m glad to hear that freezing the rolls worked out fine! =) Sorry for the confusion on that. You’re right; these are crescent-shaped butter rolls. They aren’t flaky like a croissant or a canned crescent roll. Thanks again for coming back with the tips about freezing the rolls!
Ashley @ Big Flavors from a Tiny Kitchen says
These look wonderful! I love making homemade bread when it doesn’t require a ton of effort. Yum!
Kate says
Thanks!! =)
Marcie says
I love that you’ve shared a homemade crescent roll recipe! I’d much rather make my own. Pinning!
Kate says
Thanks so much!! =)
Renee@ Two in the Kitchen says
Oh these rolls are calling my name! I am a sucker for homemade bread!! Dropping by from “What’s Cooking Wednesdays”!! Pinned!!!
Kate says
Thanks for stopping by!! =)
Barb says
Made these for Thanksgiving and they were a hit. Very simple recipe. I definitely will make these again. Thank you so much for the great recipe!
Kate says
I’m so glad that you enjoyed the rolls!! Thank you for coming back to let me know that! =)
Stephanie says
These look absolutely mouth watering!
Kate says
Thanks!! =)
Shoba Shrinivasan says
Buttery crescent rolls looks so awesome and so pillowly soft! Want to reach out a grab those little delights!
Lovely clicks.
Shobha
Kate says
Thanks so much!! =)
Trish - Mom On Timeout says
Oh my gosh I love a homemade crescent roll and in 60 MINUTES?? Sold!
Janet Fettig says
Greetings from Scottsdale, AZ!
Just to let you know I just took these out of the over and they are not only fast but delicious as well! What an instant (almost) treat!
Kate says
Thanks so much for taking the time to come back and let me know! I’m so glad you’re enjoying them! PS – I love the Scottsdale area!! I used to work there, and I love that area! =)
Julia says
I love all of your 60-minute or less bread recipes, and this one I cannot wait to try! They look so fluffy!
Janet Fettig says
And where do you get pineapple puree?
Kate says
I’m not sure about pineapple puree. Was it in one of my recipes? I would think you could puree crushed pineapple pretty easily, though.
Kate says
Thanks so much, Julia!! =) I’m so happy to hear that!