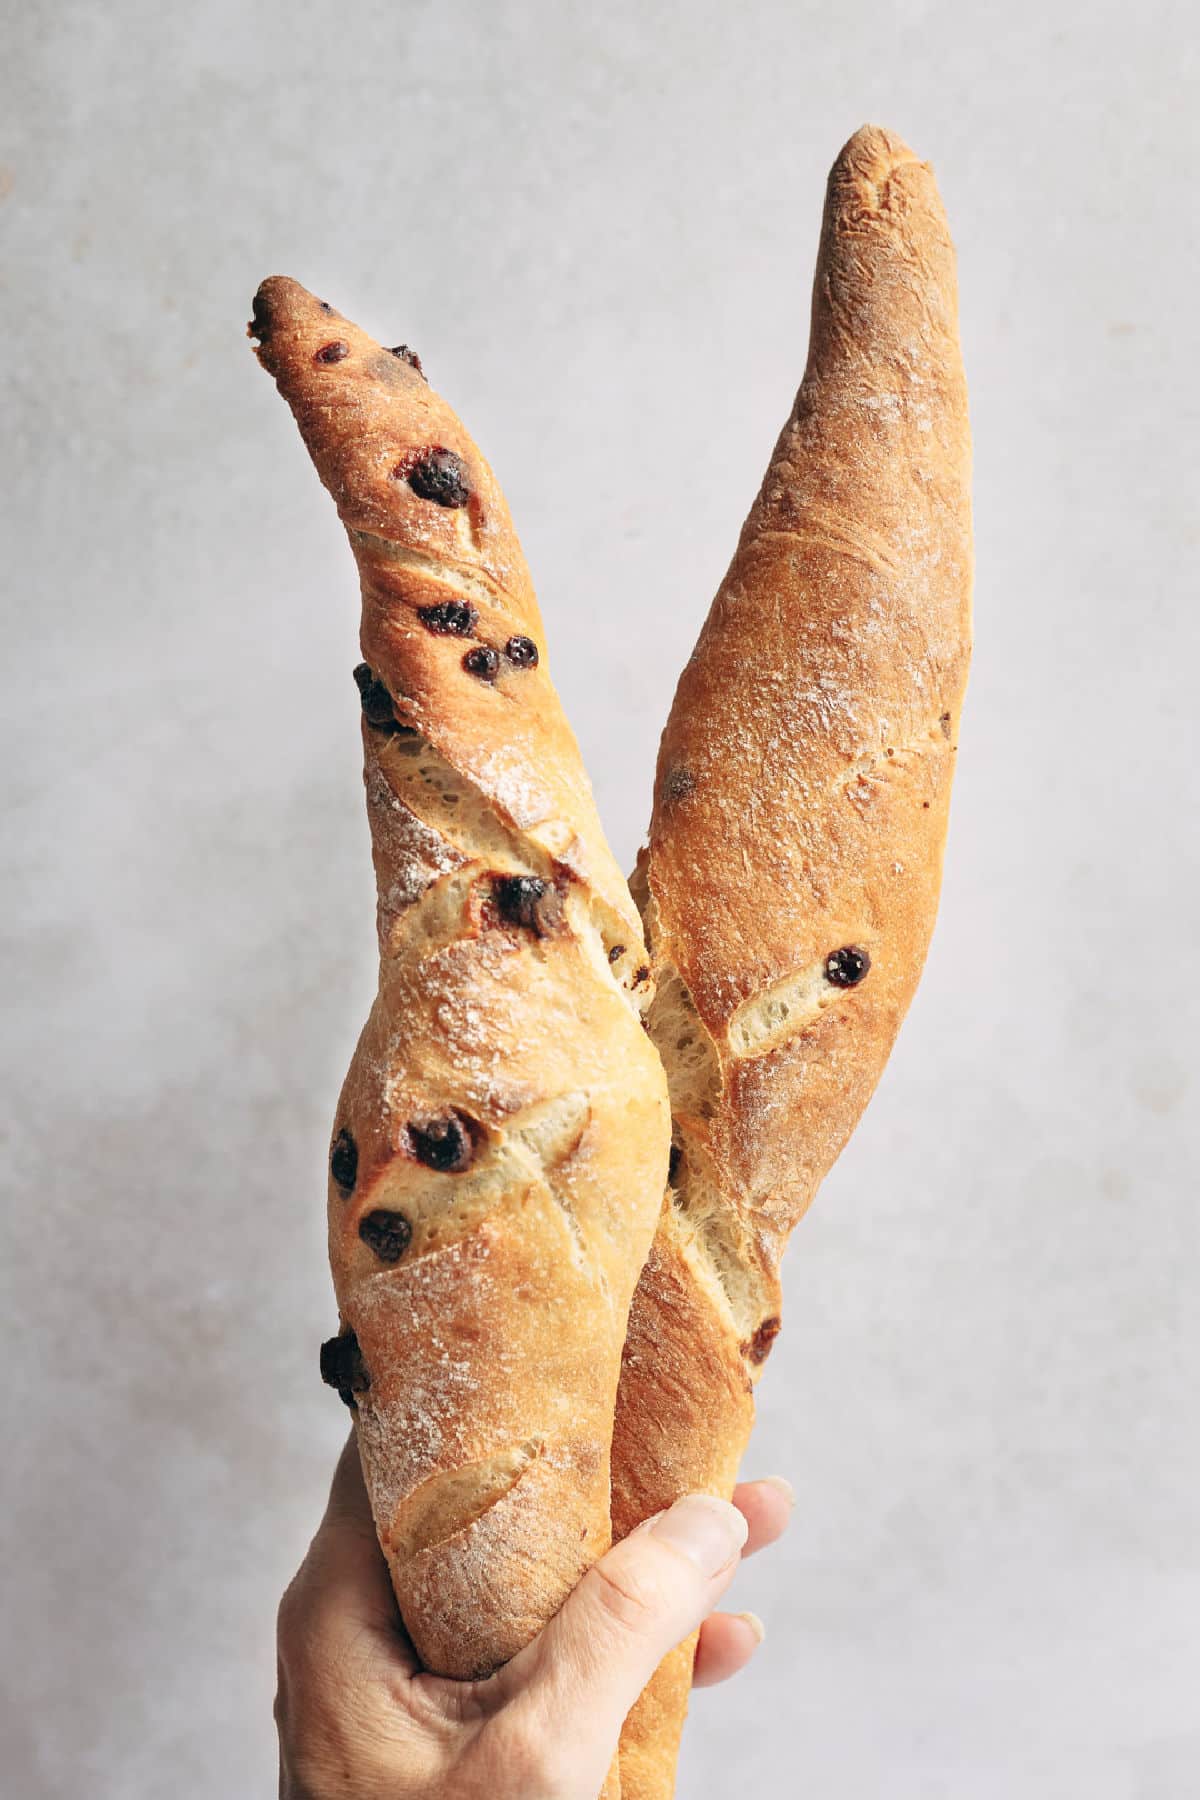
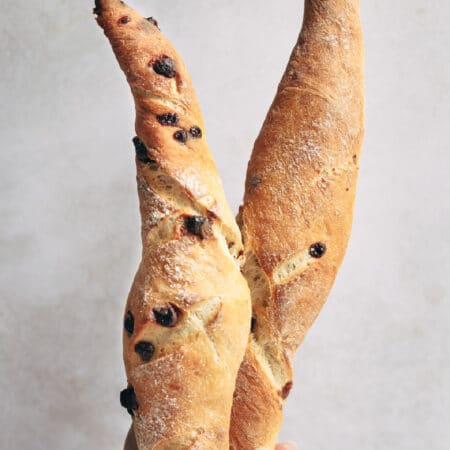
Easy chocolate chip baguettes are simple chocolate chip filled baguettes that can be made in just one hour. This homemade bread makes a tasty breakfast, snack, or dessert!
Between my first and second years in law school, I was able to study abroad in France. It was my first time outside of the U.S., and I had a great time. I loved the people, the sights, and the food.
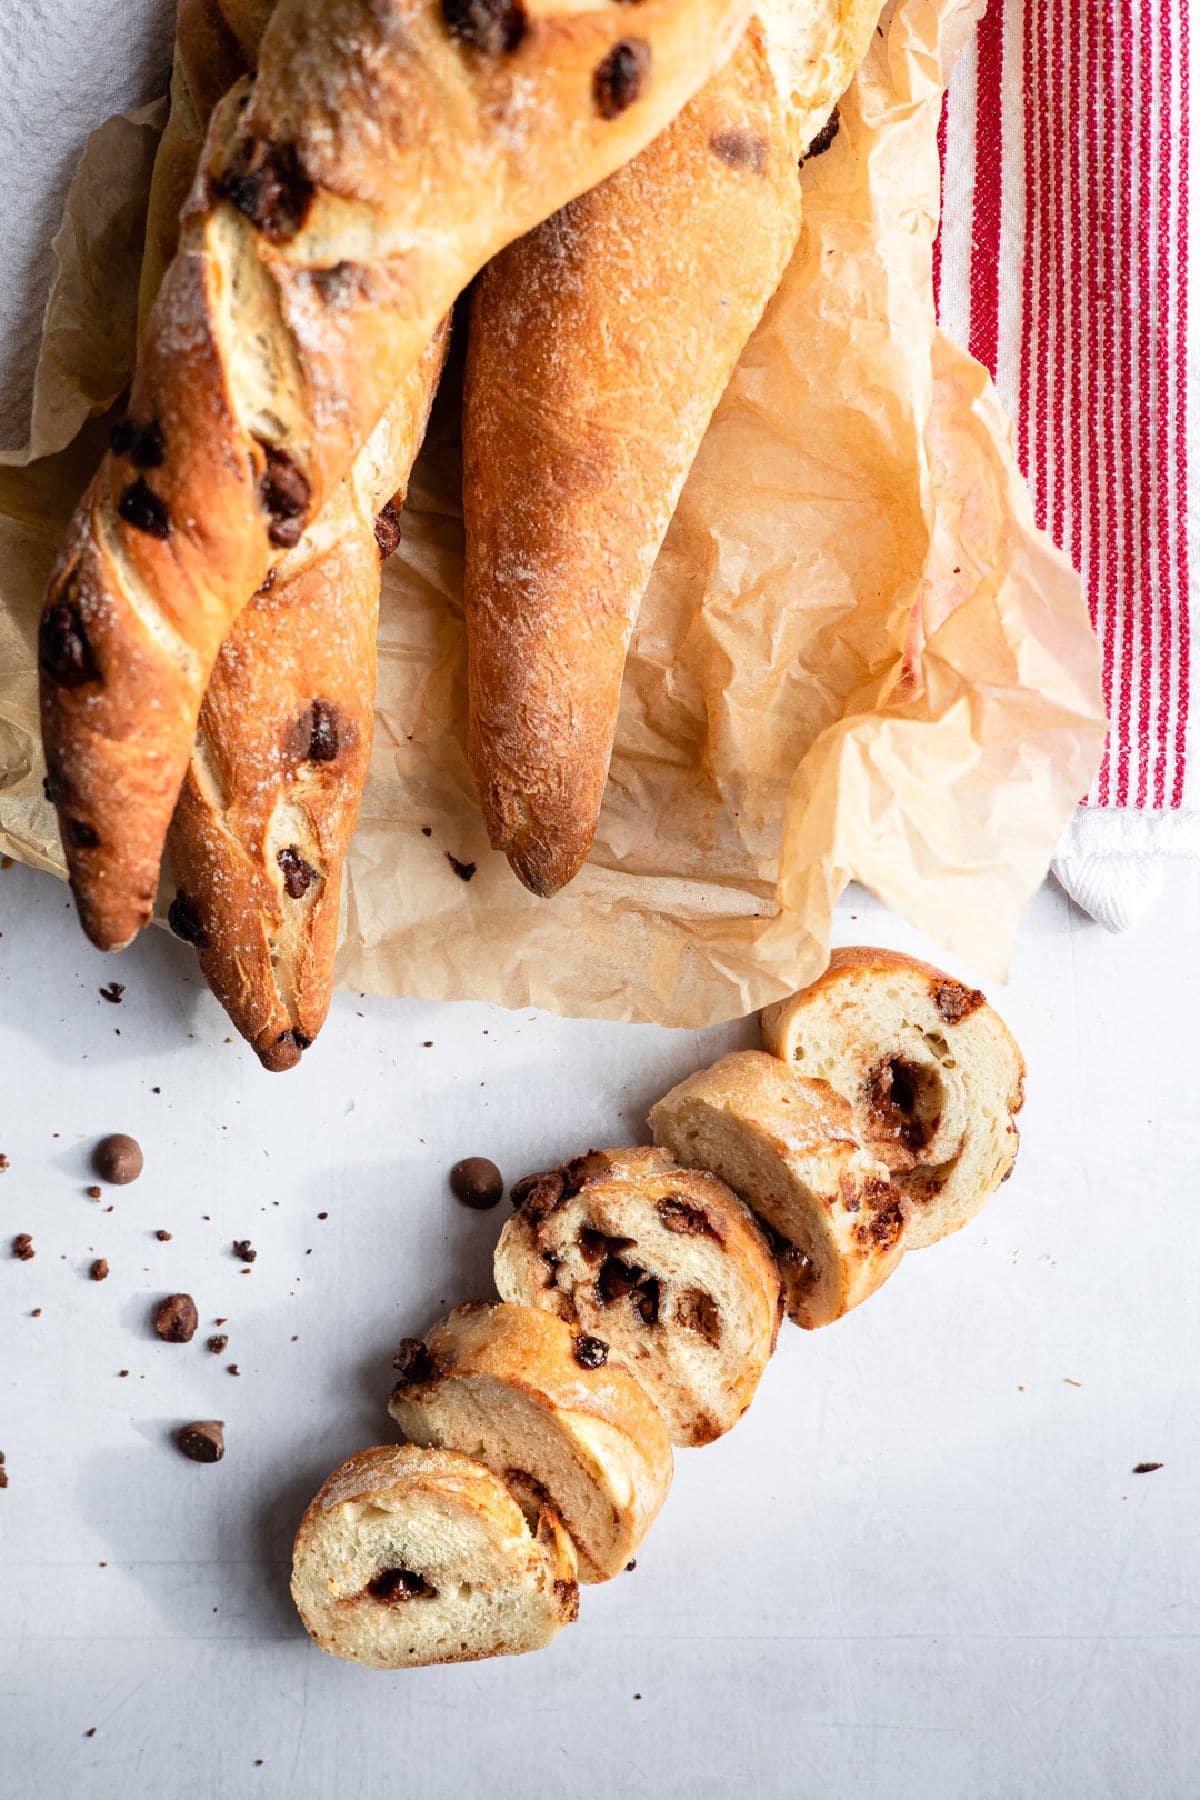
One of my favorite treats was a simple one – small chocolate chip baguettes. Even though they were simple, they were delicious! Fresh, warm baguettes filled with melty chocolate chips and, sometimes, pearl sugar on top.
I have thought about those baguettes so many times! Finally, I decided to make my own version at home. These chocolate chip baguettes are really easy to make.
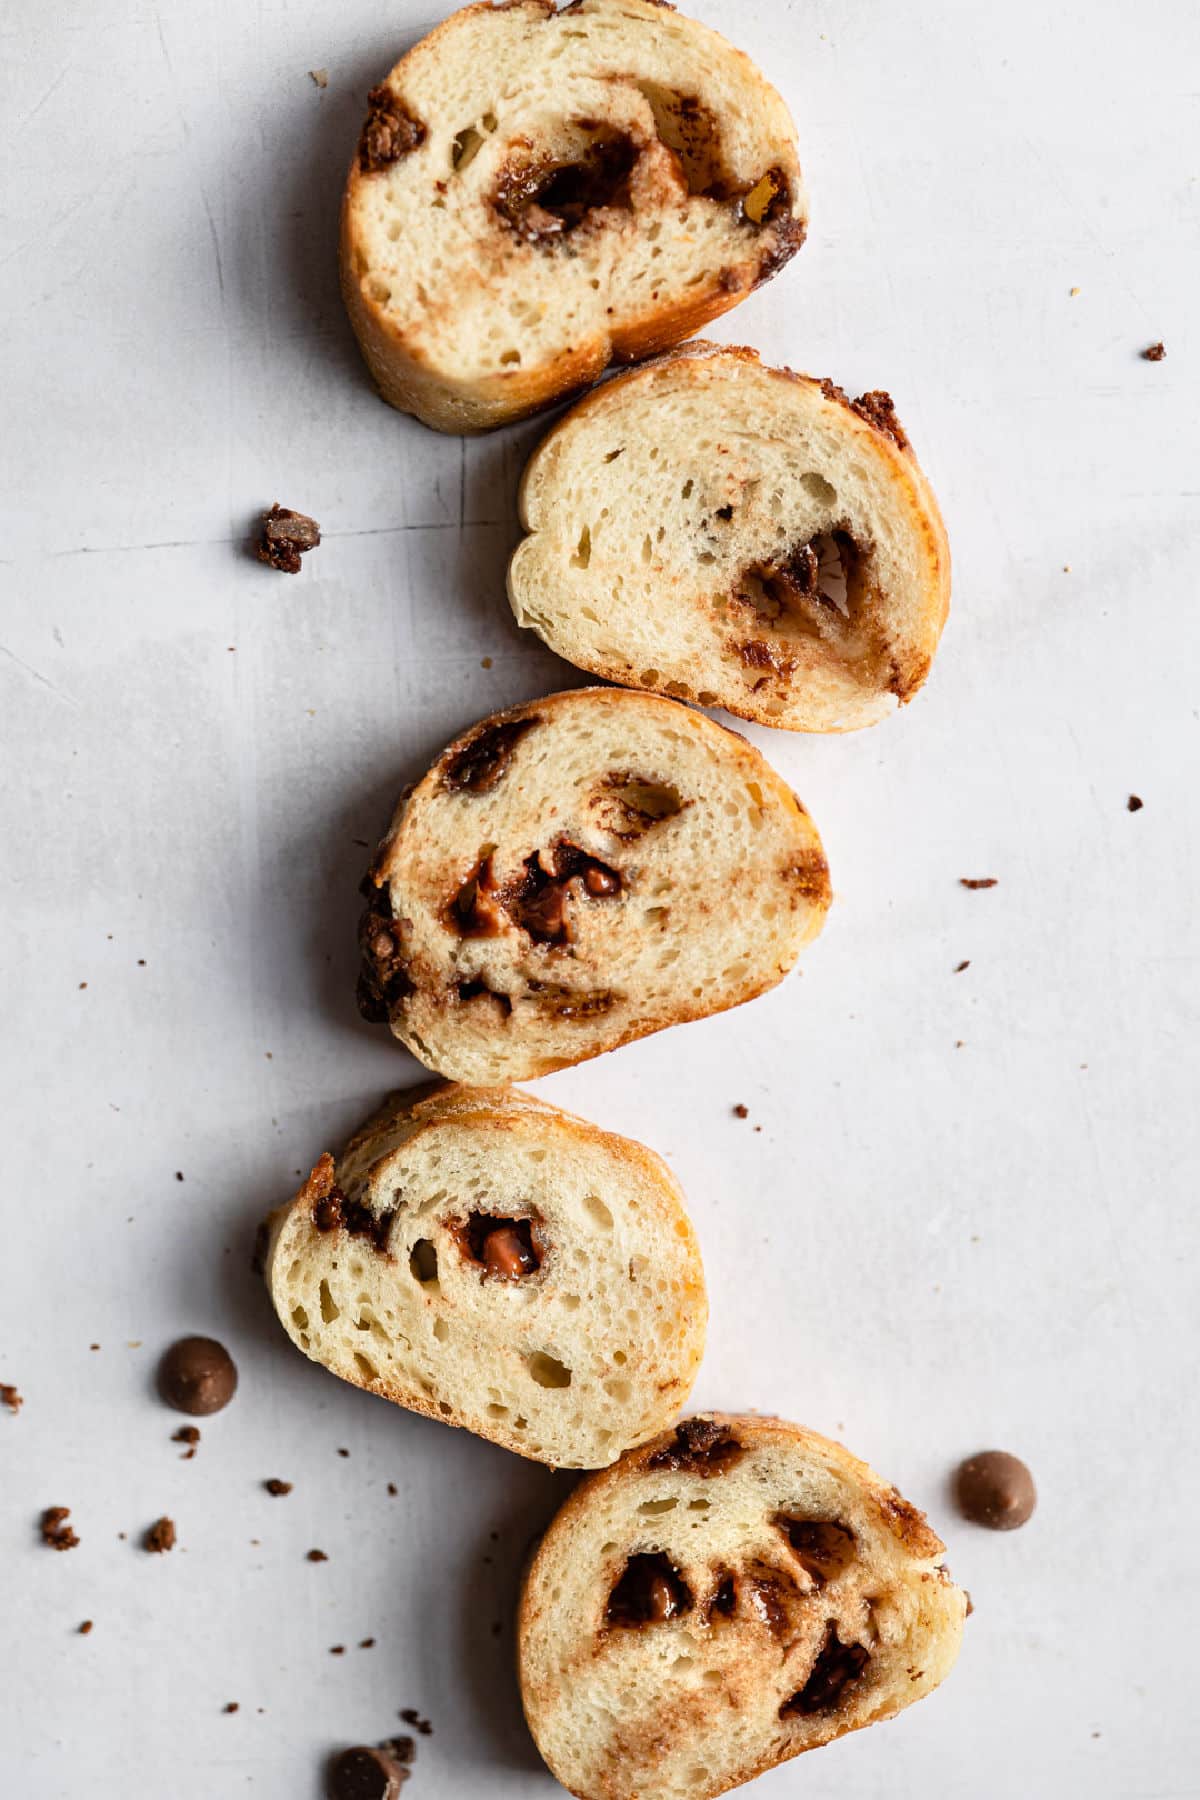
I think I picked up the folding technique from Fine Cooking, and it’s an easy way to shape the baguette. They have a nice chewy/crisp crust and soft interior. Plus, they’re made from scratch and ready in just 60 minutes.
The biggest compliment came from my kids; they absolutely love these! They said that they’re better than chocolate chip cookies, and, if you knew my little cookie monsters, you’d know that that’s very high praise.
How to make chocolate chip baguettes
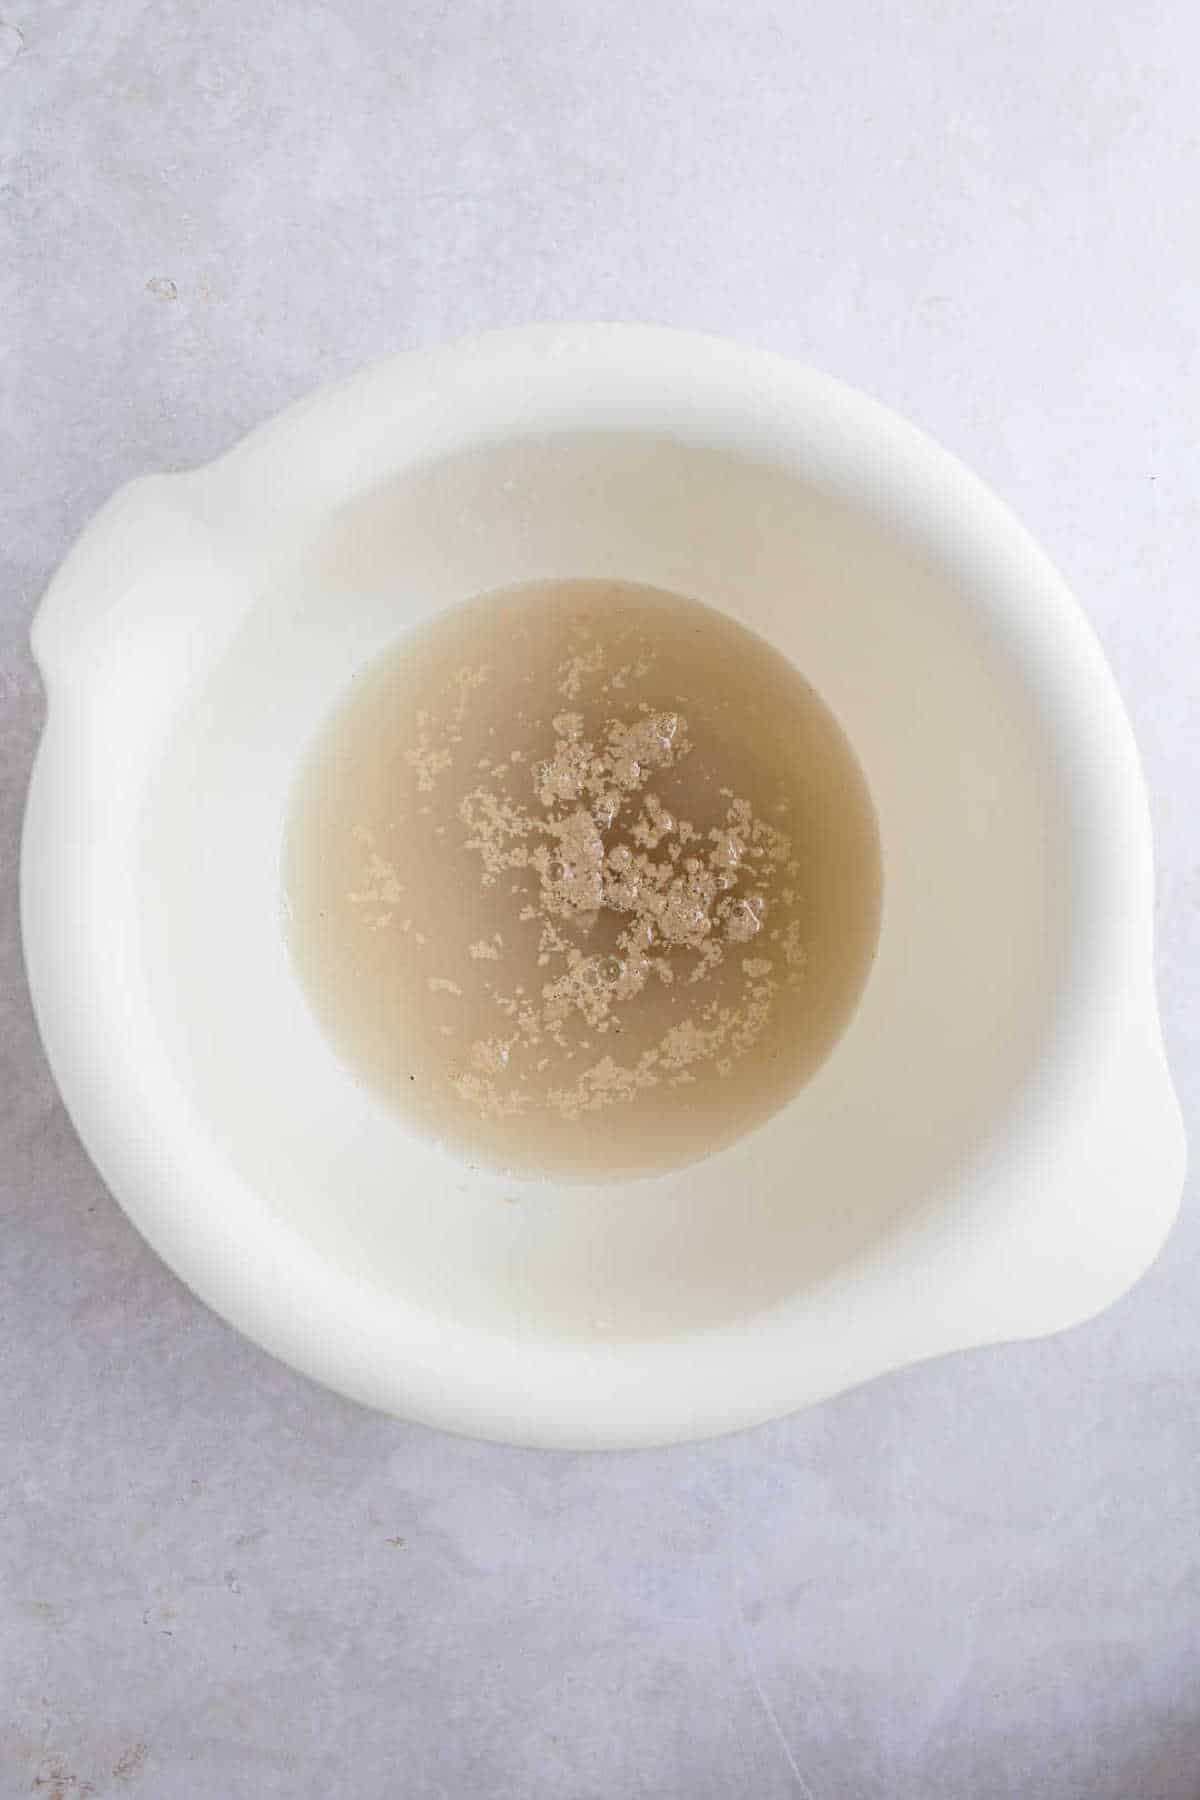
Step 1: In a large bowl, stir together water, yeast, and sugar.
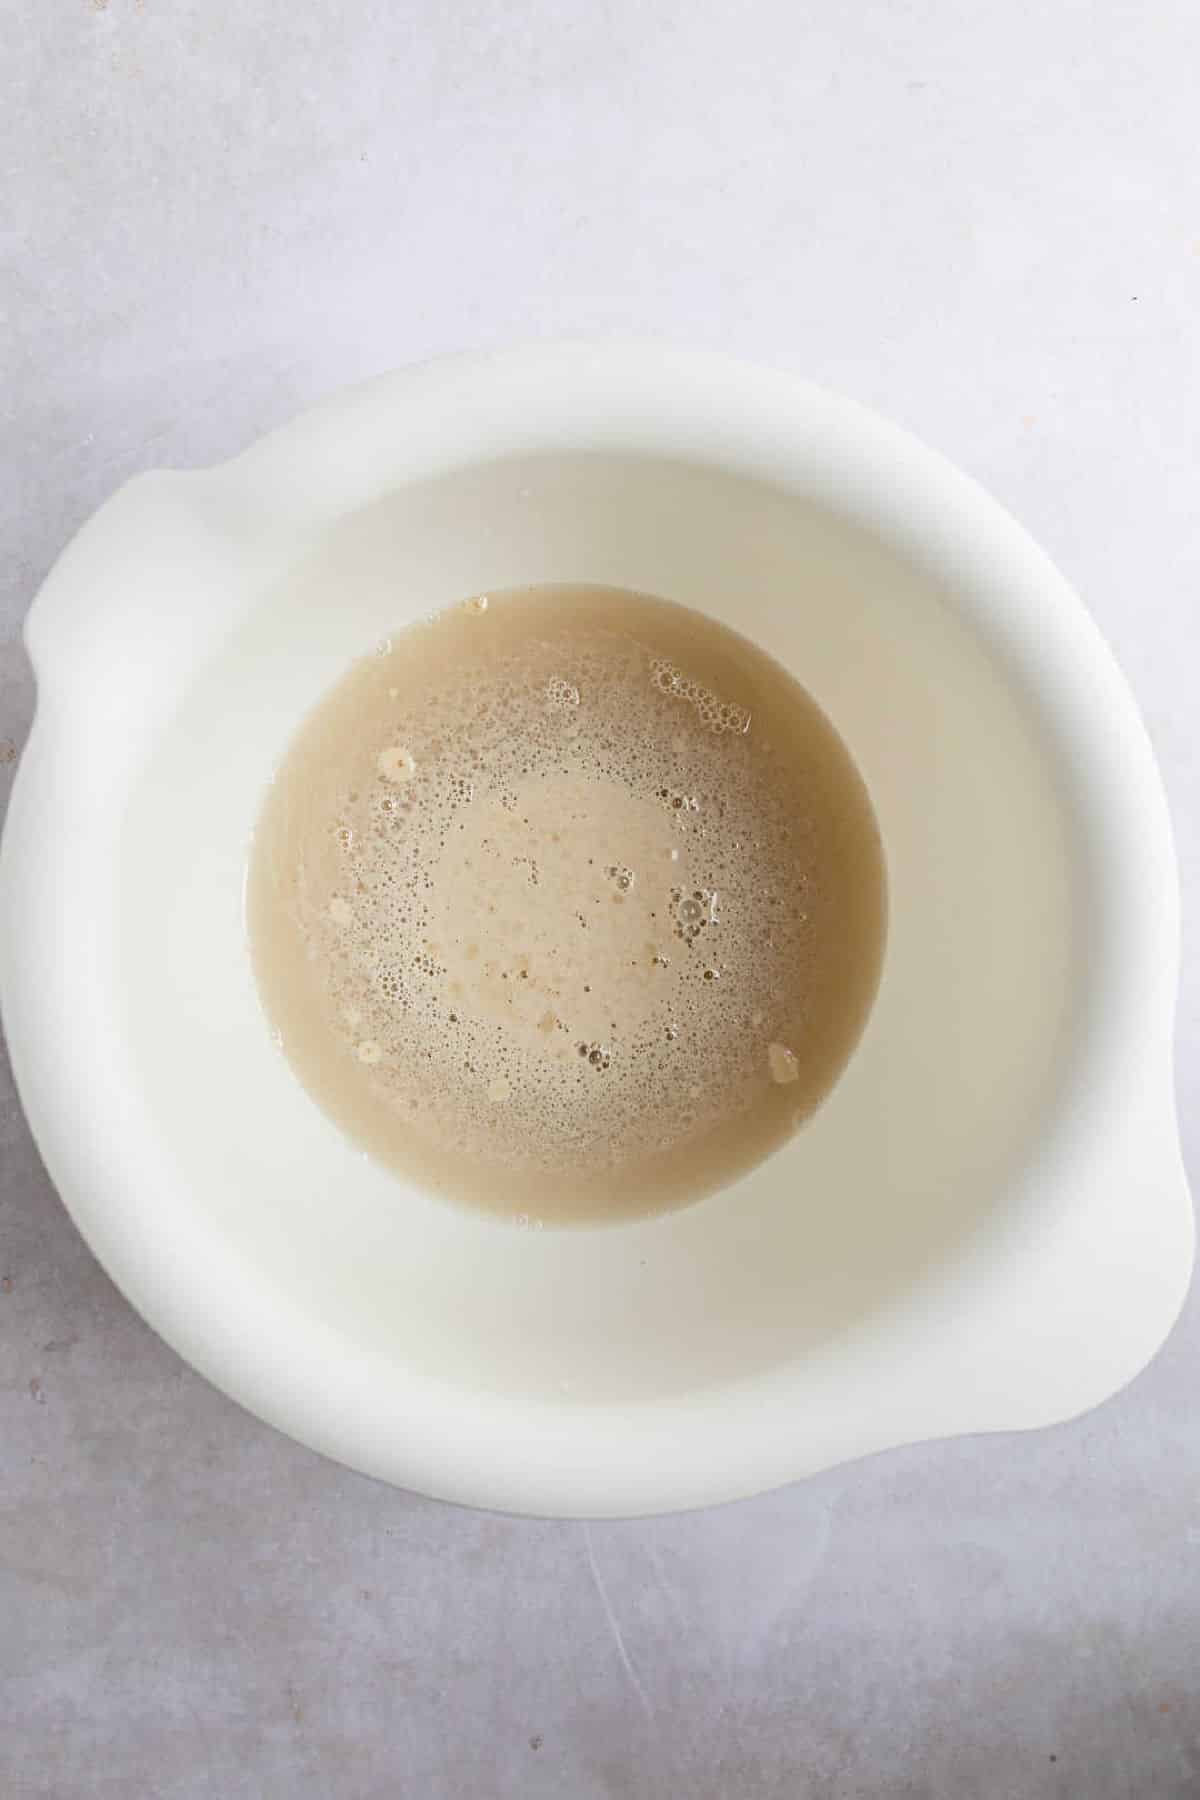
Step 2: Let stand 5-10 minutes, or until foamy.
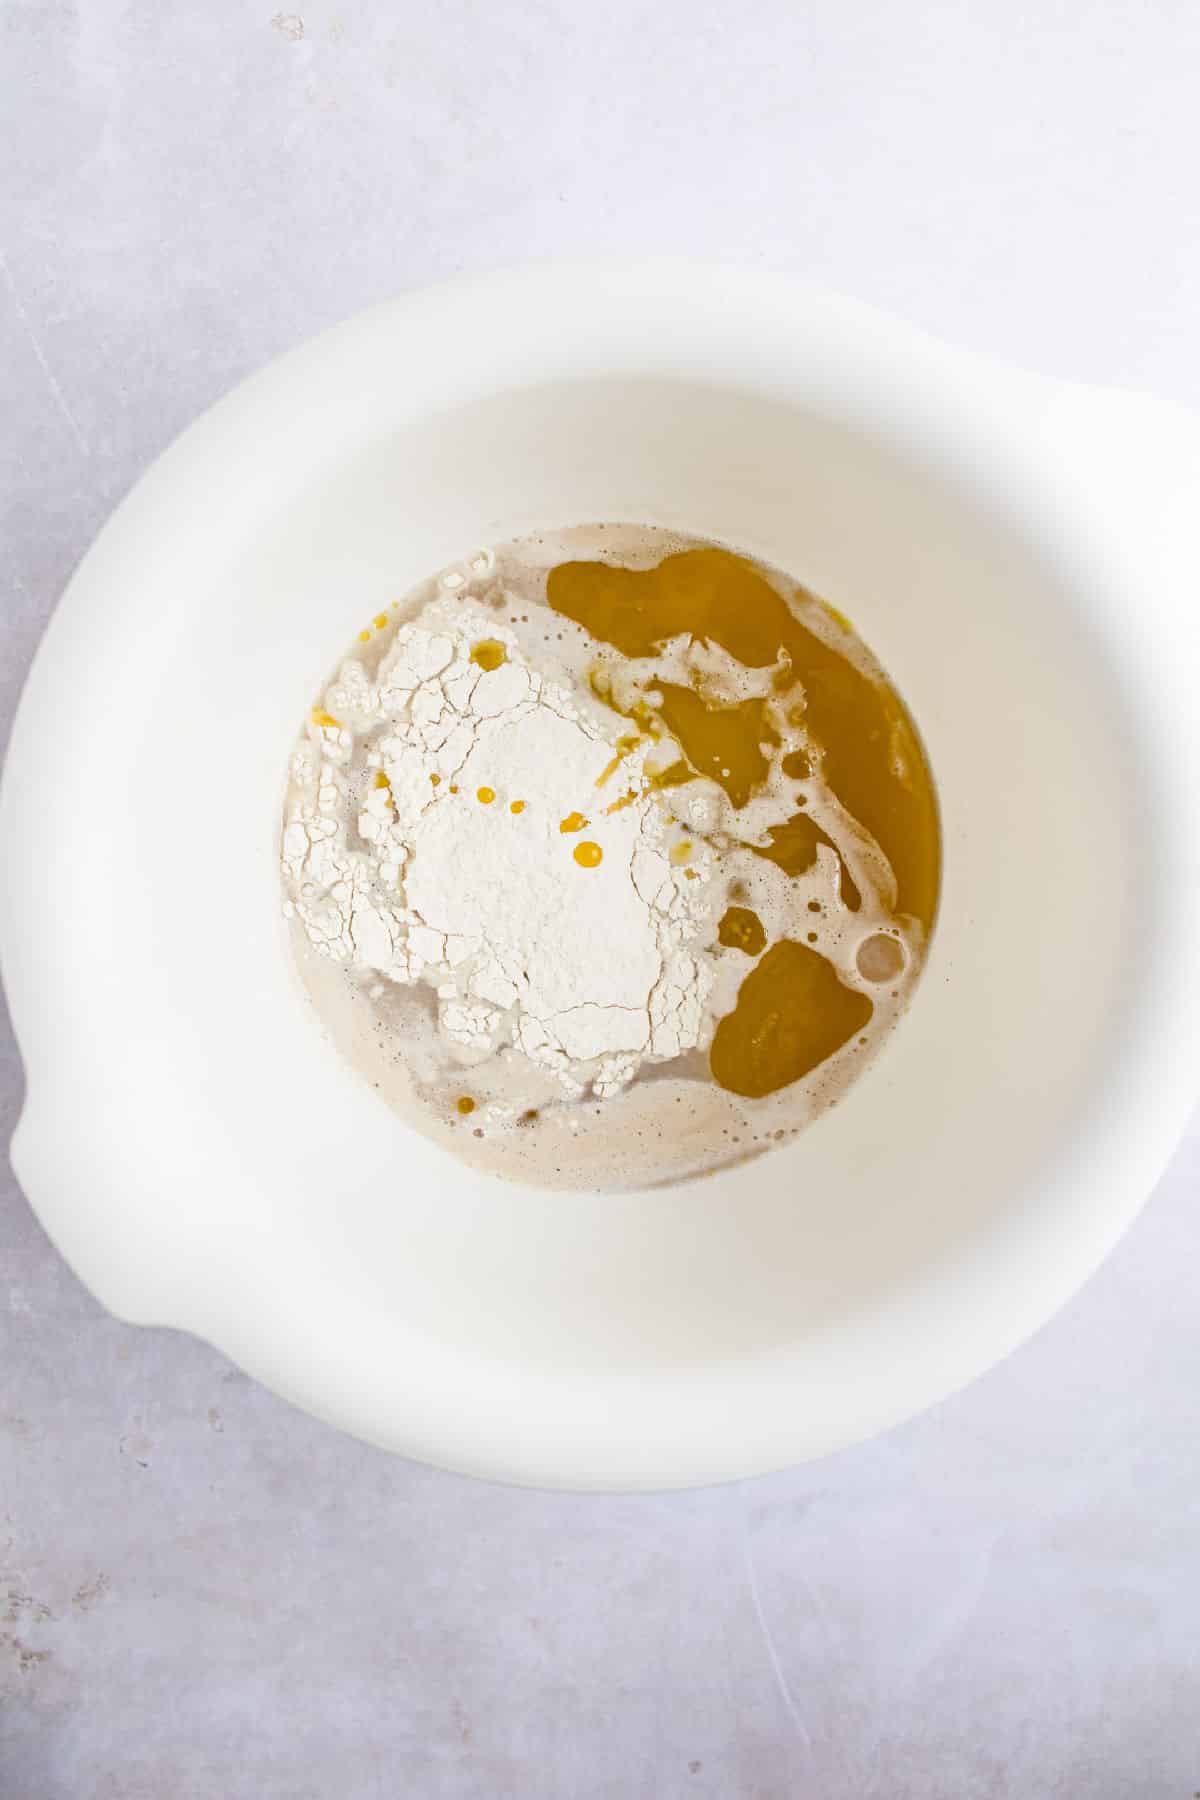
Step 3: Stir in salt, oil, and 2 cups flour.
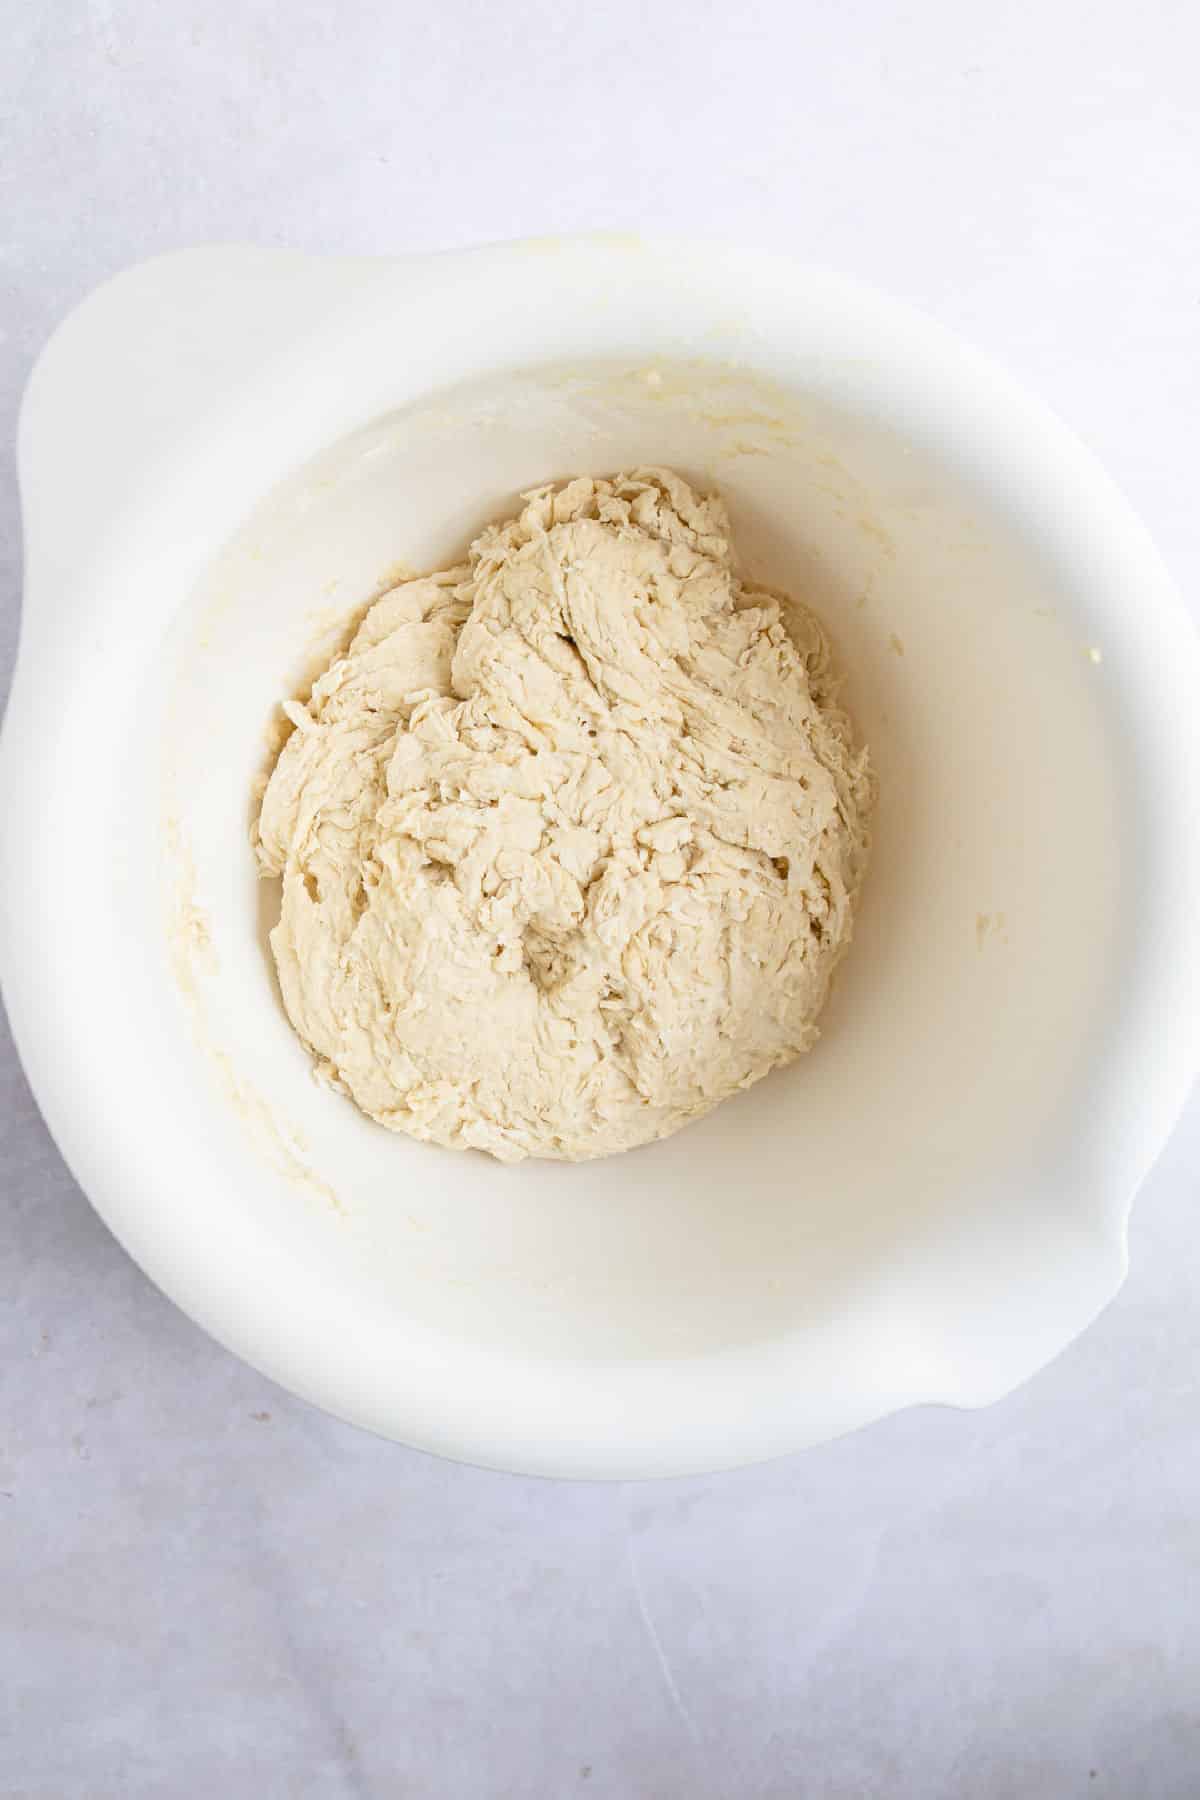
Step 4: Continue stirring in enough flour to form a soft, sticky dough (It takes me around 6-6 ¼ cups).
Step 5: Cover bowl with greased plastic wrap, and let it sit in a warm place for 15 minutes.
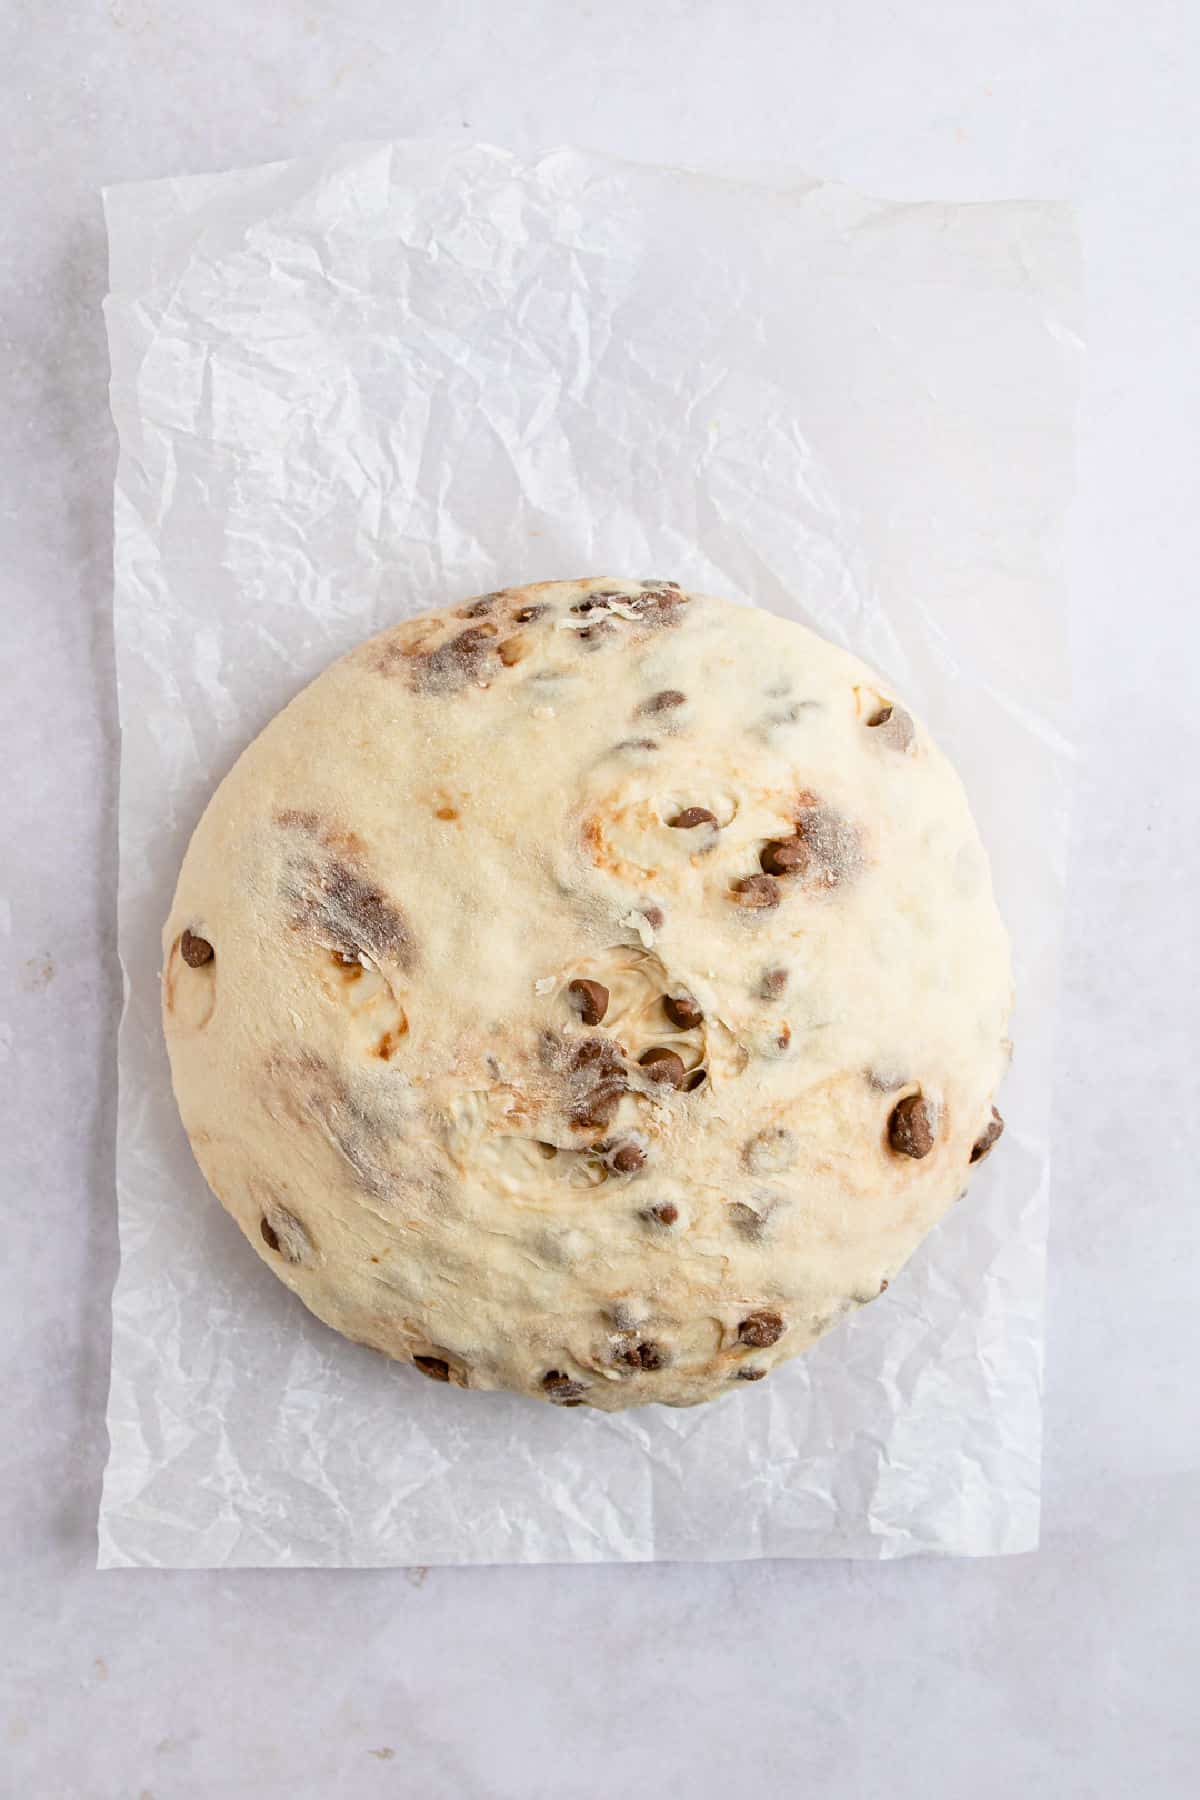
Step 6: Knead in chocolate chips. It’s ok if they aren’t perfectly incorporated at this point.
Step 7: With lightly floured hands, divide dough into 8 pieces.
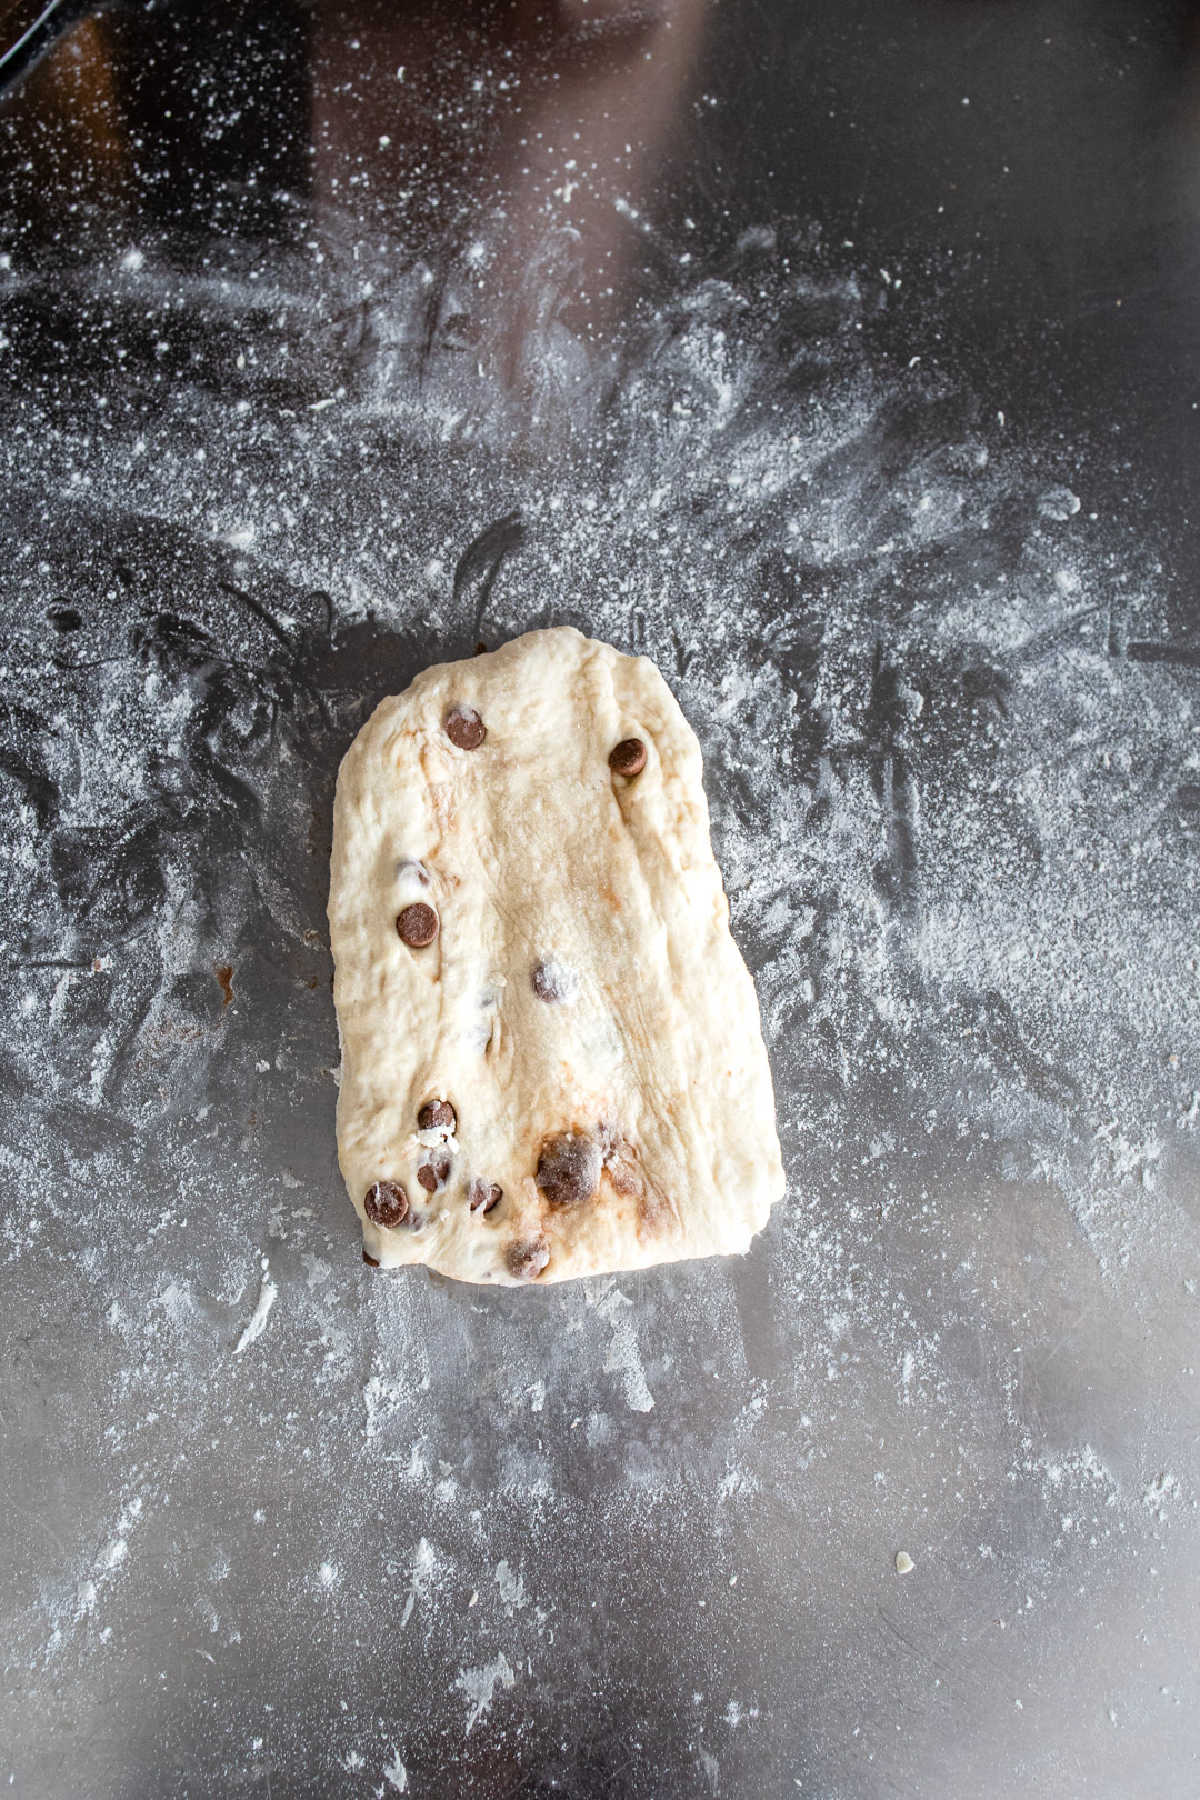
Step 8: Place dough on a lightly floured surface. Form a piece into a rectangle (about 4×2 inches).
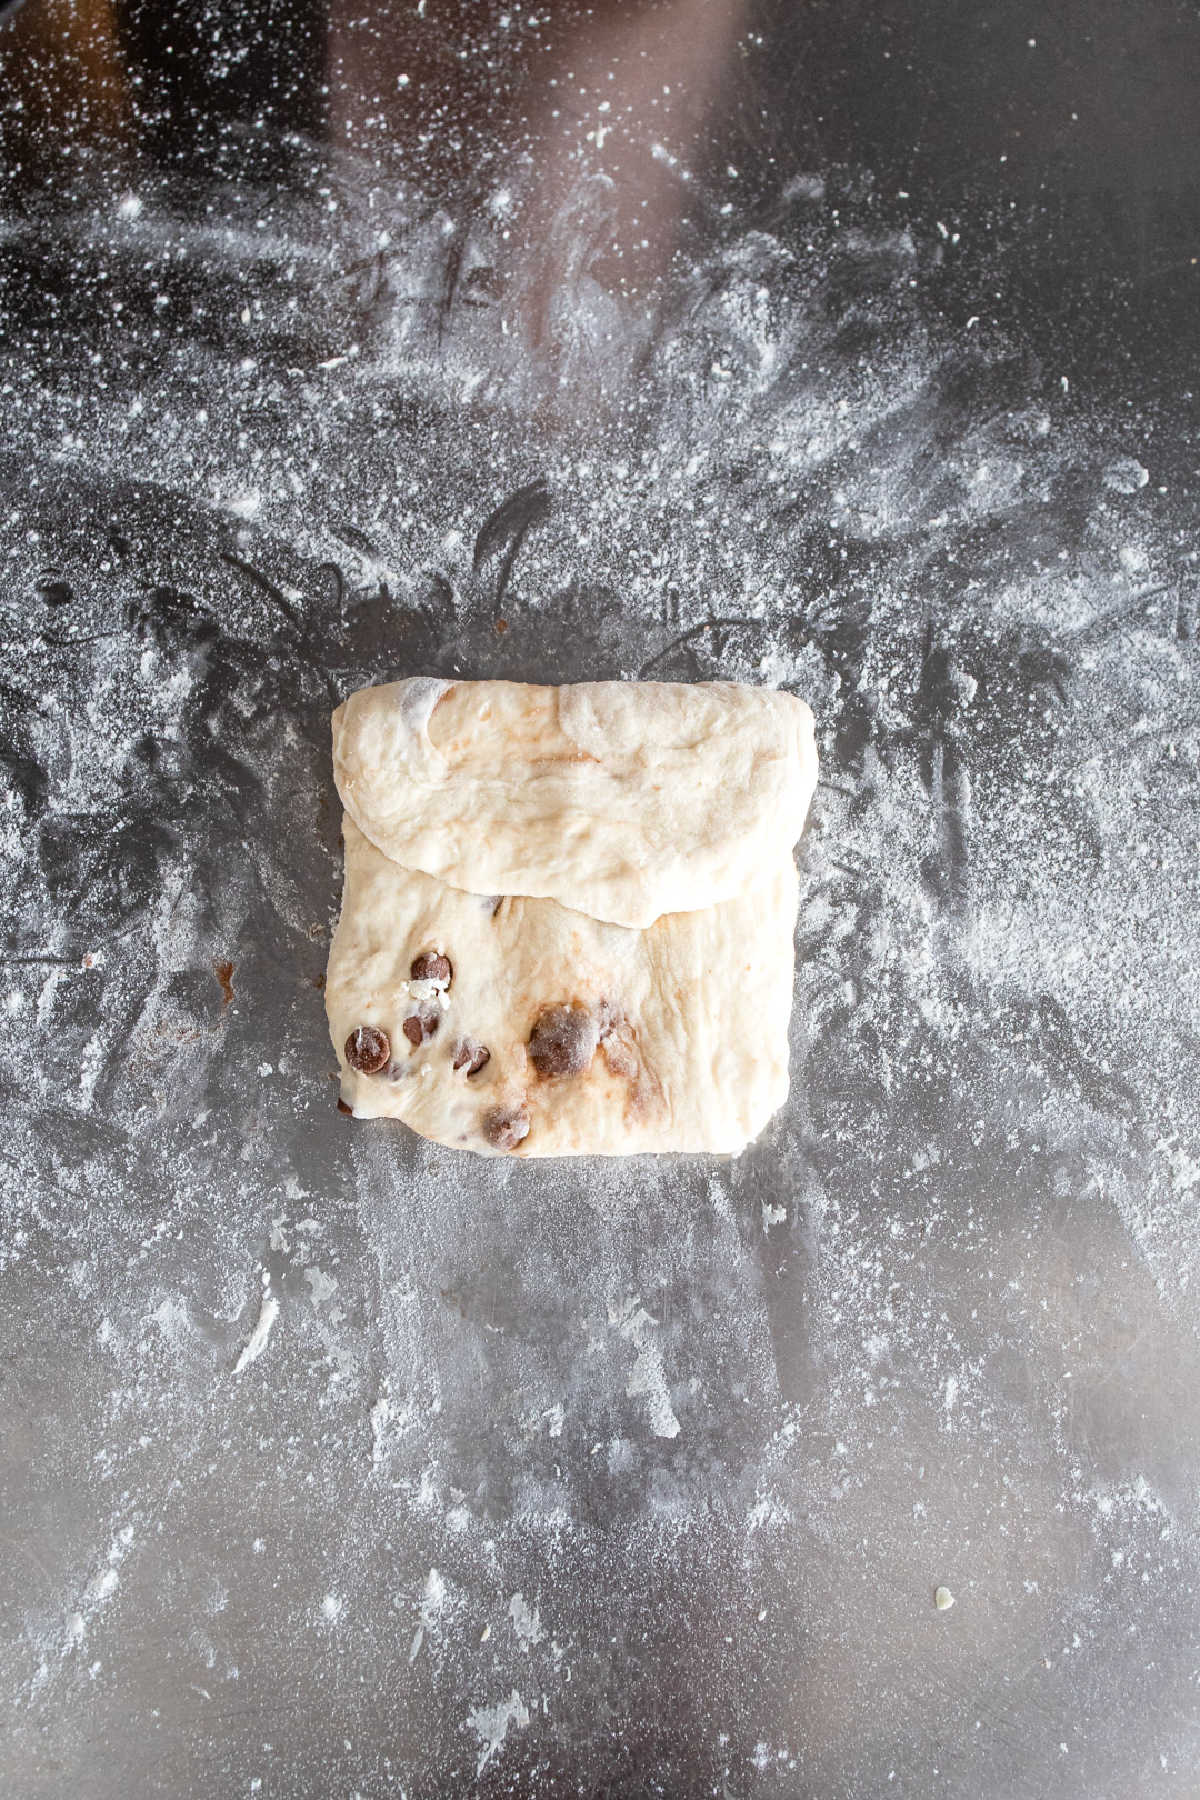
Step 9: Fold top 3rd of dough back to middle.
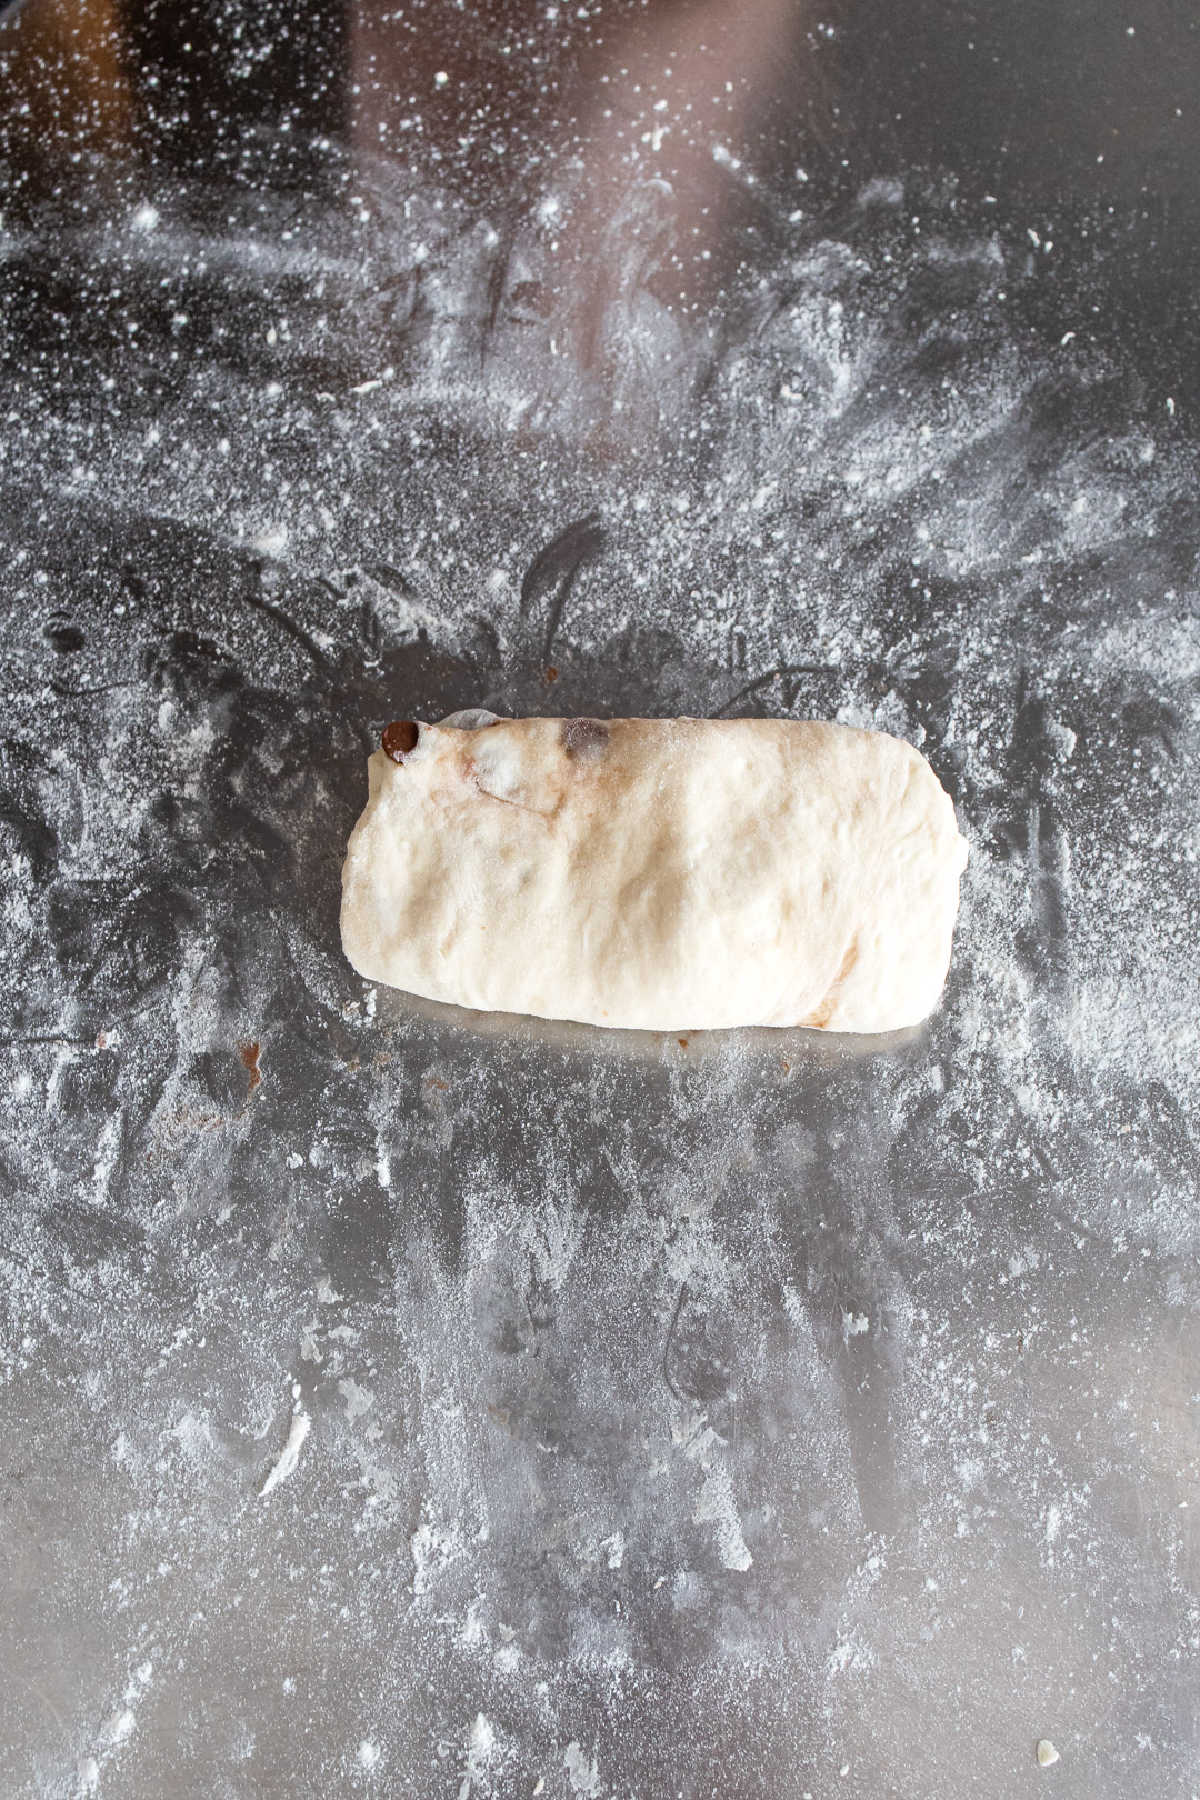
Step 10: Fold bottom 3rd of dough back to middle. Continue until dough is about 8 inches in length.
Step 11: Dust dough with additional flour if desired (this just gives it a more rustic look).
Step 12: Repeat process with remaining dough.
Step 13: Place dough onto parchment-lined or silicone baking mat-lined baking sheets.
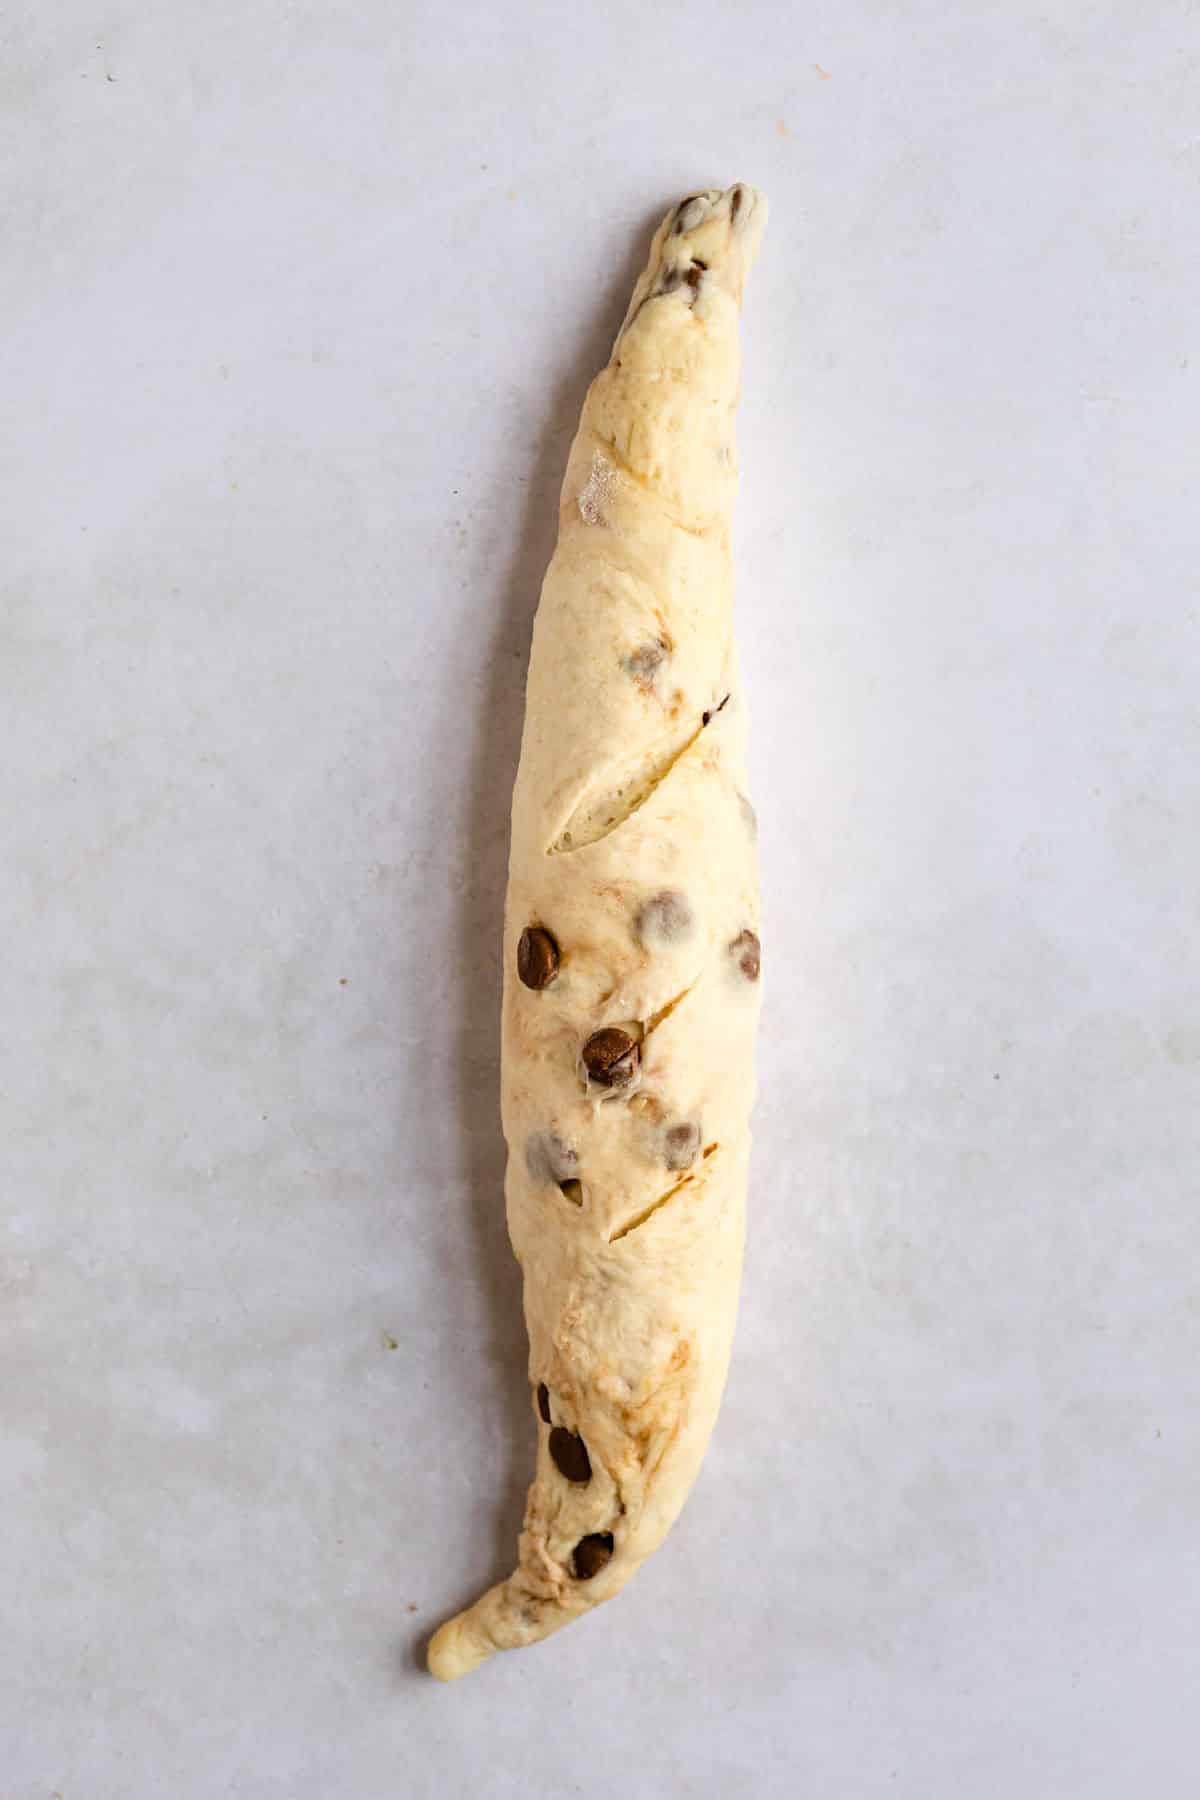
Step 14: Slash the tops diagonally with a thin, sharp knife.
Step 15: Cover with greased plastic wrap, and allow the loaves to sit while you preheat your oven to 350 F.
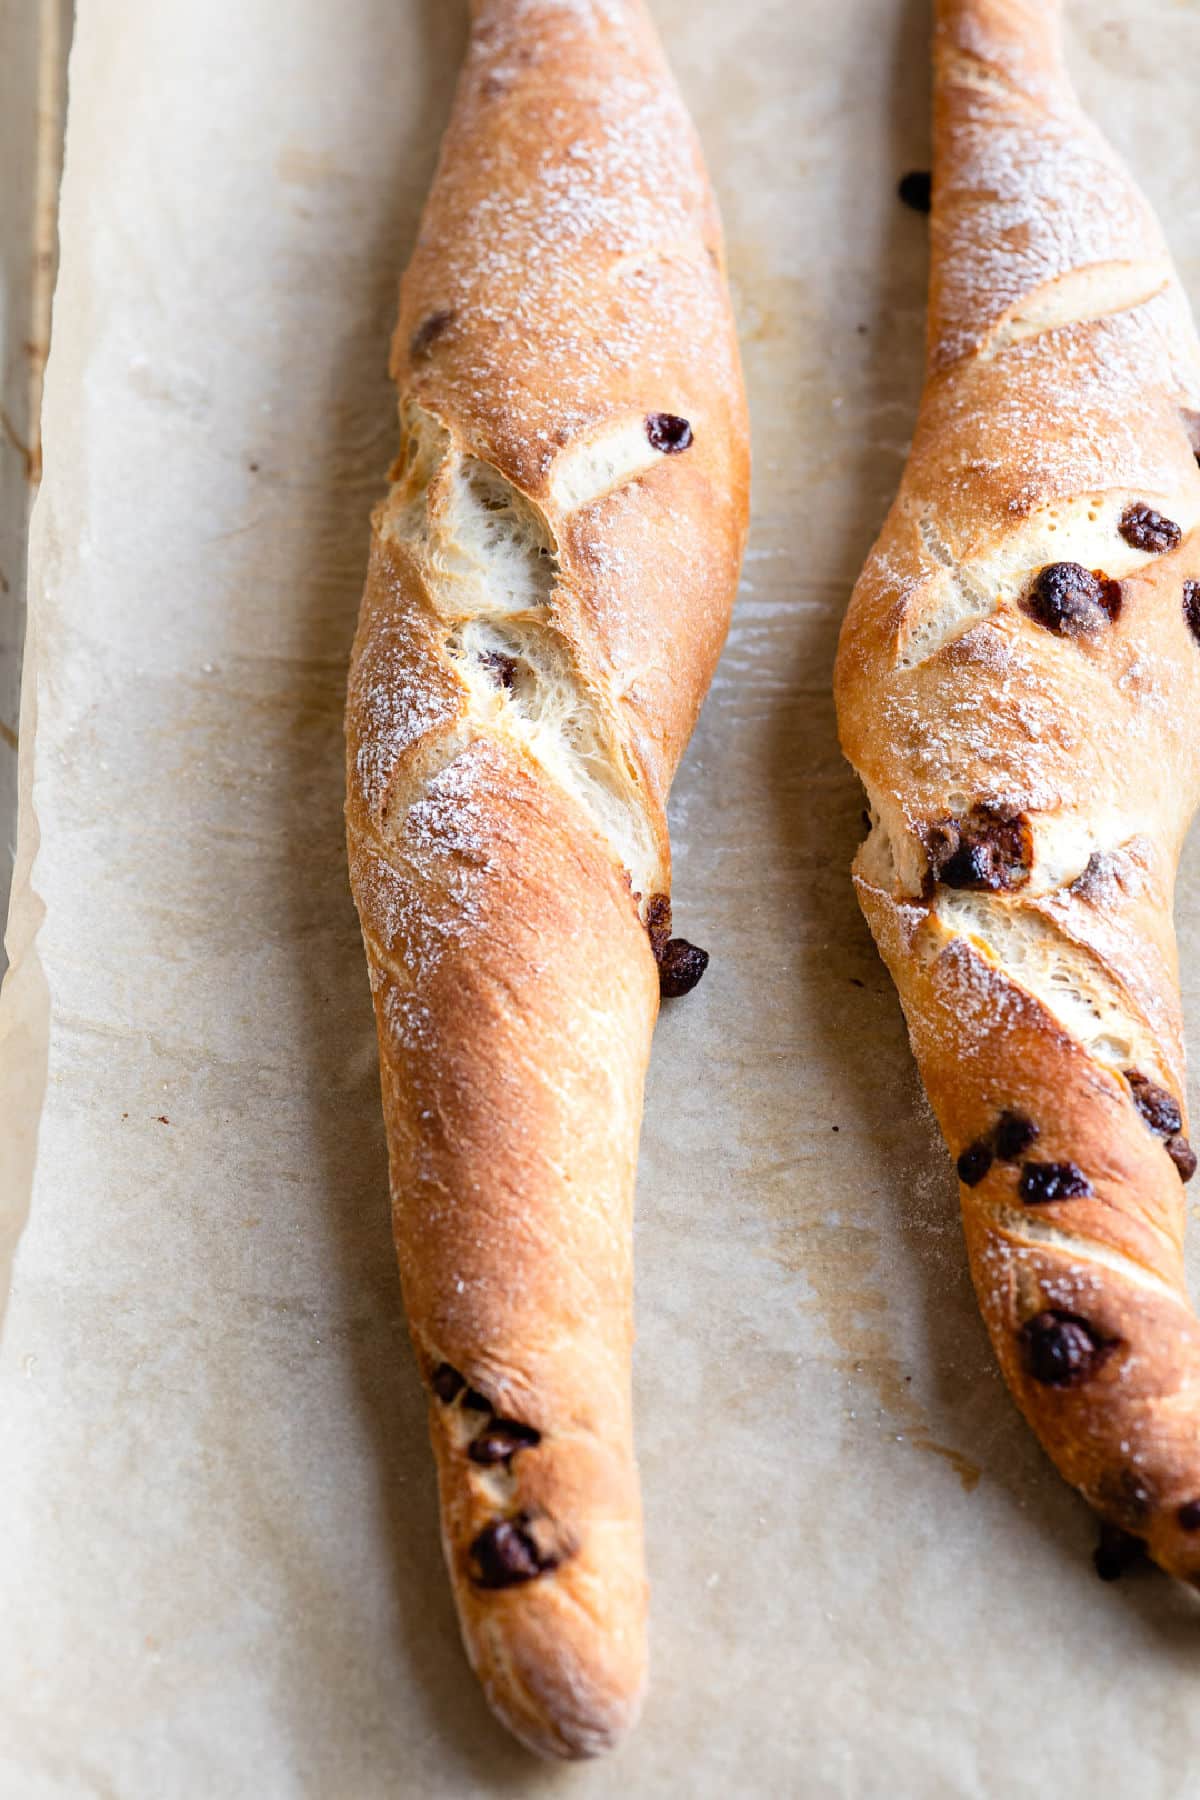
Step 16: Bake for 20-25 minutes until golden brown.
Recipe Tips!
- Flour: It’s important add only enough flour to make the dough by feel. I’ve included tips to help make the dough. Adding too much flour will give you dry or heavy bread.
- Pearl sugar: If you’d like to use pearl sugar, sprinkle a little on the risen, shaped loaf just before baking.
- Rewarm: If you’d like to rewarm the bread, wrap it in aluminum foil and place it in a 325F oven and warm until the bread is heated through.
Storage
Store any leftover baguettes in an airtight container at room temperature. The baguettes will keep for 2-3 days when properly stored.
More chocolate chip recipes!
If you’ve tried this easy chocolate chip baguette recipe, don’t forget to rate the recipe and leave me a comment below. I love to hear from people who’ve made my recipes!
You can subscribe to receive my latest recipe newsletters or follow me on Facebook, Instagram and Pinterest for even more delicious food.

Easy Chocolate Chip Baguettes
Ingredients
- 2 ½ cups warm water about 105 F
- 1 tablespoon + 1 teaspoon active dry yeast
- 3 tablespoons granulated sugar
- 1/2 teaspoon salt
- 3 tablespoons olive oil
- 5 ½-6 ½ cups all-purpose flour
- 12 oz package chocolate chips I use dark or semisweet chocolate chips
Instructions
- In a large bowl, stir together water, yeast, and sugar.
- Let stand 5-10 minutes, or until foamy
- Stir in salt, oil, and 2 cups flour.
- Continue stirring in enough flour to form a soft, sticky dough (It takes me around 6-6 ¼ cups).
- Cover bowl with greased plastic wrap, and let it sit in a warm place for 15 minutes.
- Knead in chocolate chips. It’s ok if they aren’t perfectly incorporated at this point.
- With lightly floured hands, divide dough into 8 pieces.
- Place dough on a lightly floured surface.
- Form a piece into a rectangle (about 4×2 inches).
- Fold top 3rd of dough back to middle.
- Fold bottom 3rd of dough back to middle.
- Continue until dough is about 8 inches in length.
- Dust dough with additional flour if desired (this just gives it a more rustic look).
- Repeat process with remaining dough.
- Place dough onto parchment-lined or silicone baking mat-lined baking sheets.
- Slash the tops diagonally with a thin, sharp knife.
- Cover with greased plastic wrap, and allow the loaves to sit while you preheat your oven to 350 F.
- Bake for 20-25 minutes until golden brown.
Notes
- Flour: It’s important add only enough flour to make the dough by feel. I’ve included tips to help make the dough. Adding too much flour will give you dry or heavy bread.
- Pearl sugar: If you’d like to use pearl sugar, sprinkle a little on the risen, shaped loaf just before baking.
- Rewarm: If you’d like to rewarm the bread, wrap it in aluminum foil and place it in a 325F oven and warm until the bread is heated through.
- Nutrition values are estimates.
Nutrition
Did You Make This Recipe?
Share it with me on Instagram @i_heart_eating and follow on Youtube @katedean and Pinterest @katedean for more!
Reader Interactions
Love this recipe?
Share your thoughts below and let’s chat! Make sure to connect with me on your favorite social platform below and show me what you made!





Comments & Reviews
Shauna Quigley says
Look so good! I wonder what they would be like with some cinnamon and raisins?
Kate says
Thank you! I think that cinnamon and raisins would be fantastic in this recipe!
Erika says
Yes! This!!!! I remember getting these in Paris too, and is the true pain au chocolat (not the croissant type dough). Soooo good. Plain, fresh bread with good quality chocolate is simple and freaking spectacular. Thanks!
Kate says
I’m glad someone else remembers them! When I came home, I couldn’t find anything about the bread I remembered. =)
Pokemon Fan says
This is one of the best recipes ever!!!
Kate says
Thank you so much!!
Lauren says
Can I use instant yeast?
Kate says
You can! You can skip step 2 (unless you just want to double check that your yeast was good) and then continue with the recipe as written.
Caroline says
I had never had a chocolate chip baguette, but this is delish!
Karen says
If I don’t want to bake them all at once can I freeze the dough or do the baguettes freeze well after baking
Kate says
I haven’t tried freezing this particular recipe, but I can’t think of any reason why the dough wouldn’t freeze well. Good luck! =)
Jelli says
These are in going in my oven in just a few short minutes. Totally psyched about eating them for breakfast tomorrow. Thanks for the recipe. P.S. When my husband and I were in France we lived off baguettes and cheese. Nom nom nom.
Kate says
Yay!! I hope you like them as much as we do! =)
Oh, I miss baguettes and cheese! They had so many amazing kinds of cheese, and it’s hard to beat a fresh baguette!
Ashalina says
Why does it say tsp. tsp. twice for the yeast section
Kate says
Just a typo. All set now. Thanks! =)
Sharon says
I had the same mini baguettes in Montreal. Fantastic with an espresso or latte in the morning!
Kate says
Absolutely! =)
Carolina Acosta says
Hi!
I’m sorry but i don’t understand when you said T … In the ingredients.
I don’t speak mush English
Thanks
Kate says
Hi! T is for tablespoon. If you have any other questions, just let me know!
Madeline says
This looks so easy and delish! Do you think this would work with gluten-free flours as well?
Kate says
Thanks! Maybe? I’m sorry, but I’m not familiar enough with gluten-free flours to give you a definitive answer. If you try it, I would be interested to hear how it turns out!
Shelby @ Go Eat and Repeat says
What a cool idea. I have a serious sugar problem so this recipe will do just the trick to get my chocolate fix in.
Kate says
Thank you! You and me both! =)
Elise says
Here’s the link to the Fine Cooking video explaining the folding technique used to shape the baguettes.
I’m adding some dried cherries to the dough. Can not wait to make them this weekend.
https://www.finecooking.com/recipes/homemade-mini-baguettes.aspx
Thanks, Kate!
Kate says
Thanks for the link, Elise! The cherries sound like a fantastic addition!