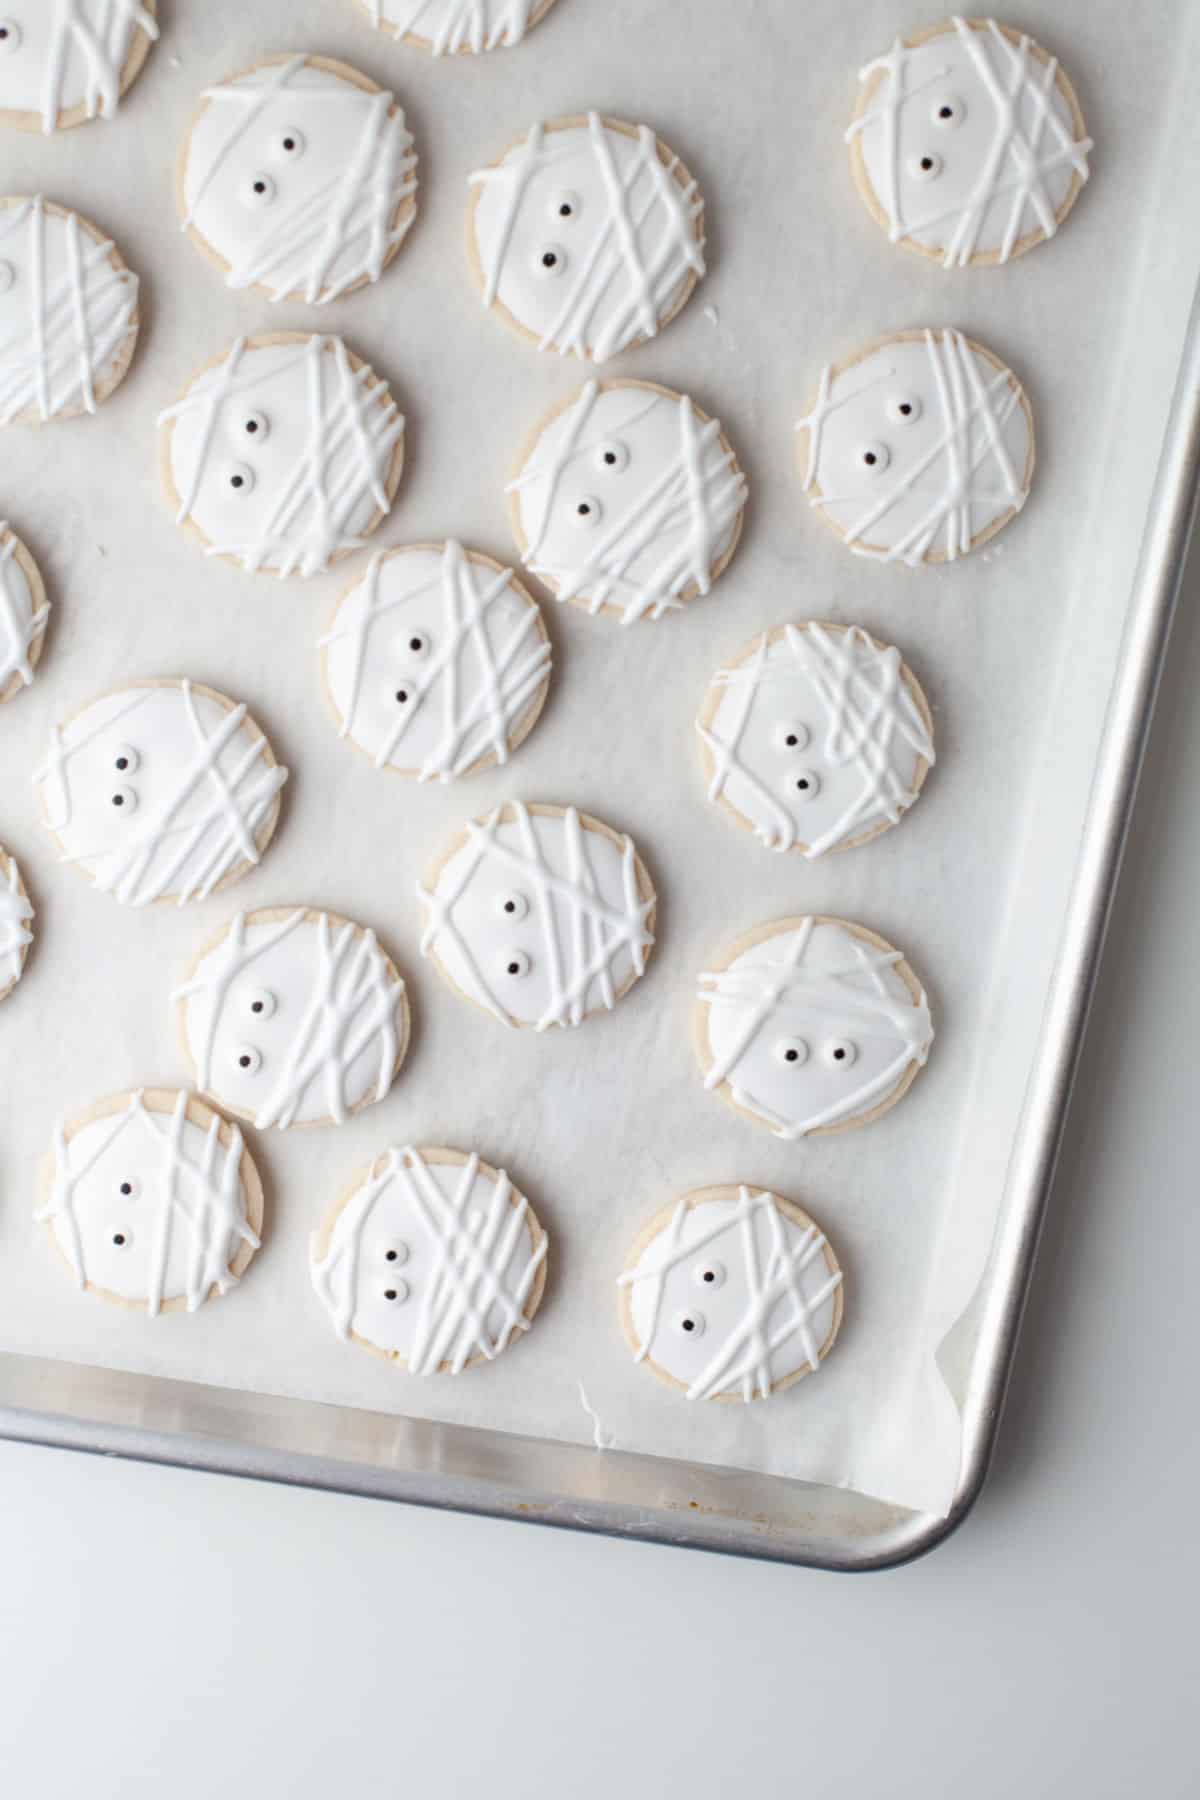
Mummy sugar cookies are soft homemade vanilla sugar cookies topped with royal icing and candy eyes. These easy Halloween cookies make a festive Halloween treat or dessert.

Mummy sugar cookies are fun and festive Halloween sugar cookies. This simple sugar recipe is similar to my no chill sugar cookie recipe. It makes tender vanilla sugar cookies, and it’s perfect for icing!
There are also step-by-step photos below showing how to make royal icing and how to ice the cookies. And don’t skip the tips! They’ll help you make perfect cookies.
What you’ll need to make mummy sugar cookies
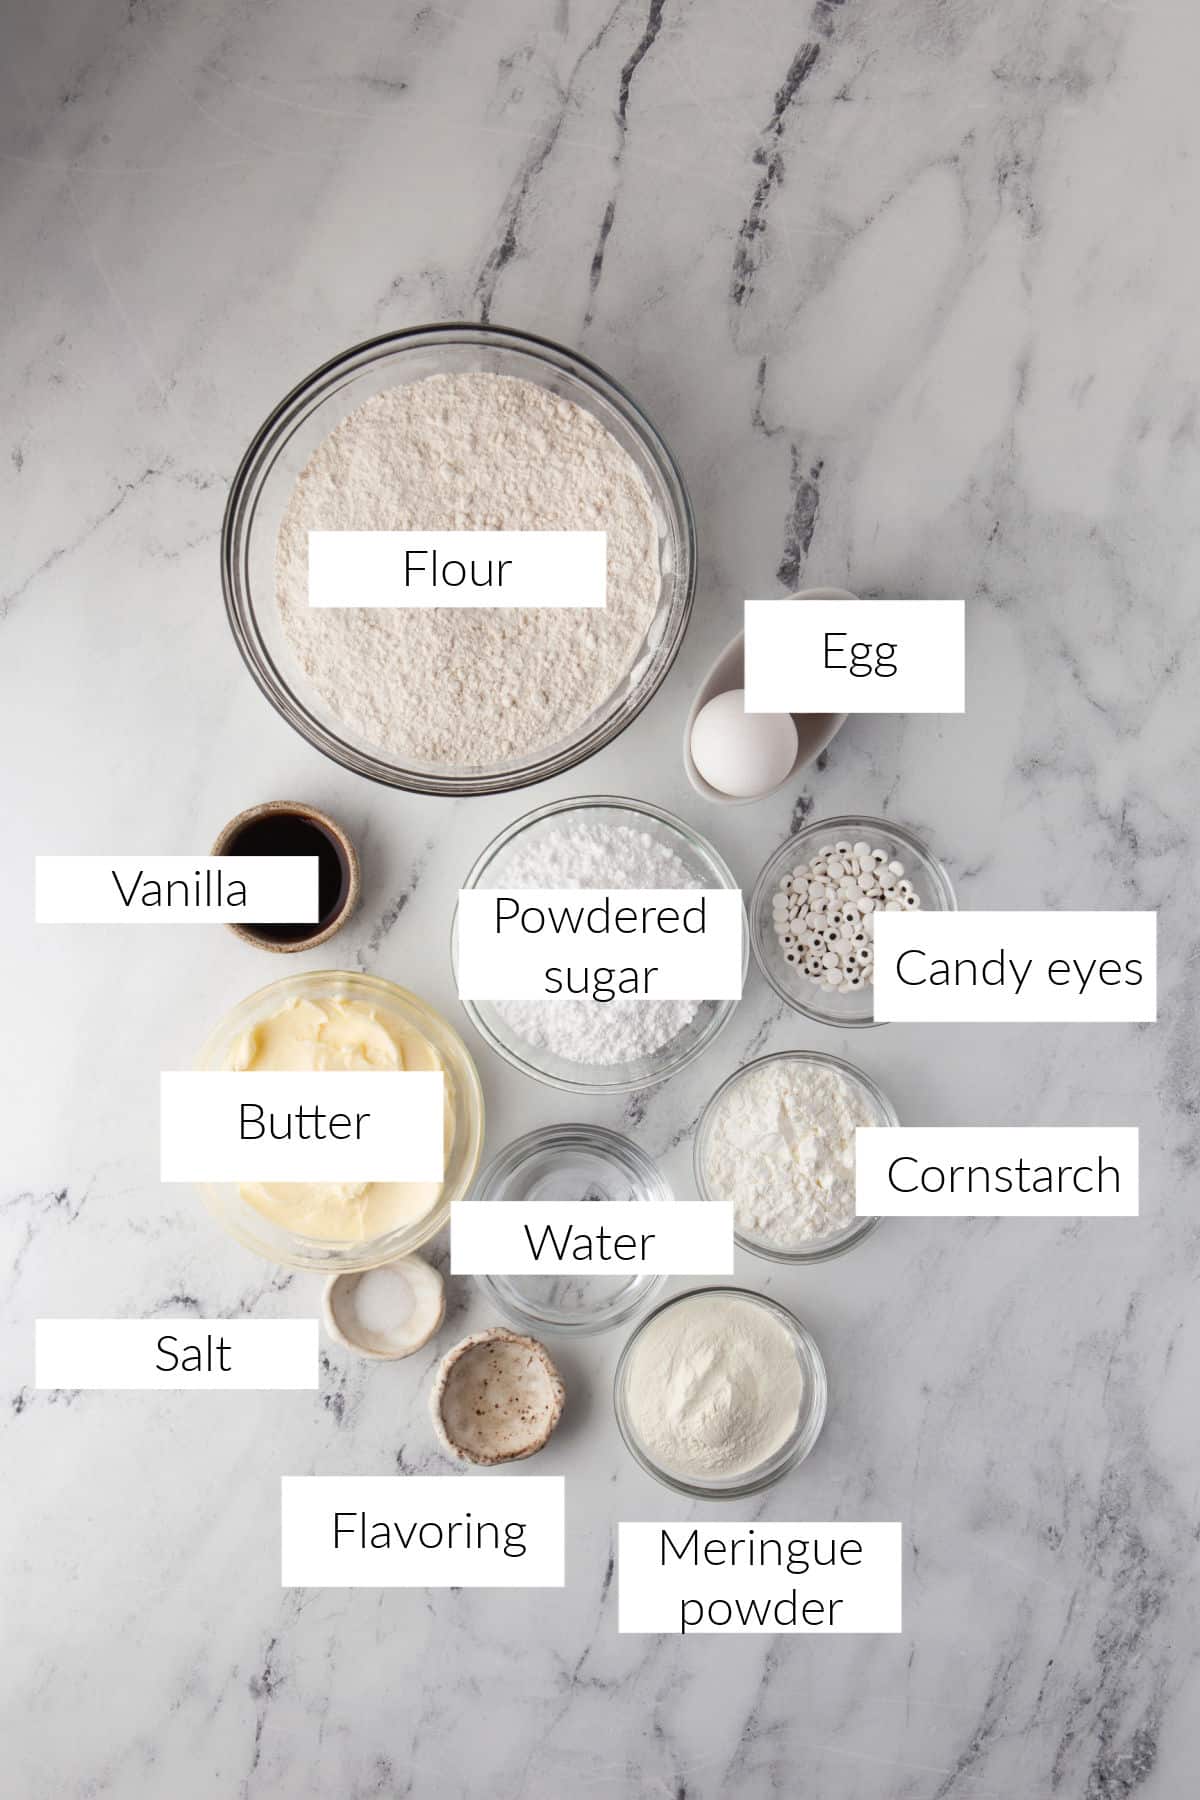
- Butter: I use salted butter in these cookies. If using unsalted butter, increase the amount of salt by 1/4 teaspoon.
- Powdered sugar: Powdered sugar helps to make the cookies light and tender. It also gives the icing its sweetness.
- Large egg
- Egg yolk
- Vanilla extract: If you’d like the cookies to be lighter, use clear vanilla extract.
- All-purpose flour: It’s key to properly measure the flour. Either weigh the flour (click on “metric” for the measurements by weight) or sift/stir the flour to break it up. Lightly spoon the flour into a measuring cup and level. Avoid packing the flour as that will give you dry dough that doesn’t hold together.
- Cornstarch: The cornstarch also helps to give the cookies their light, tender texture.
- Salt
- Warm water: Tap warm is fine.
- Meringue powder: Meringue powder is usually made from dried egg whites and a stabilizer.
- Clear flavor extract: It’s important to use a clear flavor extract so that you don’t end up with off-white cookies. Clear vanilla flavoring or almond extract work well.
How to make mummy sugar cookies
To make the mummy sugar cookies, first make the cookies and let them cool, then make the royal icing, and finally ice the cooled cookies.
Cookies
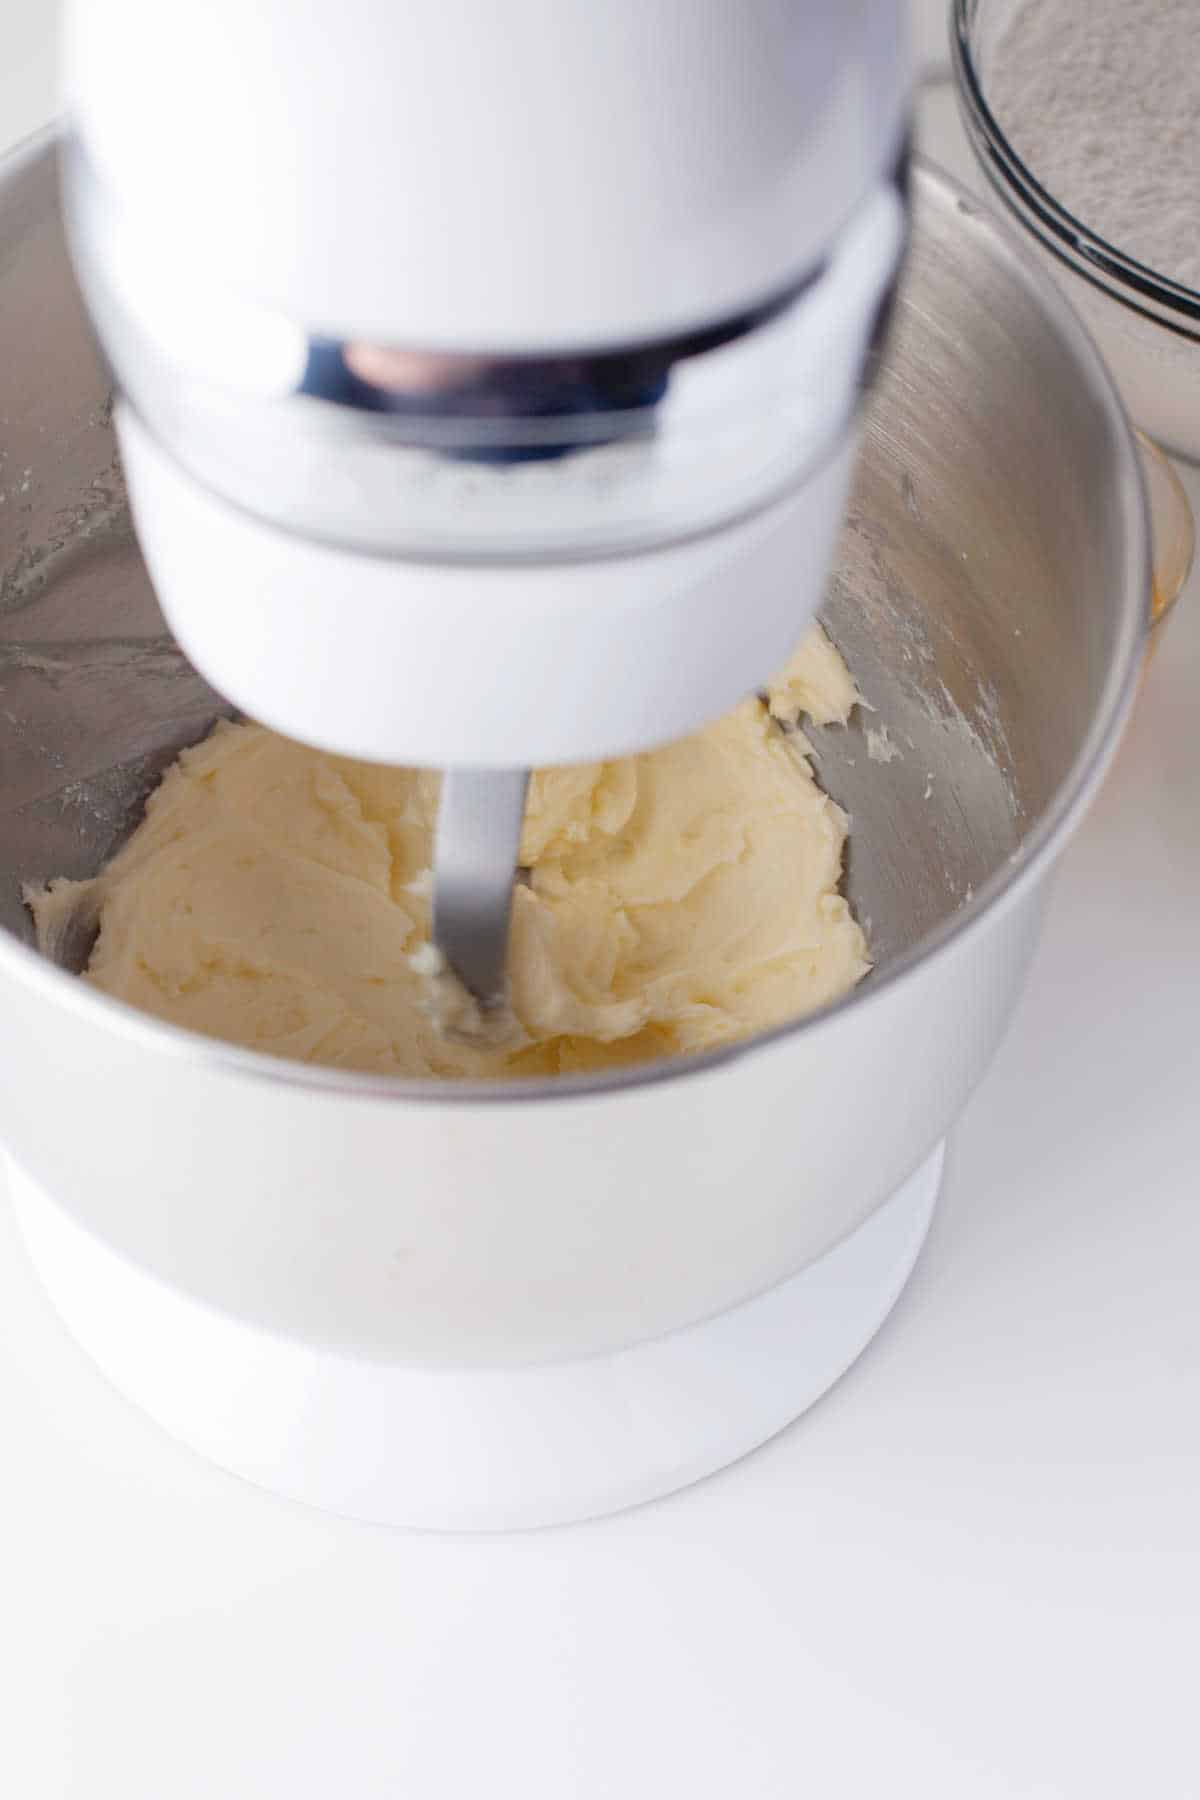
Step 1: Mix butter and sugar in a stand mixer fitted with a paddle attachment or in a large bowl with an electric hand mixer on low speed for 30 seconds.
Step 2: Increase speed to medium and beat until well combined and creamy, about 2-3 minutes.
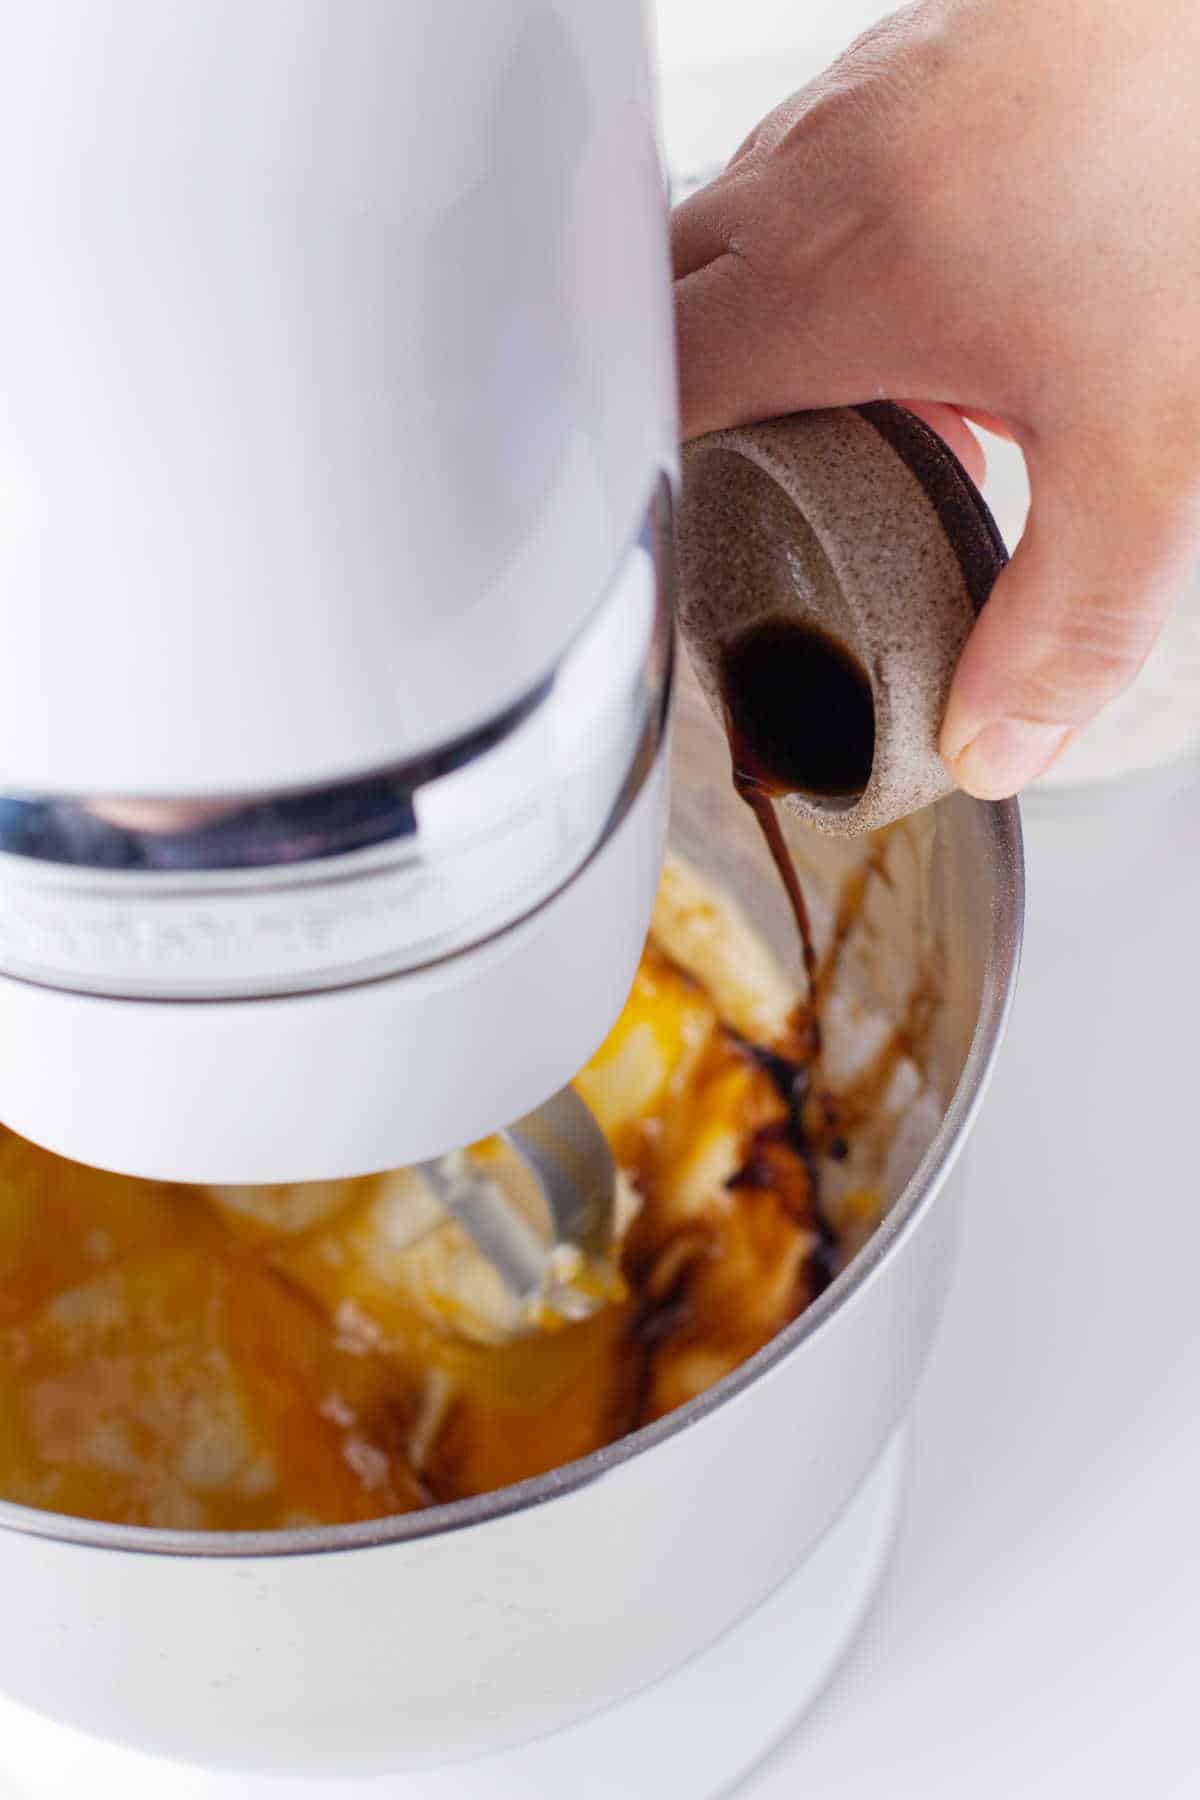
Step 3: Add the egg and vanilla and mix in until combined.
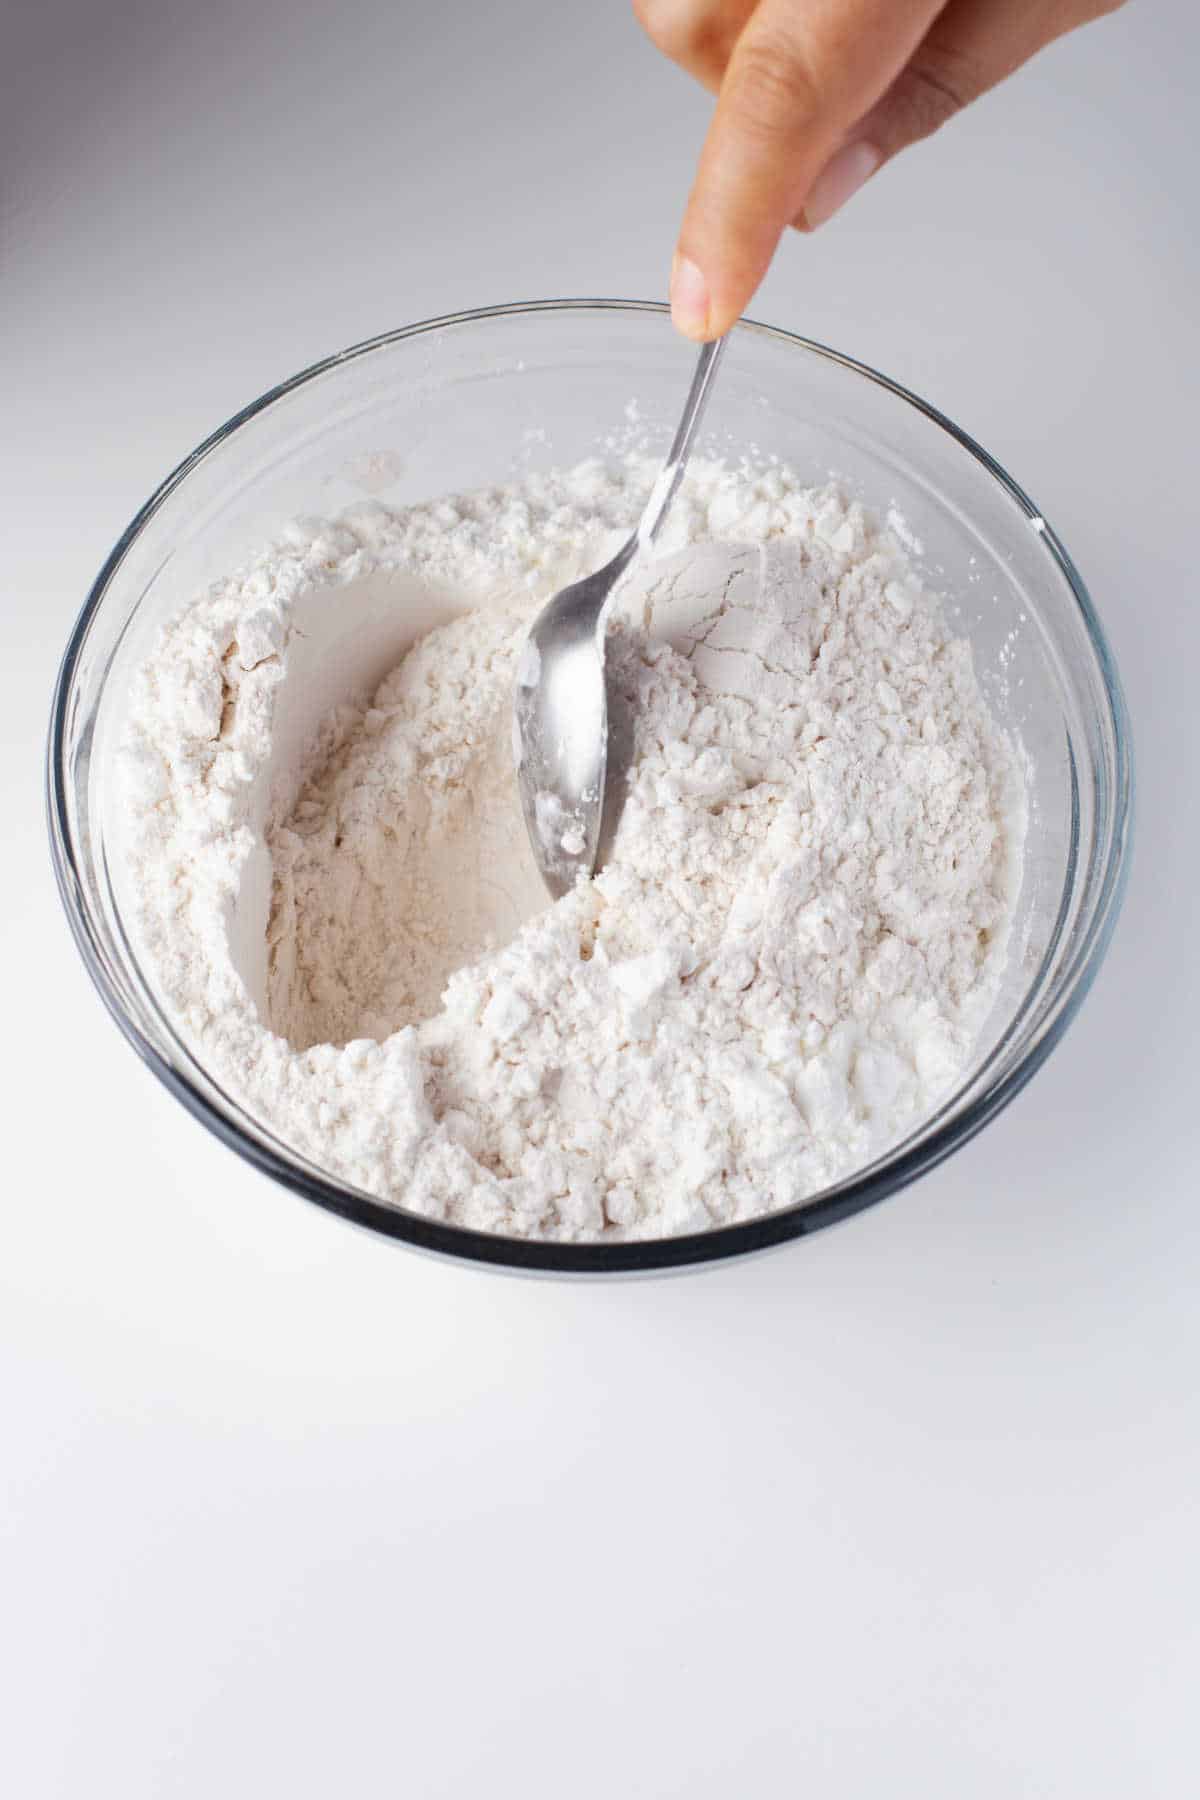
Step 4: Stir the flour, salt, and cornstarch together in a separate medium bowl.
Step 5: Add the flour mixture to the wet ingredients little by little and mix in until just combined.
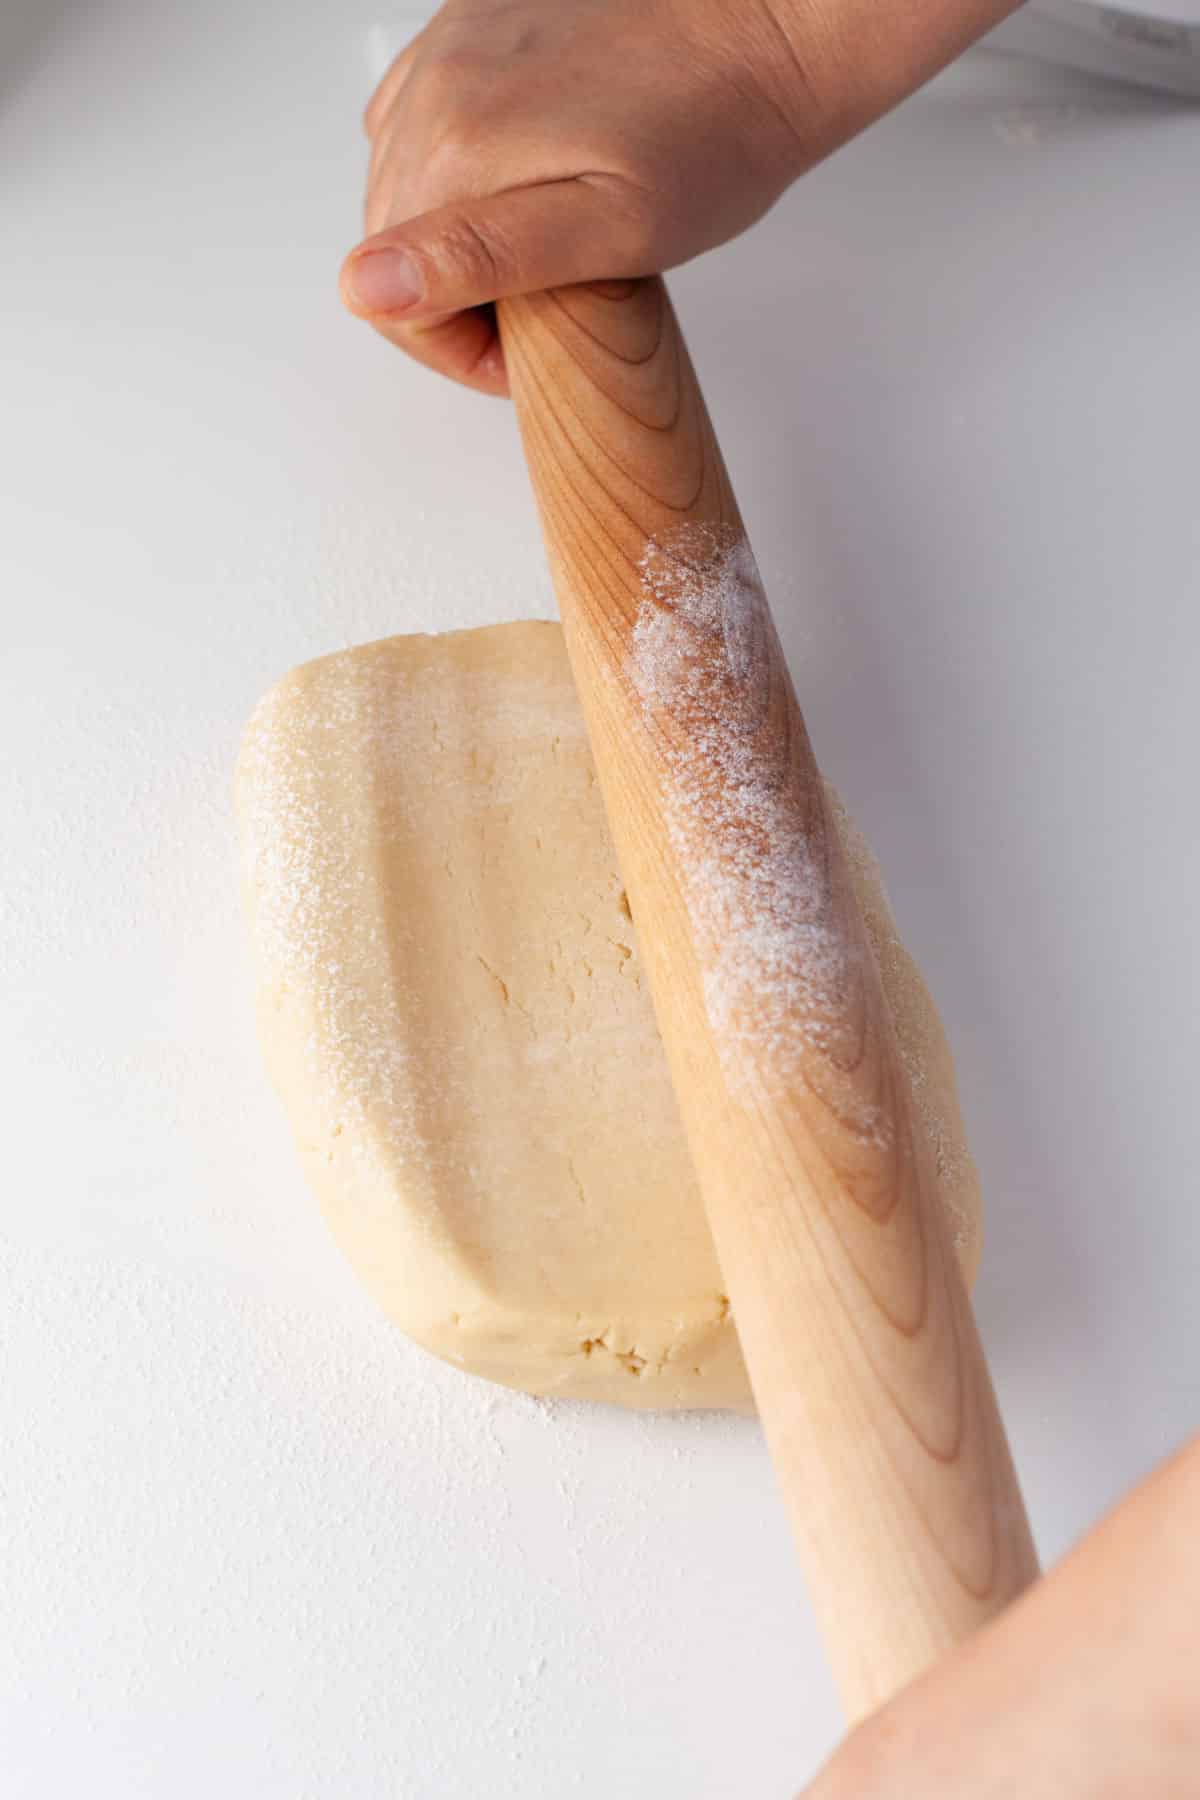
Step 6: Roll the dough into a rectangle that is ¼” inch thick on a lightly powdered sugar-covered work surface. Wrap tightly in plastic wrap and place the dough in the refrigerator for 30 minutes.
Step 7: Toward the end of the chilling time, preheat the oven to 350 F. Line two large cookie sheets with parchment paper or silicone baking mats. Set aside.
Step 8: Unwrap the dough and place on a work surface that’s lightly dusted with powdered sugar.
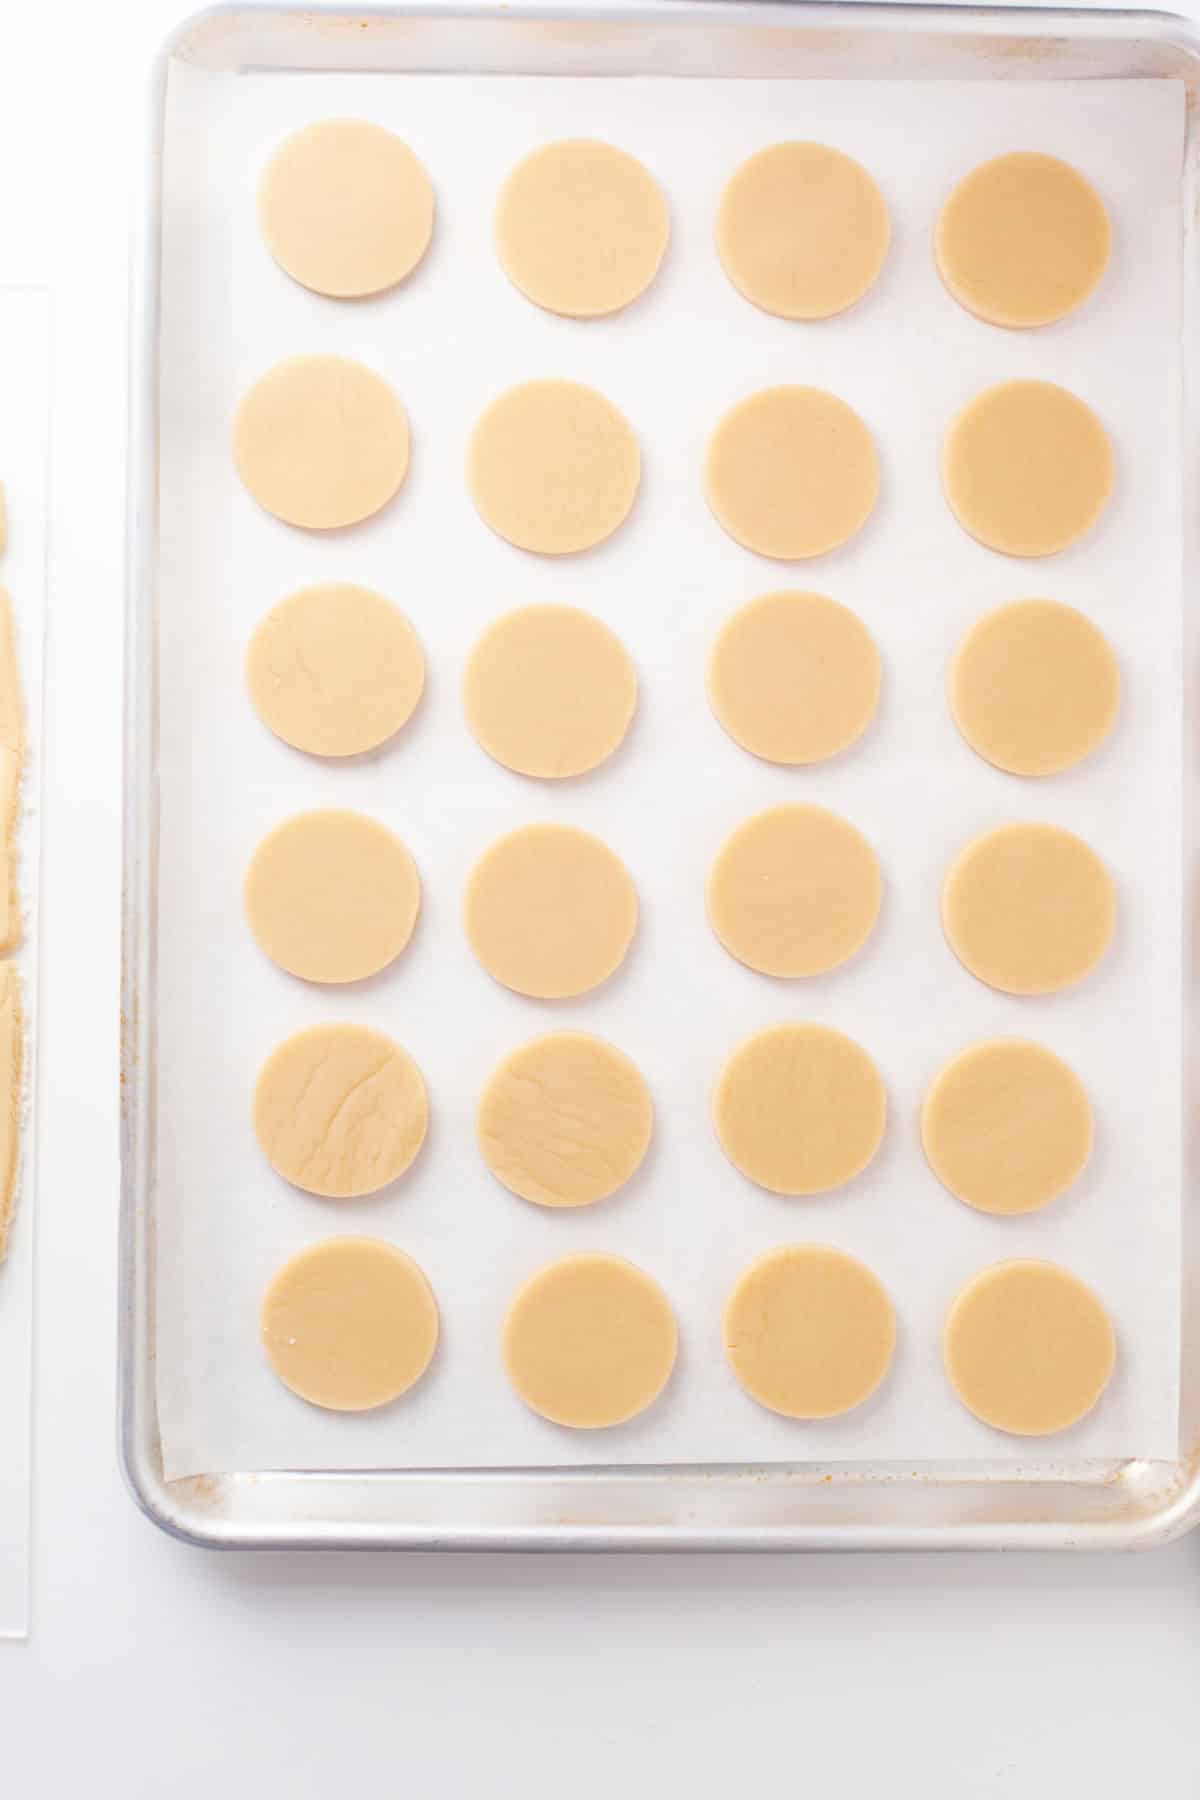
Step 9: Cut the dough into circles using a round cookie cutter and place them on a baking sheet.
Step 10: Bake for 12-15 minutes, or until the edges are just beginning to turn golden brown.
Step 11: Let them cool for at least an hour. They must be completely cool before you add the icing.
Royal Icing
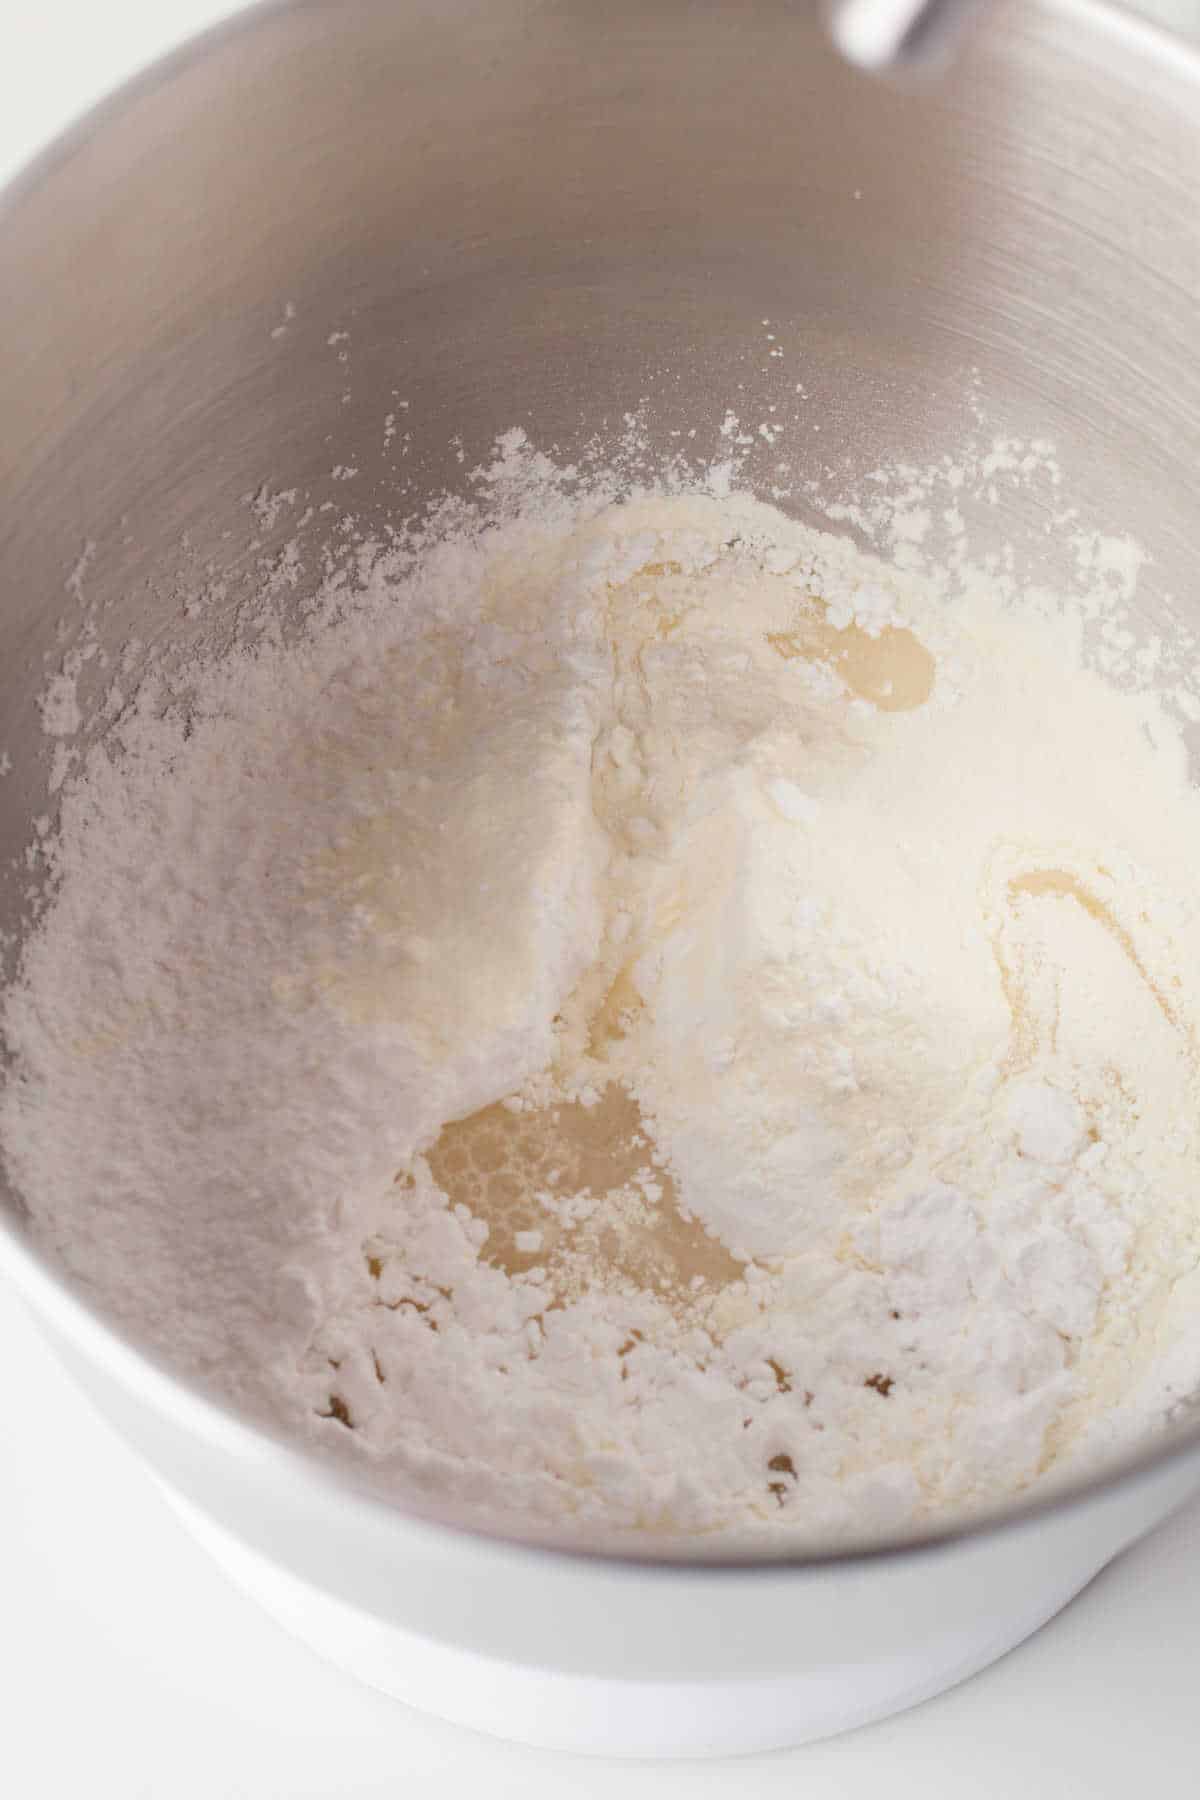
Step 1: To make the royal icing, beat the powdered sugar, flavor extract, water, and meringue powder in a stand mixer or in a large bowl with an electric hand mixer.
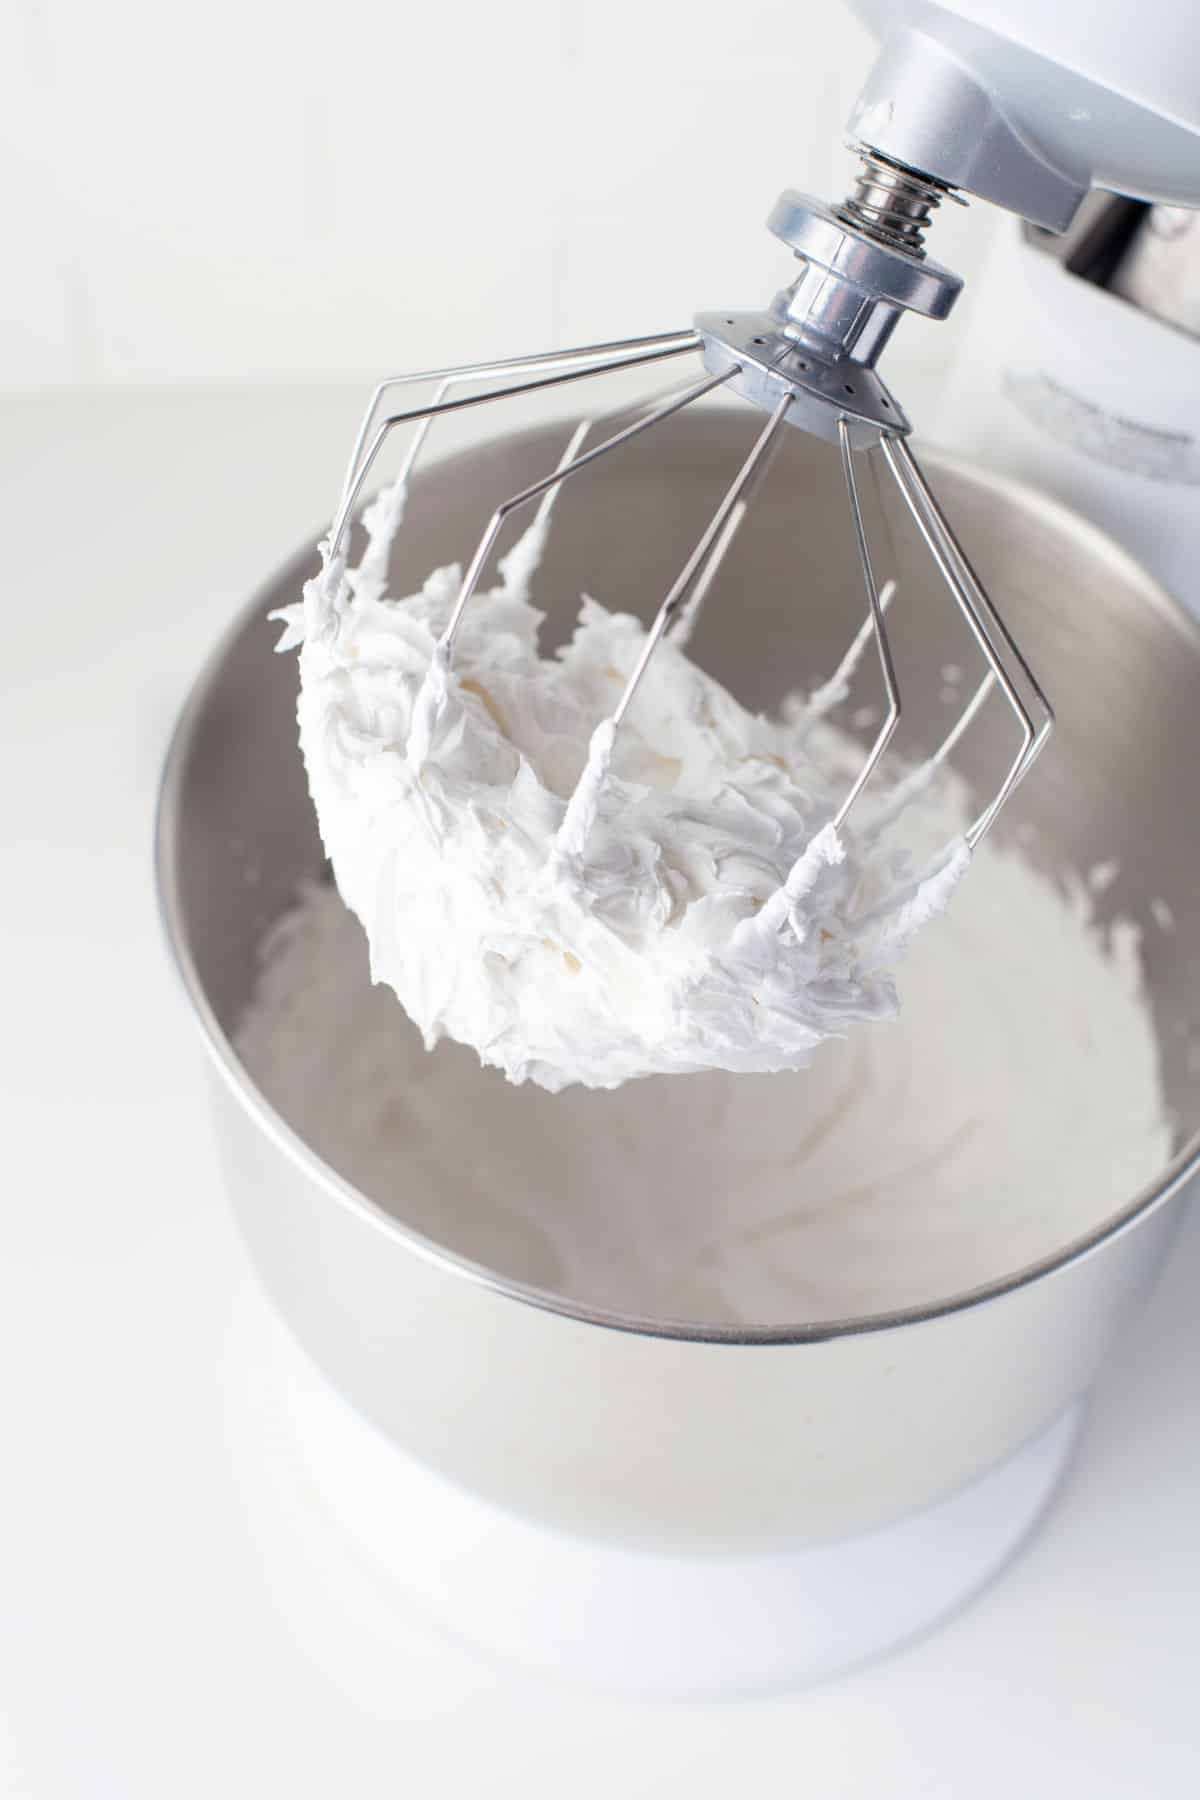
Beat until it’s fluffy and has stiff peaks, about 4 to 5 minutes.
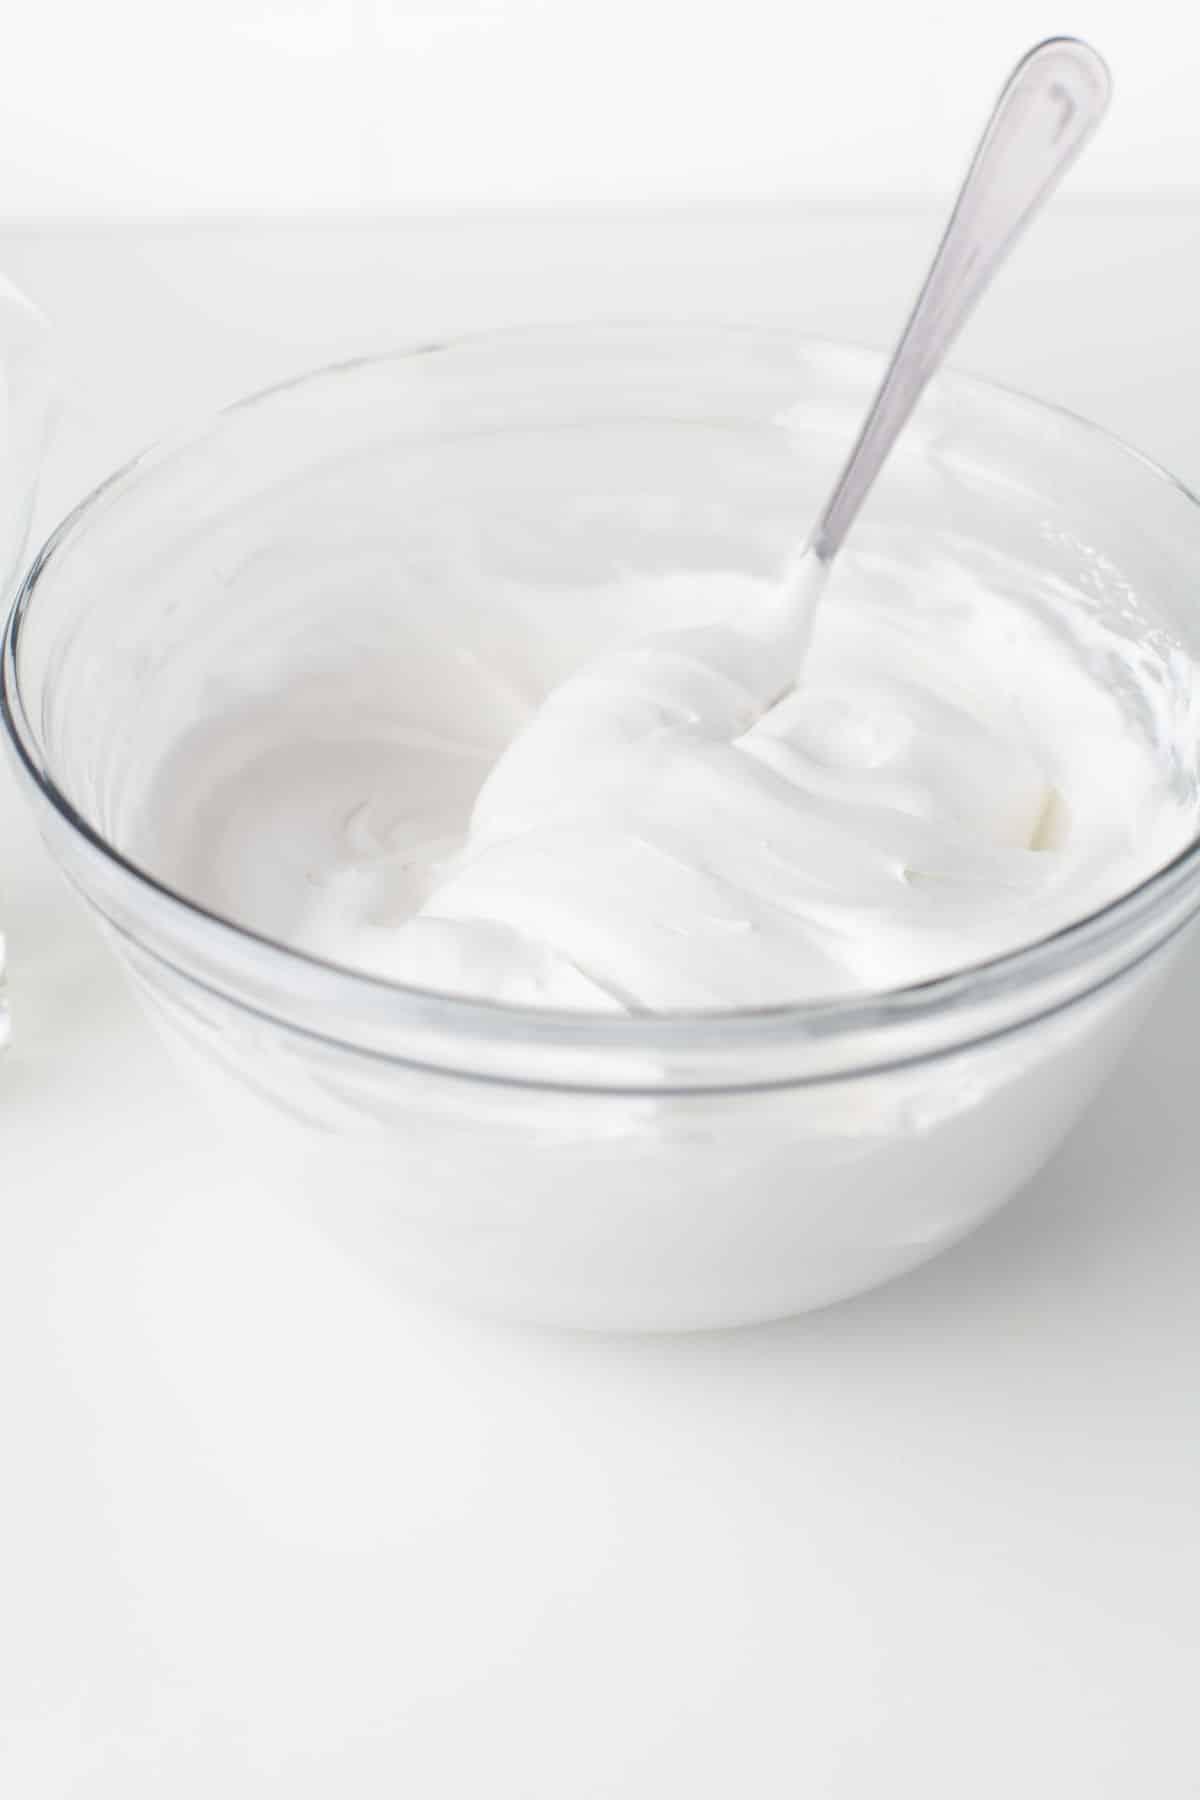
Step 2: Check the consistency of your icing. If it’s too thick add more water a little at a time. For these cookies, the icing should be a medium consistency. It should take about 15 seconds to disappear. This should work for flooding and details and should not be runny so it doesn’t run through the icing dam. Medium royal icing is slightly thinner than piping icing.
Step 3: Once you have the consistency you want, place it into a piping bag or a plastic baggie. If you are using a piping bag, seal it with a knot or with a rubber band.
Step 4: Cut a tiny edge of the bottom of the bag to use.
Putting it all together
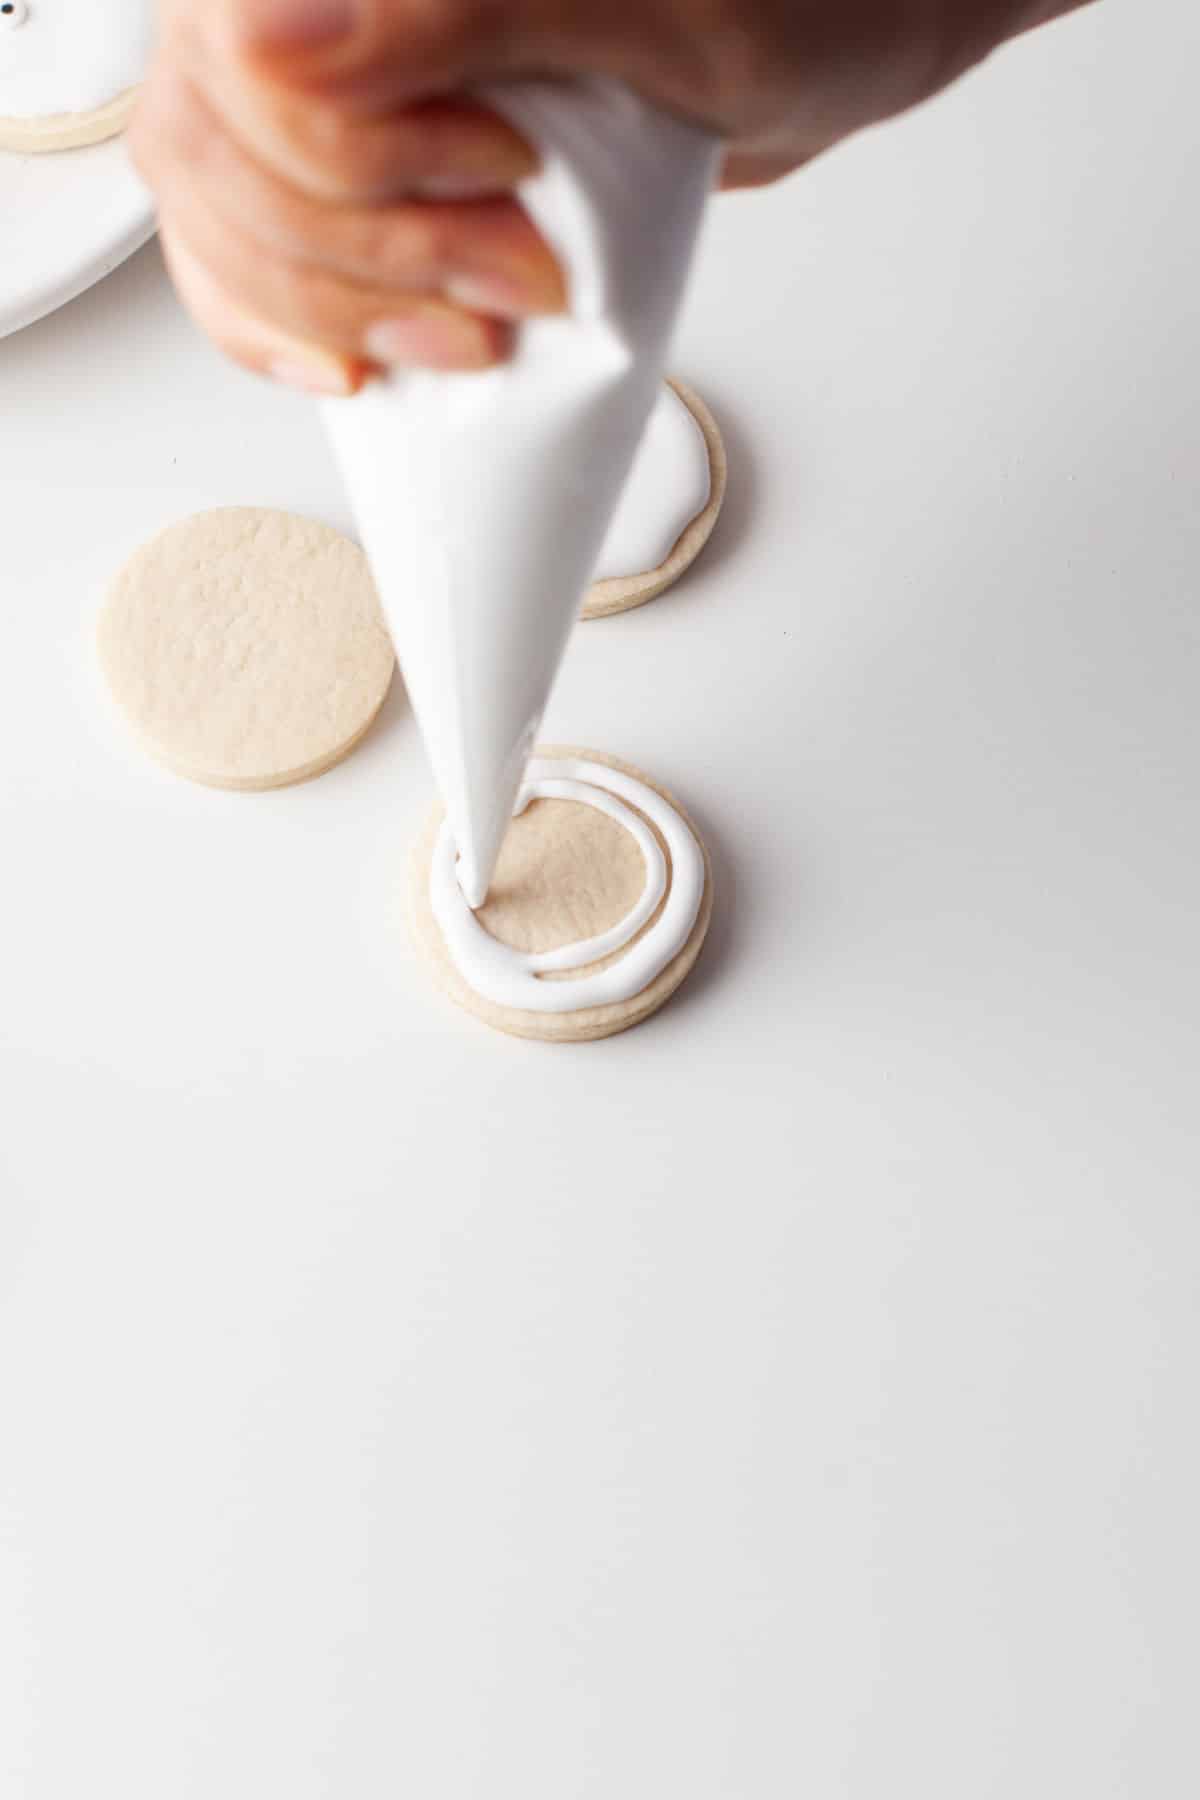
Step 1: Outline each cookie with the icing and continue making a spiral inwards.
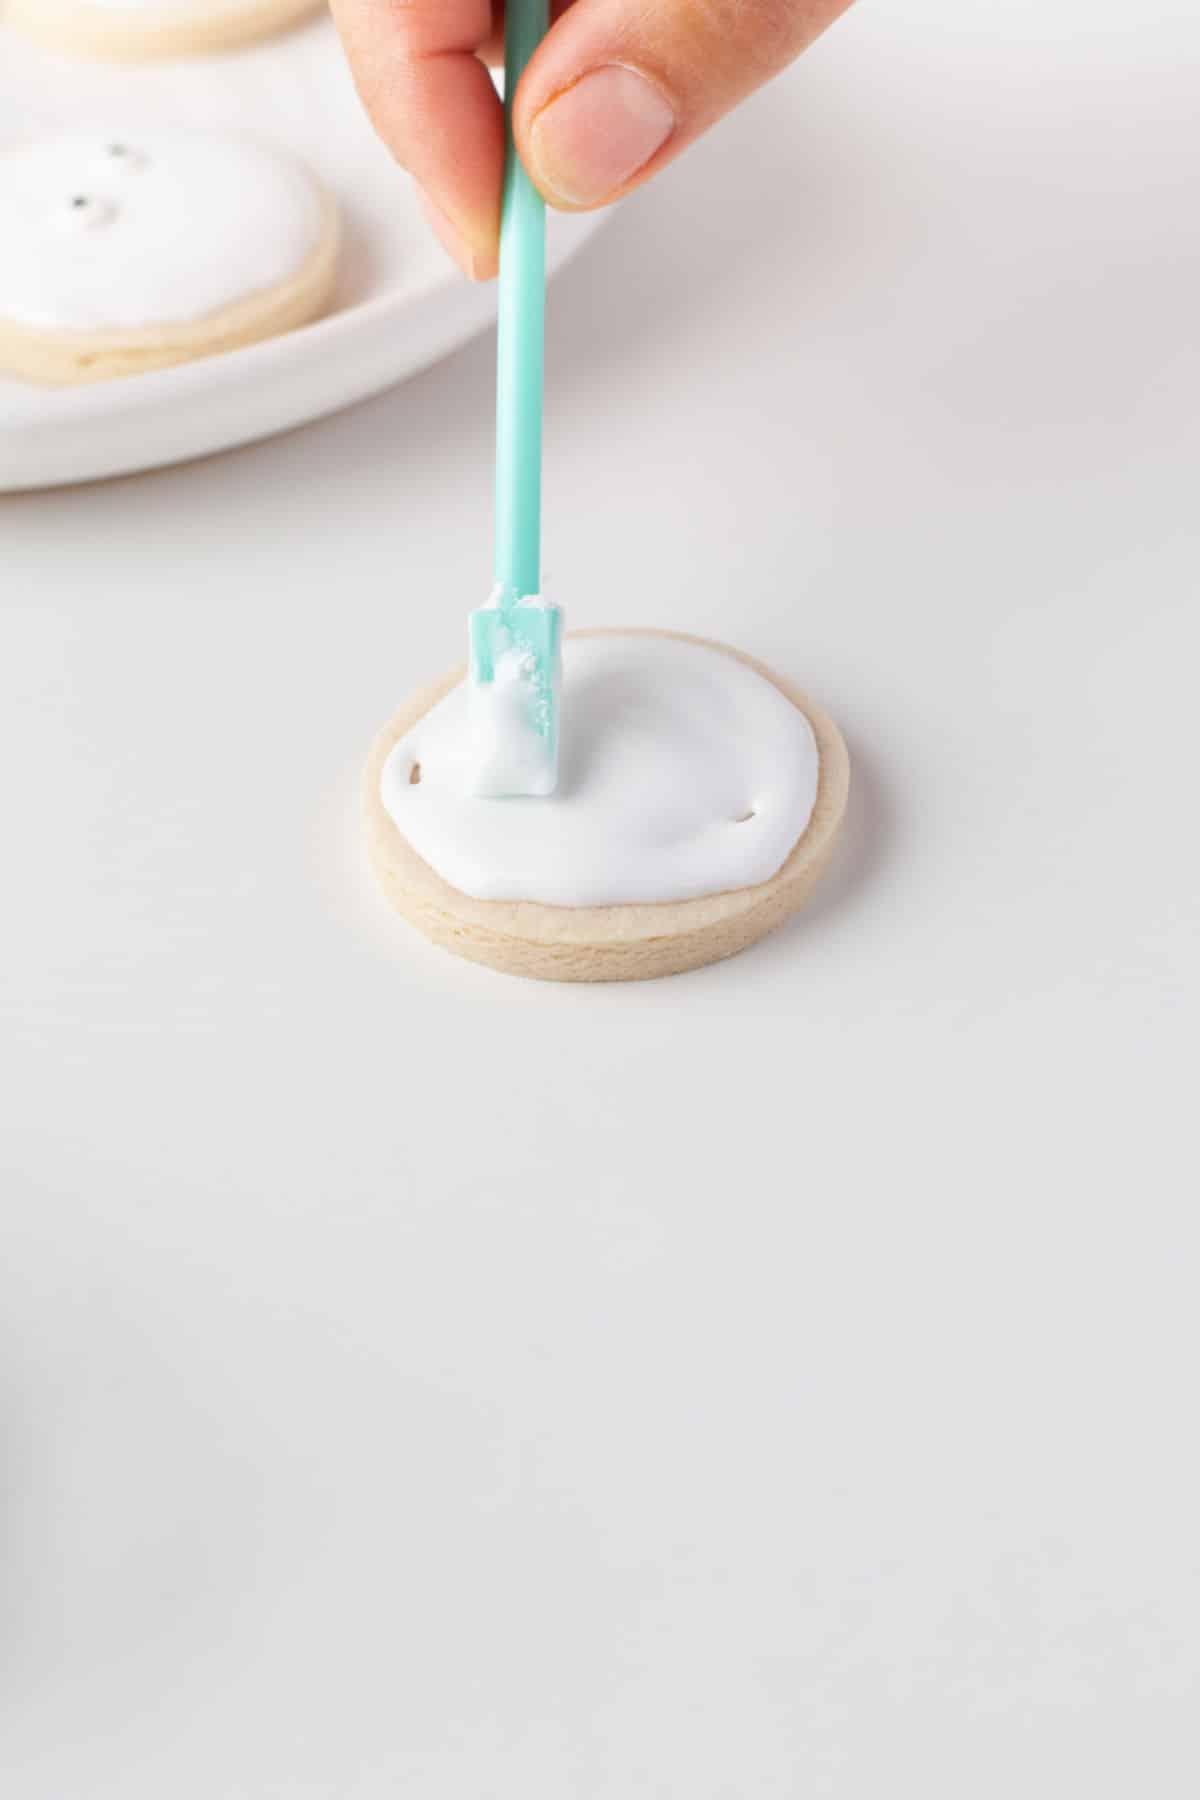
Step 2: Immediately use a toothpick or a similar tool to smooth the icing out.

Step 3: Place the eyes on the cookie. Allow the icing to set before adding the lines.
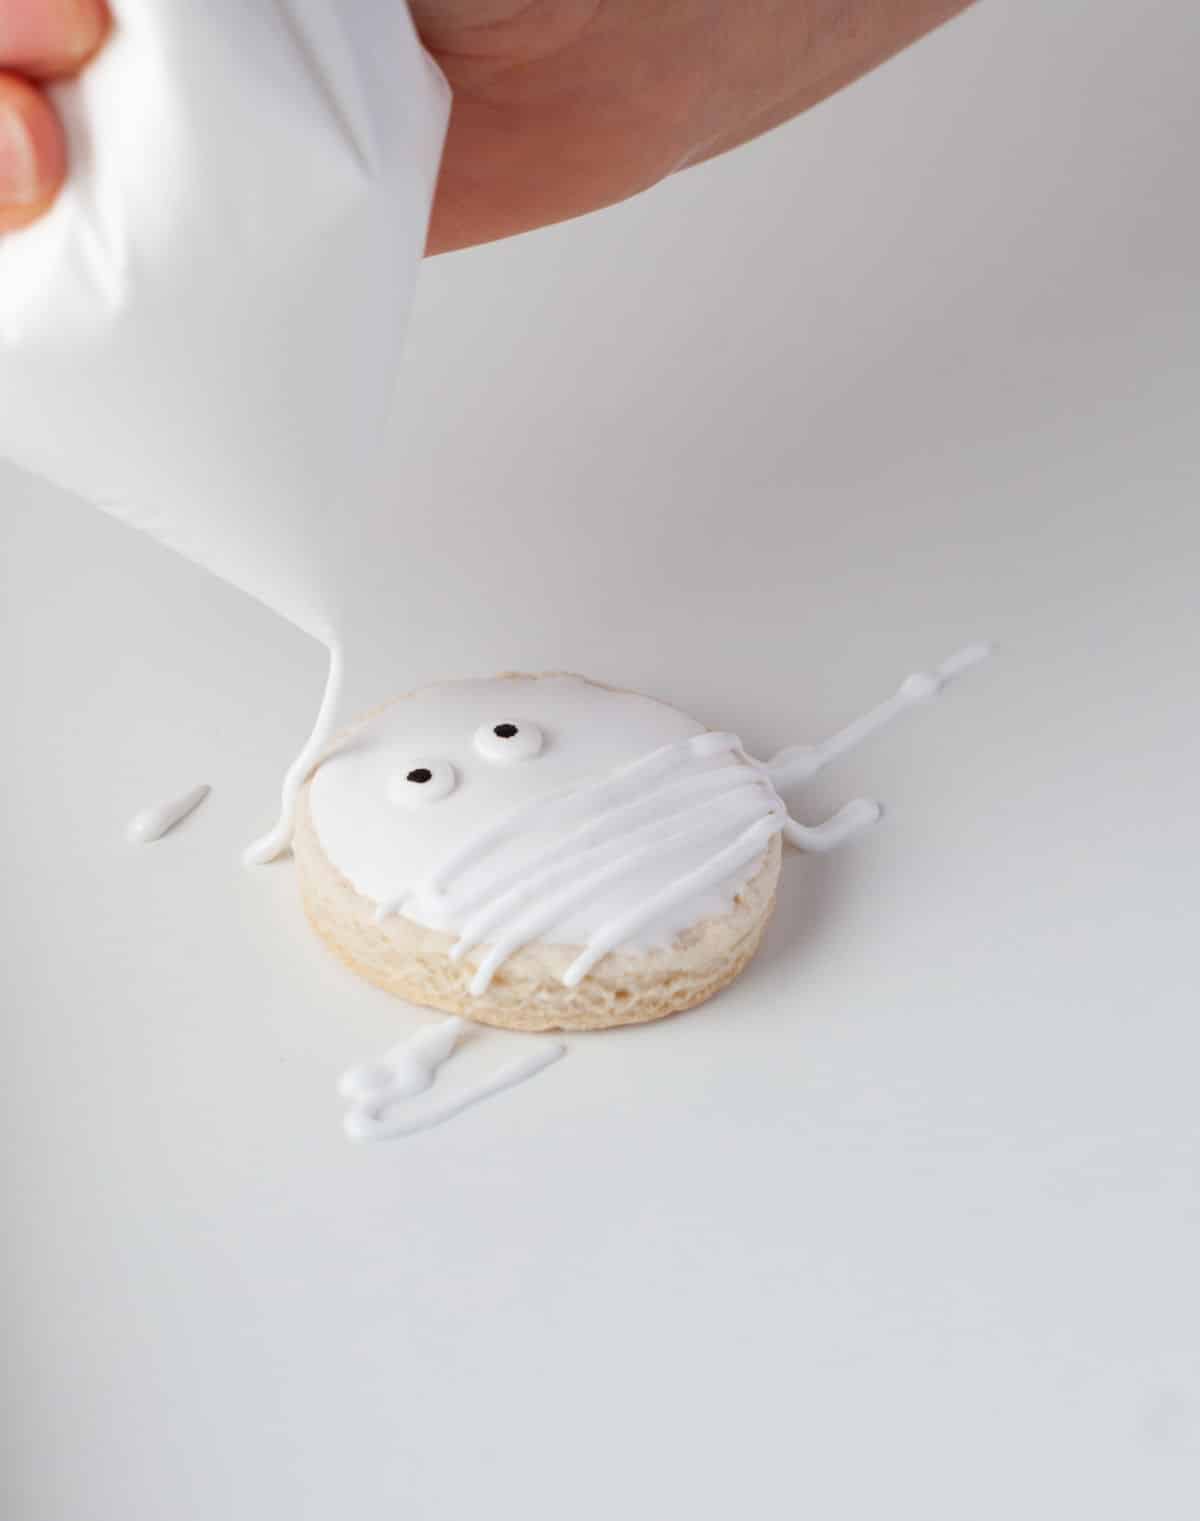
Step 4: Once the icing has set, drizzle each cookie with a bit of icing to make it look like the mummy wrapping. Be careful not to cover the eyes.
Recipe FAQs
Sure! You can make different shapes. The number of cookies you get from the recipe will vary depending on the size and shape of the cookie cutters that you use.
You can! It’s best to use gel color to avoid watering down the icing.

Tips
- Butter temperature: The butter should be at cool room temperature, or about 68F. The butter should dent when pressed, but it shouldn’t be warm or lose its shape when pressed.
- Measuring the flour: It’s important to properly measure the flour. Either weigh the flour (click on “metric” for the measurements by weight) or sift/stir the flour to break it up. Lightly spoon the flour into a measuring cup and level. Avoid packing the flour as that will give you dry dough that doesn’t hold together.
- Powdered sugar vs flour: I like to use powdered sugar when rolling sugar cookie dough. It keeps the dough from sticking to the work surface, and it also adds a bit of sweetness to the dough.

Storage
For best results, the cookies should be stored in a single layer in an airtight container in the refrigerator. The cookies will keep for up to 4 days when properly stored in the fridge.
To store more than one layer in the container, separate each layer with a sheet of wax paper.
More Halloween recipes!
If you’ve tried this mummy sugar cookie recipe, don’t forget to rate the recipe and leave me a comment below. I love to hear from people who’ve made my recipes!
You can subscribe to receive my latest recipe newsletters or follow me on Facebook, Instagram and Pinterest for even more delicious food.


Mummy Sugar Cookies
Equipment
- Mixer
Ingredients
Cookies
- 1 cup butter at cool room temperature
- 1 cup powdered sugar
- 1 large egg
- 2 teaspoons vanilla extract
- 3 ½ cups all-purpose flour
- ⅓ cup cornstarch
- ½ teaspoon salt
Royal Icing
- 1 ½ cups powdered sugar
- 2 ¼ tablespoons warm water
- 1 tablespoon meringue powder
- 1/4 teaspoon clear flavor extract
Instructions
Cookies
- Mix butter and sugar in a stand mixer fitted with a paddle attachment or in a large bowl with an electric hand mixer on low speed for 30 seconds.
- Increase speed to medium and beat until well combined and creamy, about 2-3 minutes.
- Add the egg and vanilla and mix in until combined.
- Whisk the flour, cornstarch, and salt together in a separate medium bowl.
- Add the flour mixture to the wet ingredients little by little and mix in until just combined.
- Roll the dough into a rectangle that is 1/4” inch thick on a lightly powdered sugar-covered work surface. Wrap tightly in plastic wrap and place the dough in the refrigerator for 30 minutes.
- Toward the end of the chilling time, preheat the oven to 350 F.
- Line two large cookie sheets with parchment paper or silicone baking mats. Set aside.
- Unwrap the dough and place on a work surface that’s lightly dusted with powdered sugar.
- Cut the dough into circles using a round cookie cutter and place them on a baking sheet.
- Bake for 12-15 minutes, or until the edges are just beginning to turn golden brown.
- Let them cool for at least an hour. They must be completely cool before you add the icing.
Royal Icing
- To make the royal icing, beat the powdered sugar, flavor extract, water, and meringue powder in a stand mixer or in a large bowl with an electric hand mixer until it’s fluffy and has stiff peaks, about 4 to 5 minutes.
- Check the consistency of your icing. If it's too thick add more water a little at a time. For these cookies, the icing should be a medium consistency. It should take about 15 seconds to disappear. This should work for flooding and details and should not be runny so it doesn't run through the icing dam. Medium royal icing is slightly thinner than piping icing.
- Once you have the consistency you want, place it into a piping bag or a plastic baggie. If you are using a piping bag, seal it with a knot or with a rubber band.
- Cut a tiny edge of the bottom of the bag to use.
Putting it all together
- Outline each cookie with the icing and continue making a spiral inwards.
- Immediately use a toothpick or a similar tool to smooth the icing out.
- Place the eyes on the cookie. Allow the icing to set before adding the lines.
- Once the icing has set, drizzle each cookie with a bit of icing to make it look like the mummy wrapping. Be careful not to cover the eyes.
Notes
- Butter: I use salted butter in these cookies. If using unsalted butter, increase the amount of salt by 1/4 teaspoon.
- Vanilla extract: If you’d like the cookies to be lighter, use clear vanilla extract.
- All-purpose flour: It’s key to properly measure the flour. Either weigh the flour (click on “metric” for the measurements by weight) or sift/stir the flour to break it up. Lightly spoon the flour into a measuring cup and level. Avoid packing the flour as that will give you dry dough that doesn’t hold together.
- Clear flavor extract: It’s important to use a clear flavor extract so that you don’t end up with off-white cookies. Clear vanilla flavoring or almond extract work well.
- Nutrition values are estimates.
Nutrition
Did You Make This Recipe?
Share it with me on Instagram @i_heart_eating and follow on Youtube @katedean and Pinterest @katedean for more!
Reader Interactions
Love this recipe?
Share your thoughts below and let’s chat! Make sure to connect with me on your favorite social platform below and show me what you made!


Comments & Reviews
Allie says
Yay, a cookie decoration I can do. The cookies looked great and tasted just as good.
Kate says
Thank you!