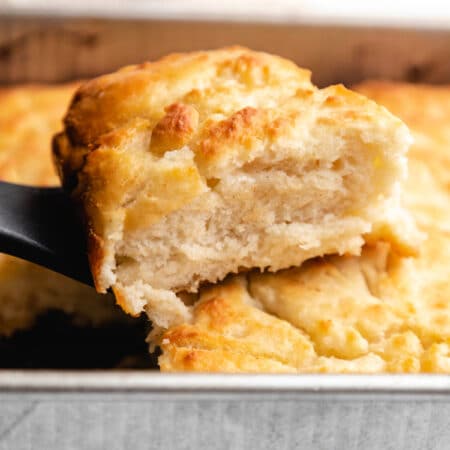
Homemade buttermilk biscuits are light and fluffy biscuits that are made with just six ingredients. Top with butter and jam, honey, or sausage gravy for a tasty breakfast treat!
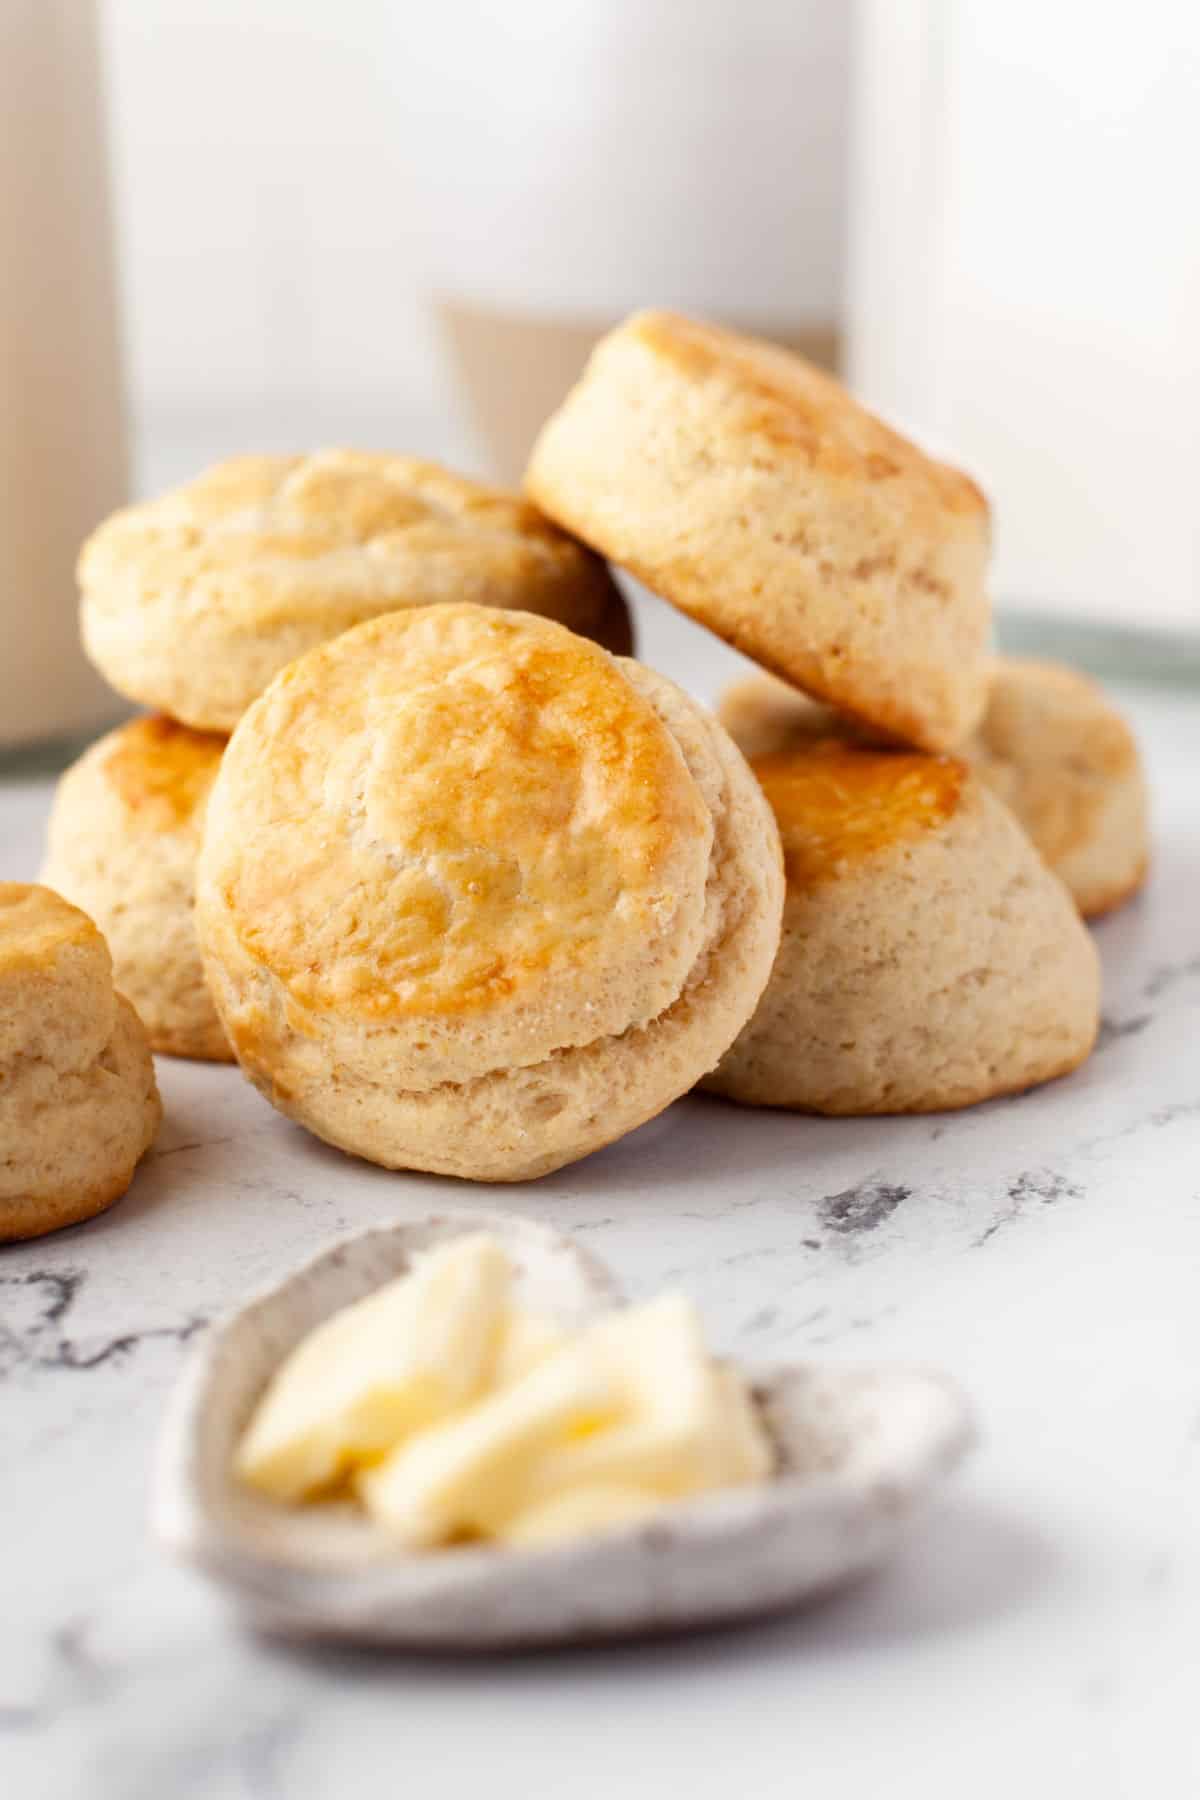
Homemade buttermilk biscuits are so much better than store-bought biscuits! These simple biscuits are made with 6 pantry-staple ingredients, and the recipe is easy enough for beginners.
Below you’ll find step-by-step photos showing how to make the biscuits, as well as tips to help you avoid common mistakes.
What you’ll need to make buttermilk biscuits
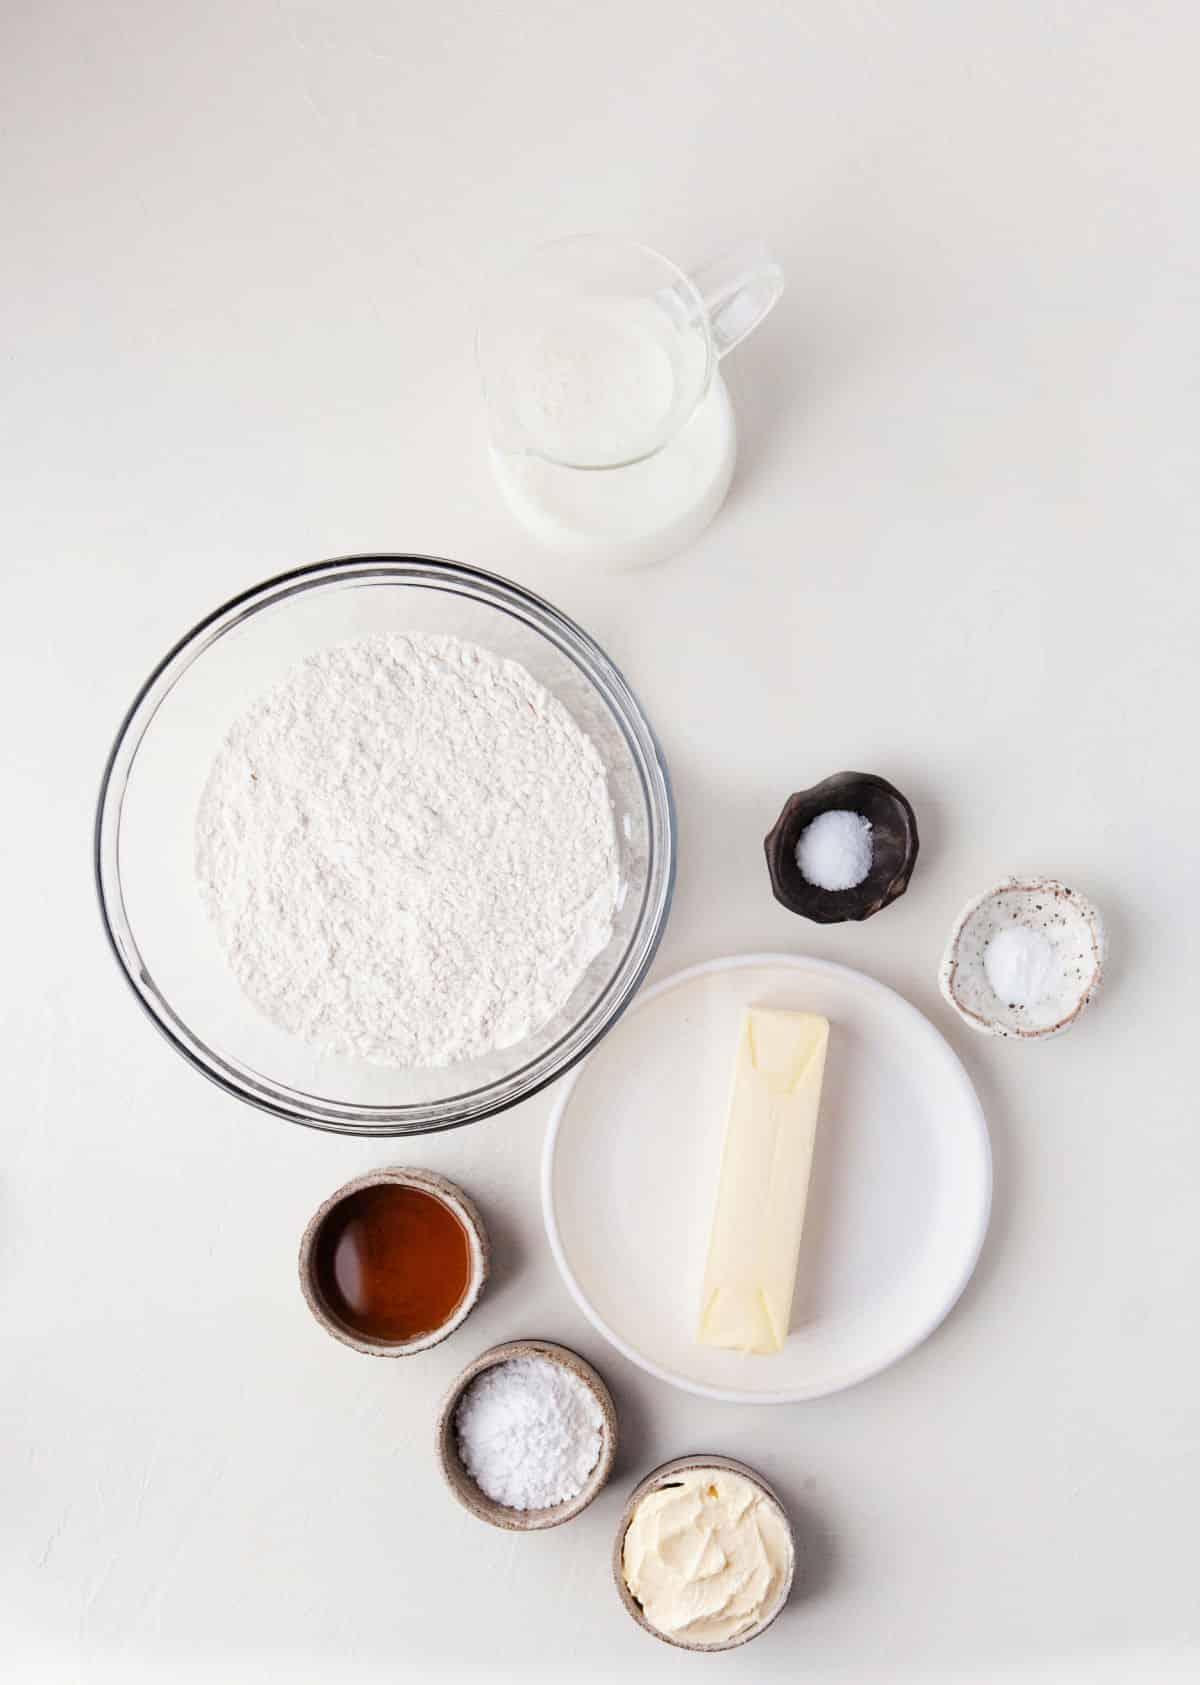
- All-purpose flour: Biscuits should be light and fluffy, so it’s important to measure the flour properly. Either weigh the flour (click on “metric” for the ingredient weights) or sift/stir to break the flour up. Lightly spoon into a measuring cup and level. Packing the flour will give you dense, heavy biscuits.
- Baking powder
- Granulated sugar: The little bit of sugar helps to balance out the biscuits.
- Salt
- Butter: I use salted butter. If using unsalted butter, increase the salt to 3/4 teaspoon. You may also want additional melted butter or butter and honey at the end to brush on the baked biscuits.
- Buttermilk: If you don’t have buttermilk, you can make a homemade buttermilk substitute.
How to make homemade buttermilk biscuits
Step 1: Place the butter in the freezer for 15 minutes.
Step 2: Preheat oven to 425F and line a cookie sheet with a silicone baking mat or with parchment paper. Set aside.
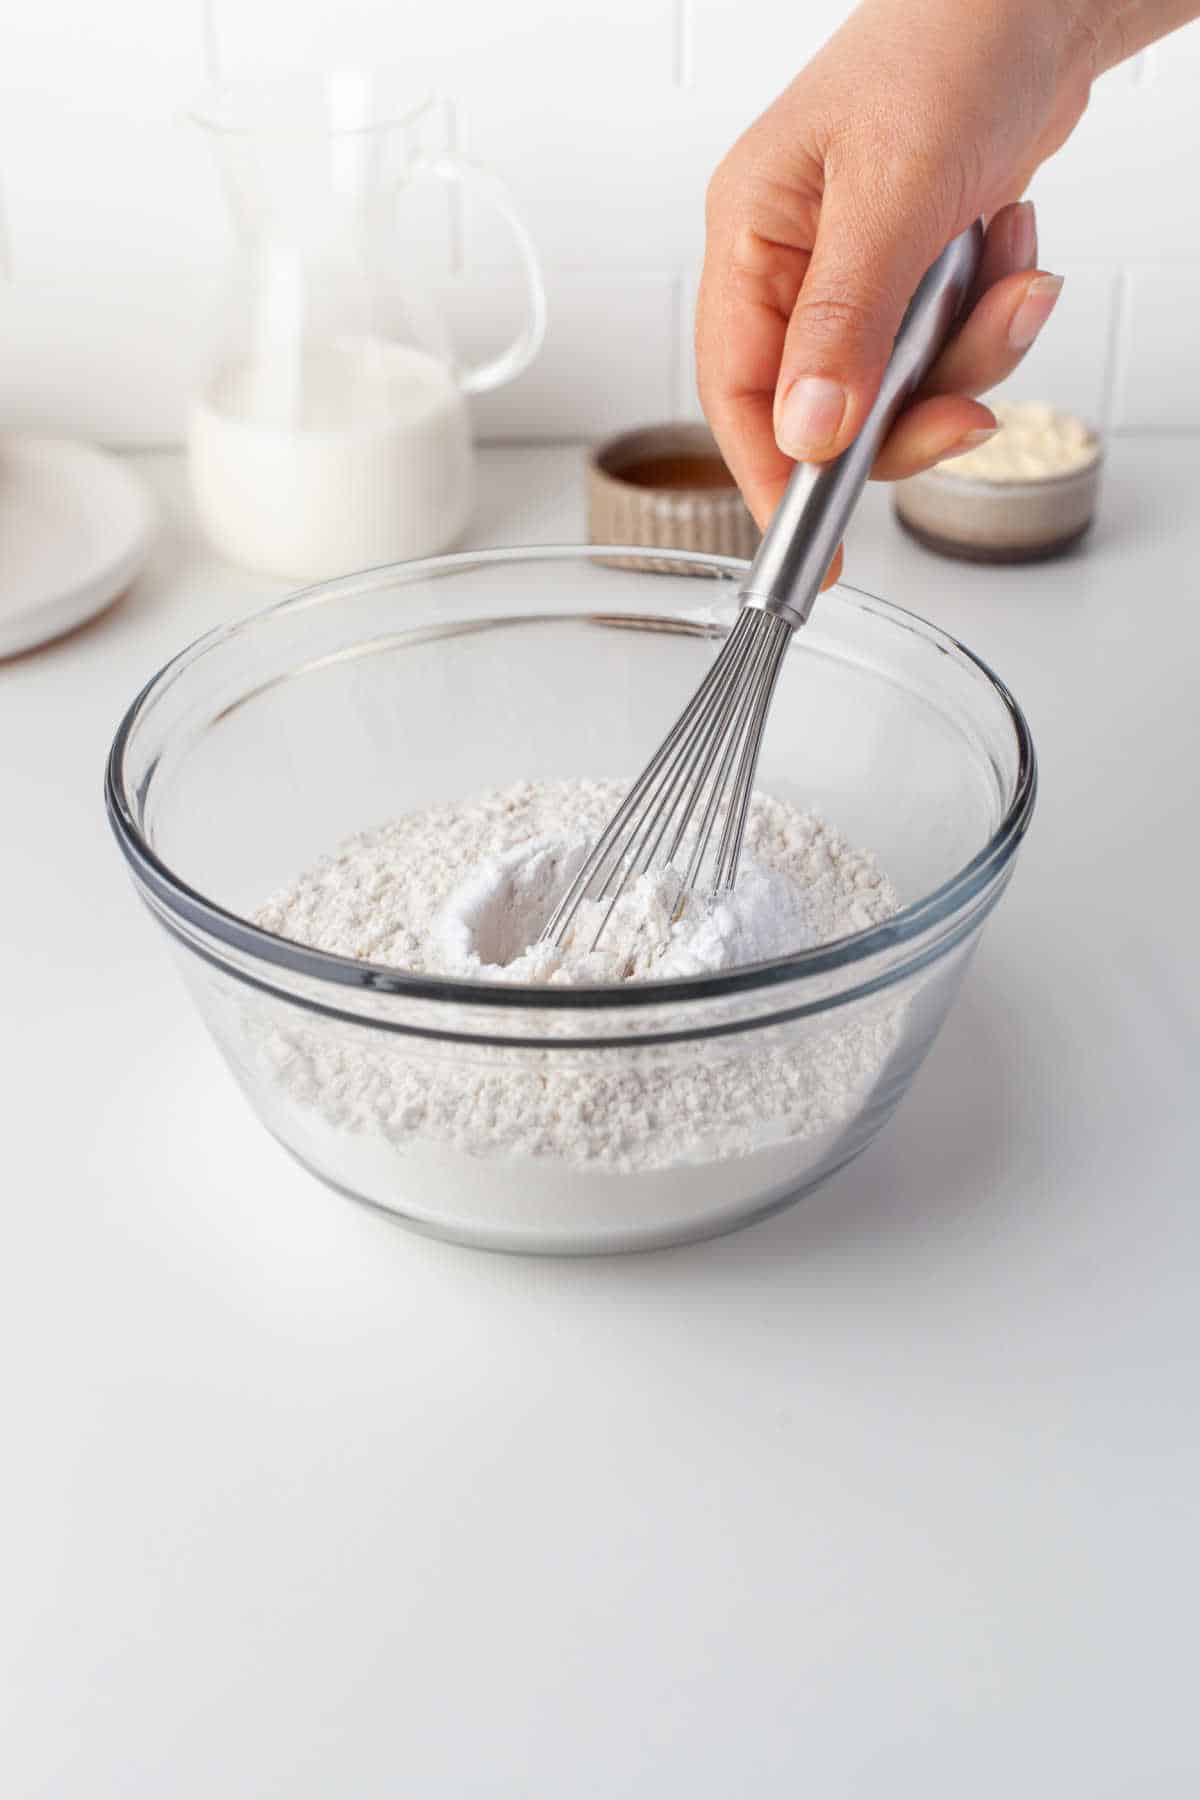
Step 3: Combine flour, baking powder, sugar, and salt in a large bowl. Set aside.
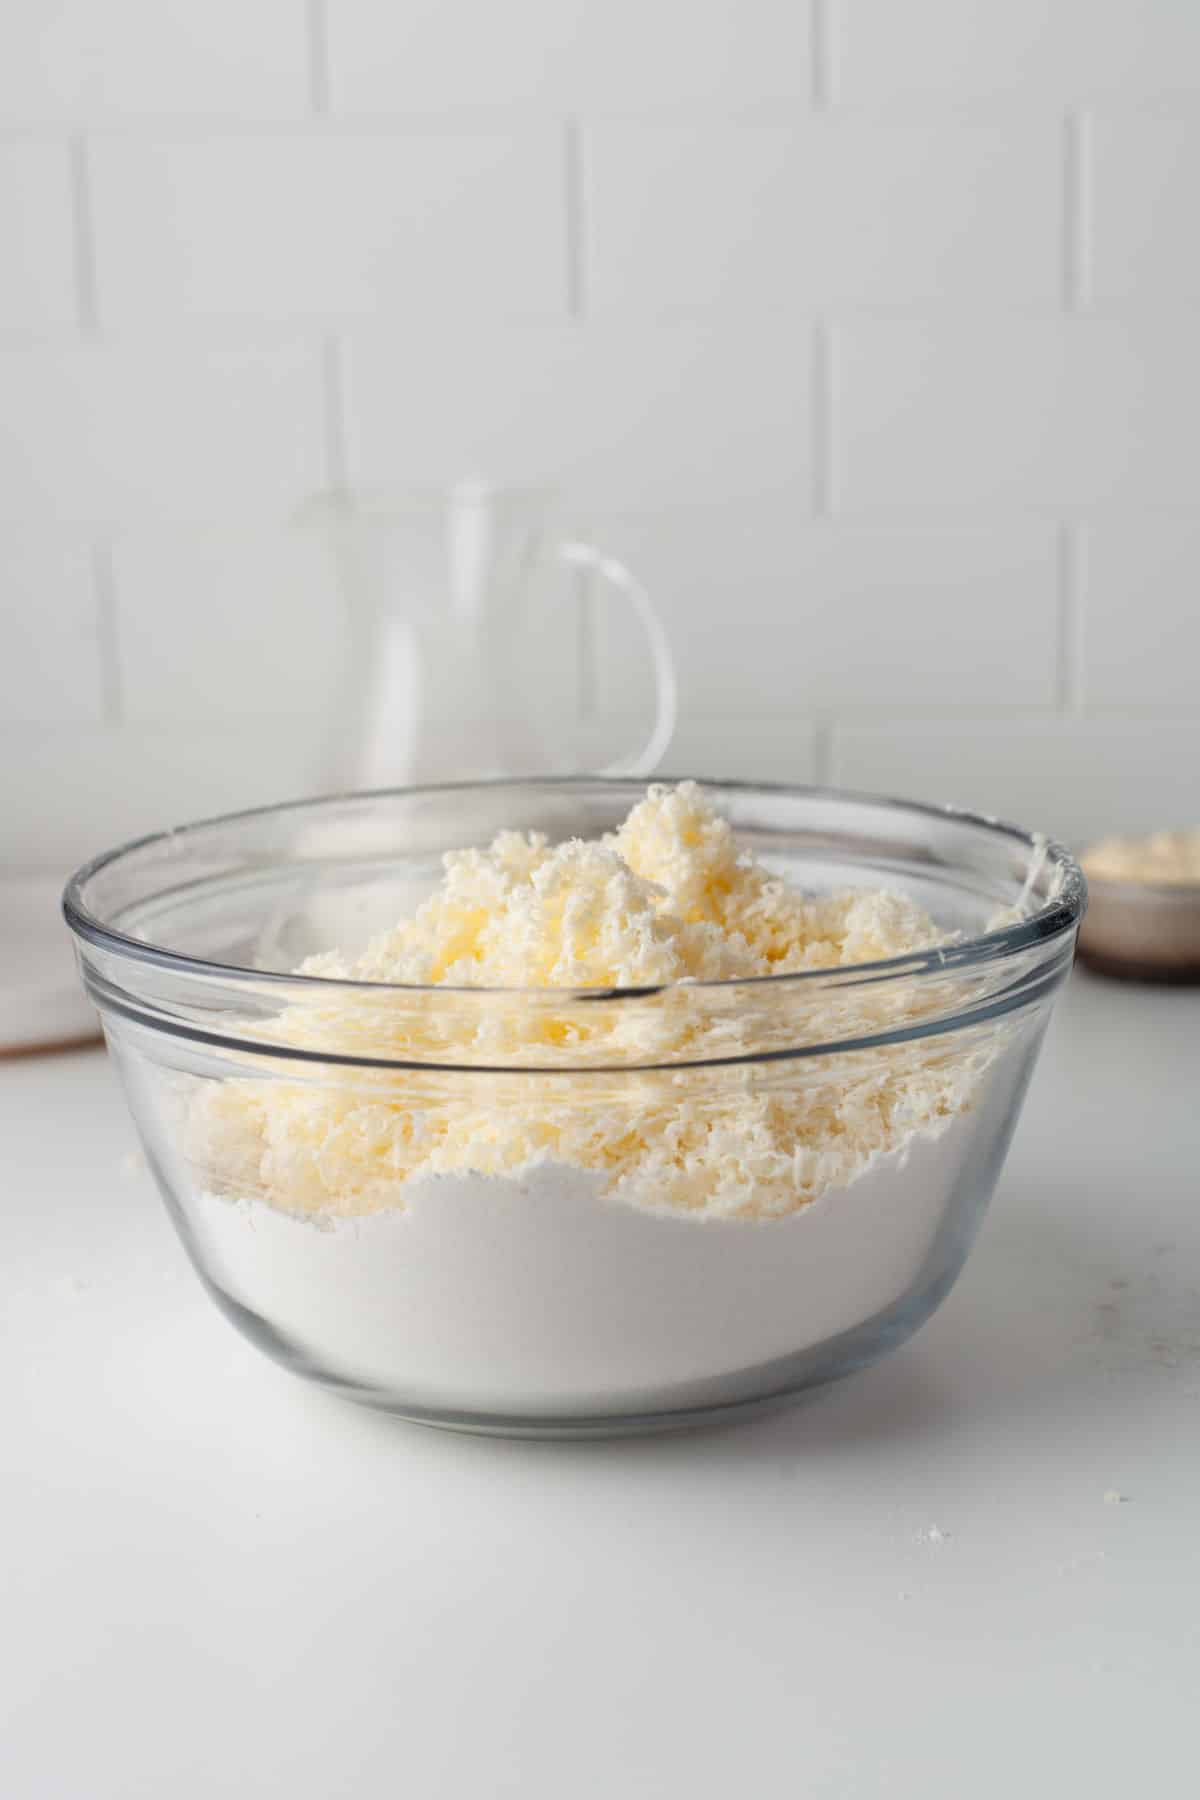
Step 4: Remove the butter from the freezer and grate the butter into the bowl with the dry ingredients.
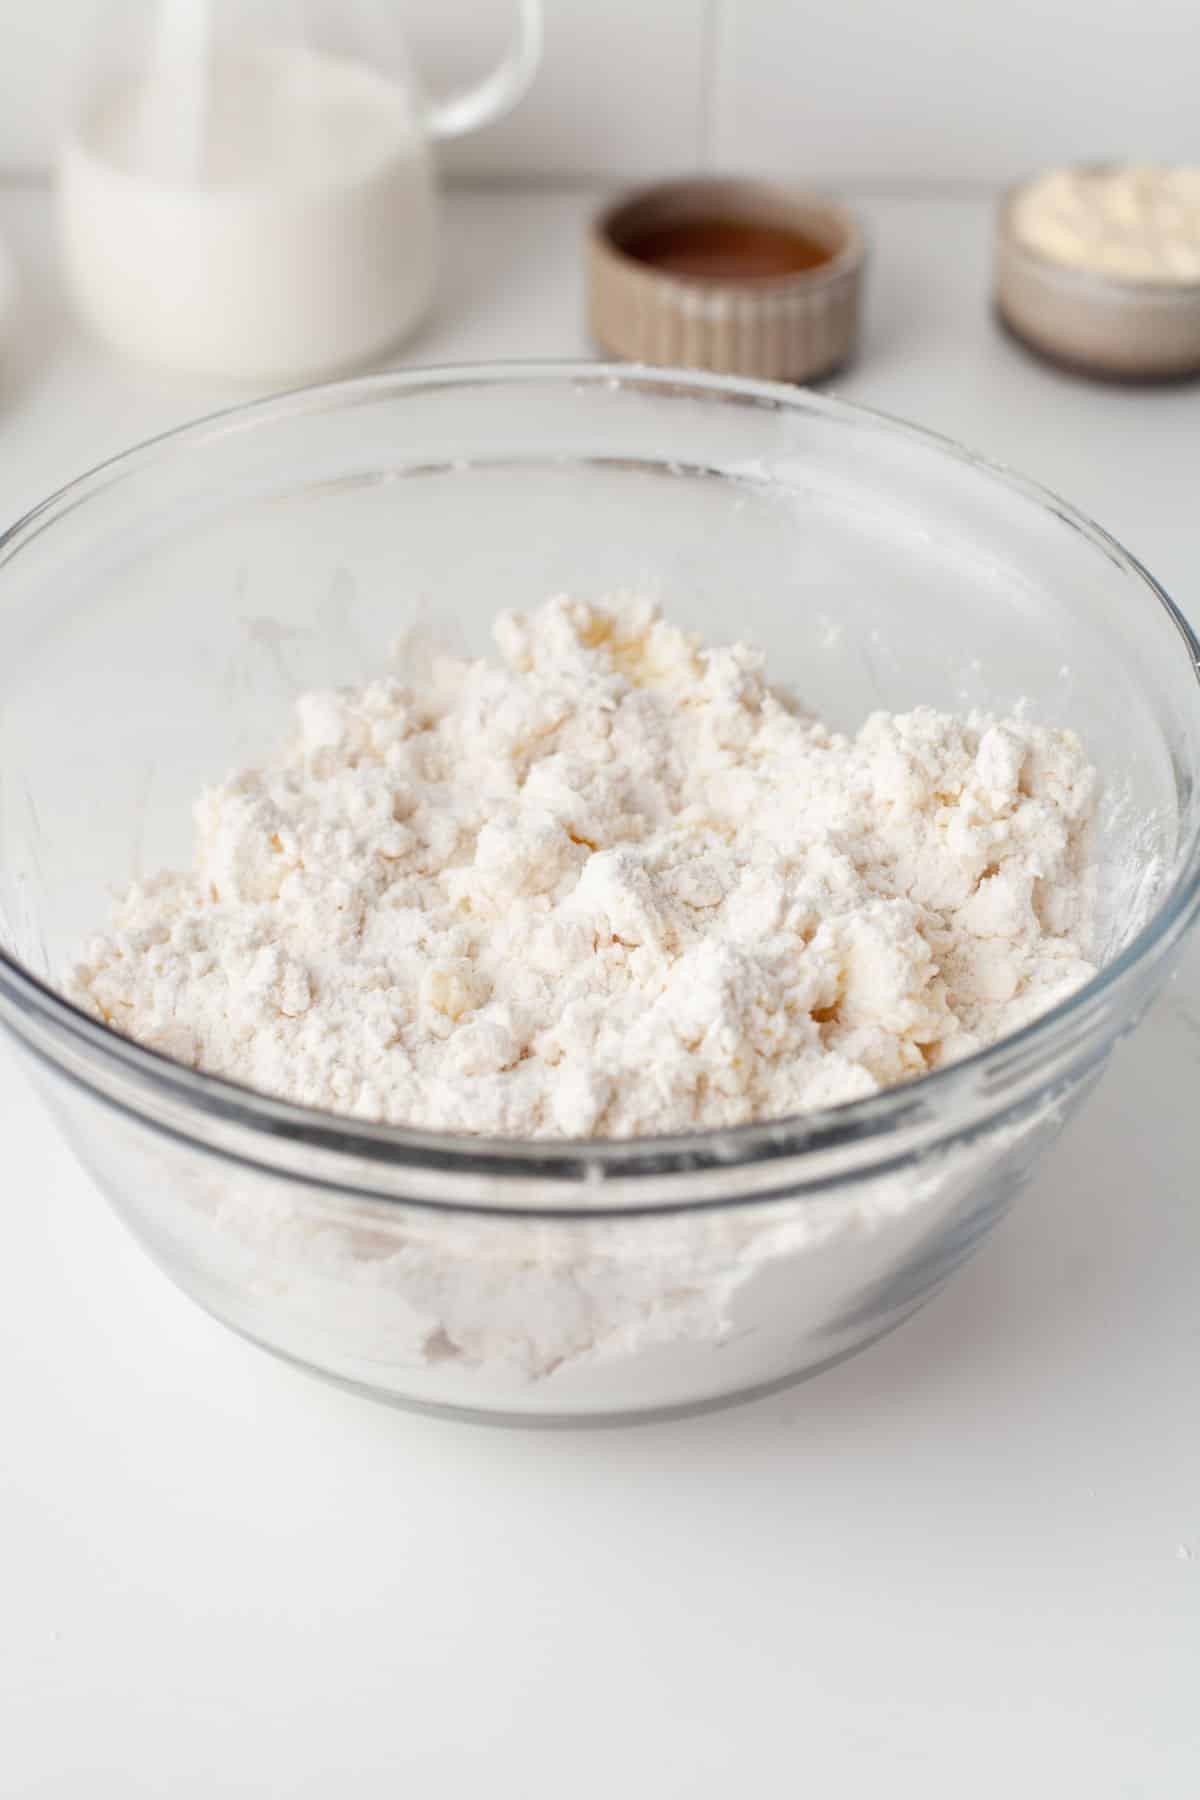
Step 5: Use a pastry cutter to cut the butter into the flour mixture until it forms coarse crumbs.
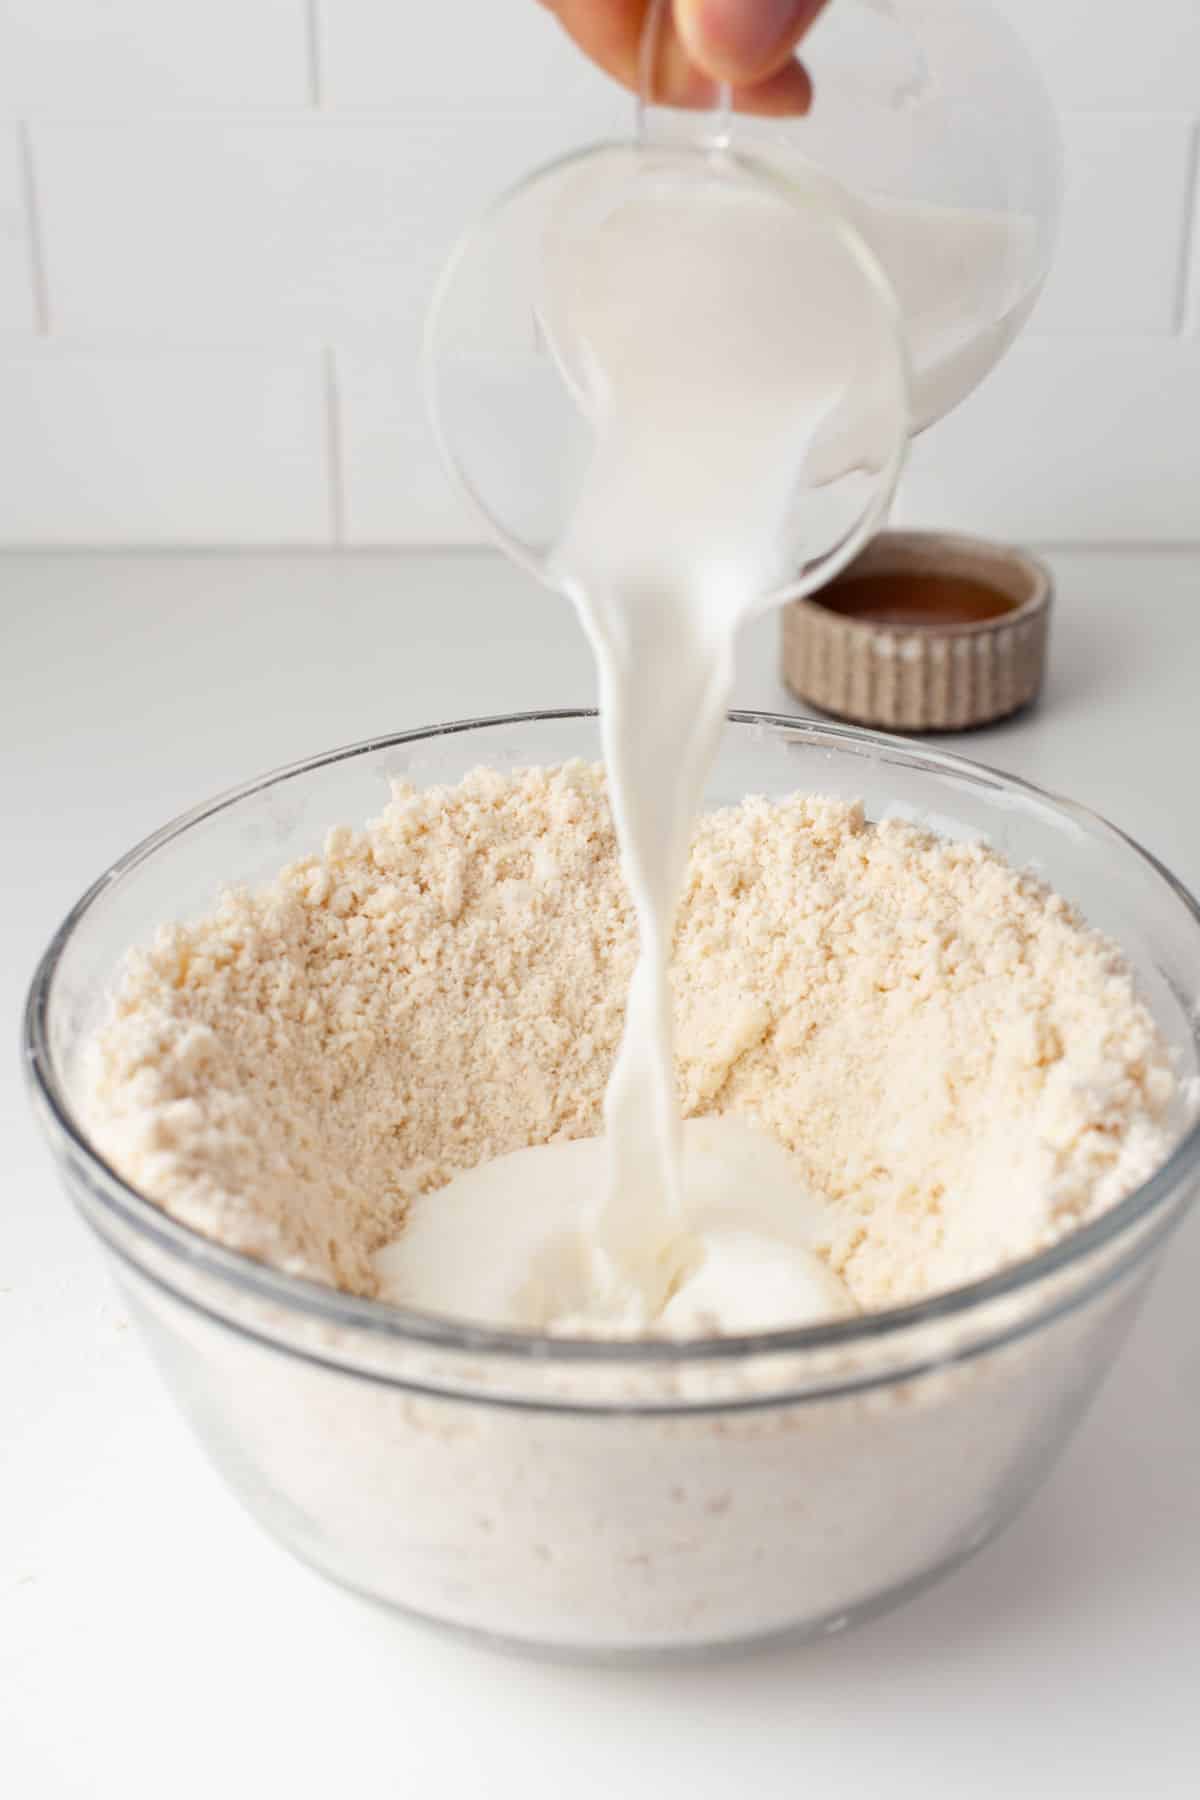
Step 6: Add the buttermilk and stir in just until combined. Don’t overmix.
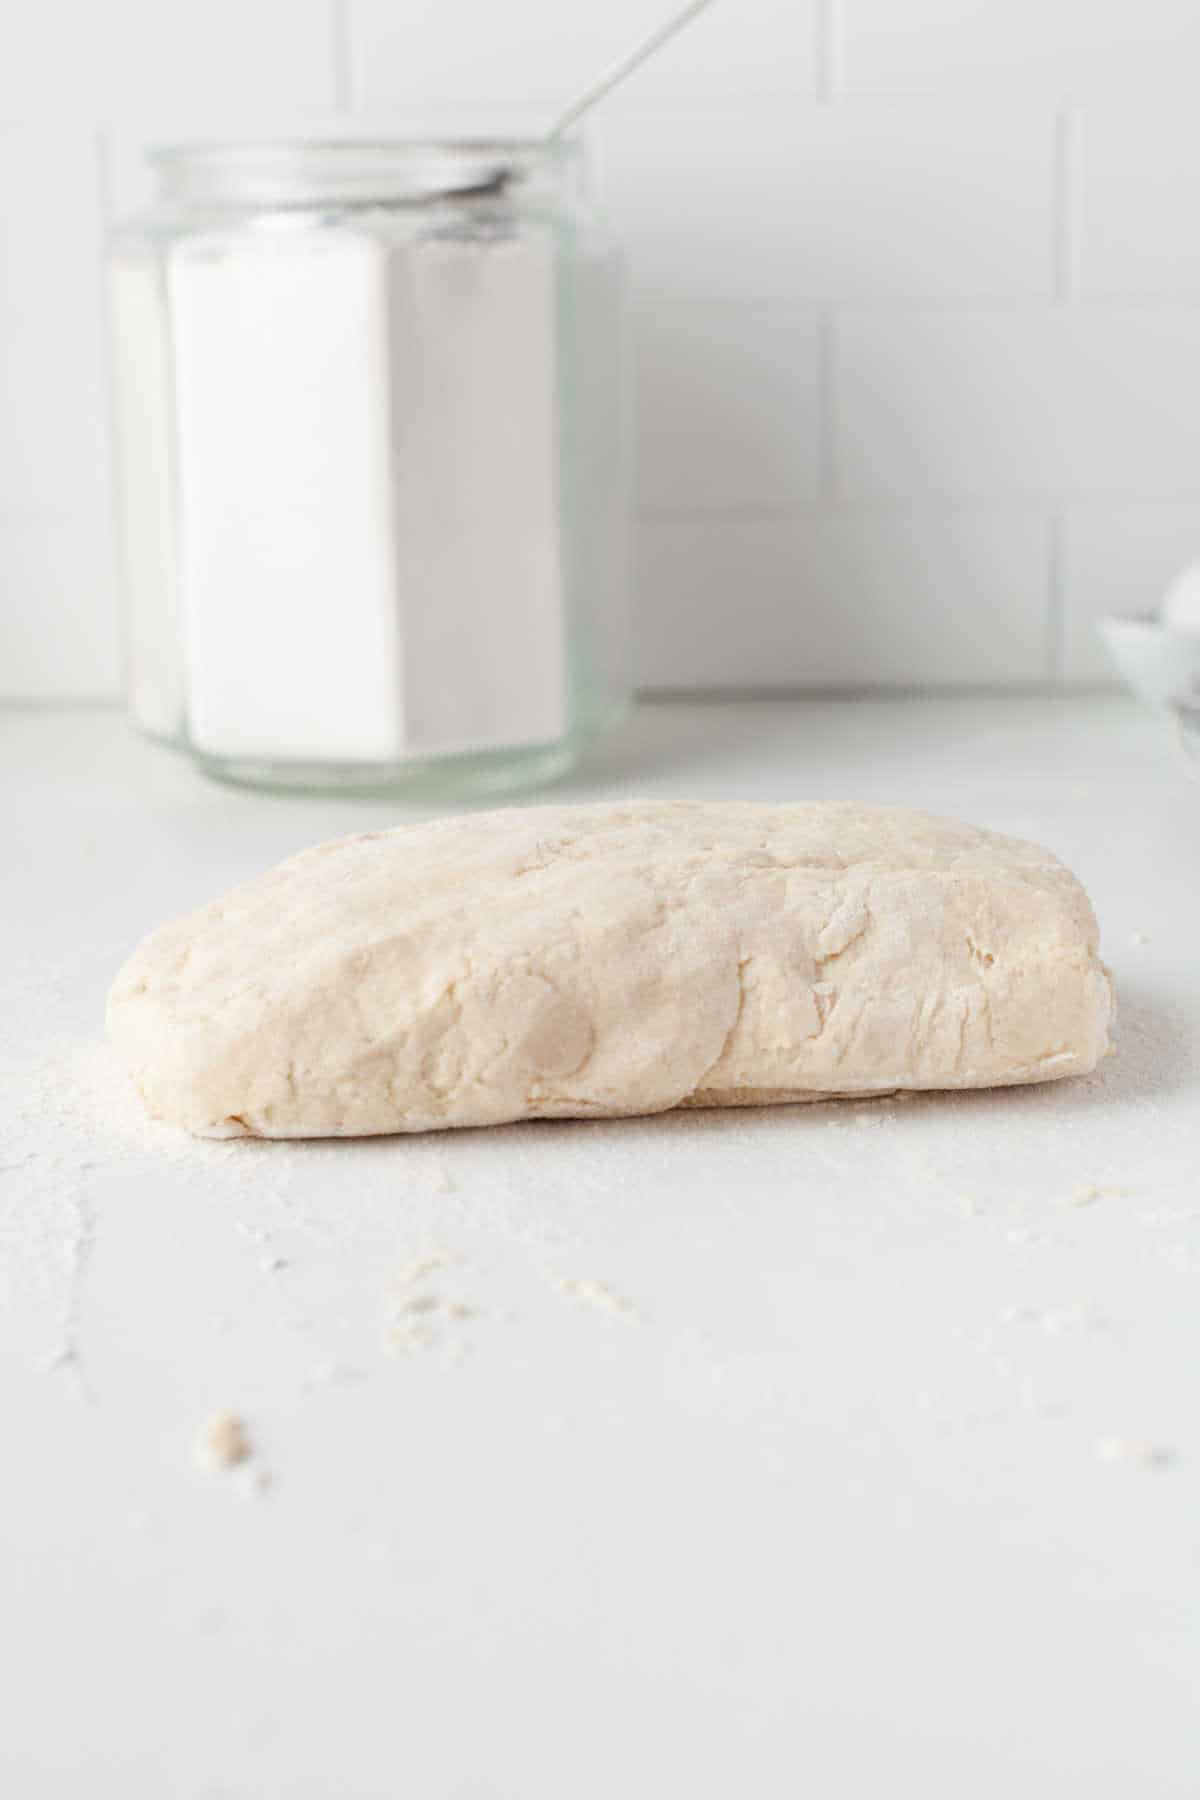
Step 7: Turn the biscuit dough out onto a well-floured work surface and gently push the dough into a rectangle.
Step 8: Fold the dough in half over the top and use your hands to gently pat the dough together. Rotate the dough 90 degrees and fold in half again. Use your hands to gently pat the dough until it is 1 -inch thick.
Tip >> I recommend using your hands to gently pat the dough rather than using a rolling pin.
Step 9: Lightly flour a 2.5-inch round biscuit cutter.
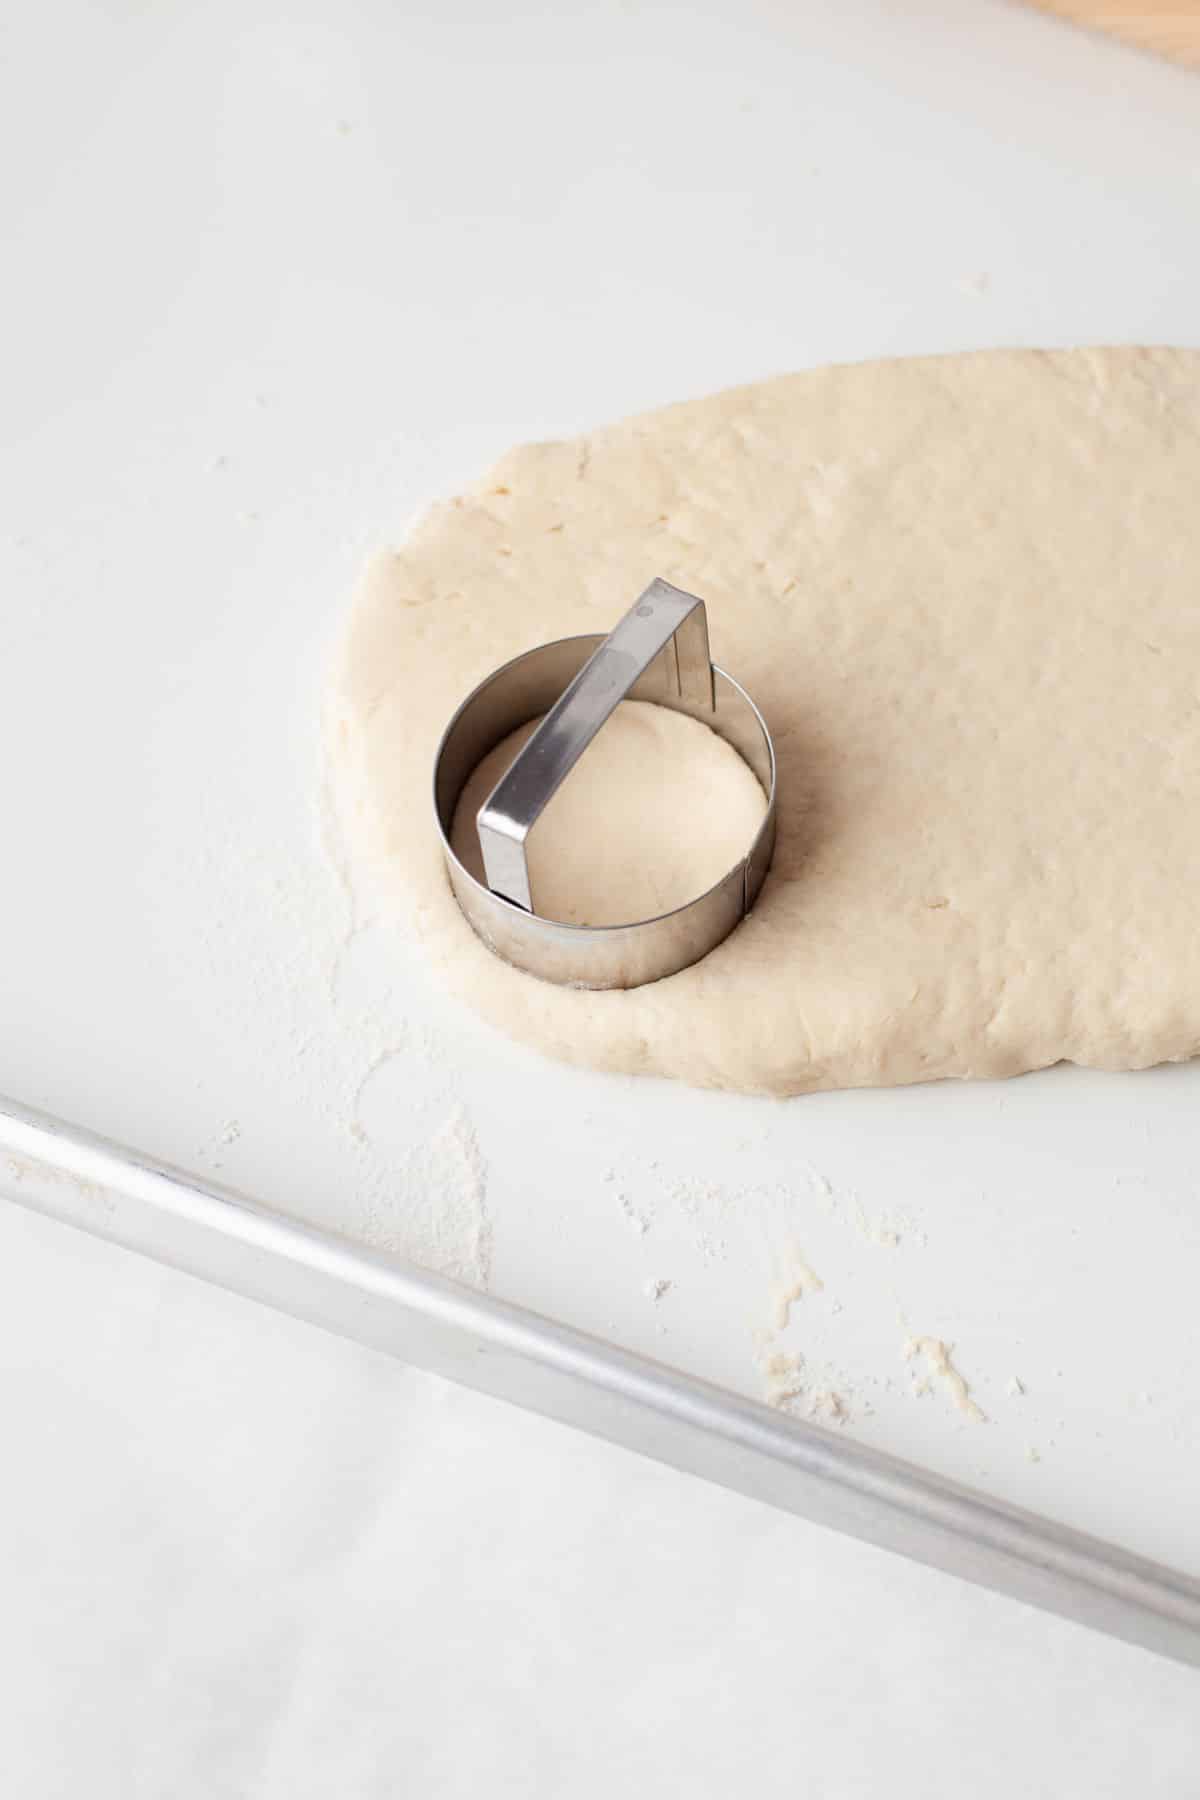
Step 10: Cut out the biscuits as close together as possible. Cut straight up and down. Do not twist the biscuit cutter.
Step 11: Place the biscuits about 1/4-inch apart on the prepared baking sheet.
Step 12: Gently pat the dough scraps together and repeat until you’ve used all of the dough. Repeat until you have gotten as many biscuits as possible.
Step 13: Bake for about 10-14 minutes, or until the top of the biscuits is just beginning to turn golden brown.
Step 14: Brush the hot biscuits with melted butter. Serve immediately.
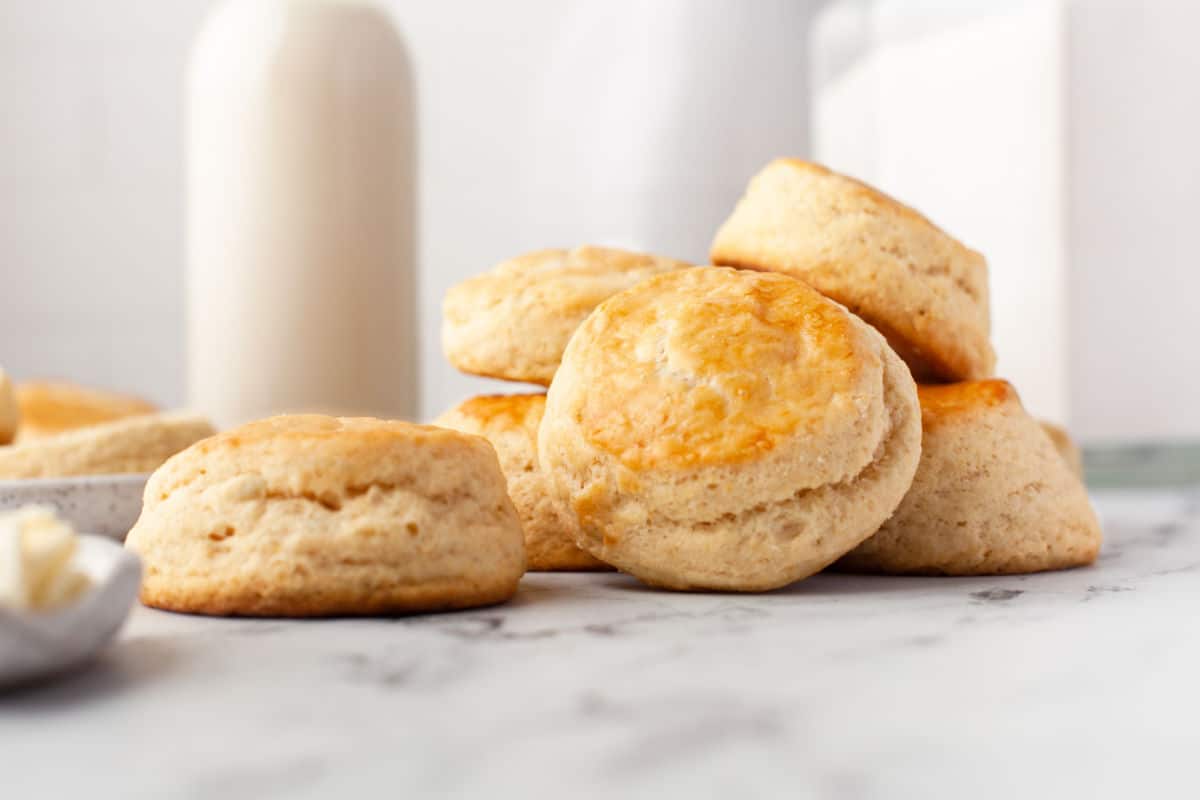
Tips for flaky biscuits
Here are some tips to help you make light and fluffy biscuits.
- Cold is key! Unlike most baking recipes, it’s important to have cold butter and buttermilk when making biscuits. The little pieces of cold butter help to give the biscuits flaky layers.
- Don’t twist! When cutting the biscuits, don’t twist the biscuit cutter. Simply press straight down and pull straight up. Twisting the biscuit cutter will give you shorter biscuits that don’t rise properly.
- Avoid overworking the dough! There are a couple of reasons why you will want to use a light touch with the dough. First, handling the dough can cause the little bits of butter to melt. Melted butter will give you greasier biscuits. Second, overworking the dough can cause chewier biscuits instead of light and fluffy biscuits.
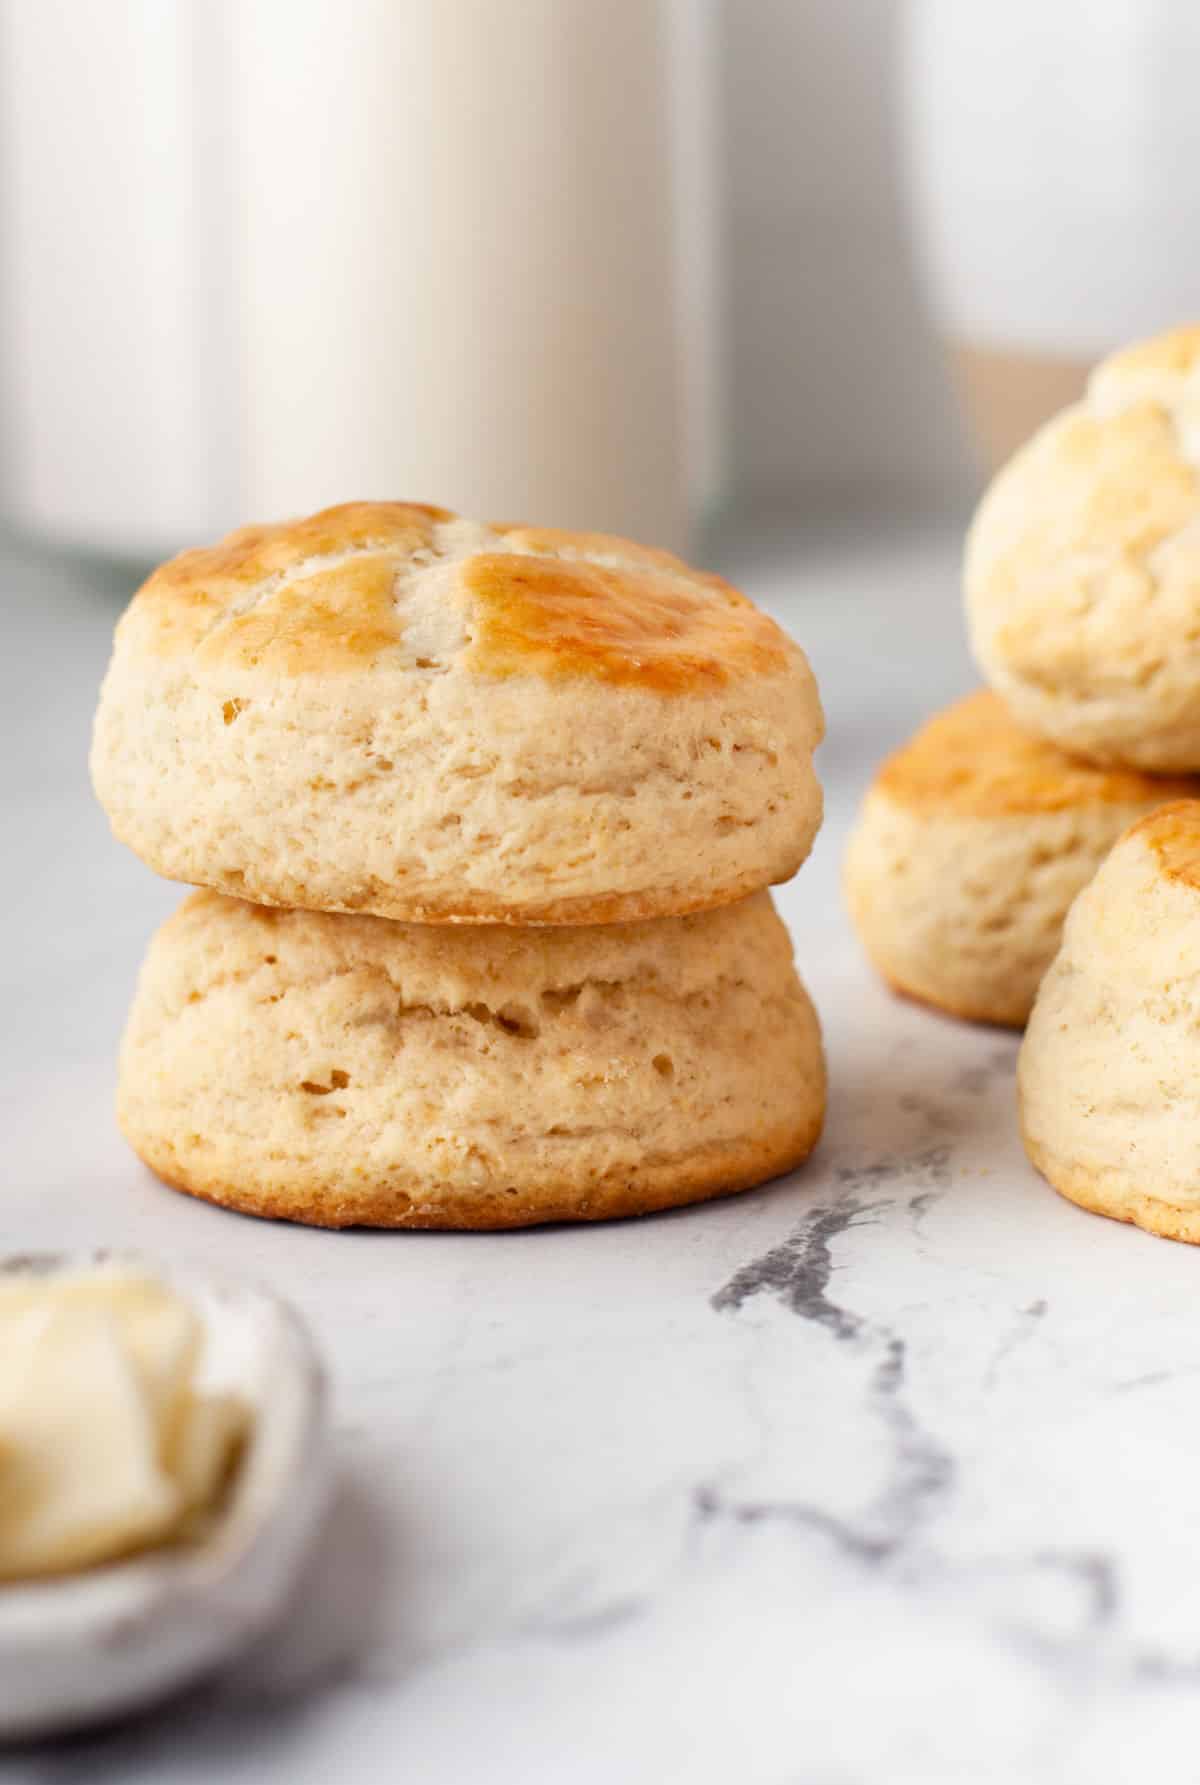
Serving suggestions
Biscuits can be served so many different ways! They are great topped with butter and jam, butter and honey, or with cinnamon honey butter.
Biscuits can also be topped with sausage gravy, or they can be used as the base for homemade breakfast sandwiches.
Recipe FAQs
You can. Fat helps to make tender biscuits, so your biscuits may not be as light and tender if you use low-fat buttermilk.
You can. If you use a larger biscuit cutter, you’ll have fewer biscuits, and a smaller biscuit cutter will give you more biscuits.
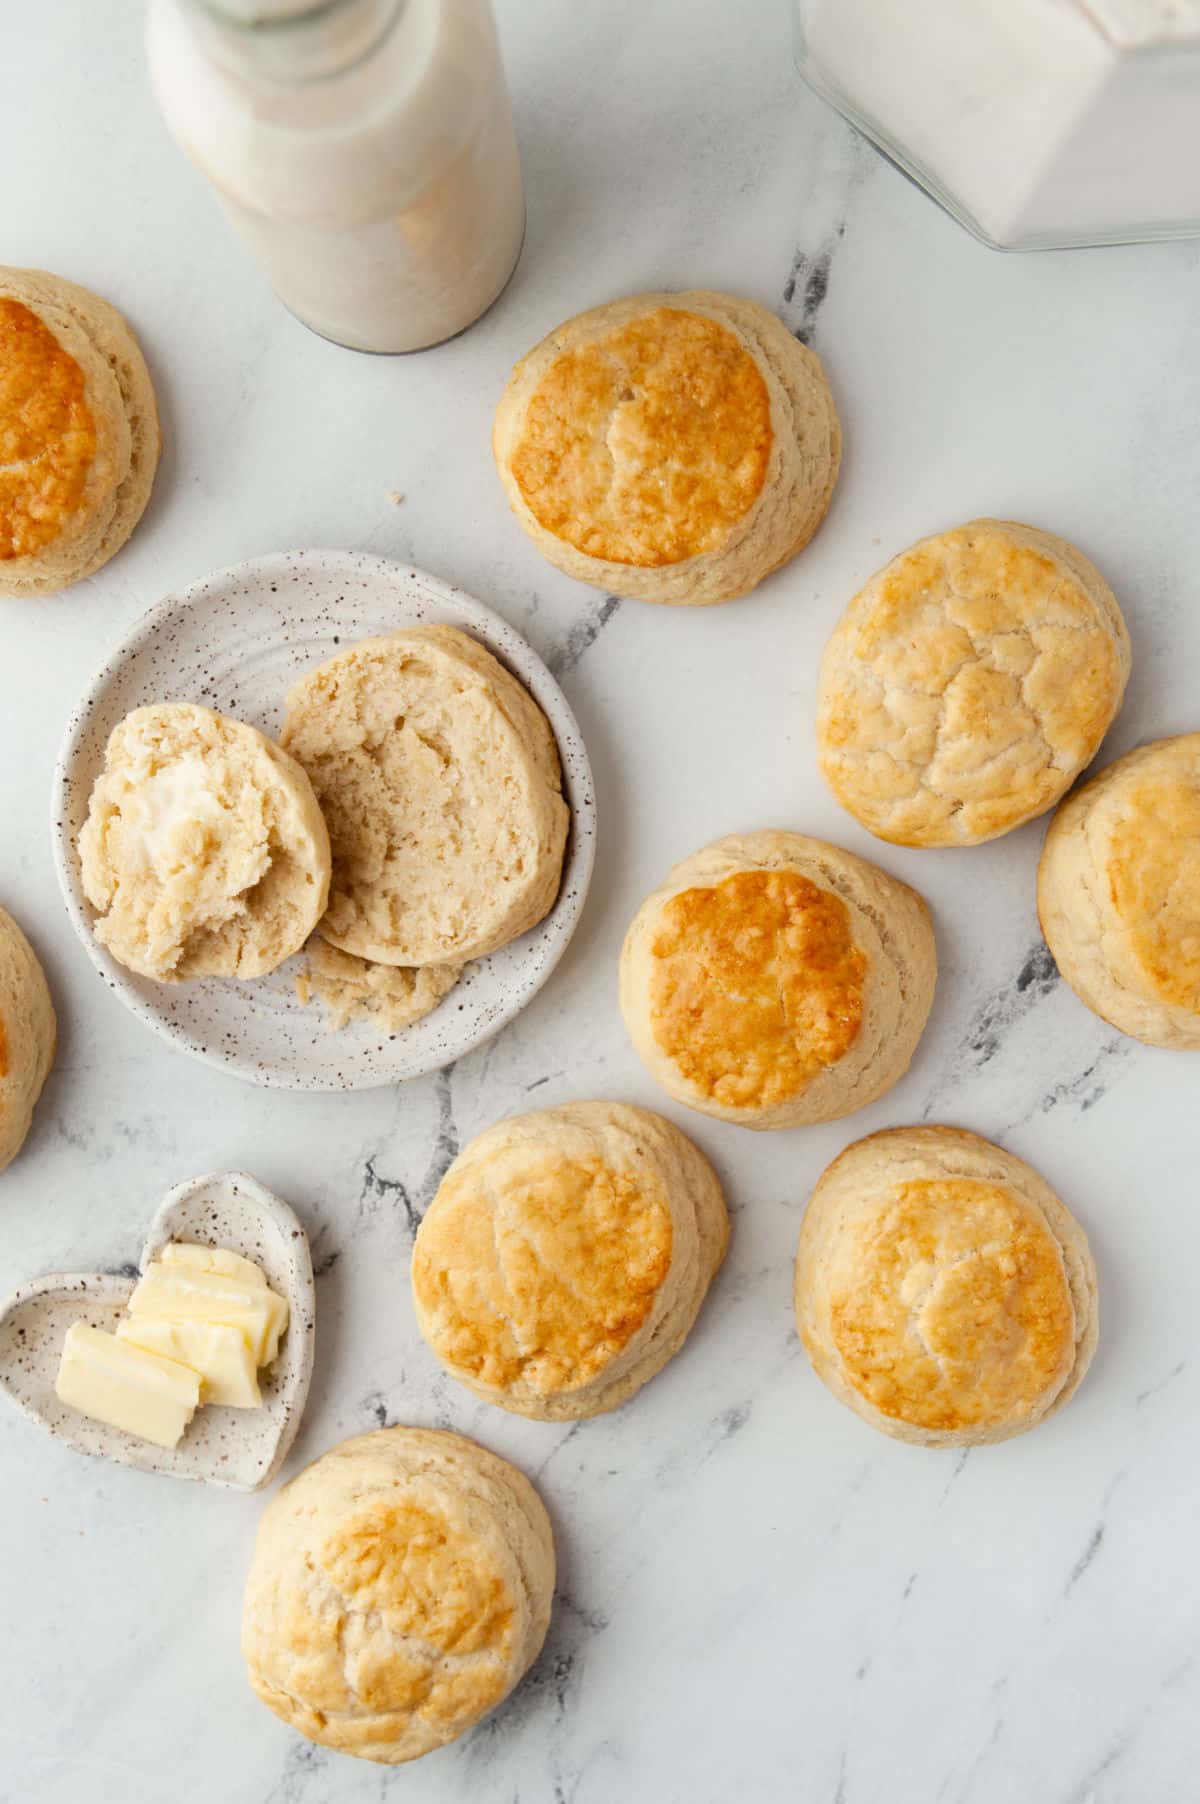
How to freeze biscuits
Biscuits can be frozen before or after baking.
How to freeze unbaked biscuits
Make the biscuits as directed through step 11. Place the cut biscuits on a cookie sheet lined with parchment paper or a silicone baking mat. Freeze for about 1 hour, or until frozen through. Transfer the frozen biscuits to a freezer-safe container and freeze for up to 3 months.
To bake, place the frozen biscuits on the baking sheet as directed in step 12. Bake as-directed, adding a few minutes to the baking time as needed.
How to freeze baked biscuits
Bake the biscuits as-directed. Let the biscuits cool on a wire cooling rack.
Once cooled, place the biscuits in a single layer in a freezer-safe container. If putting in multiple layers, separate the layers with a sheet of wax paper.
Freeze for up to 3 months. When you’re ready to serve the biscuits, reheat in the microwave or in a 300F oven until heated through.
Storage
Biscuits are best eaten when fresh. They can be stored in an airtight container for 1-2 days at room temperature.
More biscuit recipes!
If you’ve tried this homemade buttermilk biscuit recipe, don’t forget to rate the recipe and leave me a comment below. I love to hear from people who’ve made my recipes!
You can subscribe to receive my latest recipe newsletters or follow me on Facebook, Instagram and Pinterest for even more delicious food.

Homemade Buttermilk Biscuits
Equipment
- Cookie sheet
- Biscuit cutter
Ingredients
- 2 cups all-purpose flour
- 1 tablespoon baking powder
- 1 tablespoon granulated sugar
- 1/2 teaspoon salt
- 6 tablespoons butter cold, plus additional butter for brushing onto the biscuits
- ¾ cup full-fat buttermilk cold
Instructions
- Place the butter in the freezer for 15 minutes.
- Preheat oven to 425F and line a cookie sheet with a silicone baking mat or with parchment paper. Set aside.
- Combine flour, baking powder, sugar, and salt in a large bowl. Set aside.
- Remove the butter from the freezer and grate the butter into the bowl with the dry ingredients.
- Use a pastry cutter to cut the butter into the flour mixture until it forms coarse crumbs.
- Add the buttermilk and stir in just until combined. Don’t overmix.
- Turn the biscuit dough out onto a well-floured surface and gently push the dough into a rectangle.
- Fold the dough in half over the top and use your hands to gently pat the dough together. Rotate the dough 90 degrees and fold in half again.
- Use your hands to gently pat the dough until it is 1 -inch thick.
- Lightly flour a 2 ½-inch round biscuit cutter.
- Cut out the biscuits as close together as possible. Cut straight up and down. Do not twist the biscuit cutter.
- Place the biscuits about 1/4-inch apart on the prepared baking sheet.
- Gently pat the dough scraps together and repeat until you’ve used all of the dough.
- Repeat until you have gotten as many biscuits as possible.
- Bake for about 10-14 minutes, or until the top of the biscuits is just beginning to turn golden brown.
- Brush the hot biscuits with melted butter.
- Serve immediately.
Notes
- All-purpose flour: Biscuits should be light and fluffy, so it’s important to measure the flour properly. Either weigh the flour (click on “metric” for the ingredient weights) or sift/stir to break the flour up. Lightly spoon into a measuring cup and level. Packing the flour will give you dense, heavy biscuits.
- Granulated sugar: The little bit of sugar helps to balance out the biscuits.
- Butter: I use salted butter. If using unsalted butter, increase the salt to 3/4 teaspoon. You may also want additional melted butter or butter and honey at the end to brush on the baked biscuits.
- Buttermilk: If you don’t have buttermilk, you can make a homemade buttermilk substitute.
- Nutrition values are estimates.
Nutrition
Did You Make This Recipe?
Share it with me on Instagram @i_heart_eating and follow on Youtube @katedean and Pinterest @katedean for more!
Reader Interactions
Love this recipe?
Share your thoughts below and let’s chat! Make sure to connect with me on your favorite social platform below and show me what you made!




Comments & Reviews
Da Slothman III says
AWESOME!!!!!!!!!!!!!
Kate says
Thank you!