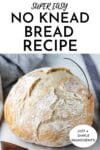
Best No-Knead Bread recipe! This easy, 4-ingredient bread recipe makes beautiful loaves of artisan bread in a Dutch oven.

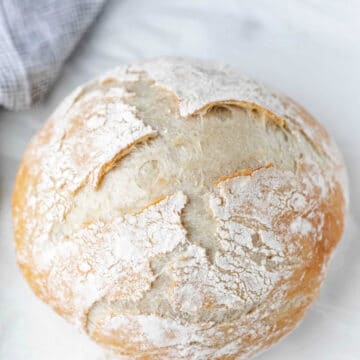
This no-knead bread is amazing! I don’t want to over exaggerate how fantastic this bread is, but it’s pretty much life-changing.
Not only does it look like expensive, artisan bread, but it also tastes fantastic. This bread couldn’t be any easier to make; I had the recipe memorized after the first time I made it.
Seriously, making the bread this way is easier than making bread in a bread machine (and that’s saying something). So if you’ve never baked homemade bread before, this is a great recipe to start with.
Why you’ll love no-knead bread
- Simple ingredients! This bread is made with just 4 pantry-staple ingredients.
- Minimal hands-on time! The bread has a long resting time, but it only requires a few minutes of hands-on time.
- Delicious bread! Best of all, this recipe makes a fantastic loaf of bread.
Ingredient notes
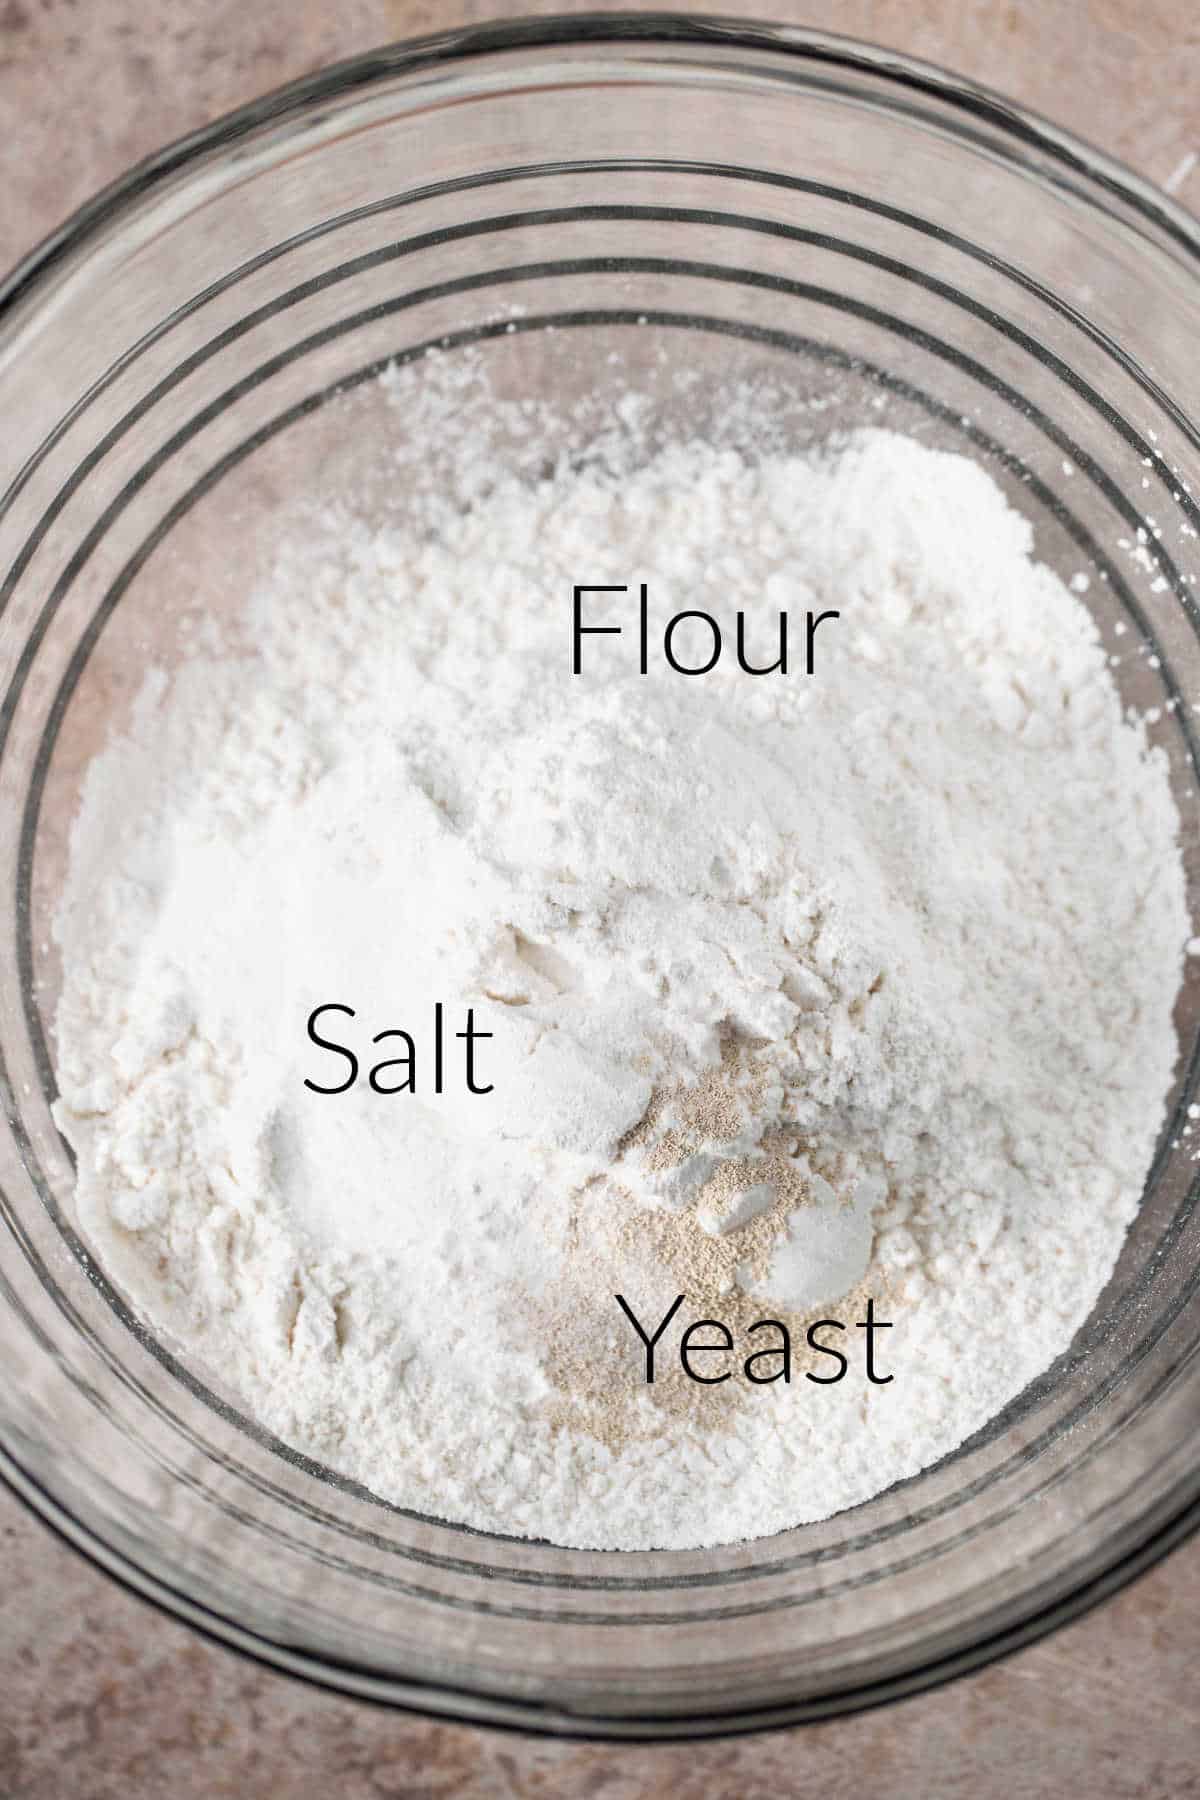
- All-purpose flour: Please see the note under the FAQ section about using bread flour.
- Salt: The salt helps to give the bread flavor.
- Yeast: I’ve used instant yeast and active dry yeast. Either will work.
- Water: Lukewarm water should feel just a touch cooler than bath water.
How to make no-knead bread

Step 1: Combine flour, salt, and yeast together in a large bowl.
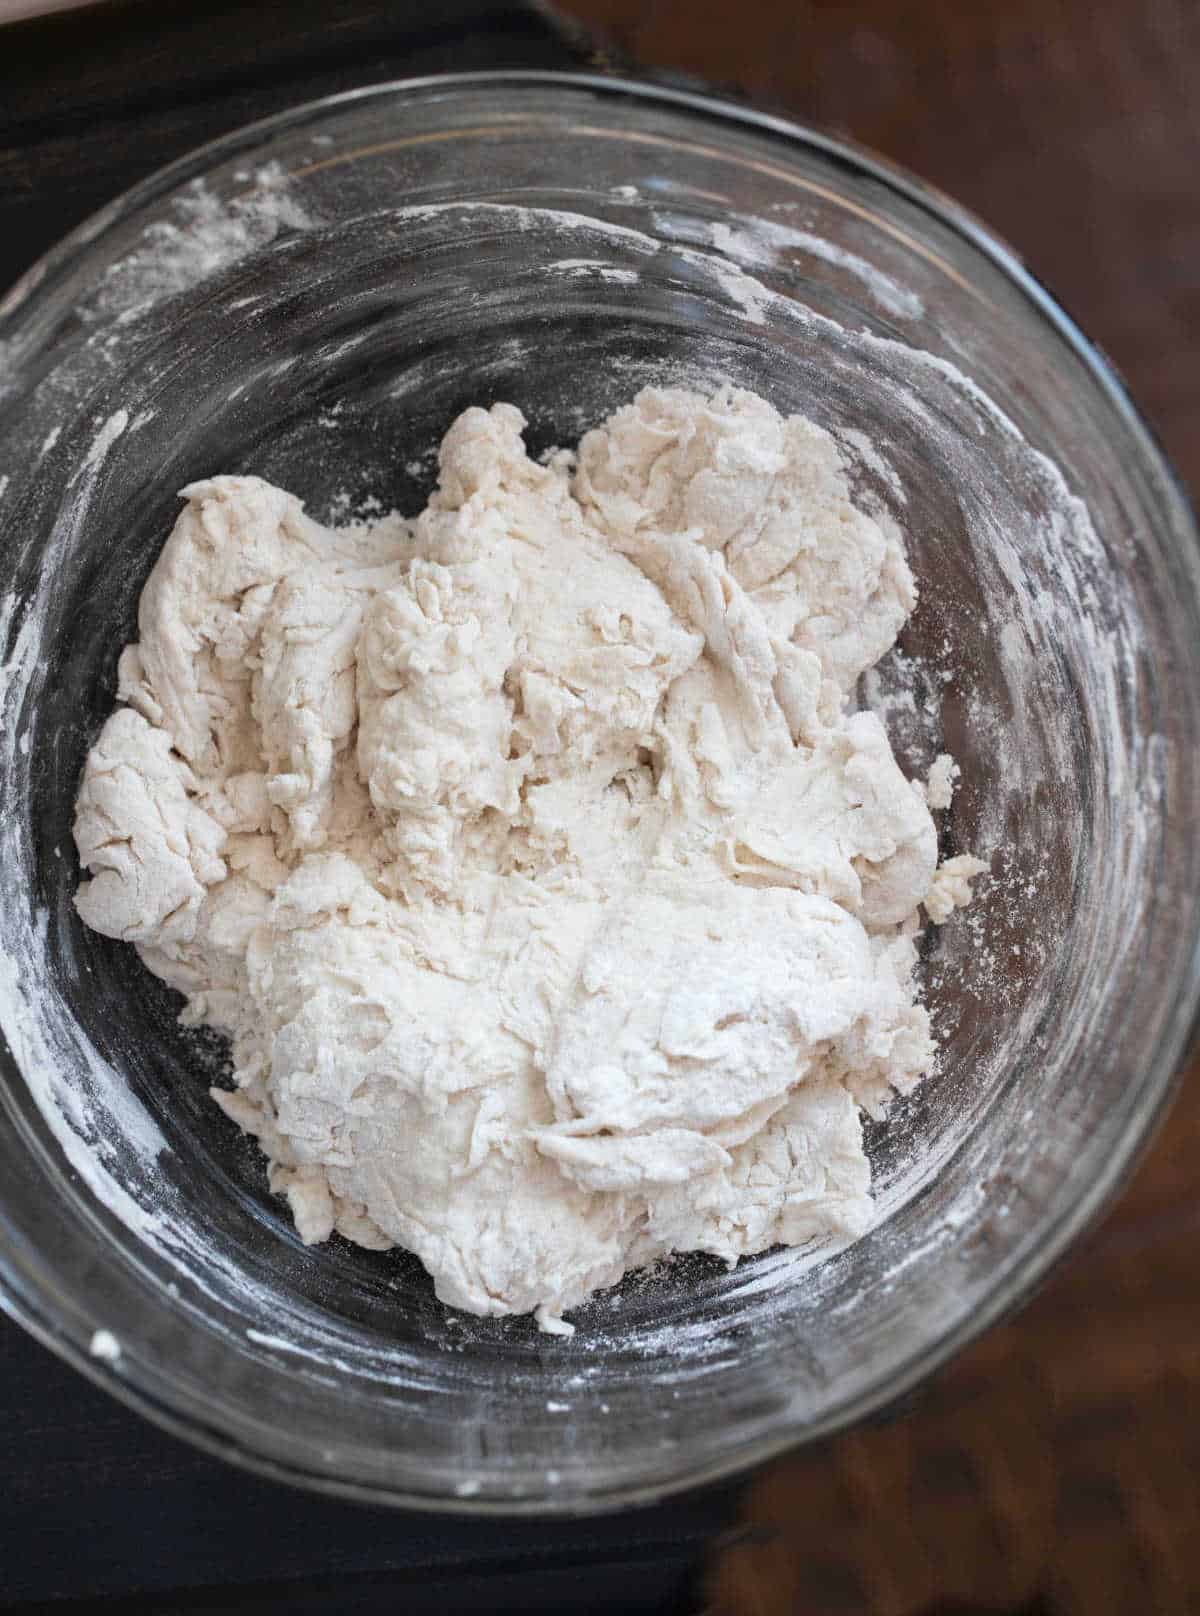
Step 2: Add the water, and stir to combine. The dough will be shaggy.
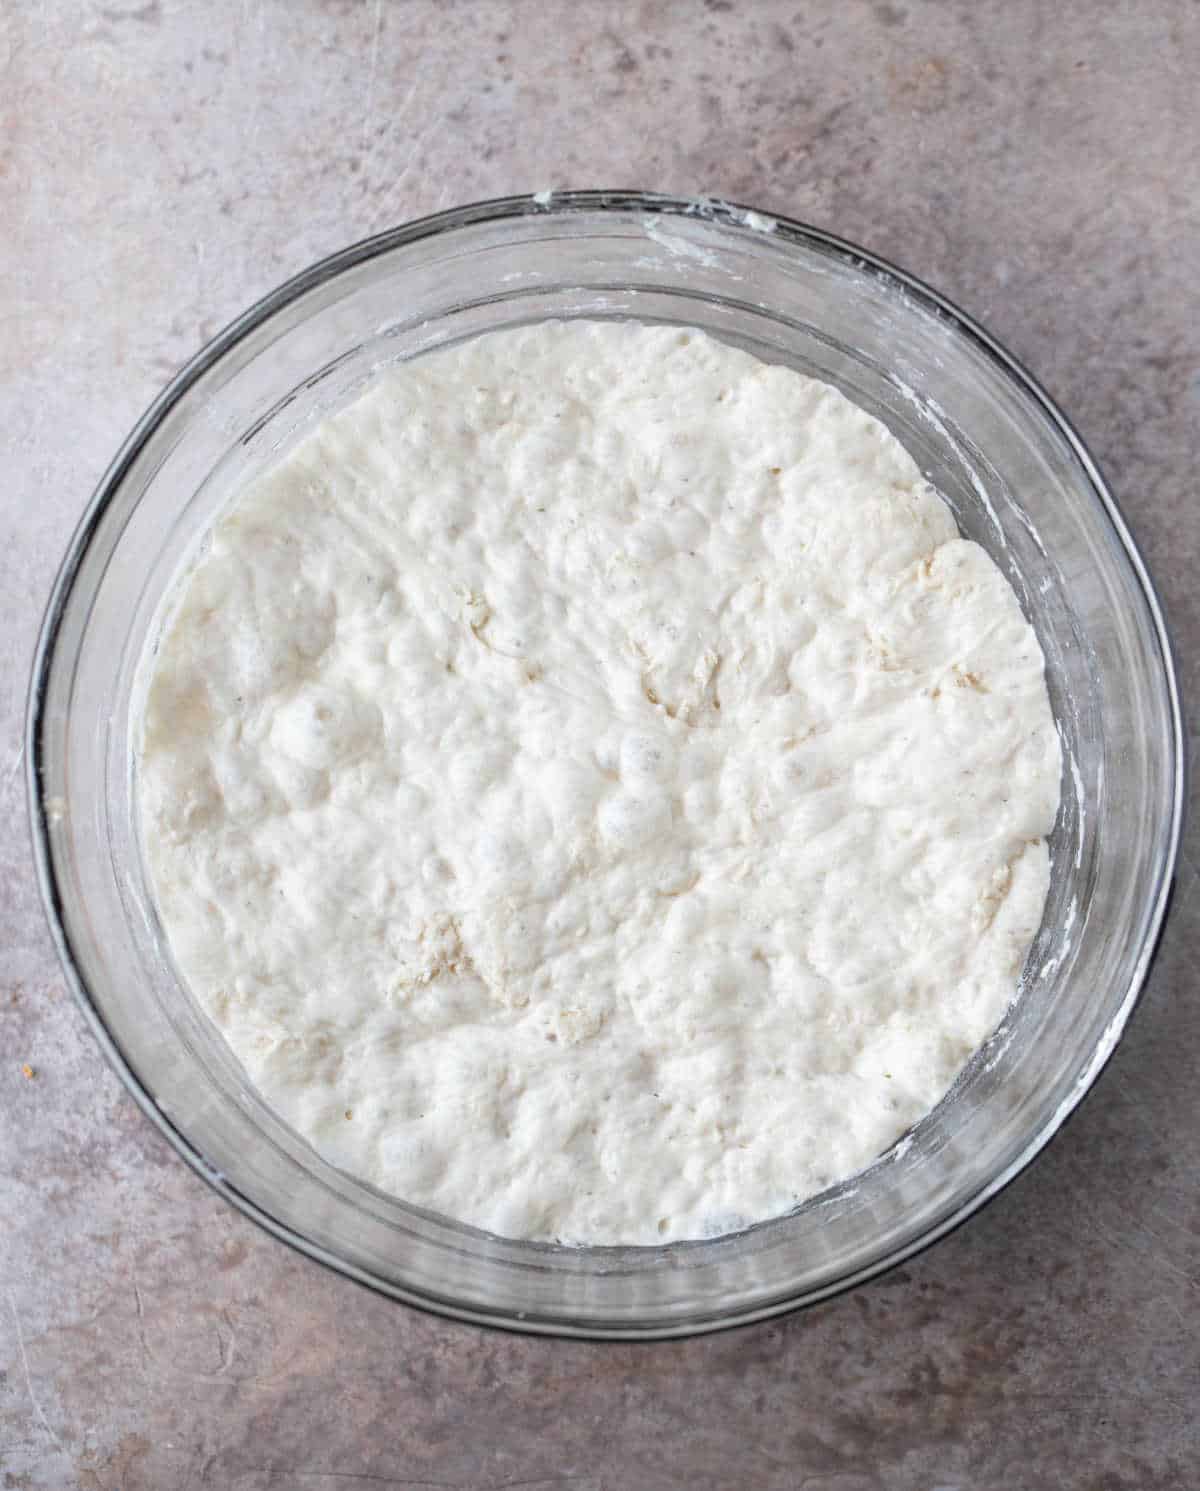
Step 3: Cover, and let it rise for about 12-18 hours.
Top tip >> Be sure to put the mixture into a container that’s large enough to hold the dough as it rises and expands.
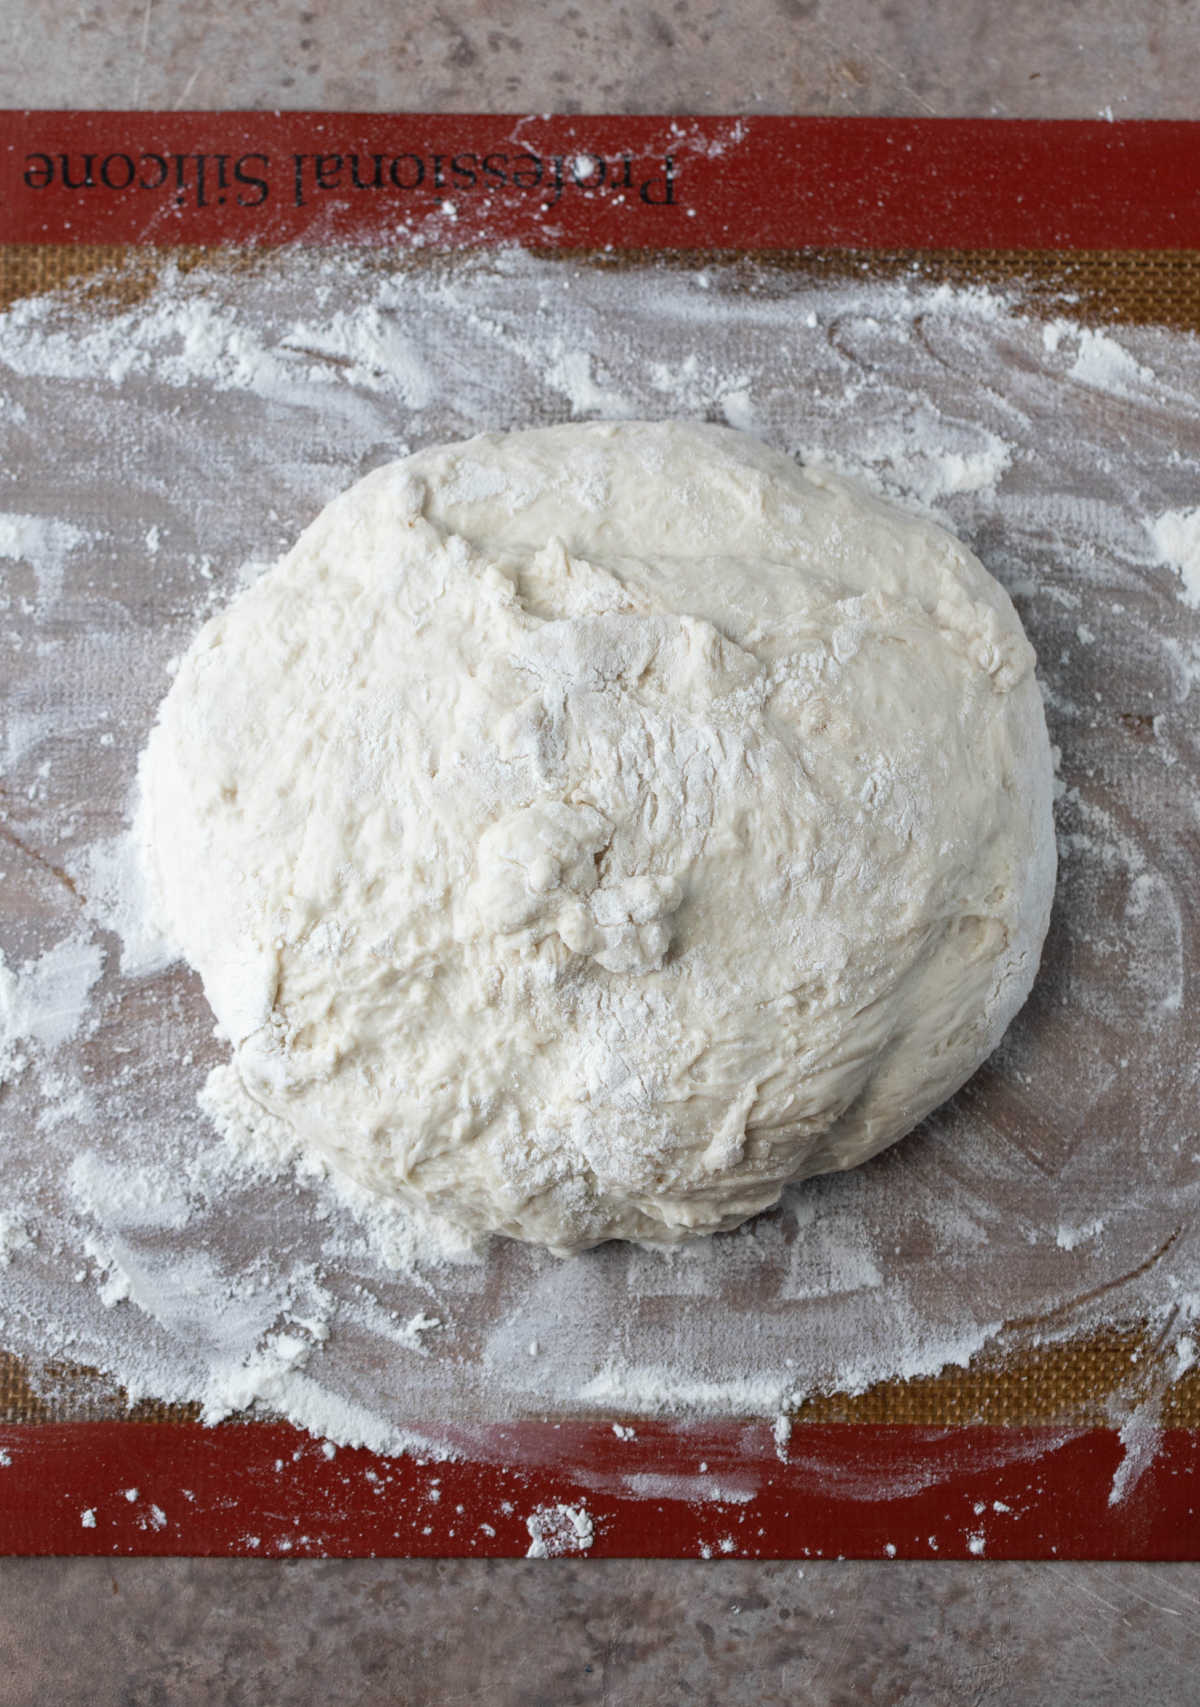
Step 4: Once the dough has risen, turn the dough out onto a floured work surface and cover with greased plastic wrap while the Dutch oven heats up in the oven.
Top tip >> I like to use a silicone baking mat because it makes it easy to turn the dough into the Dutch oven.
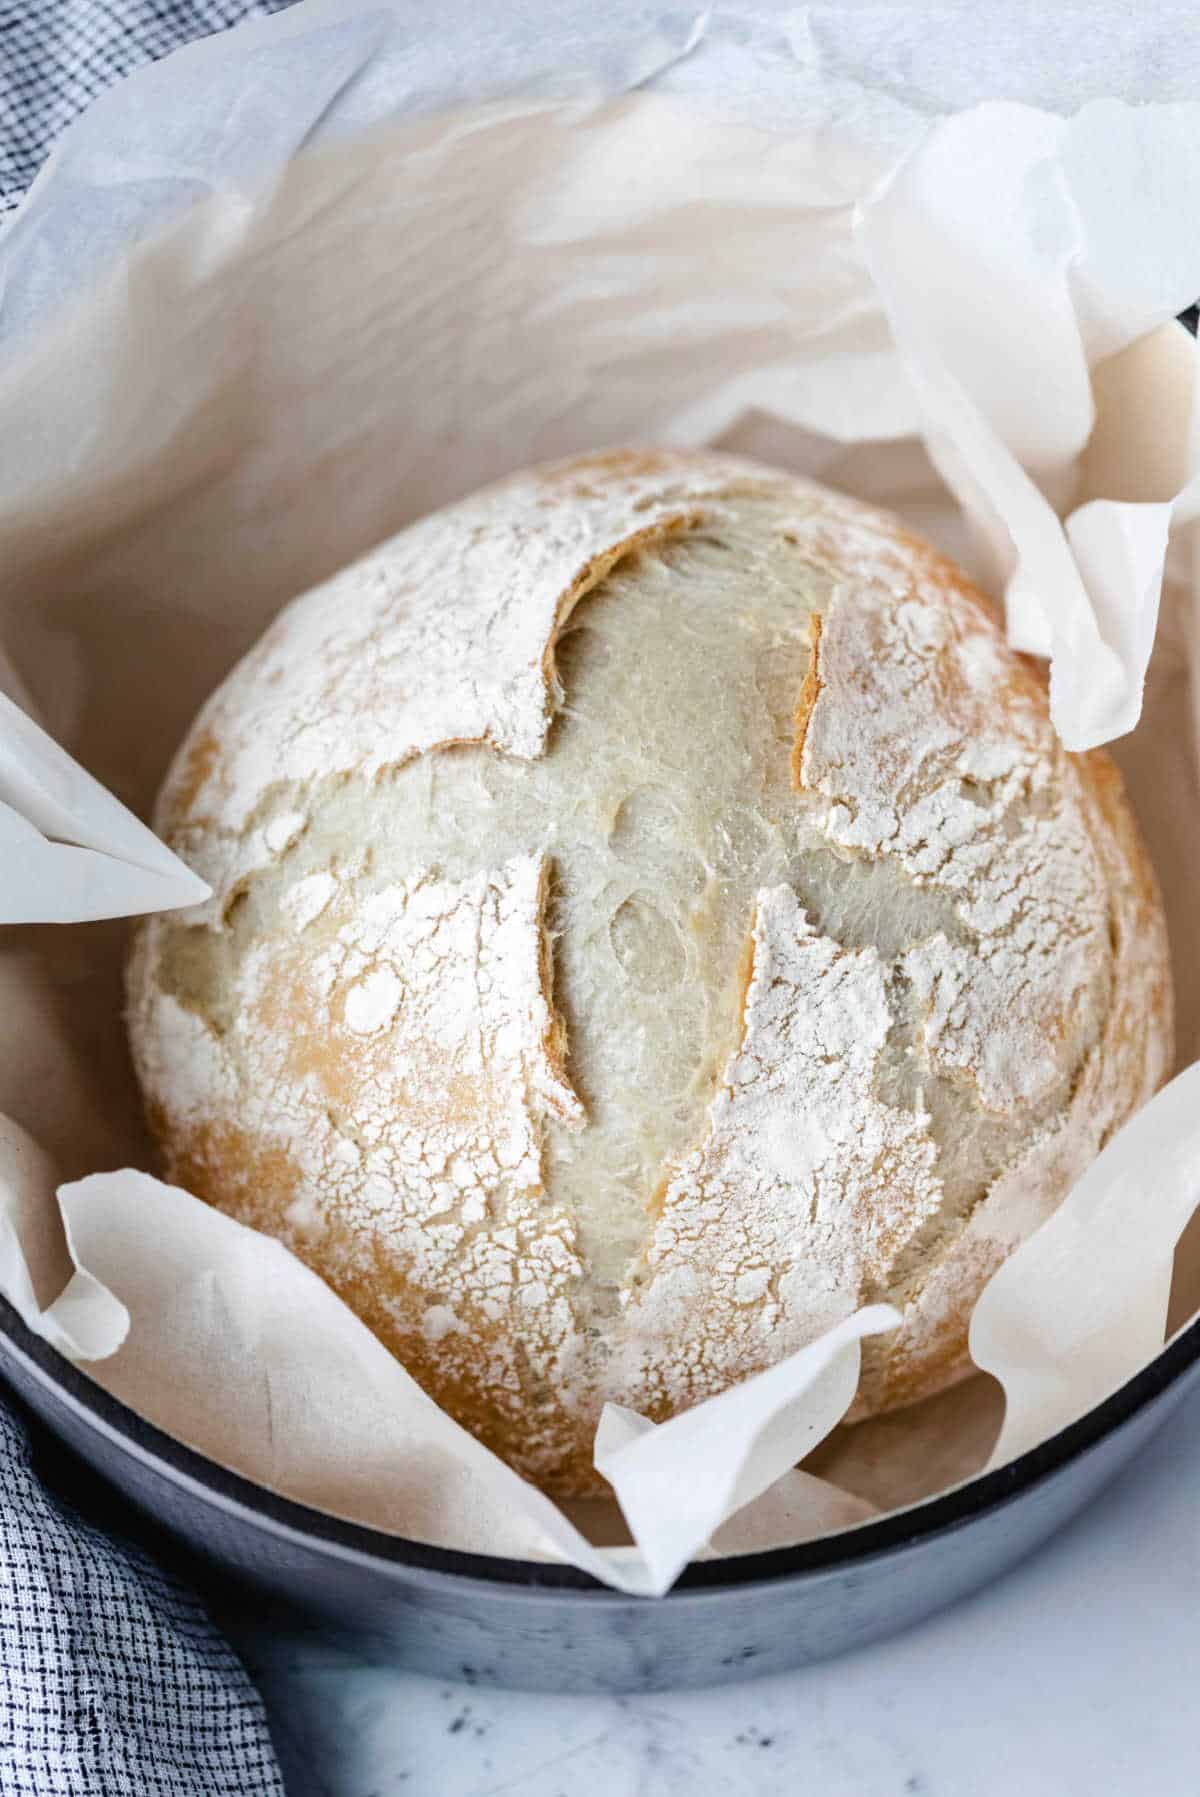
Step 5: Turn the dough into the pre-heated Dutch oven.

Step 6: Cover, and bake.
Tips
- If you have a silicone baking mat or parchment paper, either will work really well as a moveable surface for letting the dough rise.
- I’ve made this bread in both a Dutch oven and in Corningware. If you use something other than a Dutch oven, just make sure that it’s oven safe for the temperature.
- If you don’t have a lid, (carefully) cover your pot with a piece of aluminum foil.
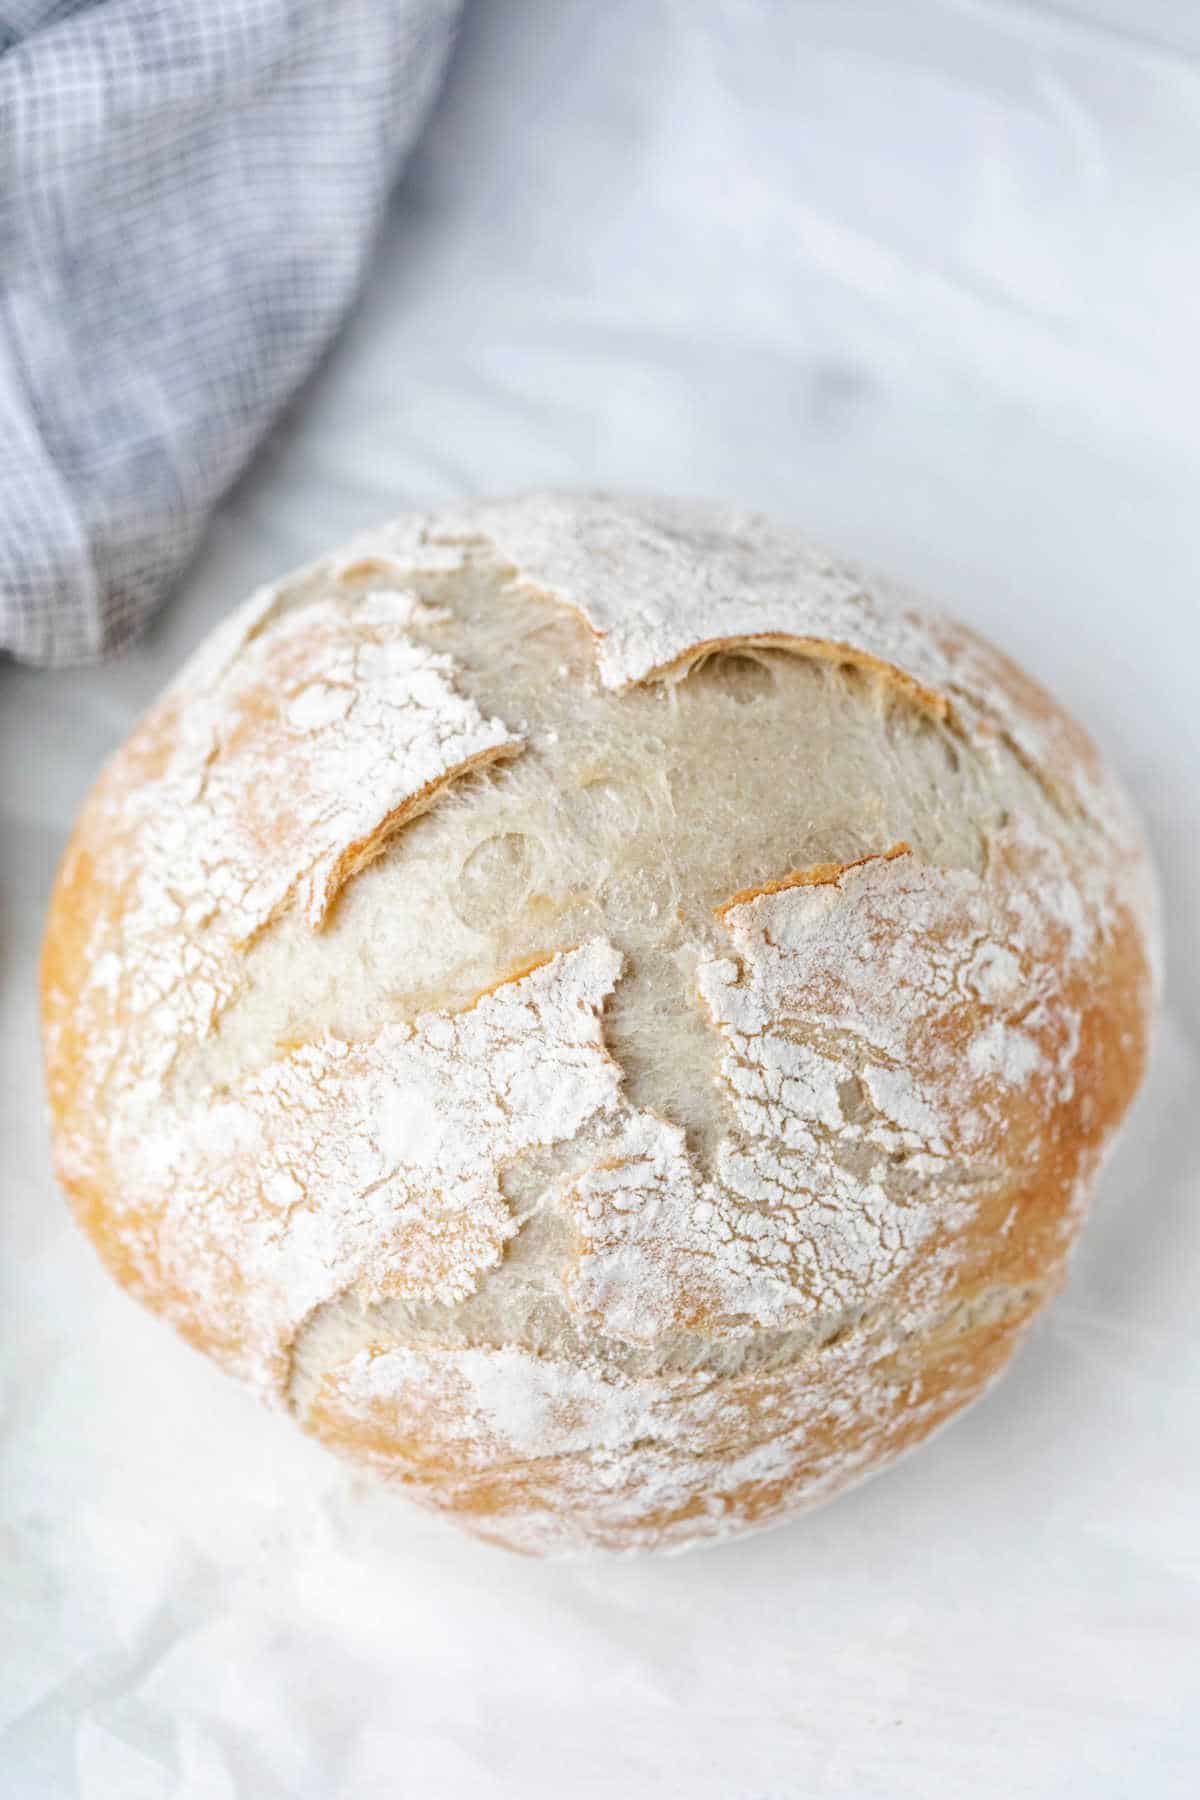
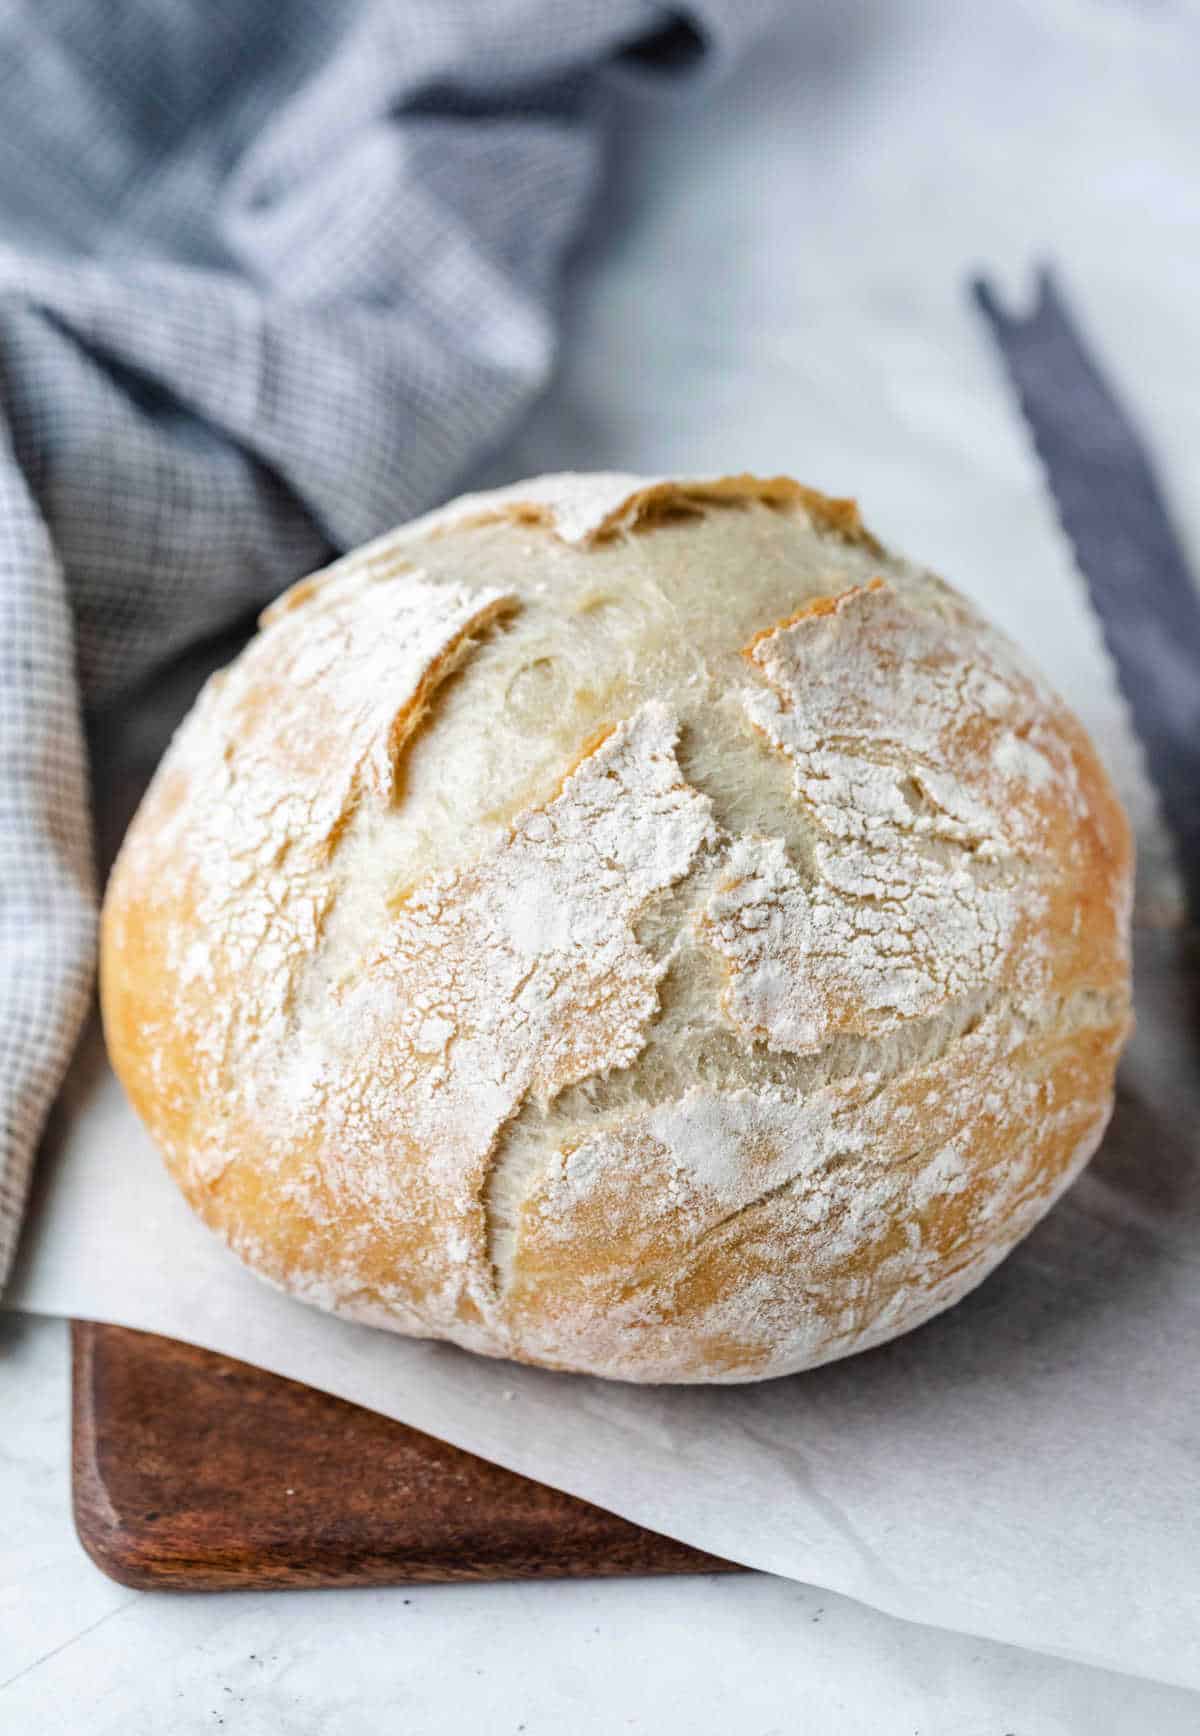
- I included directions for making the bread softer or crustier. We like it with a chewy, slightly crusty crust, so I use the plastic bag method with our bread.
- If you like a harder, crustier crust, just skip the bag and let it cool on the rack.
Recipe FAQs
I’ve let the dough rise for up to 36 hours before baking it. The dough just gets a little tangier as it sits.
You can! The bread will have a thicker crust, and you’ll need to increase the water in the recipe to 1 and 2/3 cups of lukewarm water.
Sure! You’ll just need a larger Dutch oven to bake the bread in.
No knead bread variations
No knead bread is a great blank canvas for all sorts of add-ins! I’ve made all sorts of varieties, including No Knead Cranberry Nut Bread and no knead garlic herb bread.
More bread recipes!
If you’ve tried this no-knead bread recipe, don’t forget to rate the recipe and leave me a comment below. I love to hear from people who’ve made my recipes!
You can subscribe to receive my latest recipe newsletters or follow me on Facebook, Instagram and Pinterest for even more delicious food.

No-Knead Bread
Ingredients
- 3 cups all-purpose flour
- 1 ½ teaspoons salt
- ½ teaspoon active dry yeast
- 1 ½ cups lukewarm water1
Instructions
- In a large mixing bowl, whisk together flour, salt, and yeast.3 cups all-purpose flour, 1 ½ teaspoons salt, ½ teaspoon active dry yeast
- Add water and mix until a shaggy mixture forms.1 ½ cups lukewarm water1
- Cover bowl with greased plastic wrap and set aside for 12 – 18 hours. Making it the night before works really well.
- Heat oven to 450 F.
- When the oven has reached 450 F, place a Dutch oven and heat the pot for 30 minutes.
- Meanwhile, pour dough onto a very heavily floured, movable surface (silicone baking mat, cutting board). With floured hands, shape dough into a ball.
- Cover with greased plastic wrap and let it sit while the pot is heating.
- Remove hot pot from the oven, drop in the dough, and cover.2
- Return to oven for 30 minutes.
- For a crispier loaf, uncover, and continue baking for 5-10 additional minutes.
- Remove bread from oven and place on a cooling rack to cool.
- For softer bread, let bread cool for 5 minutes on a rack. Then, place in a plastic bag but do not seal.
- For crustier bread, let cool to room temperature on rack.
Video
Notes
- The water should be about 80F. It should feel about like room temperature.
- If your Dutch oven doesn’t have a lid, you can use foil. Just be very careful when covering the pot as it will be hot.
- Nutritional values are estimates.
Nutrition
Did You Make This Recipe?
Share it with me on Instagram @i_heart_eating and follow on Youtube @katedean and Pinterest @katedean for more!
Recipe adapted from Jim Lahey’s no-knead bread recipe.
First published 3/14/12. Updated with new pictures and tips 8/29/19. Updated again on 3/5/22 with additional FAQs and information.
Reader Interactions
Love this recipe?
Share your thoughts below and let’s chat! Make sure to connect with me on your favorite social platform below and show me what you made!


Comments & Reviews
Elena says
Delishous! So good 👍
Kate says
Thank you!
lee says
my family loves this recipe. really easy. I’ll be baking this as well as tradional bread for Thanksgiving.
Kate says
Thank you!
Jane says
We love this bread, great for toasting! It’s my go to for bread because it is so easy. I have always made it just as written. Can I use some whole wheat white flour in this, say 50/50 with all purpose? Or all whole wheat white with the same reults?
Kate says
Thank you! I haven’t tried using whole wheat flour, but I’m going to add that to my to-do list, and I’ll update once I’ve given it a try.
halleh says
Simple, consistent, delicious. You can’t screw this one up.
Kate says
Thank you!
Igmeister says
Just found the ingredient
List,near the bottom end
Kate says
Hi! You can use the “jump to recipe” button on any of my recipes to skip past the step-by-step photos and tips if that’s easier for you.
Maryeileen says
I don’t have a Dutch oven. Can I use a (blue speckled) roasting pan?
Kate says
Hi! I’m not sure what the heat-rating is on your pan to say for certain. The Dutch oven works well because it holds up well to the extended cooking time at the higher temperature.
Bh says
Is using all the water a must or just when the dough gets shaggy?
Kate says
I know that ratios can vary a bit when making bread, but I’ve never used less water to make this recipe.
BFromM says
If I don’t have a dutch oven, can I just back it on a baking tray, or does it need more structure?
Kate says
The Dutch oven helps to trap a small amount of steam as the bread bakes. That bit of steam helps the bread to form its crusty exterior. Do you have any oven-safe pot with lid? That would also work.
Gabby says
I have never made bread before and am going to give this a try. However can I use the pink Himalayan sea salt or should I go and get regular salt? Thanks!
Kate says
Hi! The salt helps to give the bread flavor. I would recommend getting regular table salt because it will better incorporate (and flavor) your dough. Hope that helps!
Dana Read says
I’ve made this bread with both Himalayan sea salt and Hawaiian green (bamboo) salt and it turns out fine! Do try this recipe, it is WONDERFUL!!!
Kate says
Thank you so much!