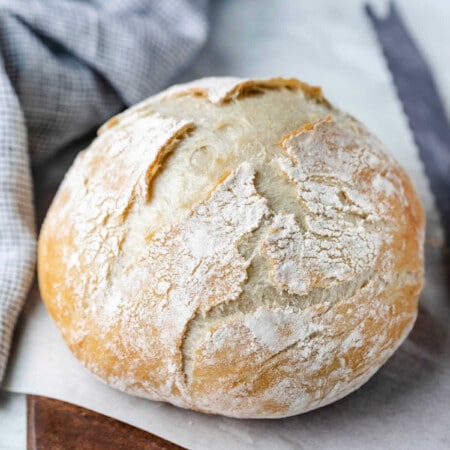
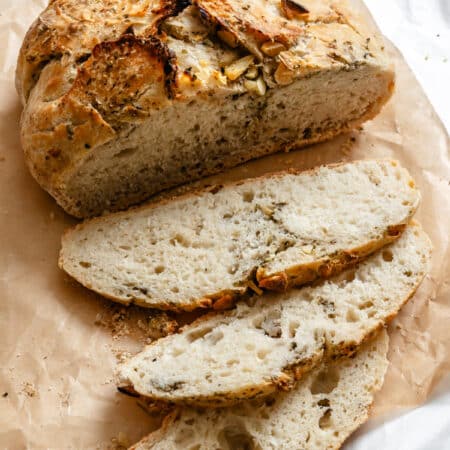
Garlic Herb No Knead Bread is an easy recipe that makes a delicious, flavorful loaf of bread in a Dutch oven with little hands-on work! Great no knead bread variation!

Garlic bread is one of my favorite sides; I could eat it pretty much every day. So, to mix things up, I make different versions – garlic knots, garlic breadsticks, garlic parmesan pretzels, and Garlic Herb No-Knead Bread. This bread is fantastic alongside pasta or anything else that you would usually serve garlic bread with.
I first started making no-knead bread over ten years ago because it is incredibly easy to make and requires almost no hands on time.
Since it doesn’t require much more than mixing together a few ingredients and then tossing it in a Dutch oven, this is a great way to ease into bread baking. And the results are so delicious that no one will guess just how easy this no knead bread variation is to make!
“My new favorite bread recipe! It’s so easy and delicious! It comes out so beautifully and looks like Artisan bread. I change up the spices and add cheeses sometimes just for fun. I actually bought a Dutch oven just to make this and I haven’t regretted it once!” – Michelle
How to make garlic herb no knead bread
Here you’ll find instructions and step-by-step photos showing how to make this recipe. The full recipe, including ingredients, is given below.

Step 1: In a large mixing bowl, whisk together flour, salt and yeast.
Step 2: Add water and mix until a shaggy mixture forms.

Step 3: Cover bowl with greased plastic wrap and set aside for 12 – 18 hours. Making it the night before works really well.
Step 4: When ready to bake the bread, sprinkle seasoning and garlic over the dough.
Step 5: Heat oven to 450 F.
Step 6: When the oven has reached 450 F, place a cast iron pot with a lid in the oven and heat the pot for 30 minutes.
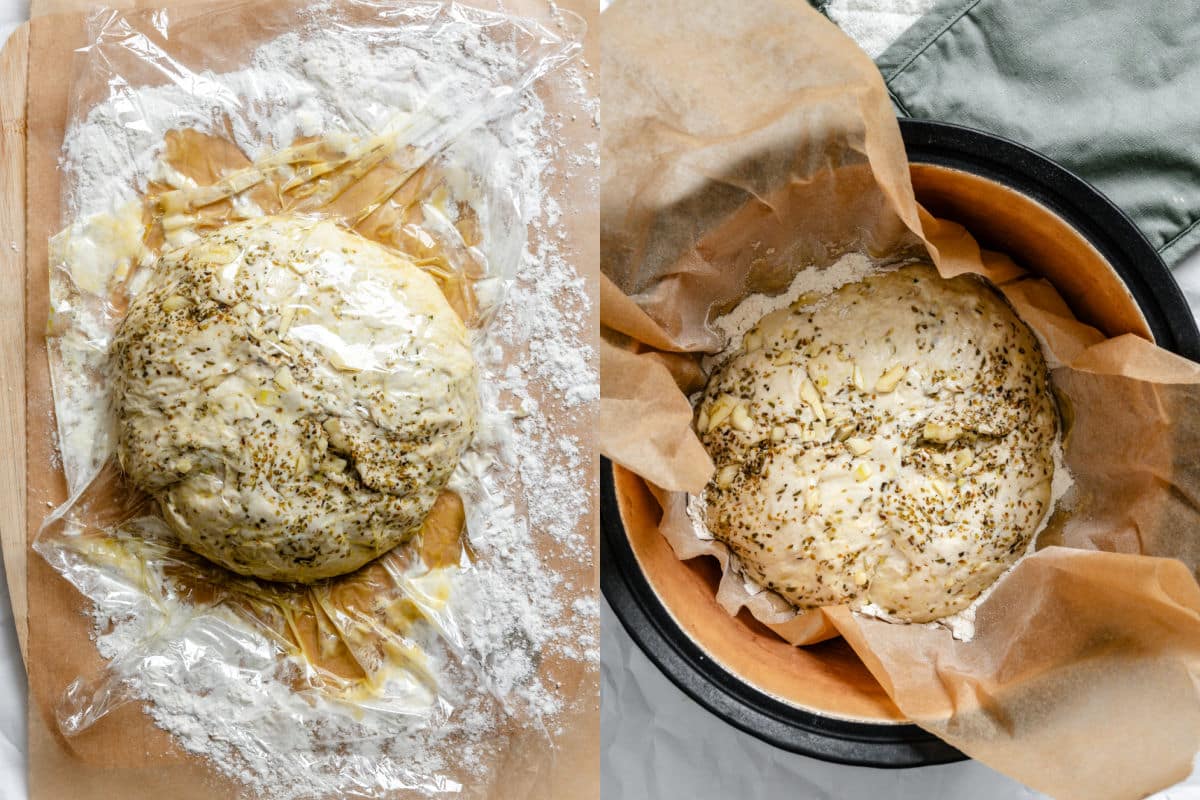
Step 7: Meanwhile, pour dough onto a very heavily floured, movable surface (parchment paper, cutting board). With heavily floured hands, shape dough into a ball.
Step 8: Cover with greased plastic wrap, and let it sit while the pot is heating.
Step 9: Remove hot pot from the oven, drop in the dough, and cover.
Step 10: Return to oven for 30 minutes.
Step 11: After 30 minutes remove the lid and bake an additional 10 minutes.
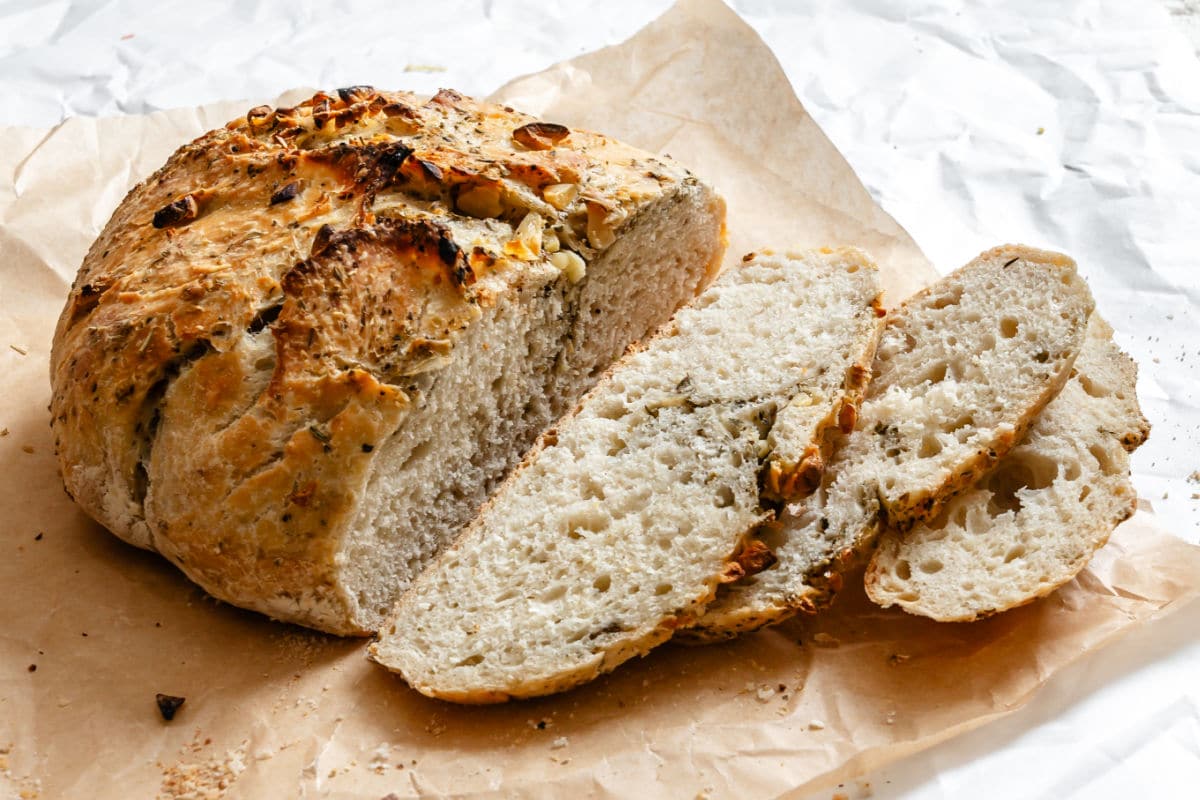
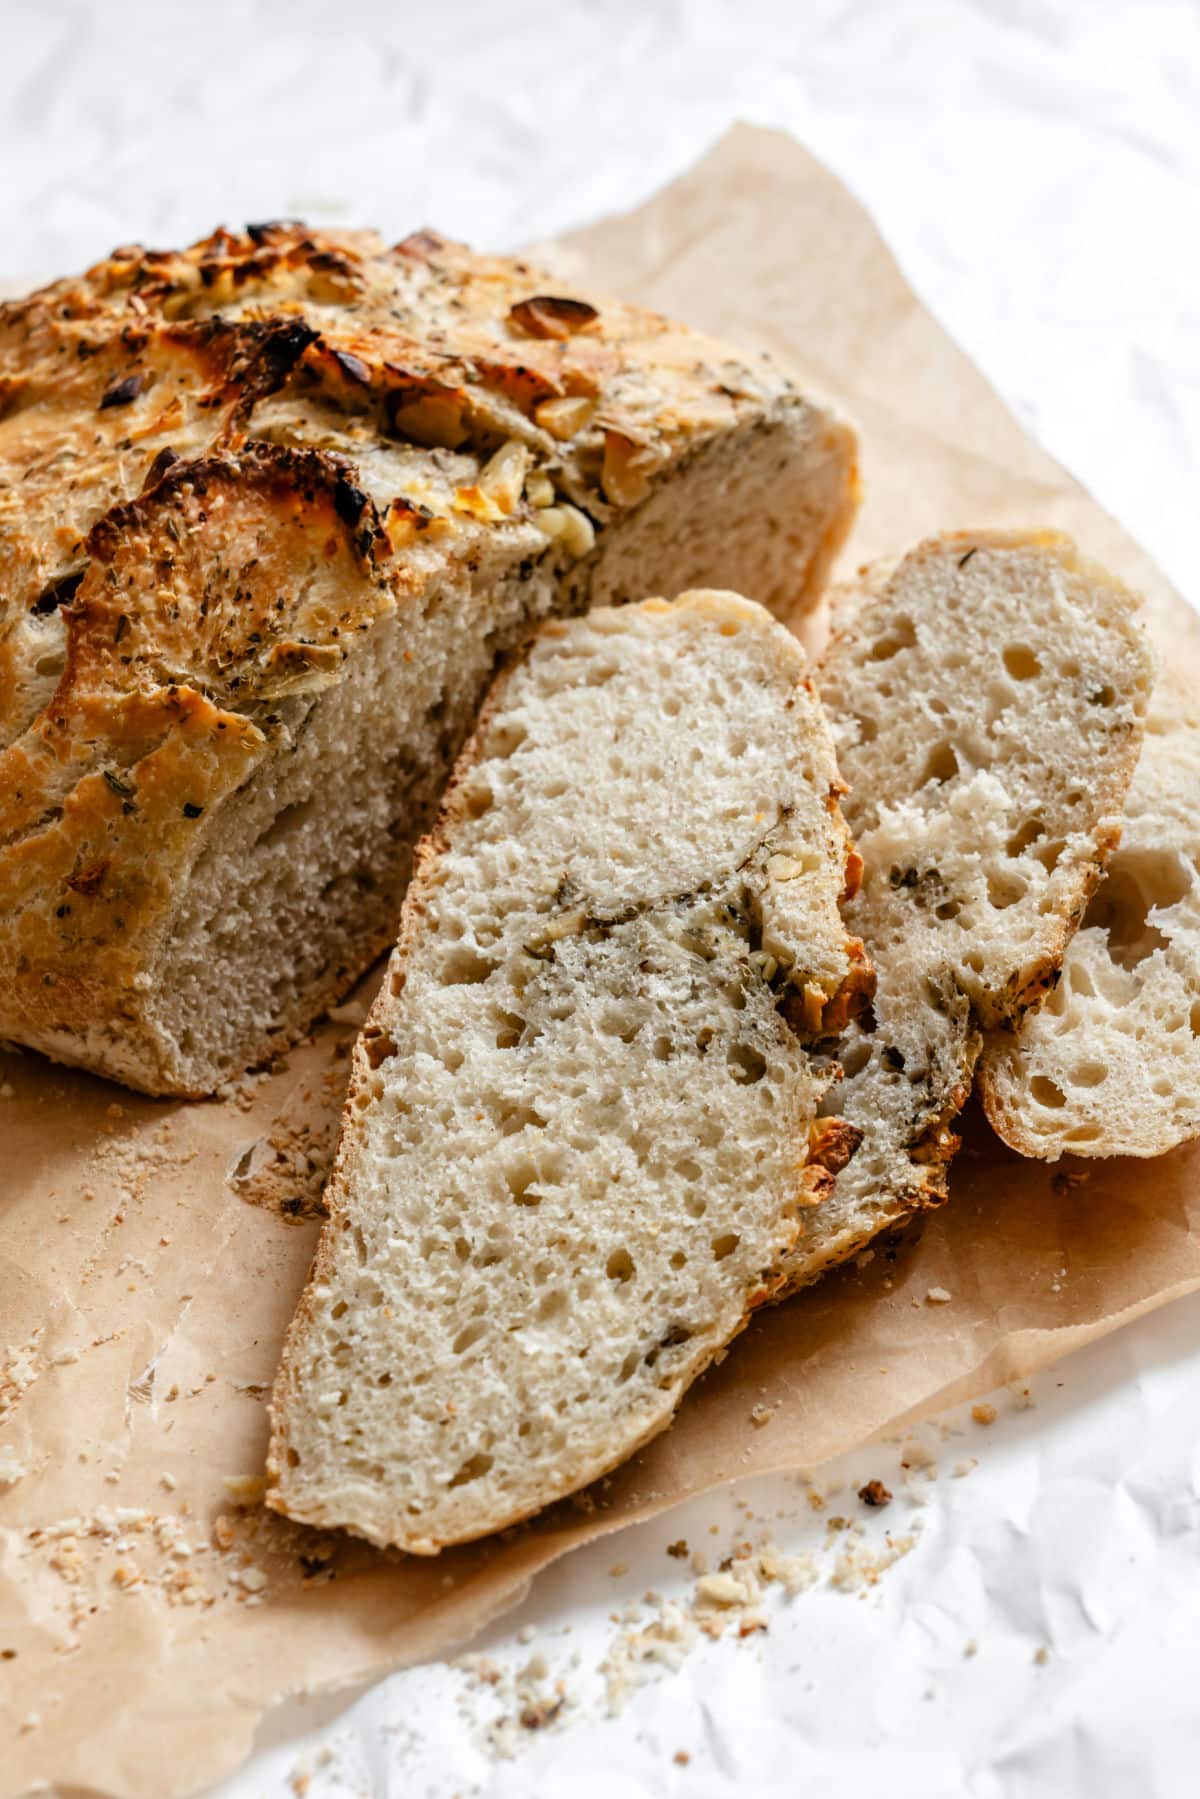
Step 12: Remove bread from oven and place on a cooling rack to cool.
Step 13: For softer bread, let bread cool for 5 minutes on a rack. Then, place in a plastic bag but do not seal. For crustier bread, let cool to room temperature on rack.
Recipe Tips!
- Dutch oven: Double check that your Dutch oven has an oven-safe lid and oven safe handles. One of the first times that I made no knead bread, the handle on the lid of my Dutch oven melted from the heat.
- Texture: This bread has a crispier exterior and softer interior. If you want the bread to be a little softer on the outside, place the warm (not hot) loaf of baked bread in a resealable container for about 5 minutes. This should soften the loaf a bit.
- Freezing: To freeze this bread, let it cool to room temperature after baking. Wrap the bread in plastic wrap and then place in a resealable freezer-safe container.
Storage
This bread can be stored in a resealable airtight container at room temperature. It will keep for up to 3 days when properly stored.
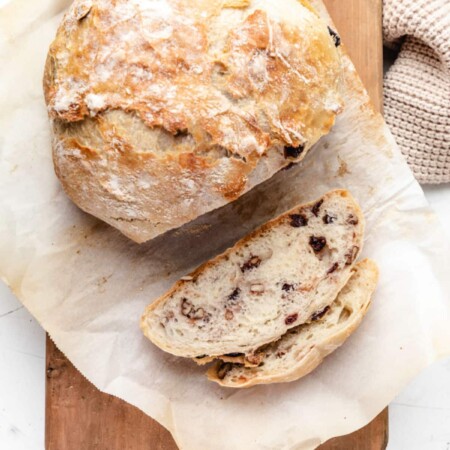
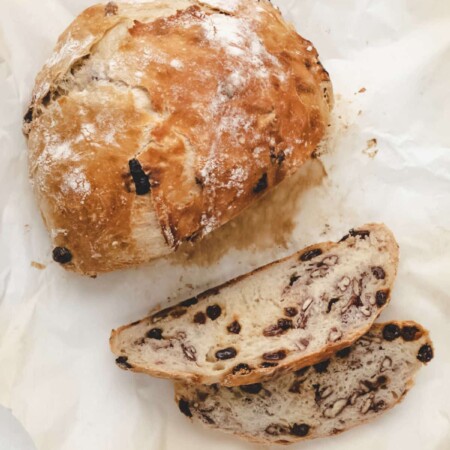
More no knead bread recipes!
If you’ve tried this garlic herb no knead bread recipe, don’t forget to rate the recipe and leave me a comment below. I love to hear from people who’ve made my recipes!
You can subscribe to receive my latest recipe newsletters or follow me on Facebook, Instagram and Pinterest for even more delicious food.

Garlic Herb No Knead Bread
Equipment
Ingredients
- 3 cups all-purpose flour
- 2 teaspoons salt
- ½ teaspoon yeast
- 1 ½ cups lukewarm water about 70-80 F
- 2 tablespoons Italian seasoning
- 5 cloves garlic smashed into small pieces
Instructions
- In a large mixing bowl, whisk together flour, salt and yeast.3 cups all-purpose flour, 2 teaspoons salt, ½ teaspoon yeast
- Add water and mix until a shaggy mixture forms.1 ½ cups lukewarm water
- Cover bowl with greased plastic wrap and set aside for 12 – 18 hours. Making it the night before works really well.
- When ready to bake the bread, sprinkle seasoning and garlic over the dough.2 tablespoons Italian seasoning, 5 cloves garlic
- Heat oven to 450 F.
- When the oven has reached 450 F, place a cast iron pot with a lid in the oven and heat the pot for 30 minutes.
- Meanwhile, pour dough onto a very heavily floured, movable surface (parchment paper, cutting board). With heavily floured hands, shape dough into a ball.
- Cover with greased plastic wrap, and let it sit while the pot is heating.
- Remove hot pot from the oven, drop in the dough, and cover.
- Return to oven for 30 minutes.
- After 30 minutes remove the lid and bake an additional 10 minutes.
- Remove bread from oven and place on a cooling rack to cool.
- For softer bread, let bread cool for 5 minutes on a rack. Then, place in a plastic bag but do not seal.
- For crustier bread, let cool to room temperature on rack.
Video
Notes
- Nutrition values are estimates.
Nutrition
Did You Make This Recipe?
Share it with me on Instagram @i_heart_eating and follow on Youtube @katedean and Pinterest @katedean for more!
Originally published 10/24/2014. This post is regularly updated.
Reader Interactions
Love this recipe?
Share your thoughts below and let’s chat! Make sure to connect with me on your favorite social platform below and show me what you made!


Comments & Reviews
Jamie says
Can you use minced garlic in the jar? Also, do you put the garlic and seasoning on before you pour the dough out to shape into a ball? Or do you do that after shaping into the ball?
Kate Dean says
You can use jarred garlic. I add it before I shape the ball. Please let me know if you have any other questions!
Ana says
I am completely new to baking and bread. Can I use active dry yeast in this recipe?
Kate Dean says
You can! Please let me know if you have any other questions.
Lorraine says
Can you use the minced garlic that’s in a jar?
Jennifer says
Hi ~ Can I add grated parmesan cheese we use on pizza from the store bought container?? If so,how much? Thank you!
Kate says
Hi! I haven’t tried adding parmesan to say for certain, but I think you could add 1/4-1/2 cup along with the garlic herbs before baking. You may need to give it a could of folds so that it’s inside the dough. I hope that helps!
Kim says
Omg made this today , so easy and delicious will def make again !!
Kate says
Thank you!
Cheryl says
Yummy!!
Lori says
I’m looking forward to making this. However, I noticed that you instructed to put a cold dutch oven into a hot oven. Doing so can risk damaging the dutch oven. You want to heat up the dutch oven in the oven as it is heating up.
Kate says
Hi! Your Dutch oven should be at room temperature when you place it into the oven. If your pot’s manufacturer’s directions call for preheating it with the oven, then you should definitely do that! I’ve never had any issues placing my room temp Dutch oven in to heat it, but that may just depend on the manufacturer’s specifications.
Ranger5 says
I’m going to make this bread! I’m curious, why do you wait to mix in the garlic and seasoning until after the first rise and not just mix it in at the very beginning? Would that inhibit the initial rise?
Jennifer says
I’m wondering the same thing. :)
Kate says
Hi! I just mix them in at the end for maximum freshness (the garlic). I have a no knead cinnamon raisin bread recipe, and I mix the raisins and nuts in before the rise, and the dough rises just fine. So, I would guess that you could mix the garlic and herbs in pre-rise and have it be just fine.
Jcip says
It wouldn’t let me give 5 stars, but this recipe is definitely a 5! It is so easy to make and the flavor is absolutely deeeelicious. I’m going to add some crumbled blue cheese next time.
Kate says
Thank you so much!
Amy says
This recipe sounds very good. Typically it seems parchment paper cannot be used above 425 but I have seen several recipes like this with parchment paper in the pot at 450. Do you have any concerns with parchment paper at such high temperatures in the oven?
Kate says
Hi! I think it may depend on the brand of parchment paper. Mine says oven safe to 480F. However, if you’re concerned about using parchment paper at 450F, you can (carefully) make sure that it’s tucked into the pot underneath the lid.