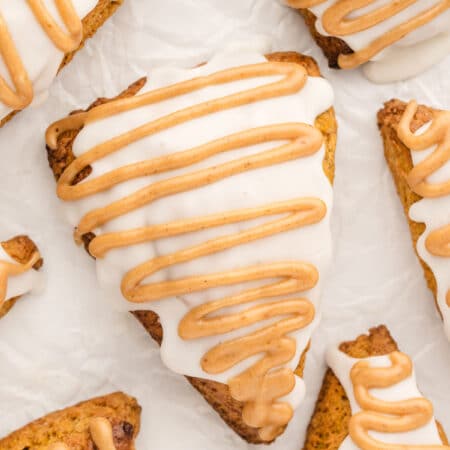
This copycat Starbucks Pumpkin Scone recipe makes scones that are even better than the ones at Starbucks! These pumpkin scones are fluffy, light, and moist inside with the perfect amount of fall flavor throughout.
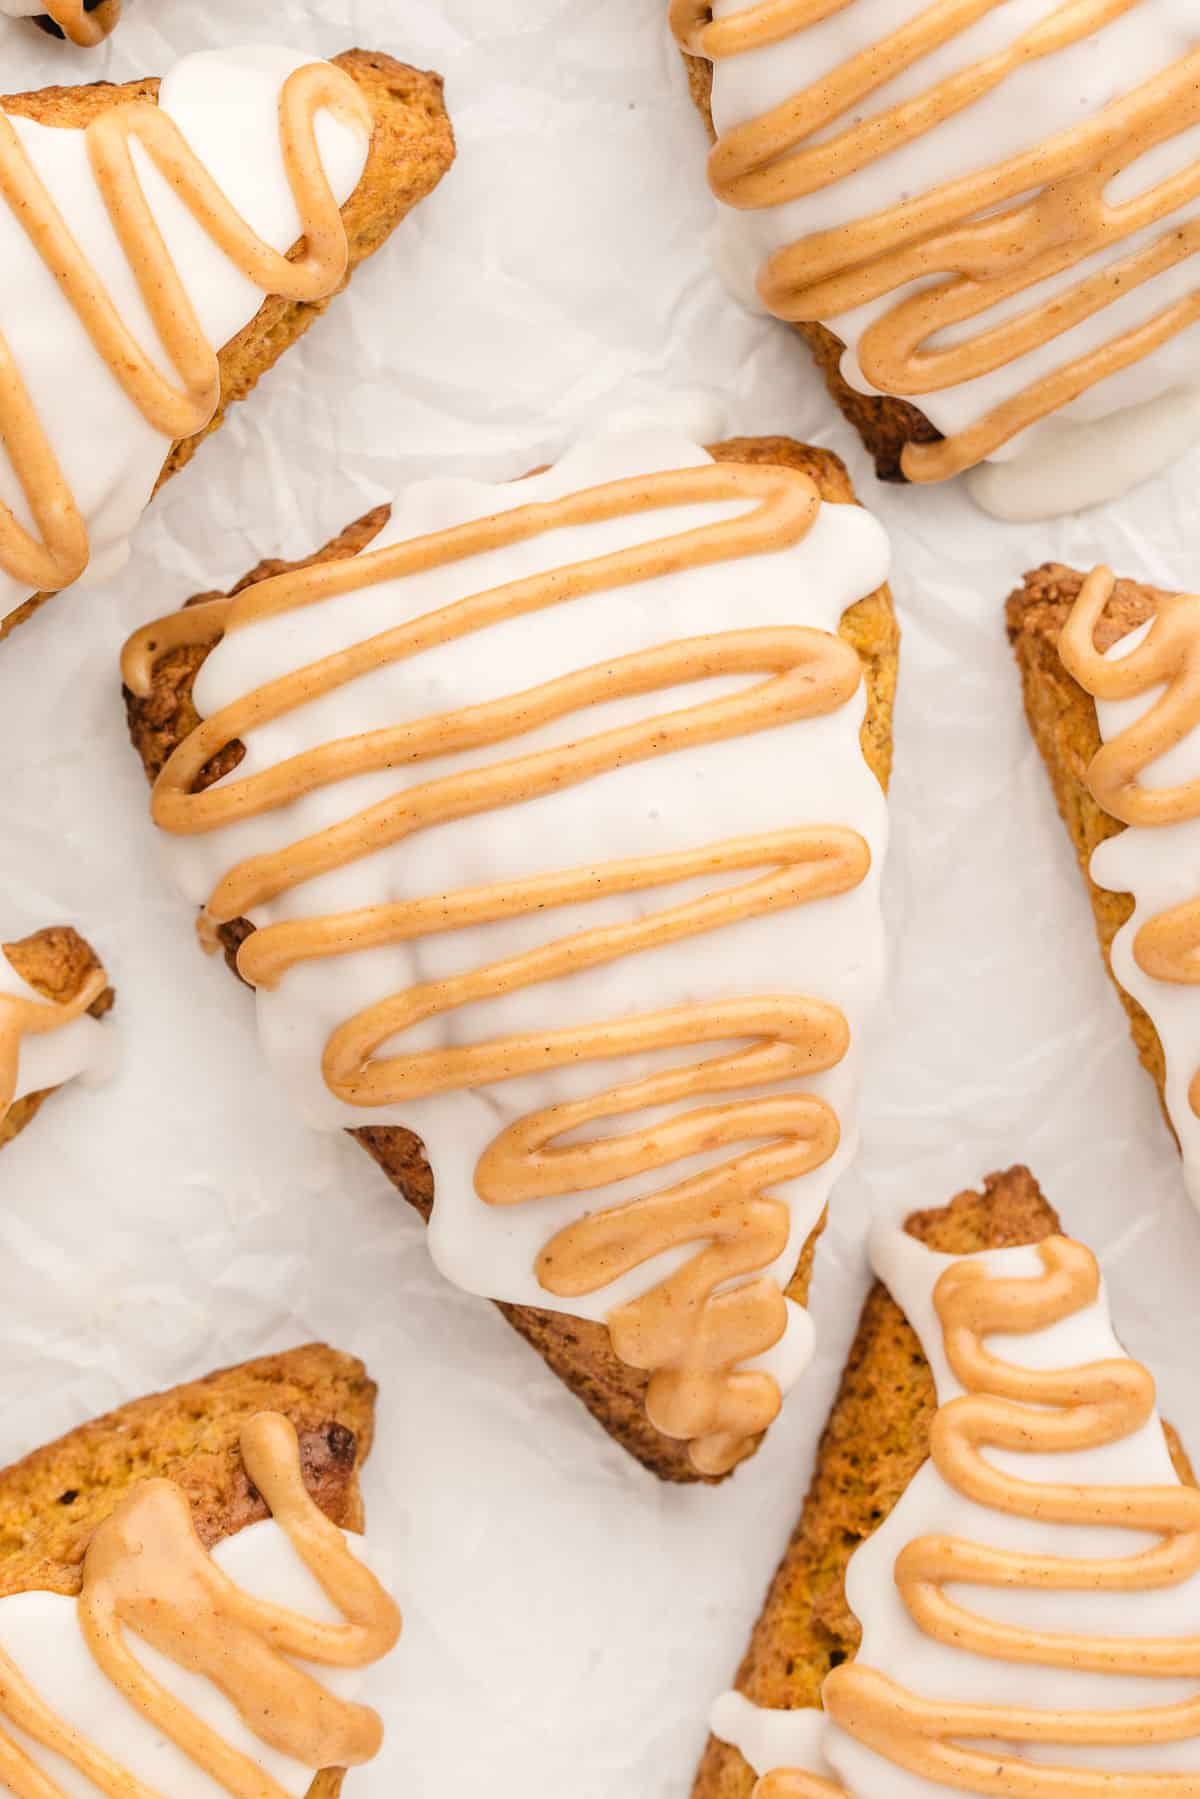
Starbucks pumpkin scones have been a fall staple for years! Recently, though, Starbucks decided not to bring back the scones.
This Starbucks pumpkin scone recipe is a great replacement for the originals! This recipe makes scones that are light and fluffy inside. They’re nicely spiced and just sweet enough.
Give this easy recipe a try the next time that you’re craving a pumpkin scone!
How to make Starbucks pumpkin scones
Here you’ll find step-by-step photos showing how to make this recipe. The full recipe, including instructions, is given below.
Step 1: Preheat the oven to 400ºF and line a baking sheet with parchment paper.
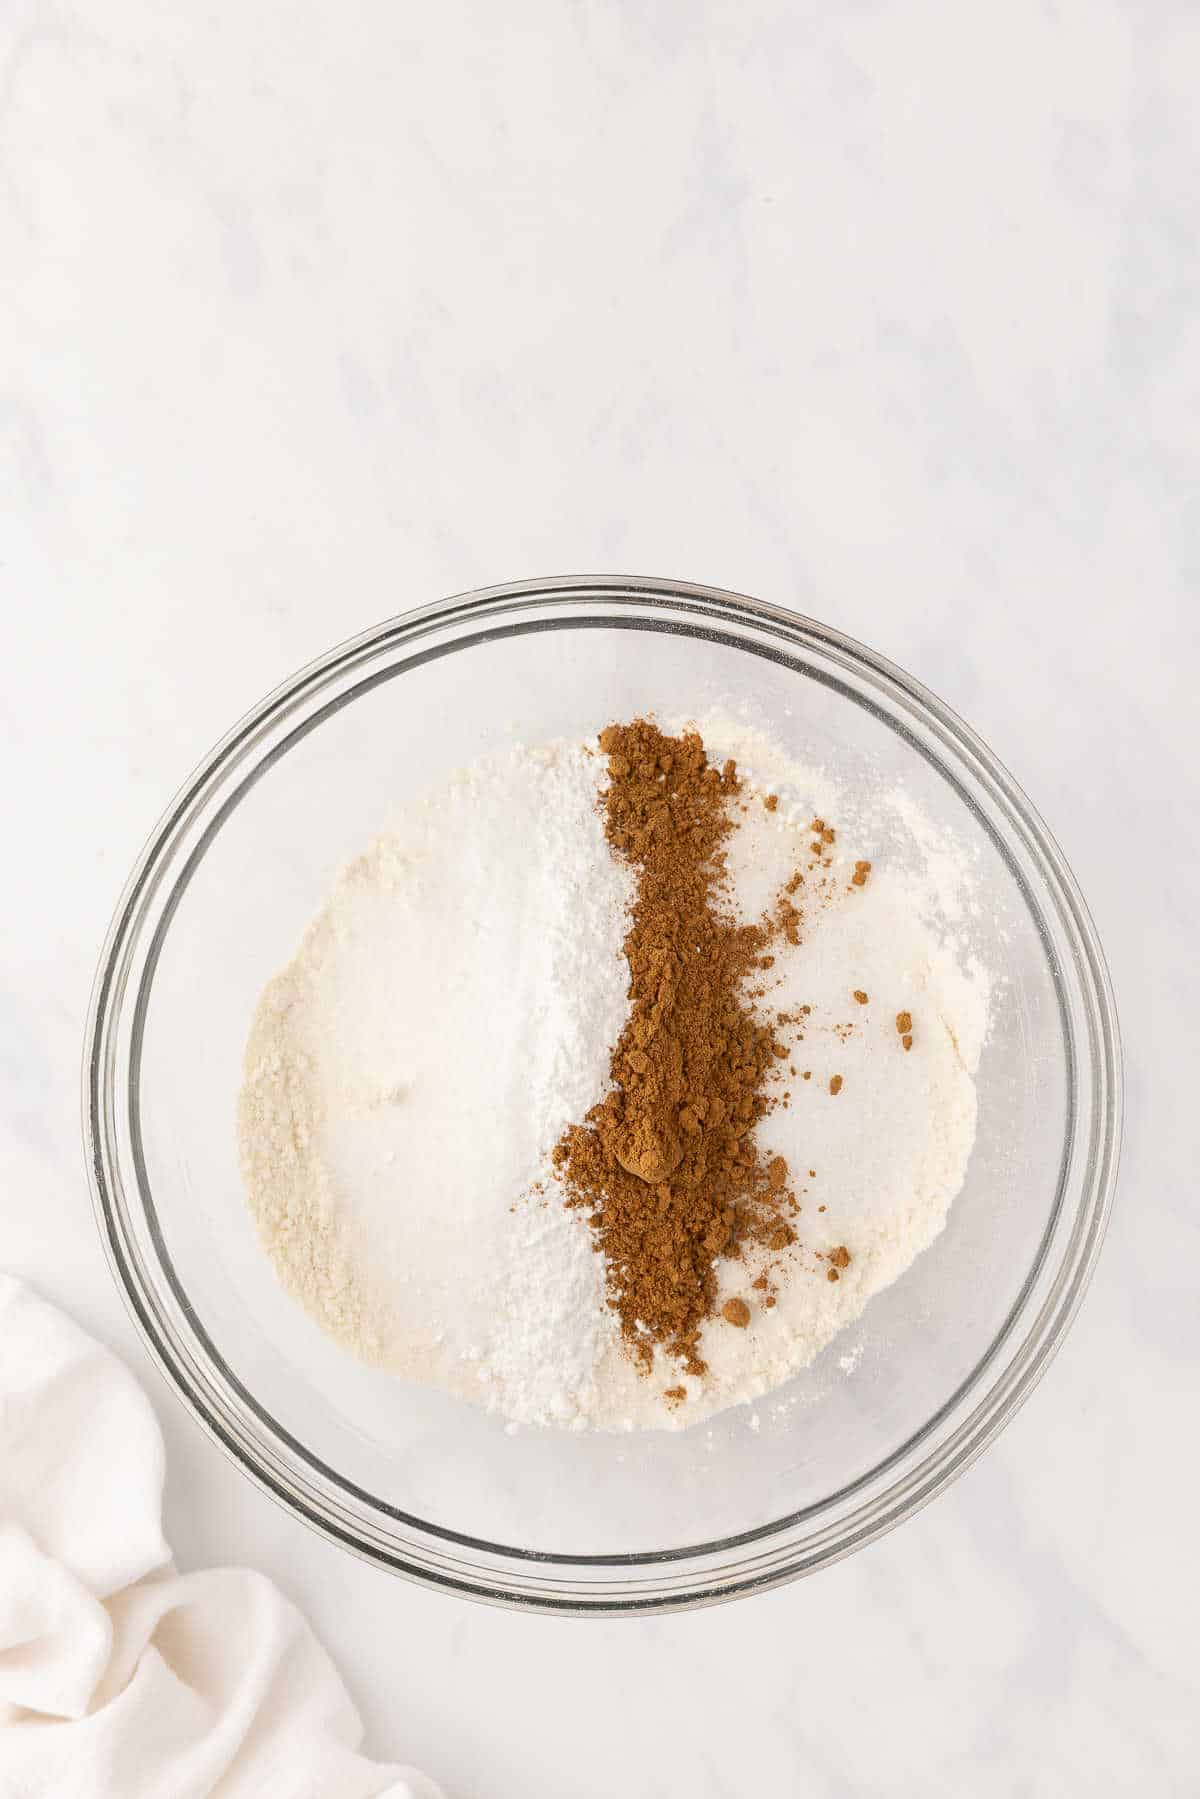
Step 2: In a large mixing bowl add the flour, baking powder, sugar, salt, cinnamon and pumpkin spice and mix together.
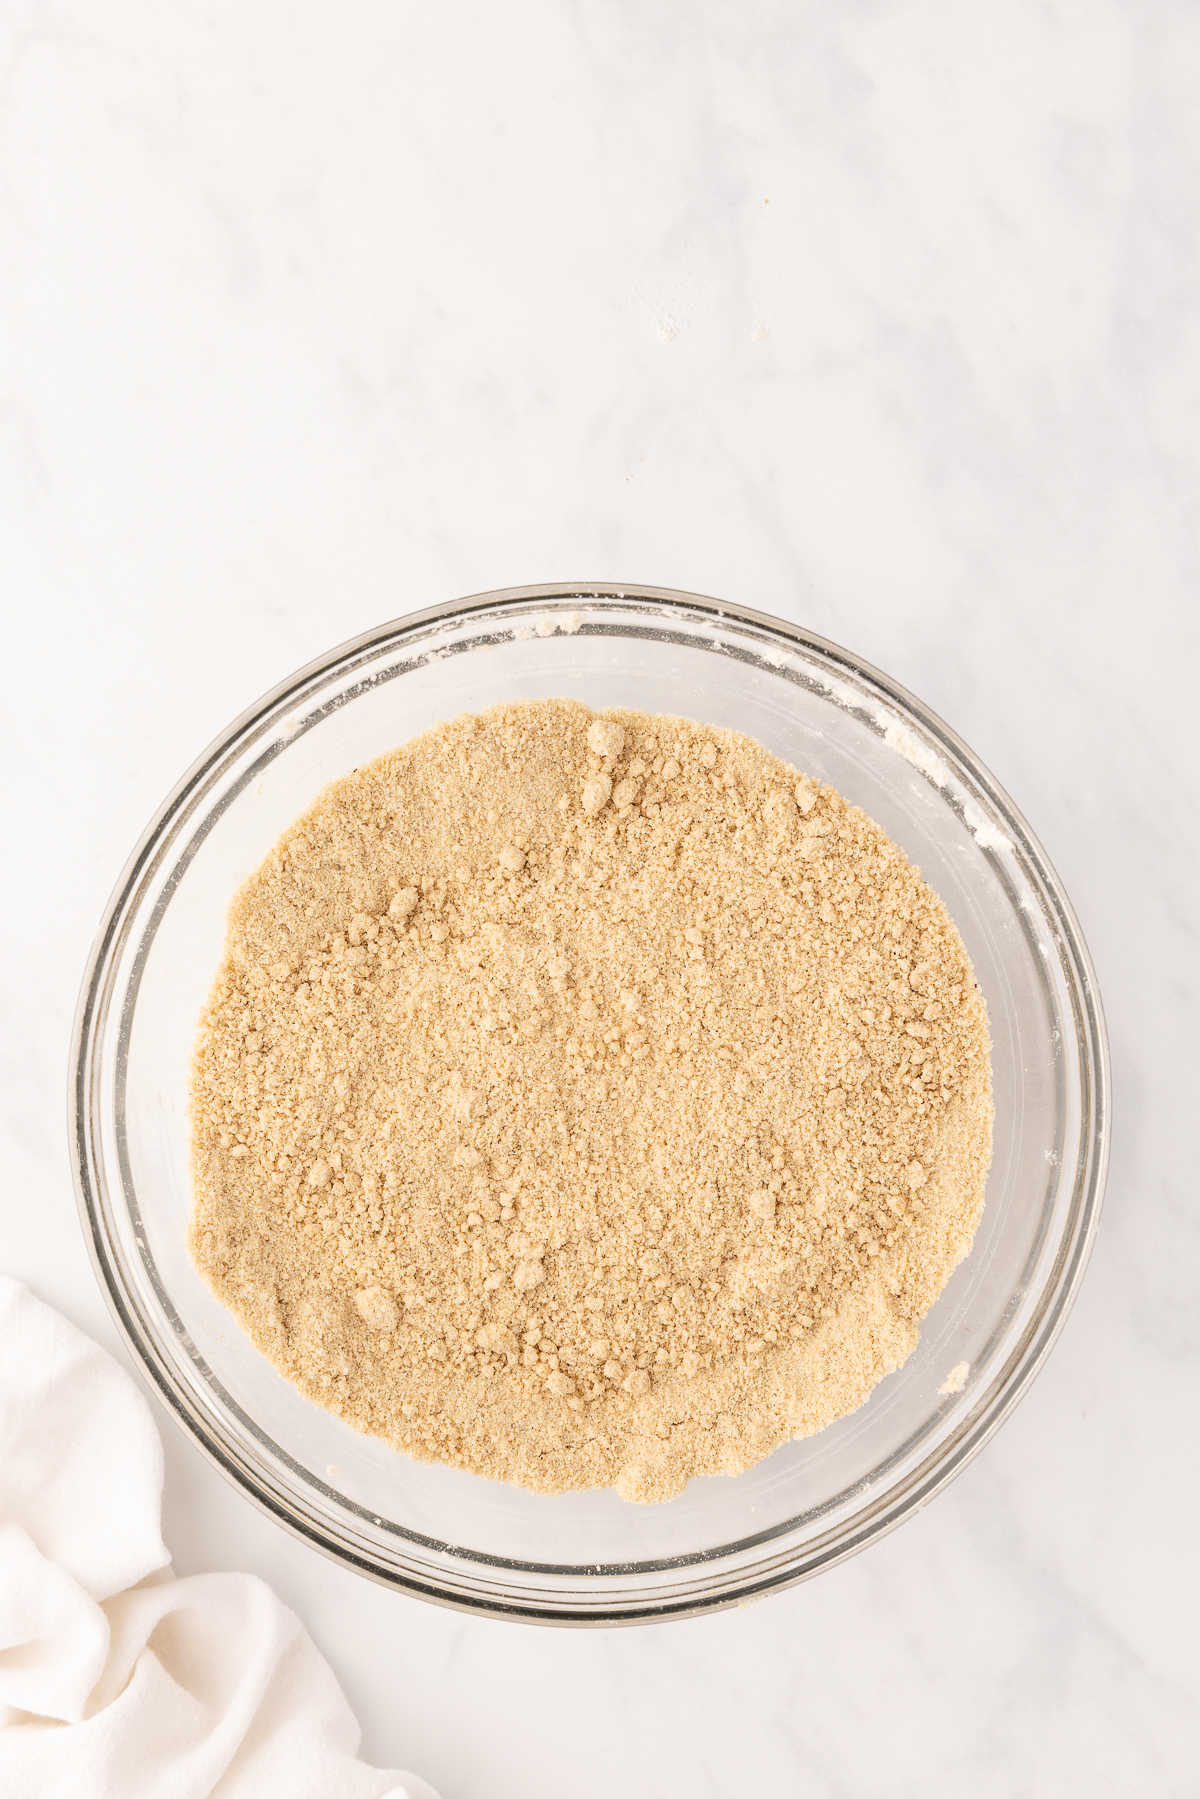
Step 3: Add the cold butter to the mixing bowl and use your fingertips to rub it into the flour mixture until it resembles fine breadcrumbs.
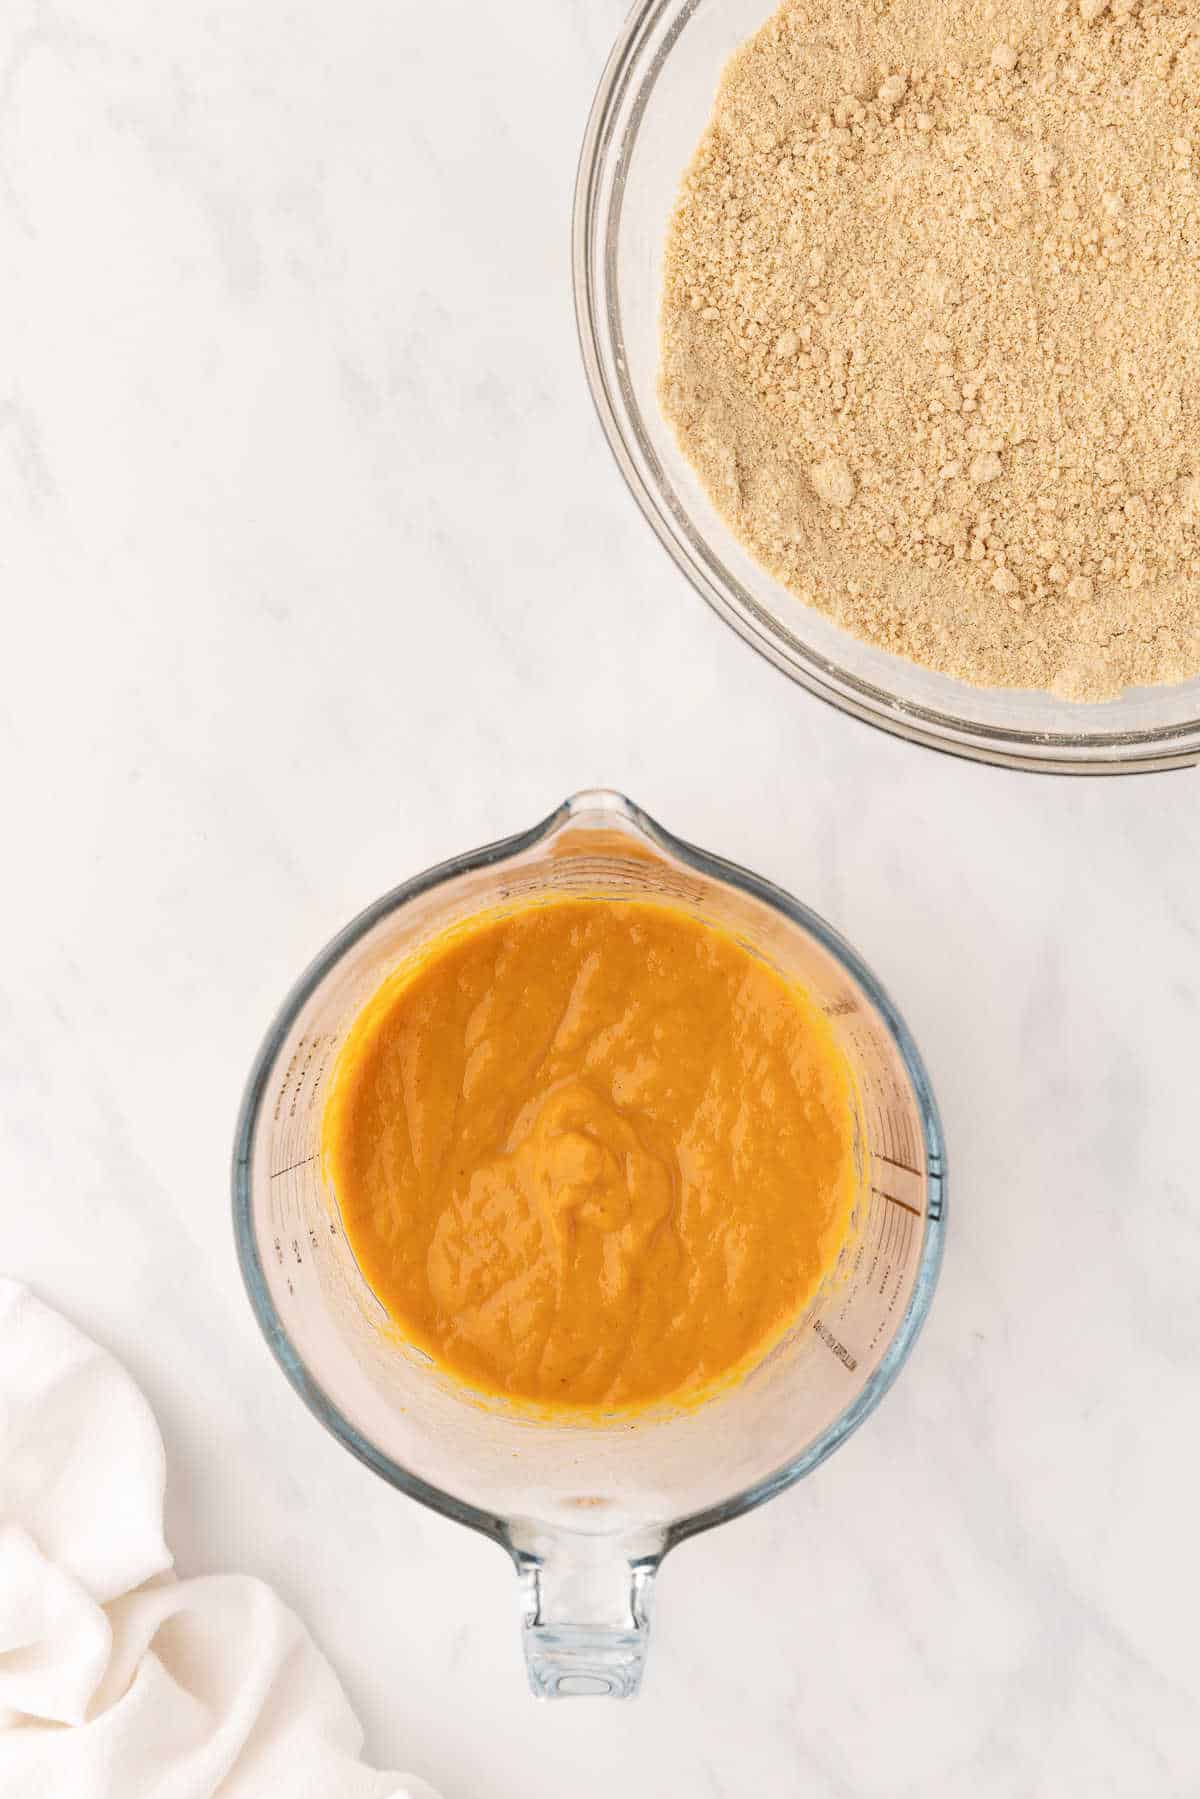
Step 4: In a separate bowl add the egg, milk and pumpkin puree and whisk together.
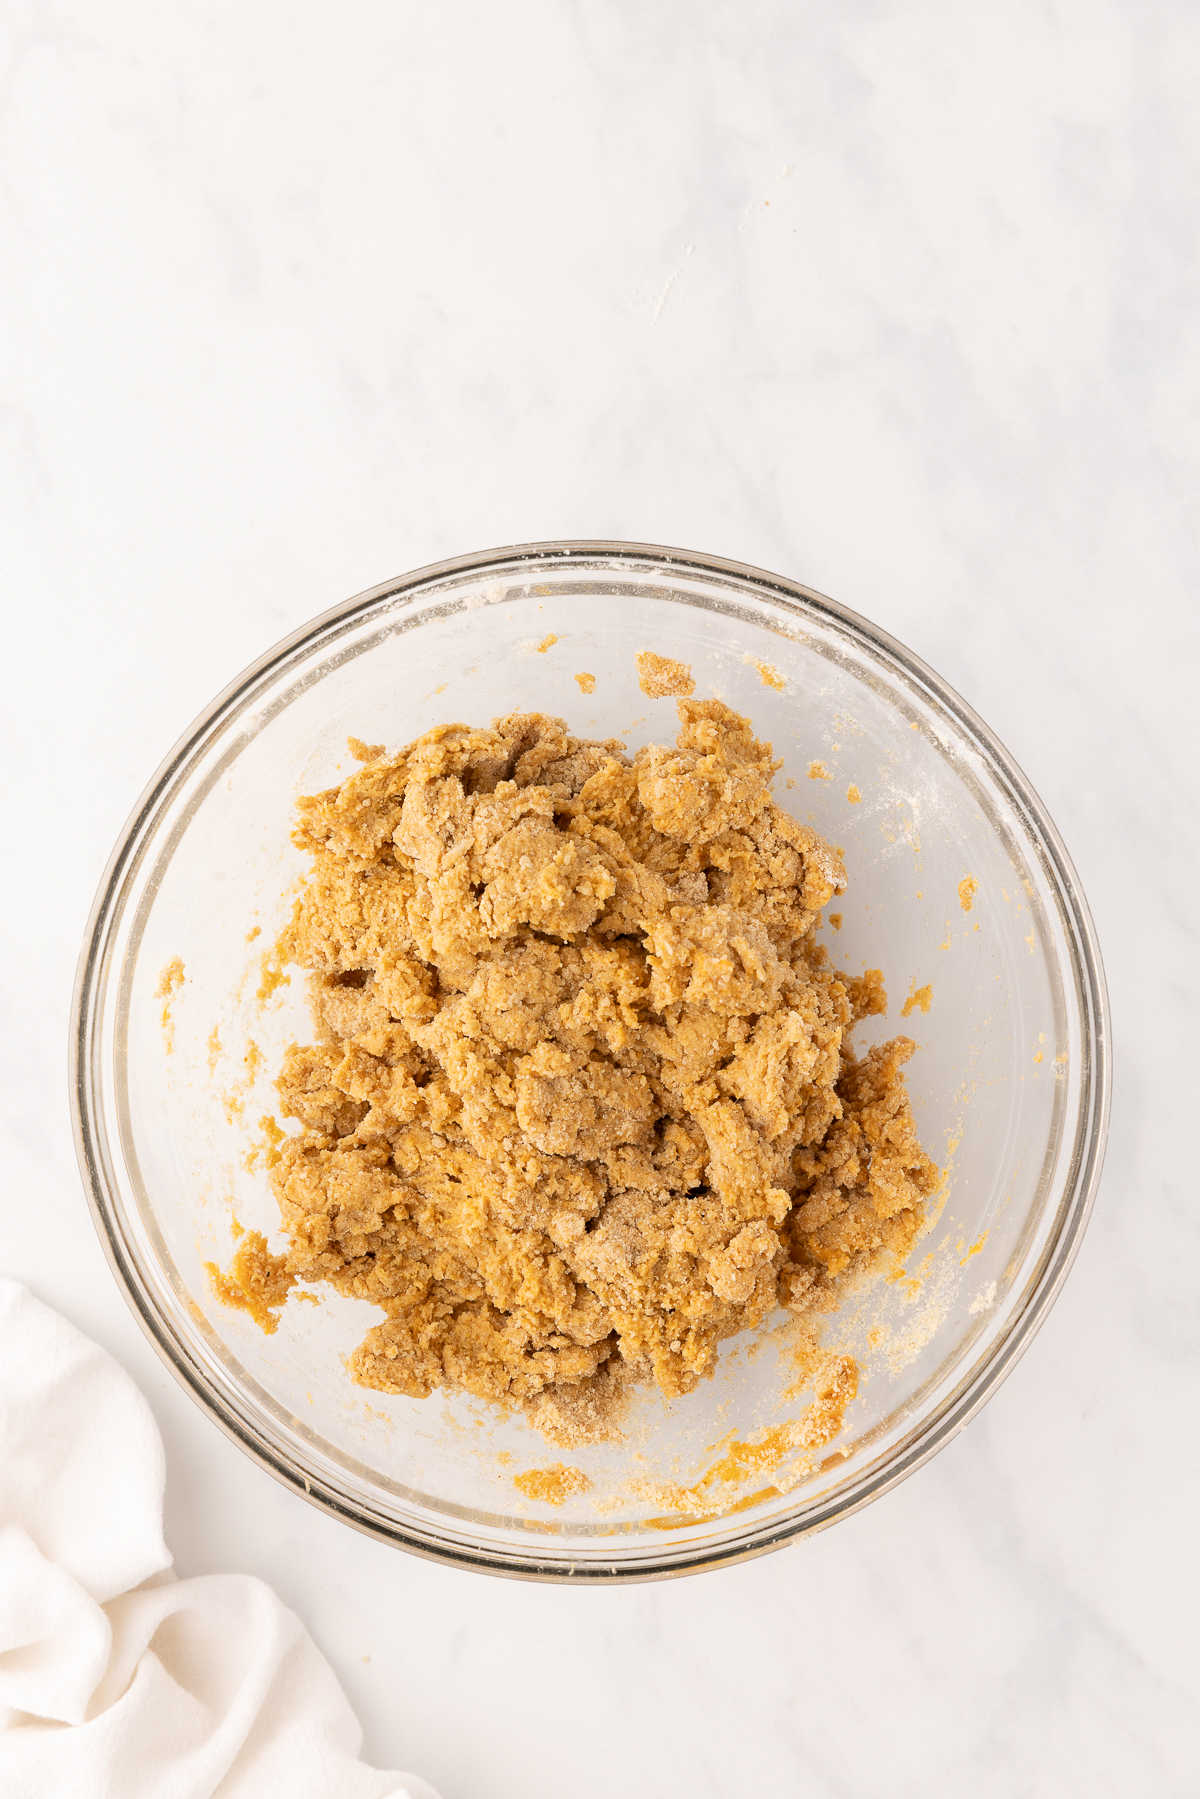
Step 5: Pour the wet ingredients into the dry ingredients and briefly mix until a dough starts to form. Do not over mix.
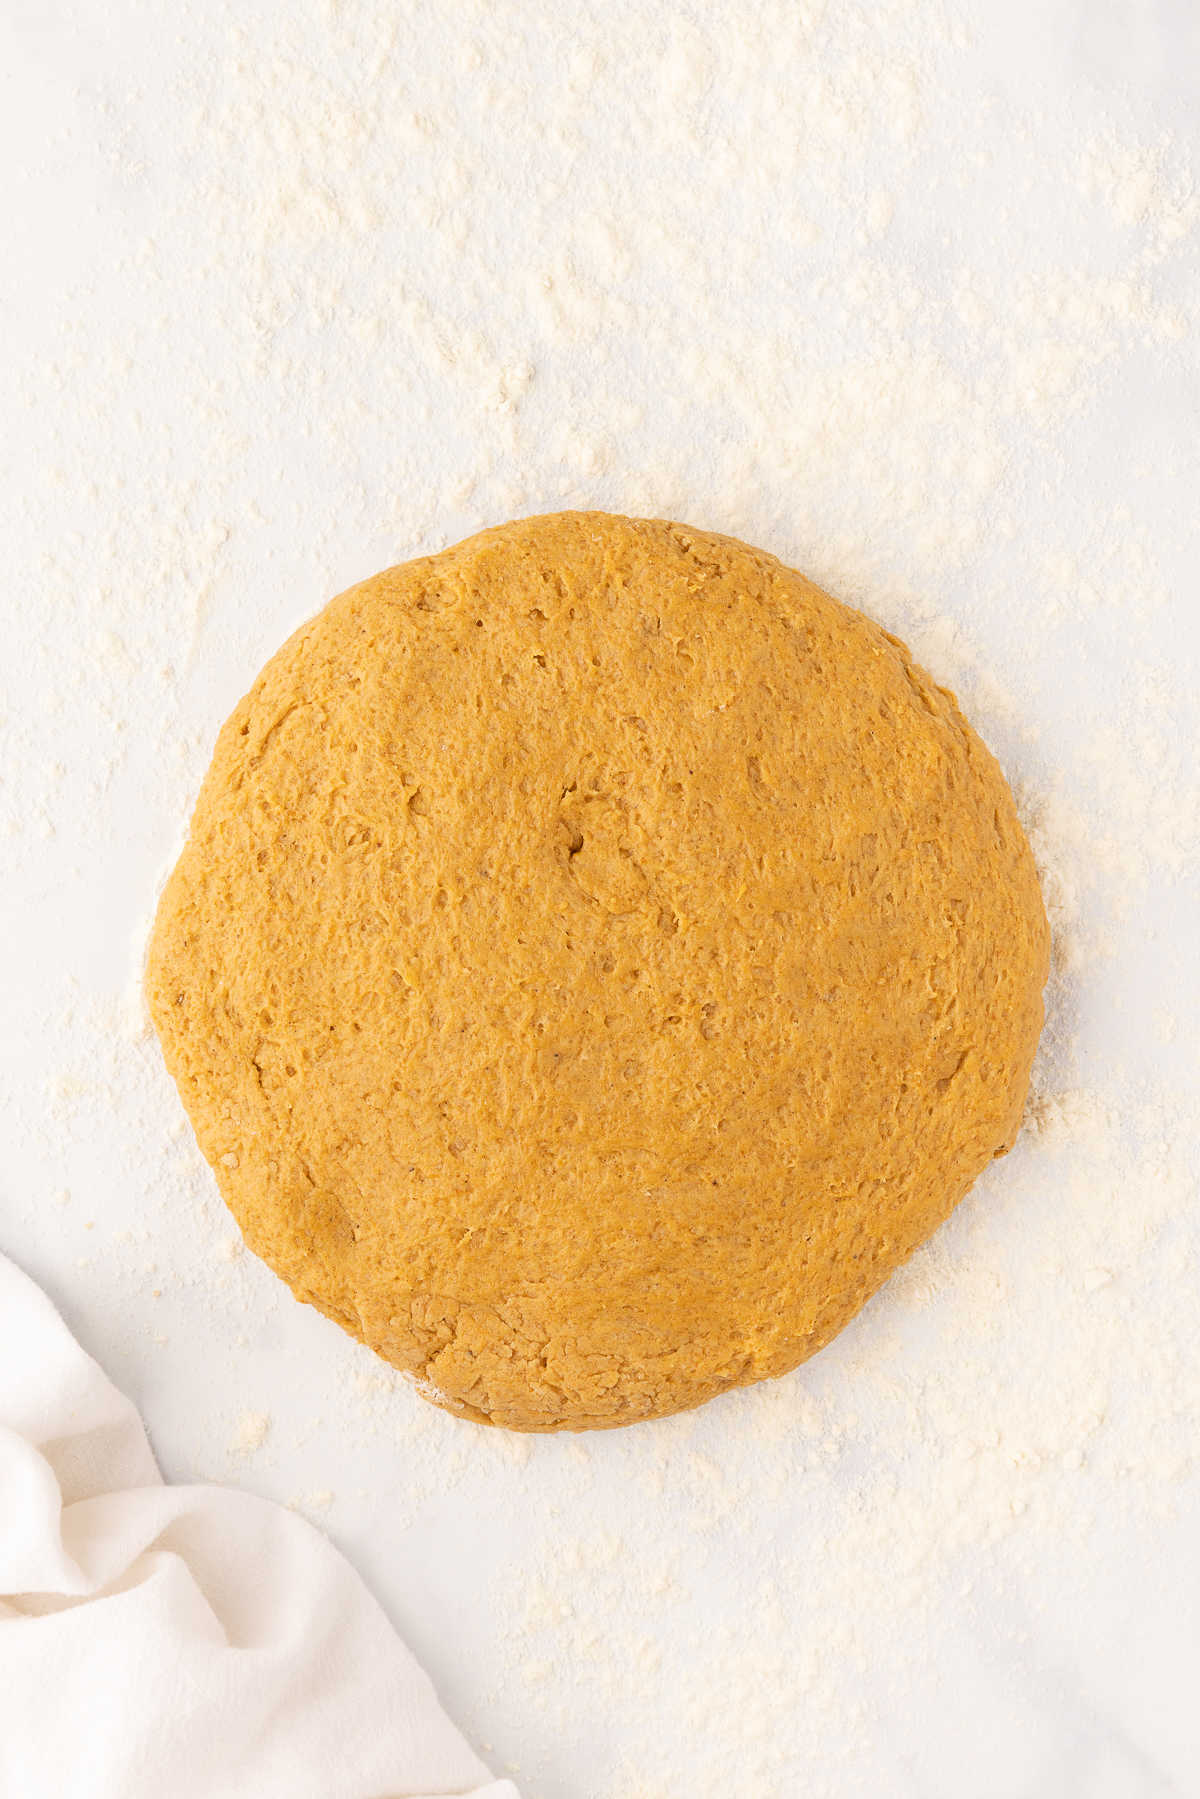
Step 6: Lightly flour a work surface then turn the dough out on to it. With lightly floured hands work the dough into a ball then use the palm of your hand to flatten it into a disc of about 8 inches. Take care not to over-handle the dough.
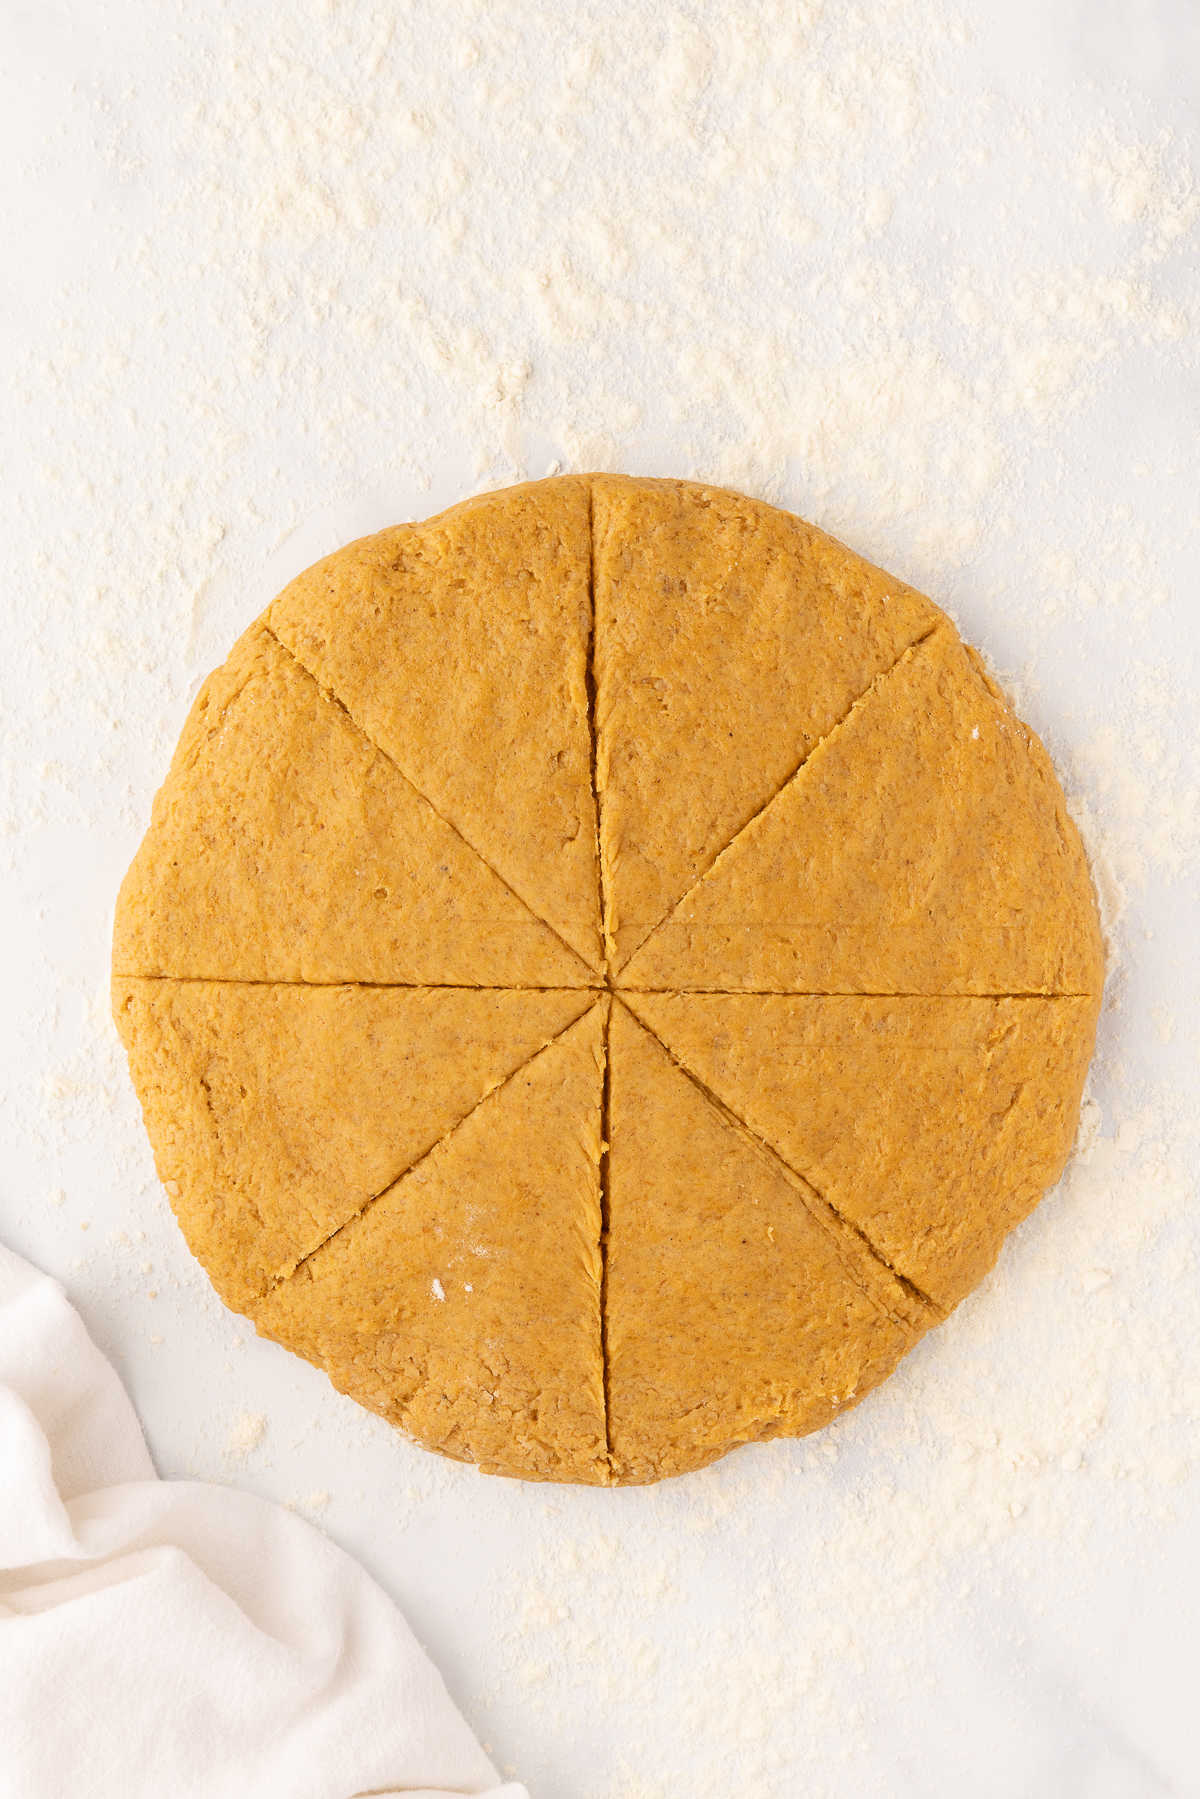
Step 7: With a sharp knife cut the dough into 8 triangles it will be quite sticky, and that’s fine.
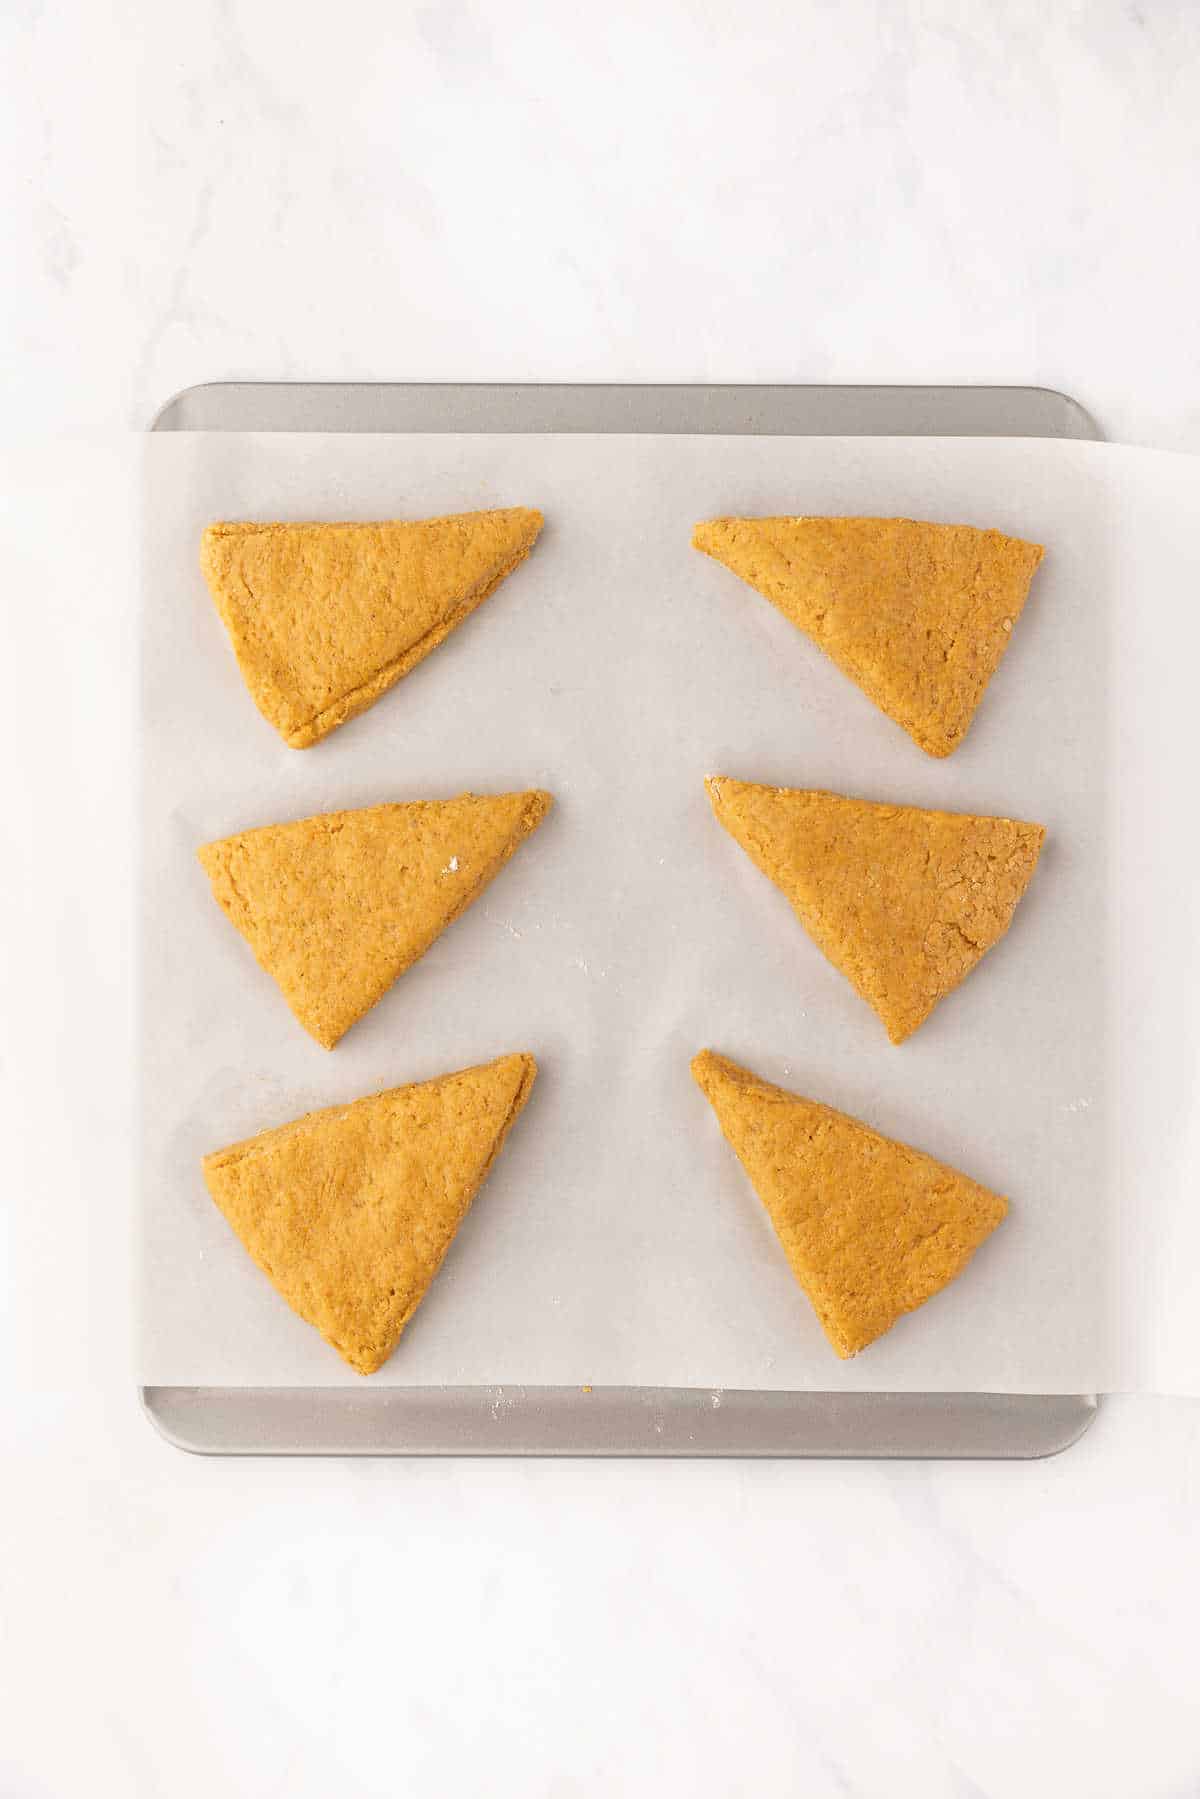
Step 8: With lightly floured hands transfer the dough triangles on to the prepared baking sheet and brush the tops with the 1 tbsp milk. Leave some space in-between the scones – you may need to use two sheets.
Step 9: Bake in the center of the preheated oven for 15 minutes, or until the scones are lightly golden
brown. Transfer to a wire rack and cool for 10 minutes.
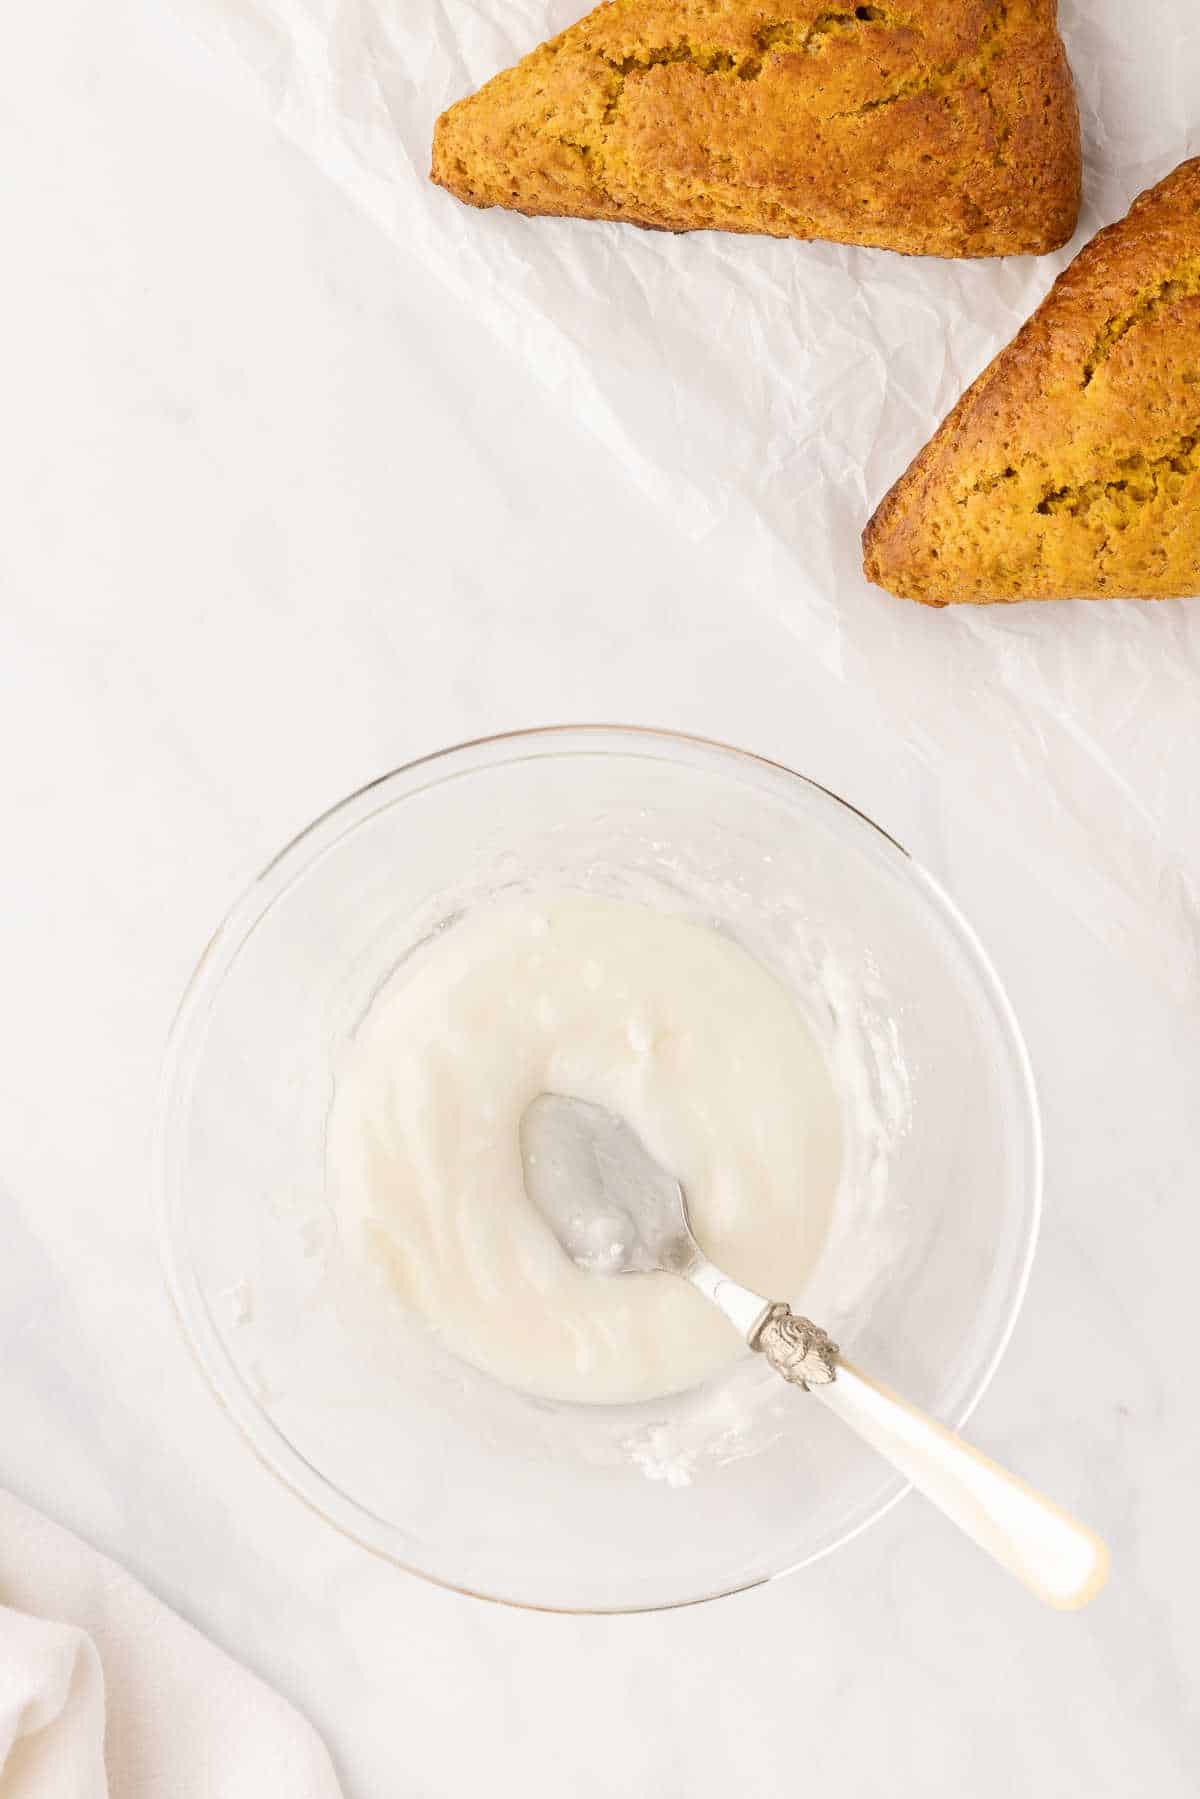
Step 10: Meanwhile, to make the white glaze, add the powdered sugar into a small mixing bowl and slowly pour in the milk while mixing. The glaze should be thick and pourable but not runny.

Step 11: Use a spoon to spread the glaze in an even layer on top of each scone then leave to set for a few minutes.
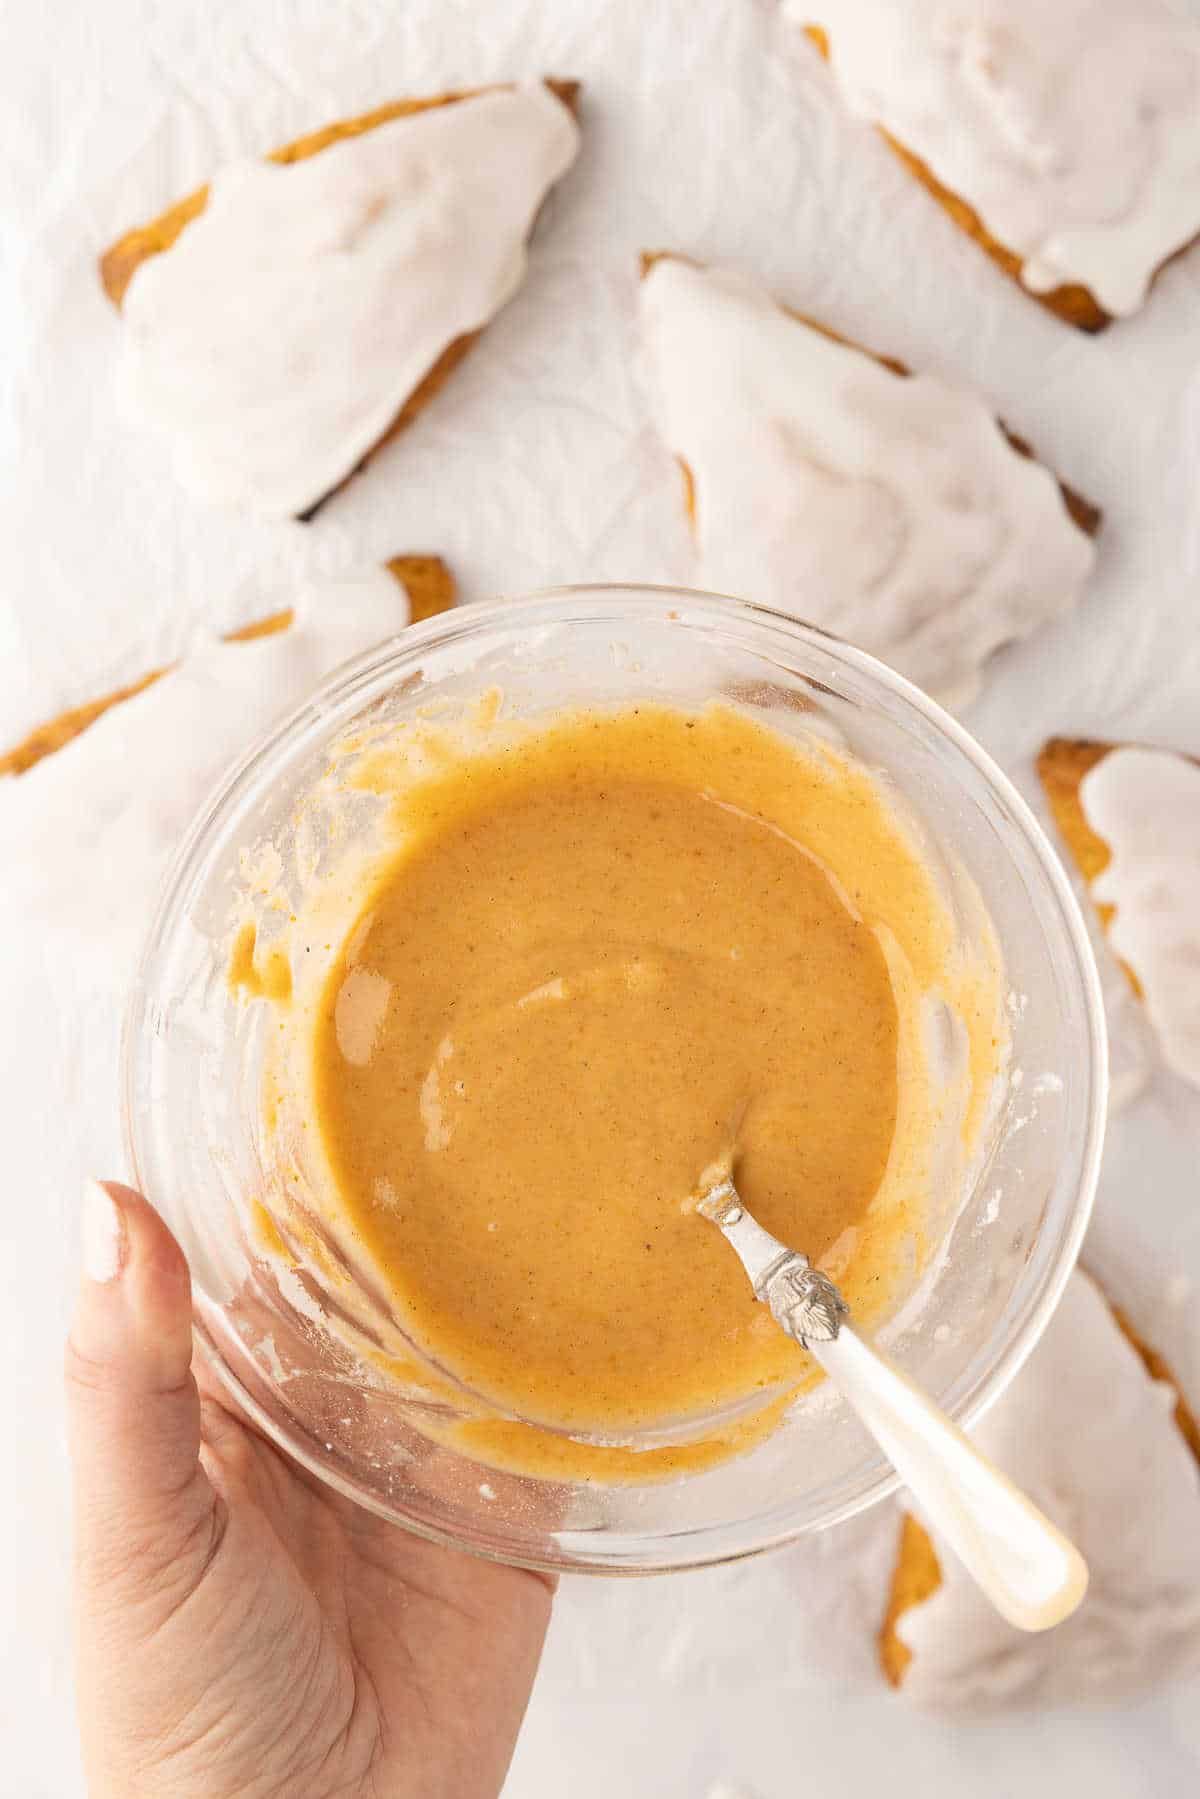
Step 12: Meanwhile, to make the spiced pumpkin glaze, add the powdered sugar, pumpkin puree and pumpkin spice into a small mixing bowl then slowly add the milk. As with the other glaze, the glaze should be thick and pourable but not runny.

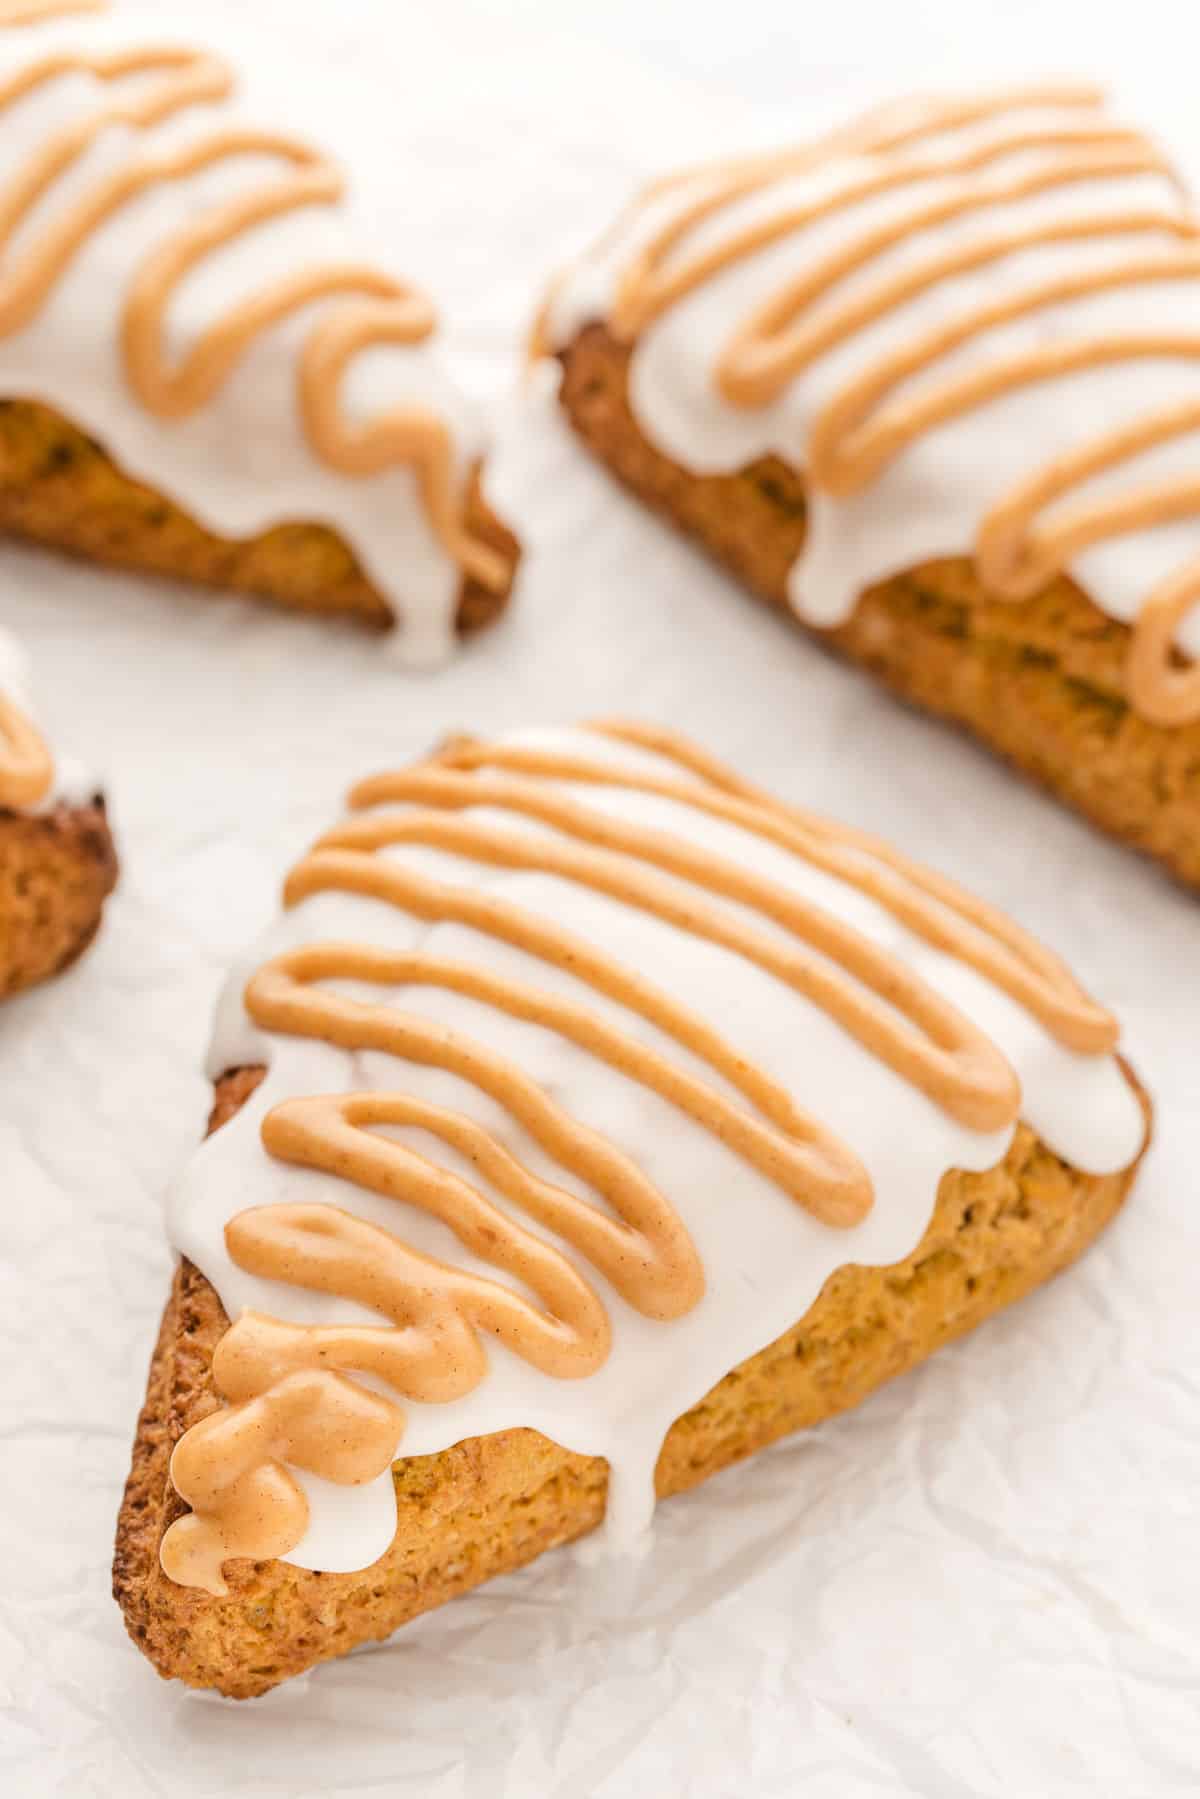
Step 13: Transfer the spiced pumpkin glaze to a piping bag then snip the end off with a pair of scissors. Drizzle it over each scone.
Step 14: Allow the glaze time to set then serve and enjoy!
Recipe Tips!
- Pumpkin spice: If you don’t have pumpkin spice on hand, you can easily make it with this homemade pumpkin spice recipe.
- Cutting in butter: You can use a pastry cutter or two knives to cut the butter into the flour mixture.
- Mixing the dough: It’s important not to over mix the dough because this can lead to tough and chewy scones. The goal is a light and flaky texture, so it’s key to use a light touch.
- Working the dough: When using your hands to work the dough, stop handling it as soon as it comes together into a disc. Scone dough should not be kneaded and will hold together, and the less you handle it the better the final texture outcome will be.
- Dough texture: The dough is quite wet and sticky. This is completely normal so don’t be
tempted to add more flour. When handling the dough, a lightly floured surface and lightly floured hands will
suffice. - Baking: These scones shouldn’t take any longer than 15 minutes in a preheated oven. They are ready when the
surface is light golden brown. If you touch a scone with your finger, it should feel firm and dry. - Glaze: When making the glaze, it shouldn’t be so thick you can’t spread it or so thin it runs completely
down the sides of the scone. It should be thick but pourable.- If either of your glazes are too thick gradually add a few drops more milk.
- If too thin add a little more powdered sugar until the desired consistency is reached.

Recipe FAQs
You can! Just bake the scones as-directed through step 9. Let the scones cool to room temperature.
Wrap the scones in plastic wrap and place in a freezer-safe container. Freeze for up to one month.
Once the scones have thawed, continue with the recipe. I don’t recommend freezing frosted scones as the frosting can melt into the scones when it thaws.
Scones are not a great make-ahead choice because they’re best eaten when freshly made. If you want to make the scones ahead of time, your best bet is to bake and then freeze the unfrosted scones.
Storage
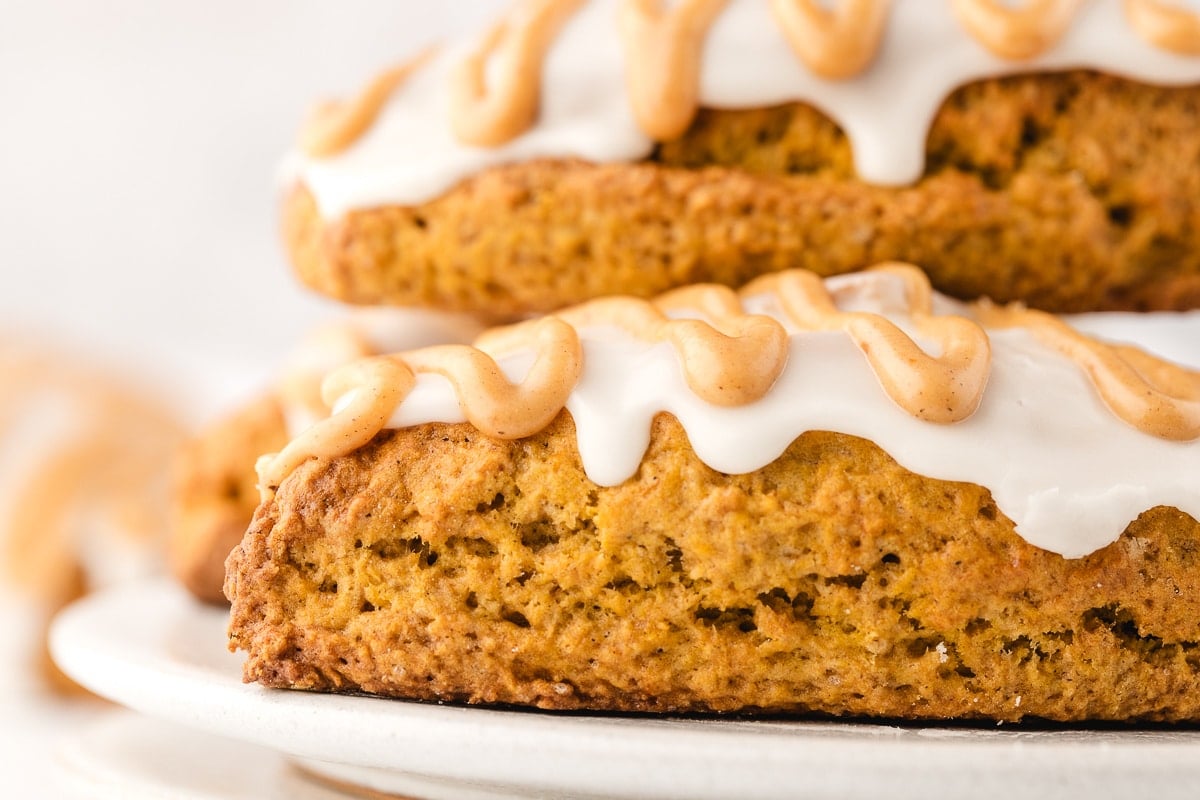
Pumpkin Scones are best eaten on the day they are baked. Store any leftover scones in a single layer in an airtight container in the refrigerator for up to 2 days.
More pumpkin breakfast recipes!
If you’ve tried this Starbucks pumpkin scone recipe, don’t forget to rate the recipe and leave me a comment below. I love to hear from people who’ve made my recipes!
You can subscribe to receive my latest recipe newsletters or follow me on Facebook, Instagram and Pinterest for even more delicious food.

Starbucks Pumpkin Scones Recipe
Ingredients
Scones
- 2 cups all purpose flour
- 2 ½ tablespoons baking powder
- 1/2 cup granulated white sugar
- 1/2 tsp salt
- 1 ½ teaspoons ground cinnamon
- 1 tsp pumpkin spice
- 1/2 cup unsalted butter cubed and cold
- 1 large egg
- 3 tablespoons milk
- 1/2 cup pumpkin puree
- 1 tablespoon milk for brushing
White glaze
- 1 cup powdered sugar
- 2 tablespoons milk
Spiced pumpkin glaze
- 3/4 cup powdered sugar
- 1 tablespoon pumpkin puree
- 1/2 teaspoon pumpkin spice
- 1 tablespoon milk
Instructions
- Preheat the oven to 400ºF and line a baking sheet with parchment paper.
- In a large mixing bowl add the flour, baking powder, sugar, salt, cinnamon, and pumpkin spice and mix together.
- Add the cold butter to the mixing bowl and cut it into the flour mixture until it resembles fine breadcrumbs.
- In a separate bowl add the egg, milk, and pumpkin puree and whisk together.
- Pour the wet ingredients into the dry ingredients and briefly mix until a dough starts to form. Do not over mix.
- Lightly flour a work surface then turn the dough out on to it. With lightly floured hands work the dough into a ball then use the palm of your hand to flatten it into a disc of about 8 inches. Be careful not to over-handle the dough.
- With a sharp knife, cut the dough into 8 triangles. It will be quite sticky and that’s fine.
- With lightly floured hands transfer the dough triangles on to the prepared baking sheet and brush the tops with the 1 tablespoon milk. Leave some space in-between the scones – you may need to use two sheets.
- Bake in the center of the preheated oven for 15 minutes, or until the scones are light golden brown. Transfer to a wire rack and cool for 10 minutes.
- Meanwhile, to make the white glaze, add the powdered sugar into a small mixing bowl and slowly pour in the milk while mixing. The glaze should be thick and pourable but not runny.
- Use a spoon to spread the glaze in an even layer on top of each scone then leave to set for a few minutes.
- Meanwhile, to make the spiced pumpkin glaze, add the powdered sugar, pumpkin puree, and pumpkin spice into a small mixing bowl then slowly add the milk. The glaze should be thick and pourable but not runny.
- Transfer the spiced pumpkin glaze to a piping bag and then snip the end off with a pair of scissors. Drizzle it over each scone.
- Allow the glaze time to set then serve and enjoy!
Notes
- Pumpkin spice: If you don’t have pumpkin spice on hand, you can easily make it with this this homemade pumpkin spice blend recipe.
- Glazes: If either of your glazes are too thick gradually add a few drops more milk. If too thin, add a little more powdered sugar until the desired consistency is reached.
- Nutritional values are estimates.
Nutrition
Did You Make This Recipe?
Share it with me on Instagram @i_heart_eating and follow on Youtube @katedean and Pinterest @katedean for more!




Love this recipe?
Share your thoughts below and let’s chat! Make sure to connect with me on your favorite social platform below and show me what you made!