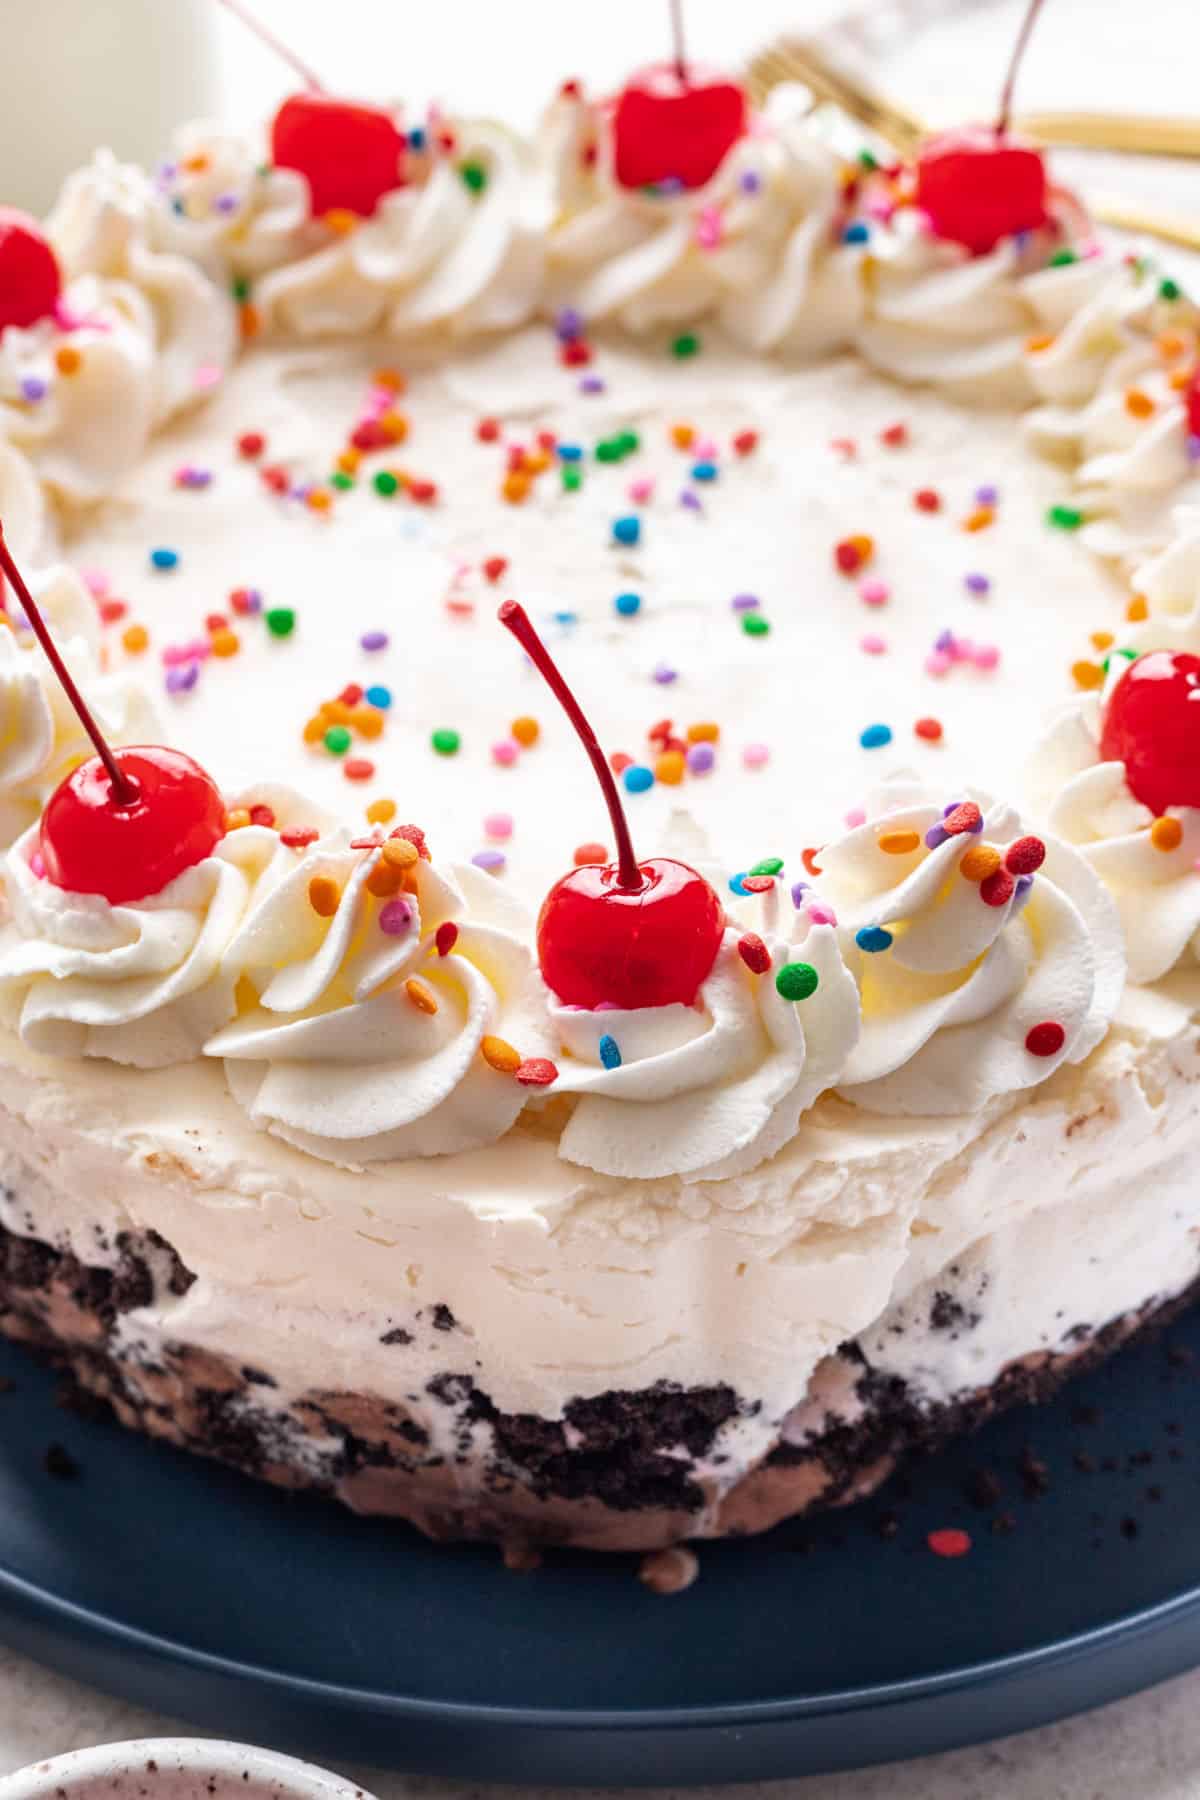
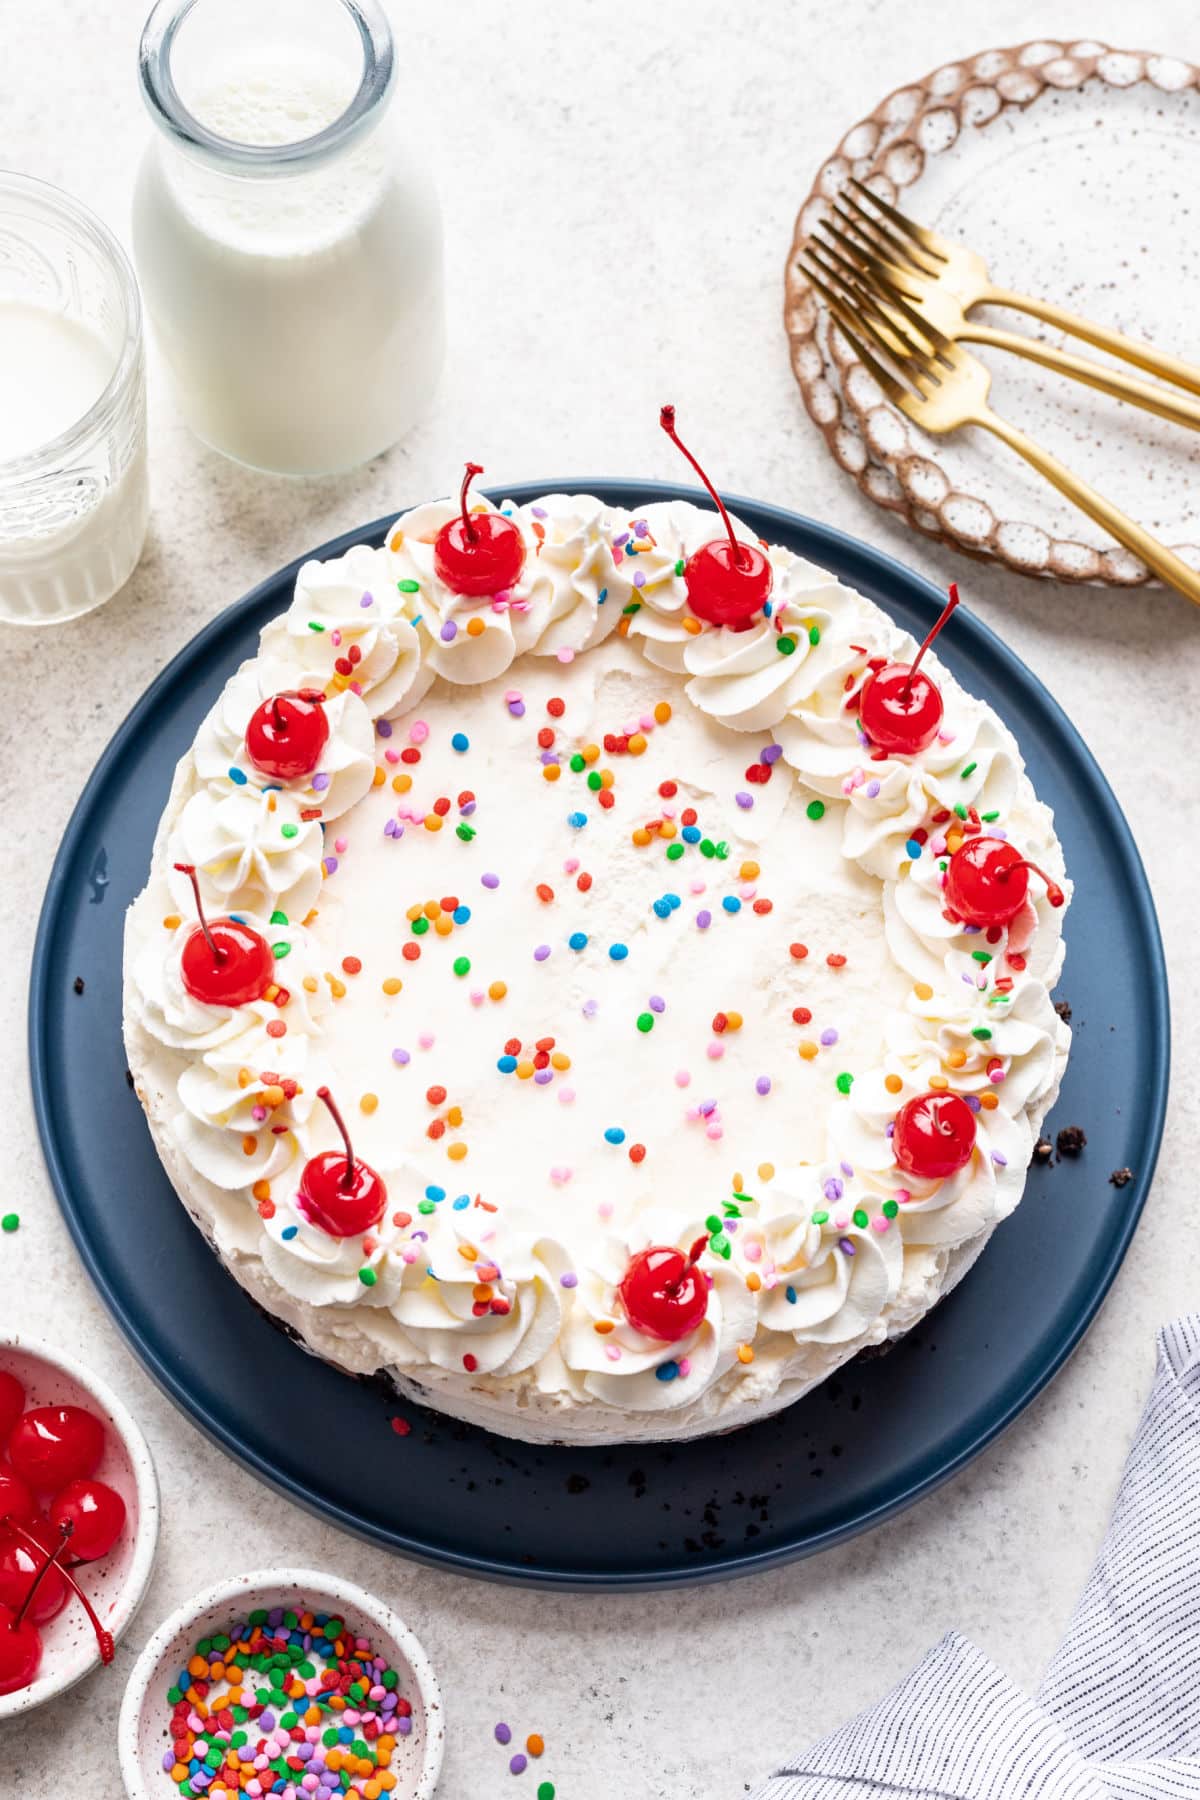
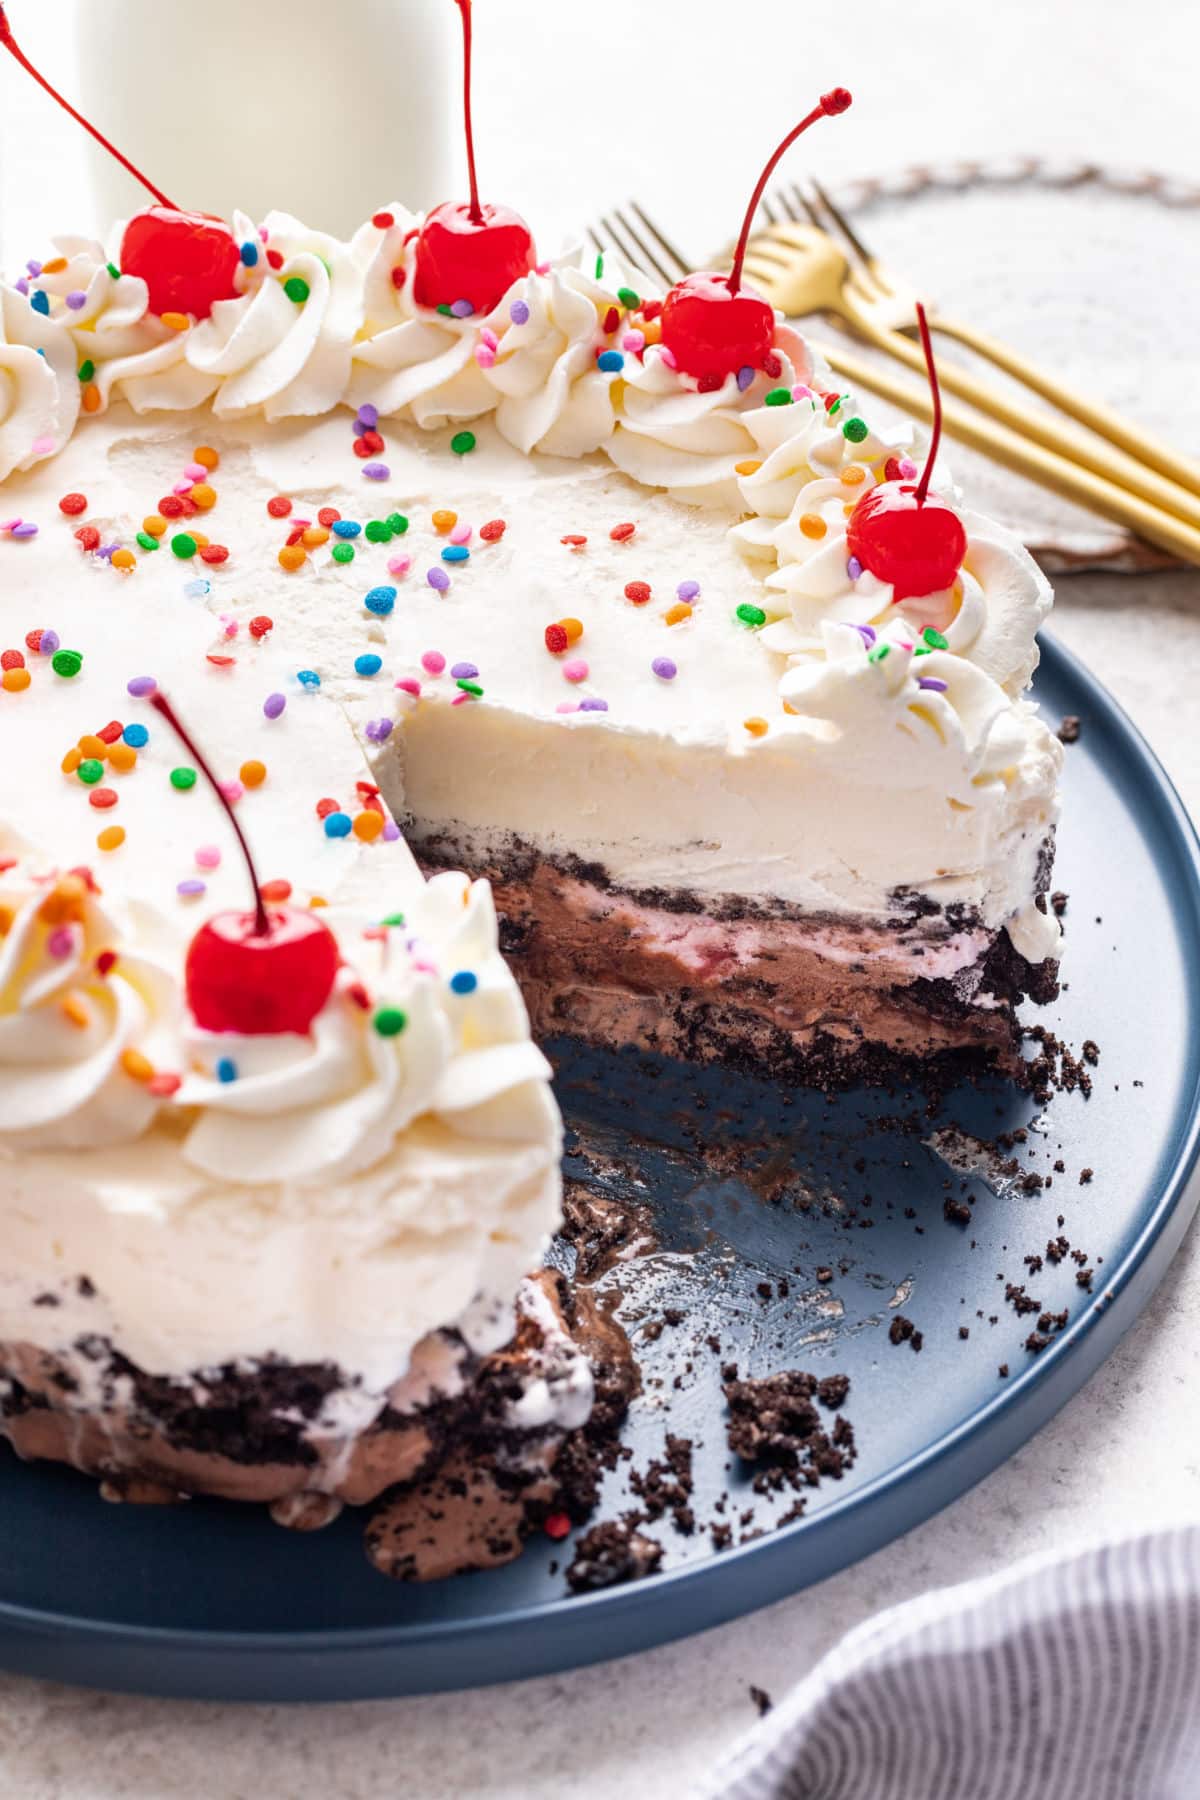
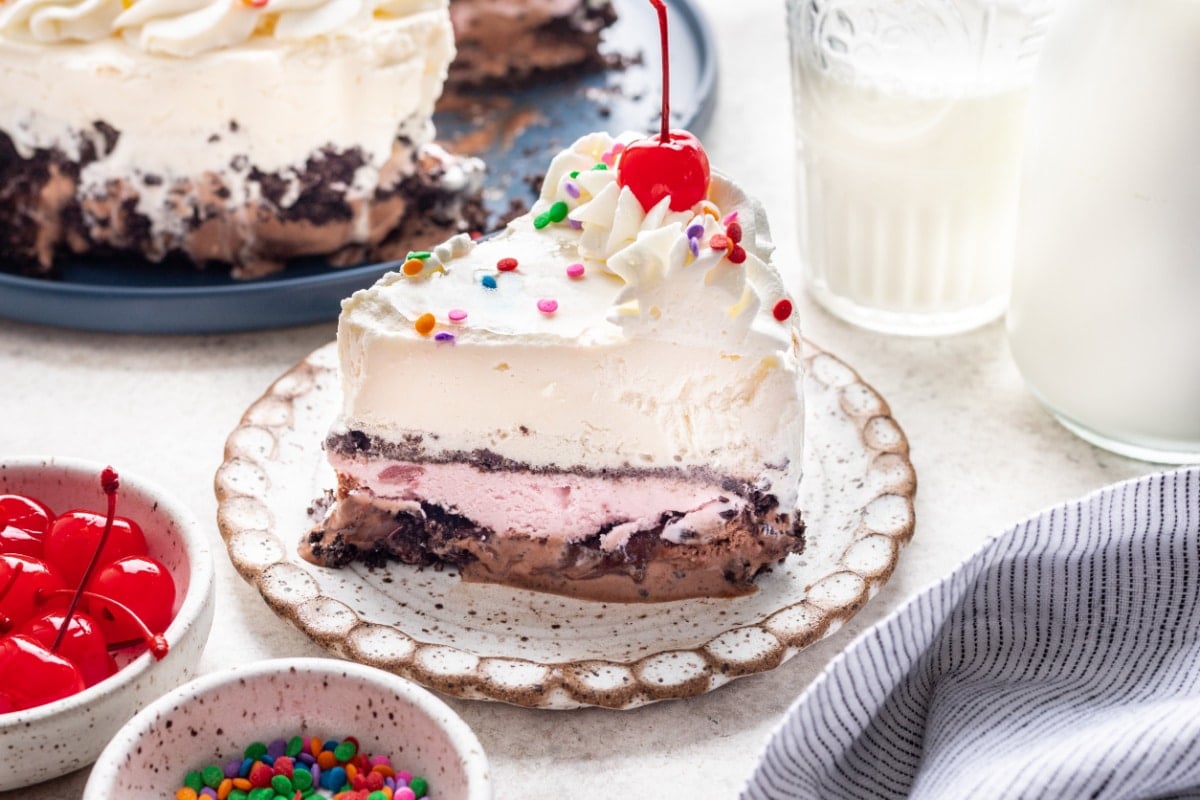
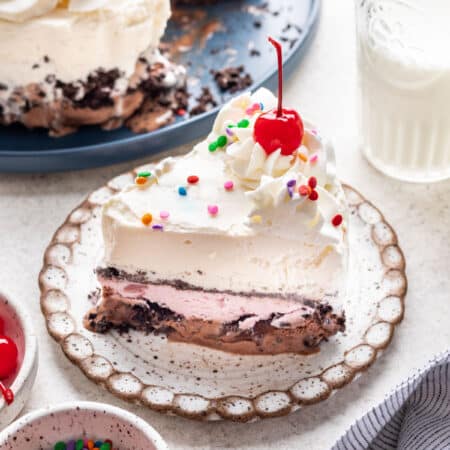
Homemade Dairy Queen ice cream cake recipe lets you make the popular ice cream cake at home! This easy recipe makes a cake with three types of ice cream with fudgy cookie crumb layers in between the ice cream layers.
Craving that classic Dairy Queen ice cream cake? Get ready to indulge your sweet tooth without leaving your kitchen!
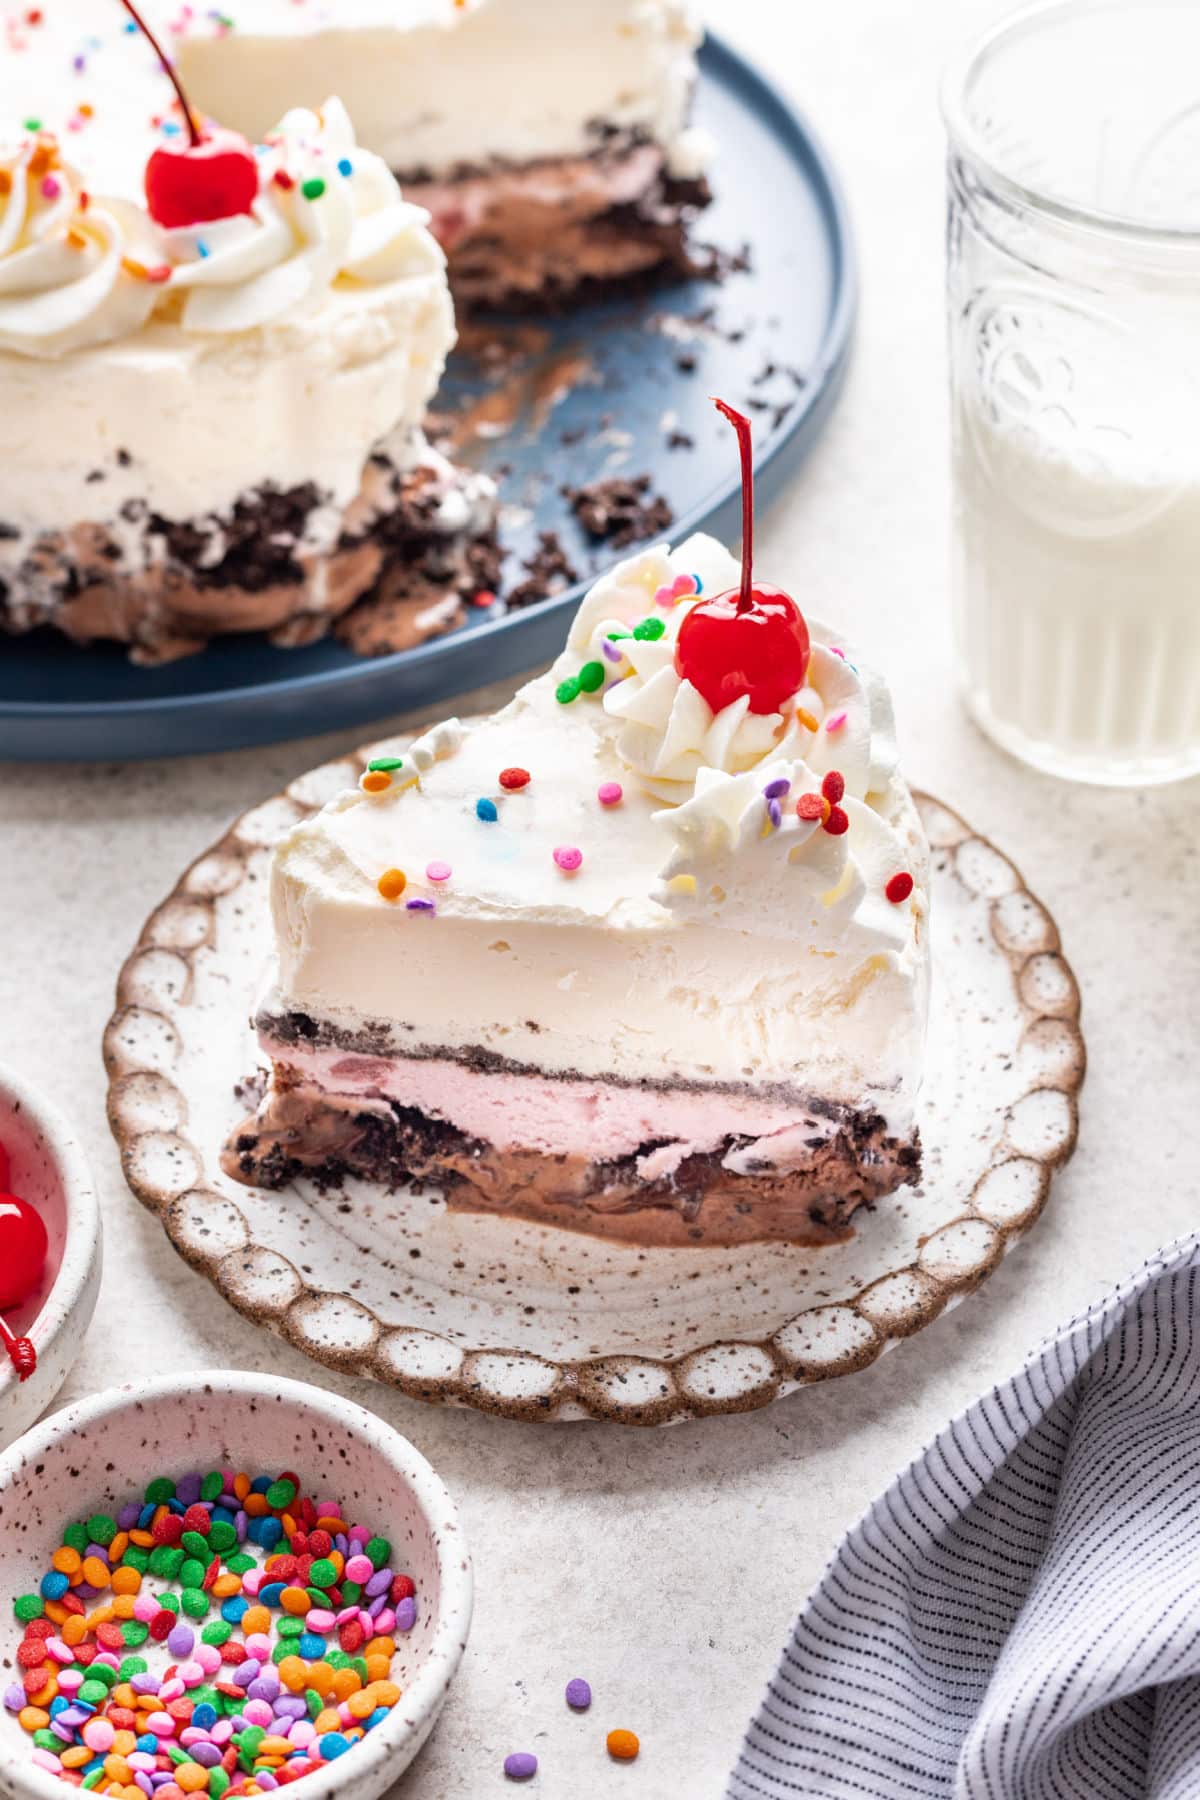
This homemade version captures all the indulgent layers of creamy ice cream, rich hot fudge, and crunchy cookie crumbles in one decadent ice cream cake. One of the great parts about making the cake yourself is that there are endless variations and flavor combinations, so you can make it just the way you like it.
This ice cream cake is the perfect way to celebrate everything from birthdays to family get-togethers. Or whip one up and just enjoy a slice because you can!
Ingredient notes and substitutions
- Ice cream: Feel free to use any flavor of ice cream that you like. You can use any combination of flavors, or you can use one flavor of ice cream if you prefer.
- Cookies: You can also use any flavor of Oreo cookies that you like. I use regular or dark chocolate Oreos, but you could use mint or any other flavor.
- Hot fudge: I use homemade hot fudge. If you’re using store bought, be sure that it’s a thicker hot fudge sauce and not a thinner chocolate syrup.
How to make homemade Dairy Queen ice cream cake
Here you’ll find step-by-step photos showing how to make this recipe. The full recipe, including instructions, is given below.
Step 1: Line the bottom and up the sides of a 9-inch round springform pan with plastic wrap, leaving an overhang on 2 sides. This will help you remove the finished ice cream cake.
Step 2: Remove chocolate ice cream from freezer and let stand until just spreadable, about 10 minutes.
Step 3: Meanwhile, place the cookies in a large resealable plastic bag, seal bag and use a rolling pin to crush cookies into small crumbs (or zip in a food processor).
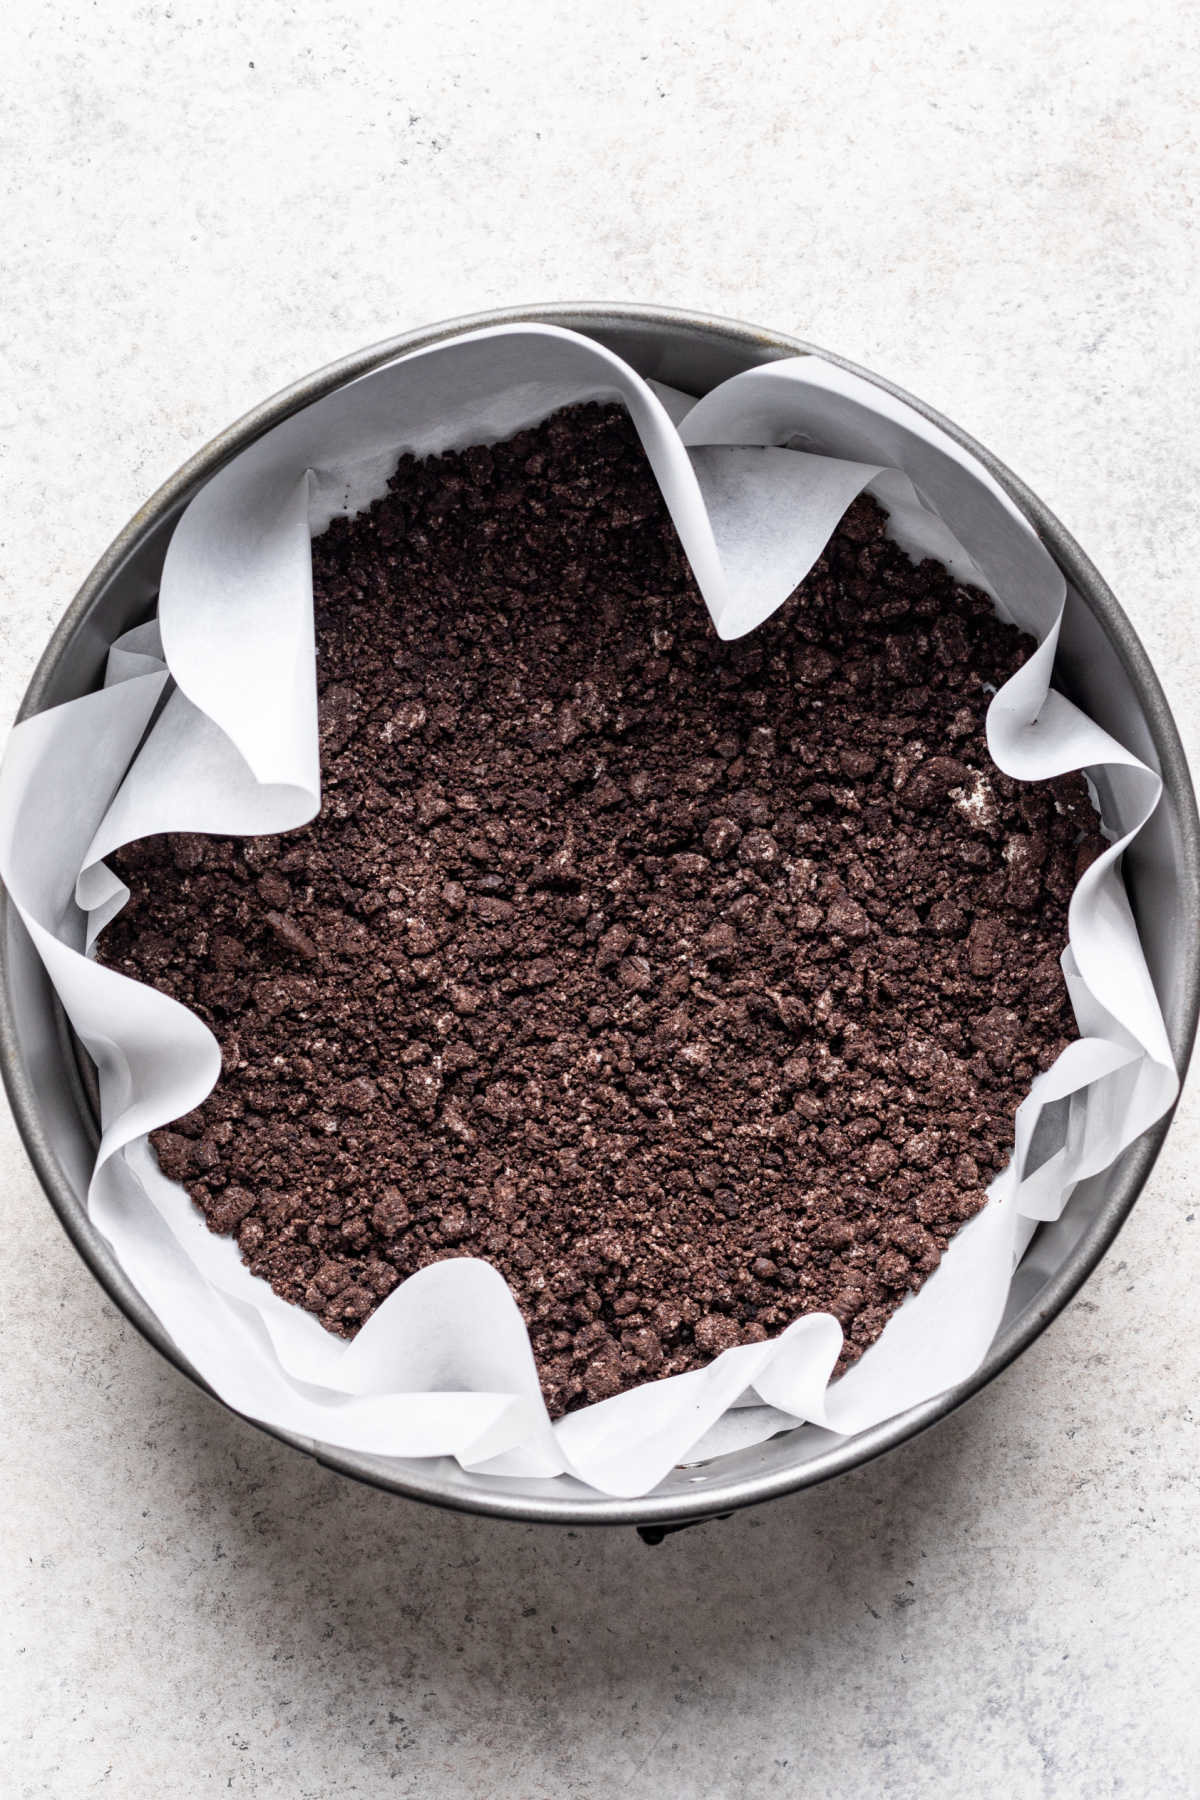
Step 4: Spread ⅓ of the cookie crumbs evenly over bottom of the prepared pan, gently pressing them together with a rubber spatula to form the crust.
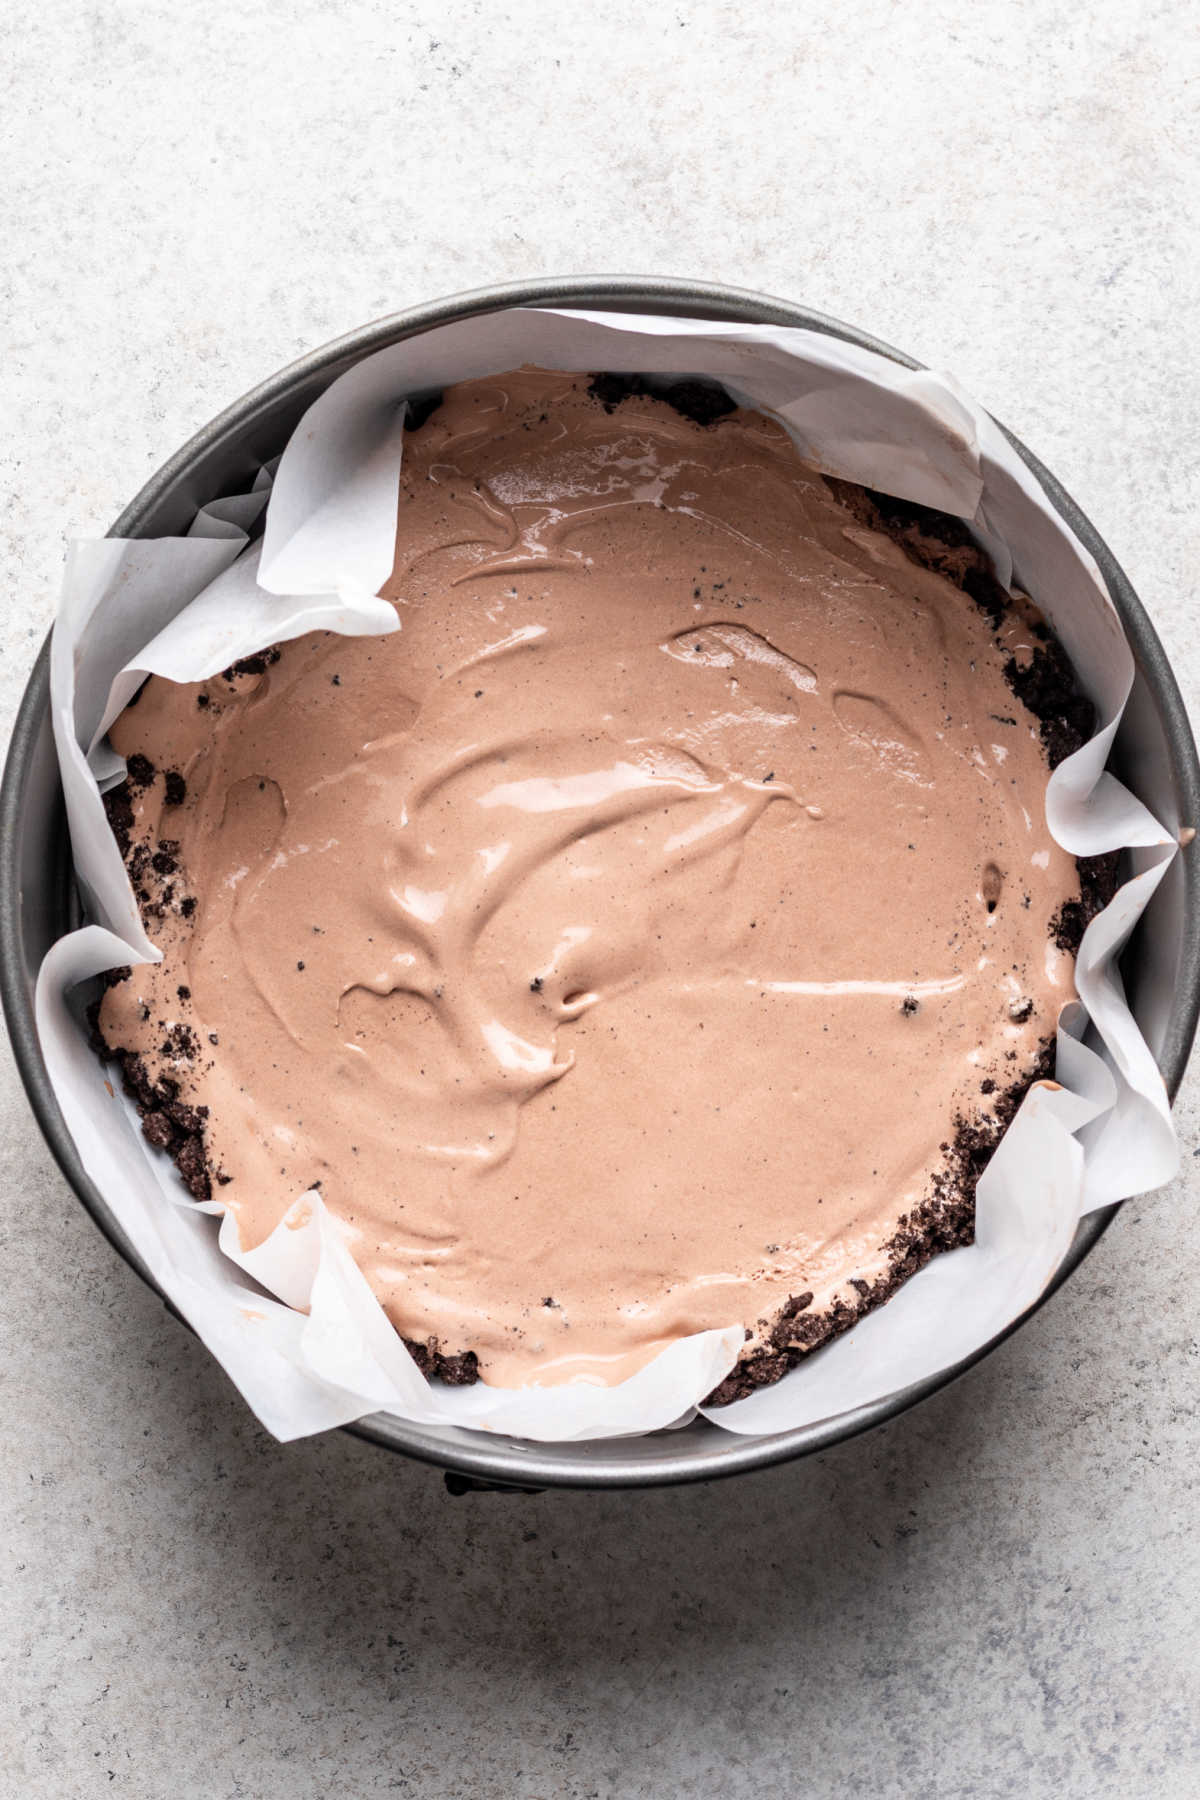
Step 5: Spread the softened chocolate ice cream evenly over crust.
Step 6: Pour the room temperature hot fudge sauce over the ice cream.
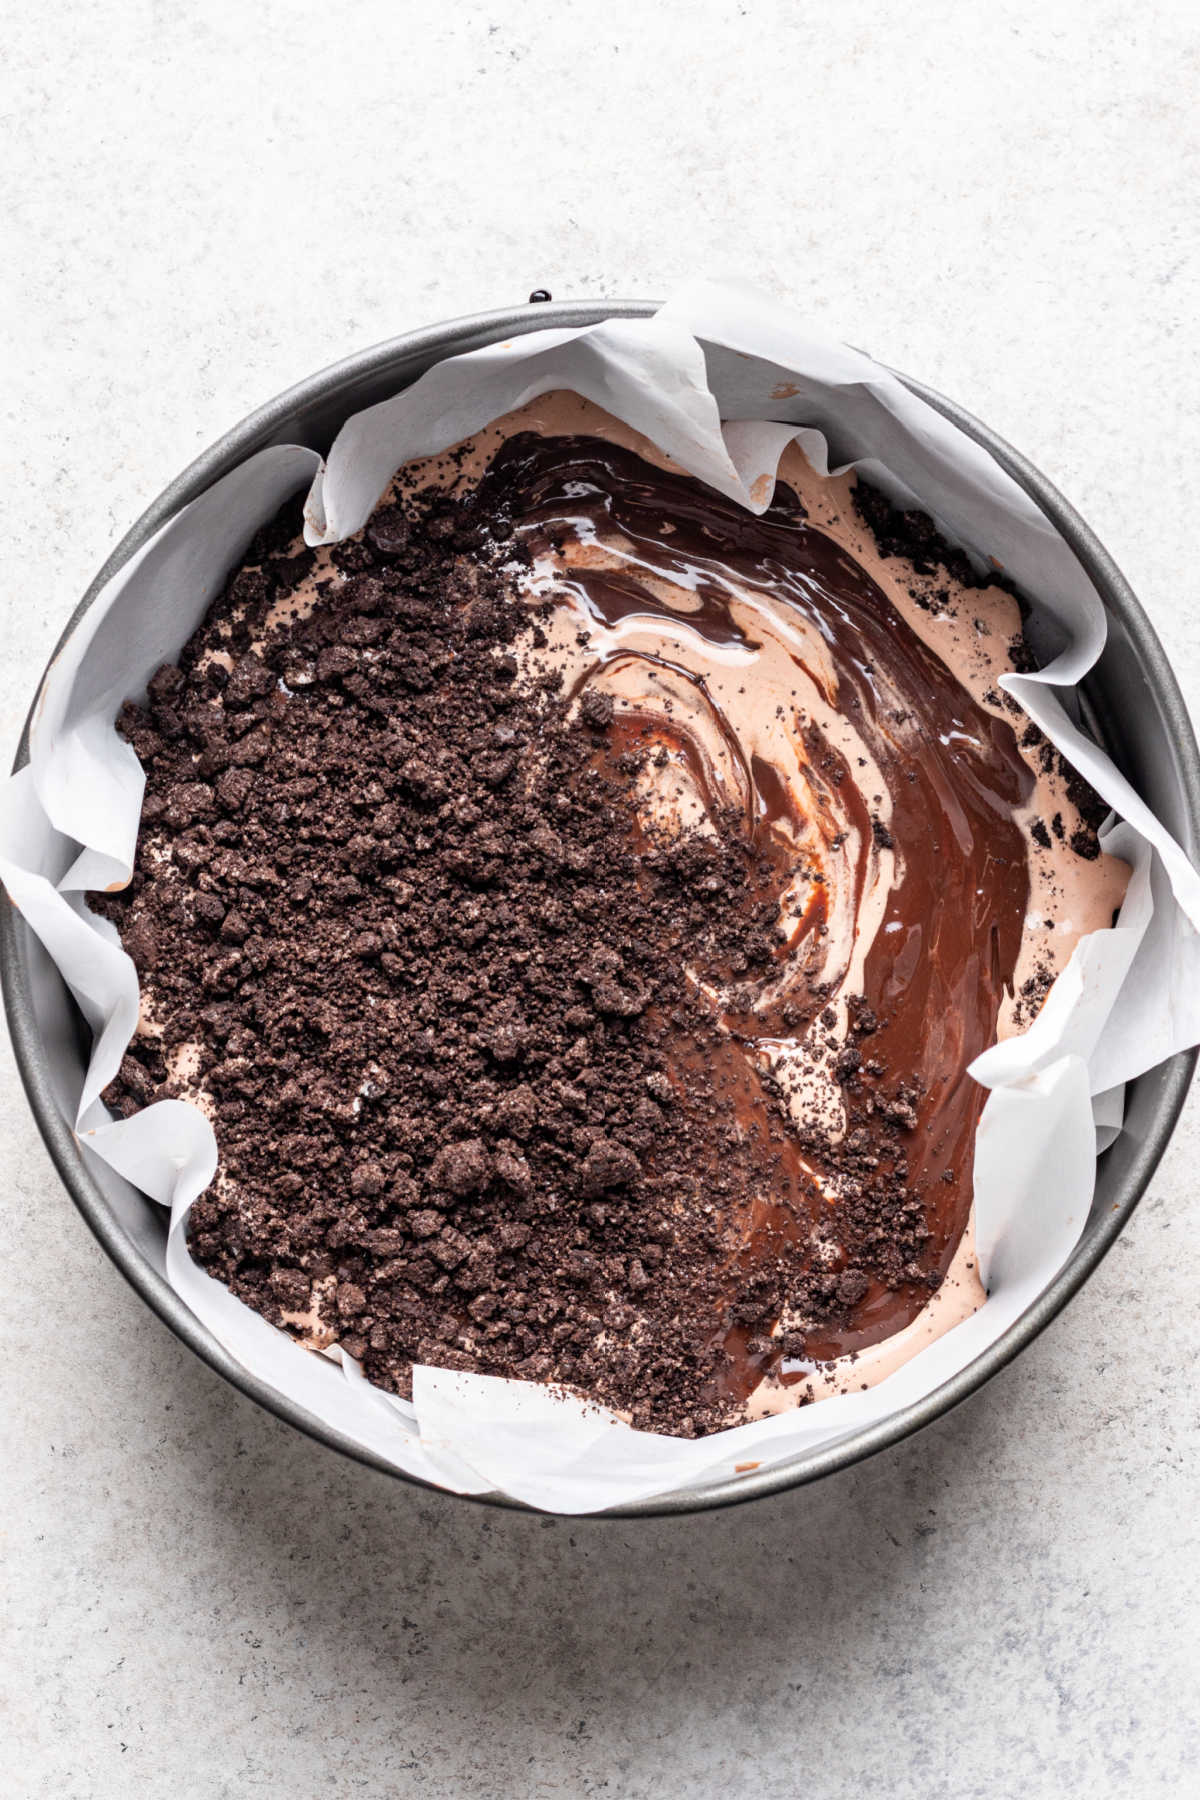
Step 7: Sprinkle ⅓ of the cookie crumbs over the chocolate ice cream.
Step 8: Cover pan with plastic, and freeze until set, about 30-45 minutes.
Step 9: Toward the end of the freezing time, set the strawberry ice cream out to thaw just until spreadable, about 10 minutes.
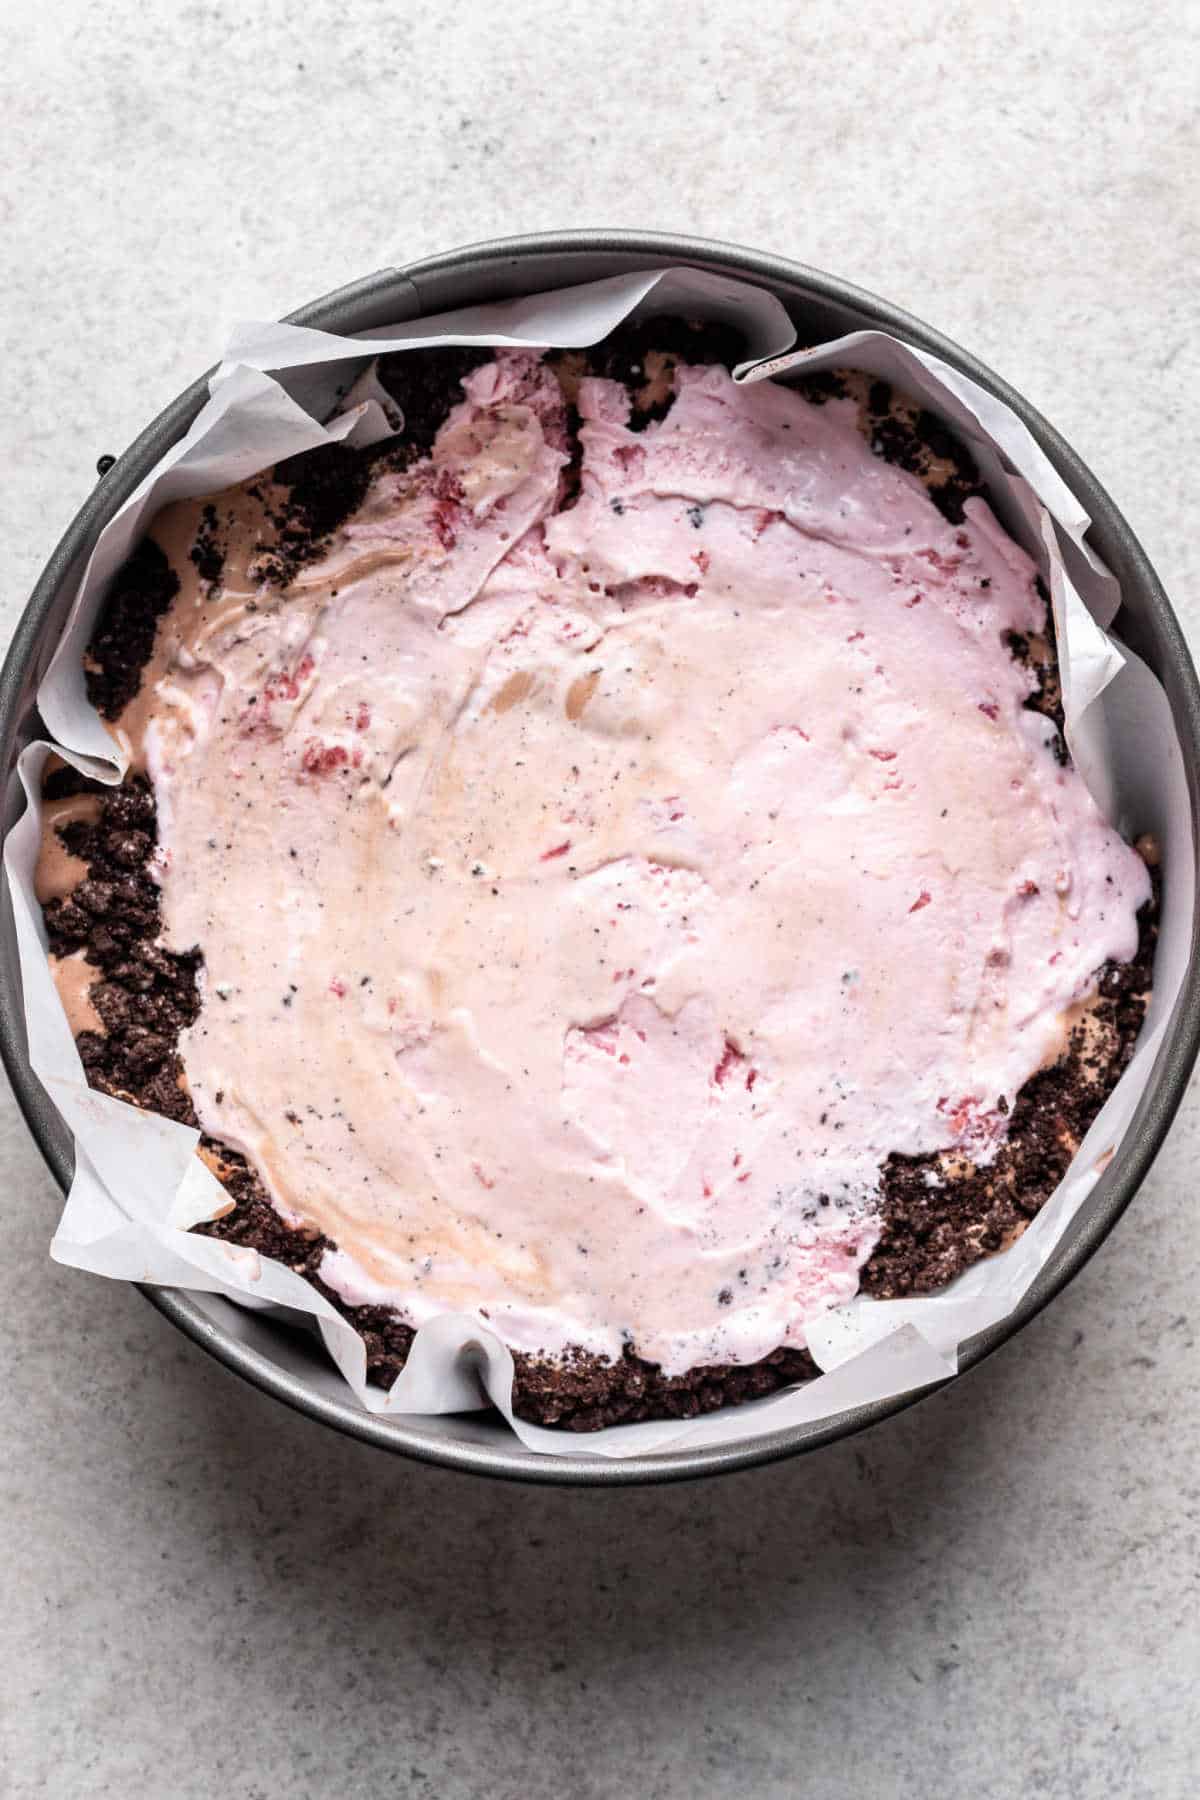
Step 10: Carefully spread the softened strawberry ice cream evenly over the chocolate fudge cookie crumbs.
Step 11: Sprinkle with remaining ⅓ cookie crumbs.
Step 12: Cover with plastic wrap, and freeze until set, about 30-45 minutes.
Step 13: Toward the end of the freezing time, set the vanilla ice cream out to thaw just until spreadable, about 10 minutes.
Step 14: Spread the softened vanilla ice cream evenly on top.
Step 15: Cover with plastic wrap and freeze until completely set, at least 4 hours or up to overnight.
Step 16: One hour before serving, prepare the whipped cream. Add the heavy cream to a large mixing bowl, and beat until you can begin to see beater tracks in the cream.
Step 17: Add the sugar and vanilla extract.
Step 18: Continue beating on medium high speed until the whipped cream forms stiff peaks.
Step 19: Remove the cake from the freezer, and spread with whipped cream.
Step 20: Sprinkle the sprinkles over the top.
Step 21: Freeze, uncovered, for 30-60 minutes. I don’t recommend freezing for longer than 60 minutes.
Step 22: Carefully run a thin knife around the edges to release from the side of the pan before loosening the springform pan.
Step 23: Using the plastic wrap as handles, lift cake out of the pan and transfer to a serving plate. Slice and serve immediately.
Recipe Tips!
- Springform pan: A springform pan makes it easier to remove the cake. However, if you don’t have a springform pan, they you can use a 9-inch round cake pan. If you’re using cake pan, you will need to line the pan well for removal, and you may also need to adjust the amount of ice cream or whipped cream to fit.
- Decoration: To pipe whipped cream on the top, you’ll need to make 1.5-2x the whipped cream portion of the recipe.
Recipe variation ideas
One of the great things about making this cake yourself is that you can customize it with the flavors that you like.
- Ice cream: Ice cream flavors like cookies and cream, cookie dough, and mint chocolate chip all work well.
- Cookies: Other cookies that work well are Nutter Butters, shortbread cookies, and crispy chocolate chip cookies, like Chips Ahoy.
- Hot fudge: You could substitute homemade caramel sauce or store bought caramel sauce for the hot fudge. Just be sure that you’re getting a thick caramel sauce and not a thin caramel syrup.
- Sprinkles: Jimmie, non pareils, or cookie crumbs could all be used in place of sprinkles.
Storage
Store any leftover ice cream cake, tightly wrapped, in the freezer. The cake should keep for up to 3 months when properly stored.
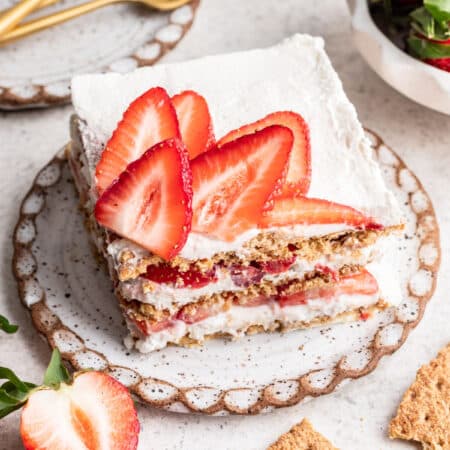
More no bake dessert recipes!

If you’ve tried this homemade Dairy Queen ice cream cake recipe, don’t forget to rate the recipe and leave me a comment below. I love to hear from people who’ve made my recipes!
You can subscribe to receive my latest recipe newsletters or follow me on Facebook, Instagram and Pinterest for even more delicious food.

Homemade Dairy Queen Ice Cream Cake
Equipment
- 9-inch springform pan
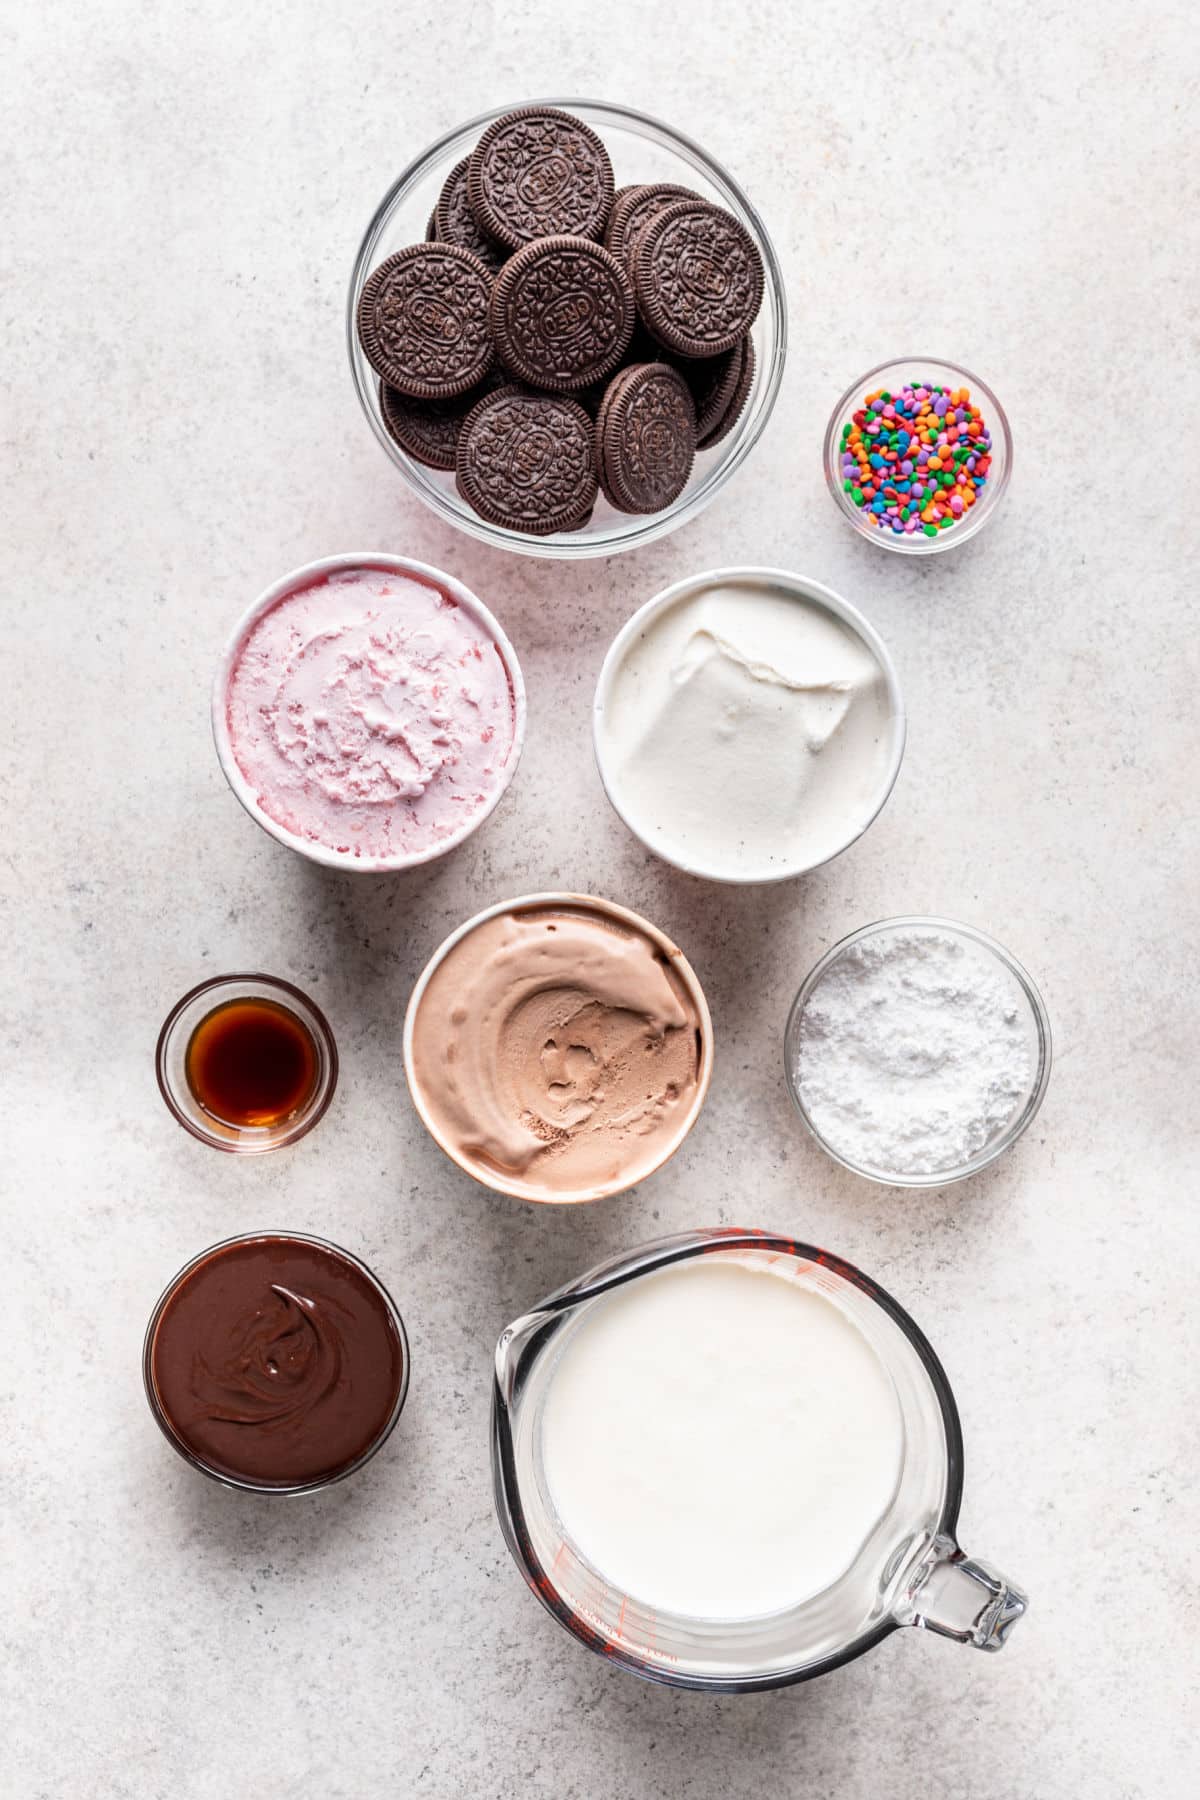
Ingredients
- 1 pint chocolate ice cream
- 1 pint strawberry ice cream
- 1 pint vanilla ice cream
- 10 ounces original or dark chocolate Oreo cookies about 30 cookies
- ½ cup hot fudge at room temperature
- 2 cups cold heavy whipping cream
- ⅓ cup powdered sugar
- 1 teaspoon vanilla extract
- Sprinkles for decorating
Instructions
- Line the bottom and up the sides of a 9-inch round springform pan with plastic wrap or parchment paper, leaving an overhang on 2 sides. This will help you remove the finished ice cream cake.
- Remove chocolate ice cream from freezer and let stand until just spreadable, about 10 minutes.1 pint chocolate ice cream
- Meanwhile, place the cookies in a large resealable plastic bag, seal bag and use a rolling pin to crush cookies into small crumbs (or zip in a food processor).10 ounces original or dark chocolate Oreo cookies
- Spread ⅓ of the cookie crumbs evenly over bottom of the prepared pan, gently pressing them together with a rubber spatula to form the crust.
- Spread the softened chocolate ice cream evenly over crust.
- Pour the room temperature hot fudge sauce over the ice cream.½ cup hot fudge
- Sprinkle ⅓ of the cookie crumbs over the chocolate ice cream.
- Cover pan with plastic, and freeze until set, about 30-45 minutes.
- Toward the end of the freezing time, set the strawberry ice cream out to thaw just until spreadable, about 10 minutes.1 pint strawberry ice cream
- Carefully spread the softened strawberry ice cream evenly over the chocolate fudge cookie crumbs.
- Sprinkle with remaining ⅓ cookie crumbs.
- Cover with plastic wrap, and freeze until set, about 30-45 minutes.
- Toward the end of the freezing time, set the vanilla ice cream out to thaw just until spreadable, about 10 minutes.1 pint vanilla ice cream
- Spread the softened vanilla ice cream evenly on top.
- Cover with plastic wrap and freeze until completely set, at least 4 hours or up to overnight.
- One hour before serving, prepare the whipped cream.2 cups cold heavy whipping cream
- Add the heavy cream to a large mixing bowl, and beat until you can begin to see beater tracks in the cream.
- Add the sugar and vanilla extract.⅓ cup powdered sugar, 1 teaspoon vanilla extract
- Continue beating on medium high speed until the whipped cream forms stiff peaks.
- Remove the cake from the freezer, and spread with whipped cream.
- Sprinkle the sprinkles over the top.Sprinkles
- Freeze, uncovered, for 30-60 minutes. I don’t recommend freezing for longer than 60 minutes.
- Carefully run a thin knife around the edges to release from the side of the pan before loosening the springform pan.
- Using the plastic wrap as handles, lift cake out of the pan and transfer to a serving plate.
- Slice and serve immediately.
Notes
- Ice cream: Feel free to use any flavor of ice cream that you like. You can use any combination of flavors, or you can use one flavor of ice cream if you prefer.
- Cookies: You can also use any flavor of Oreo cookies that you like. I use regular or dark chocolate Oreos, but you could use mint or any other flavor.
- Hot fudge: I use homemade hot fudge. If you’re using store bought, be sure that it’s a thicker hot fudge sauce and not a thinner chocolate syrup.
- Nutrition values are estimates.
Nutrition
Did You Make This Recipe?
Share it with me on Instagram @i_heart_eating and follow on Youtube @katedean and Pinterest @katedean for more!


Love this recipe?
Share your thoughts below and let’s chat! Make sure to connect with me on your favorite social platform below and show me what you made!