These quick and easy homemade breadsticks can be made from scratch in just 1 hour. They’re perfect for those times when you want homemade bread but don’t want to spend hours making it!
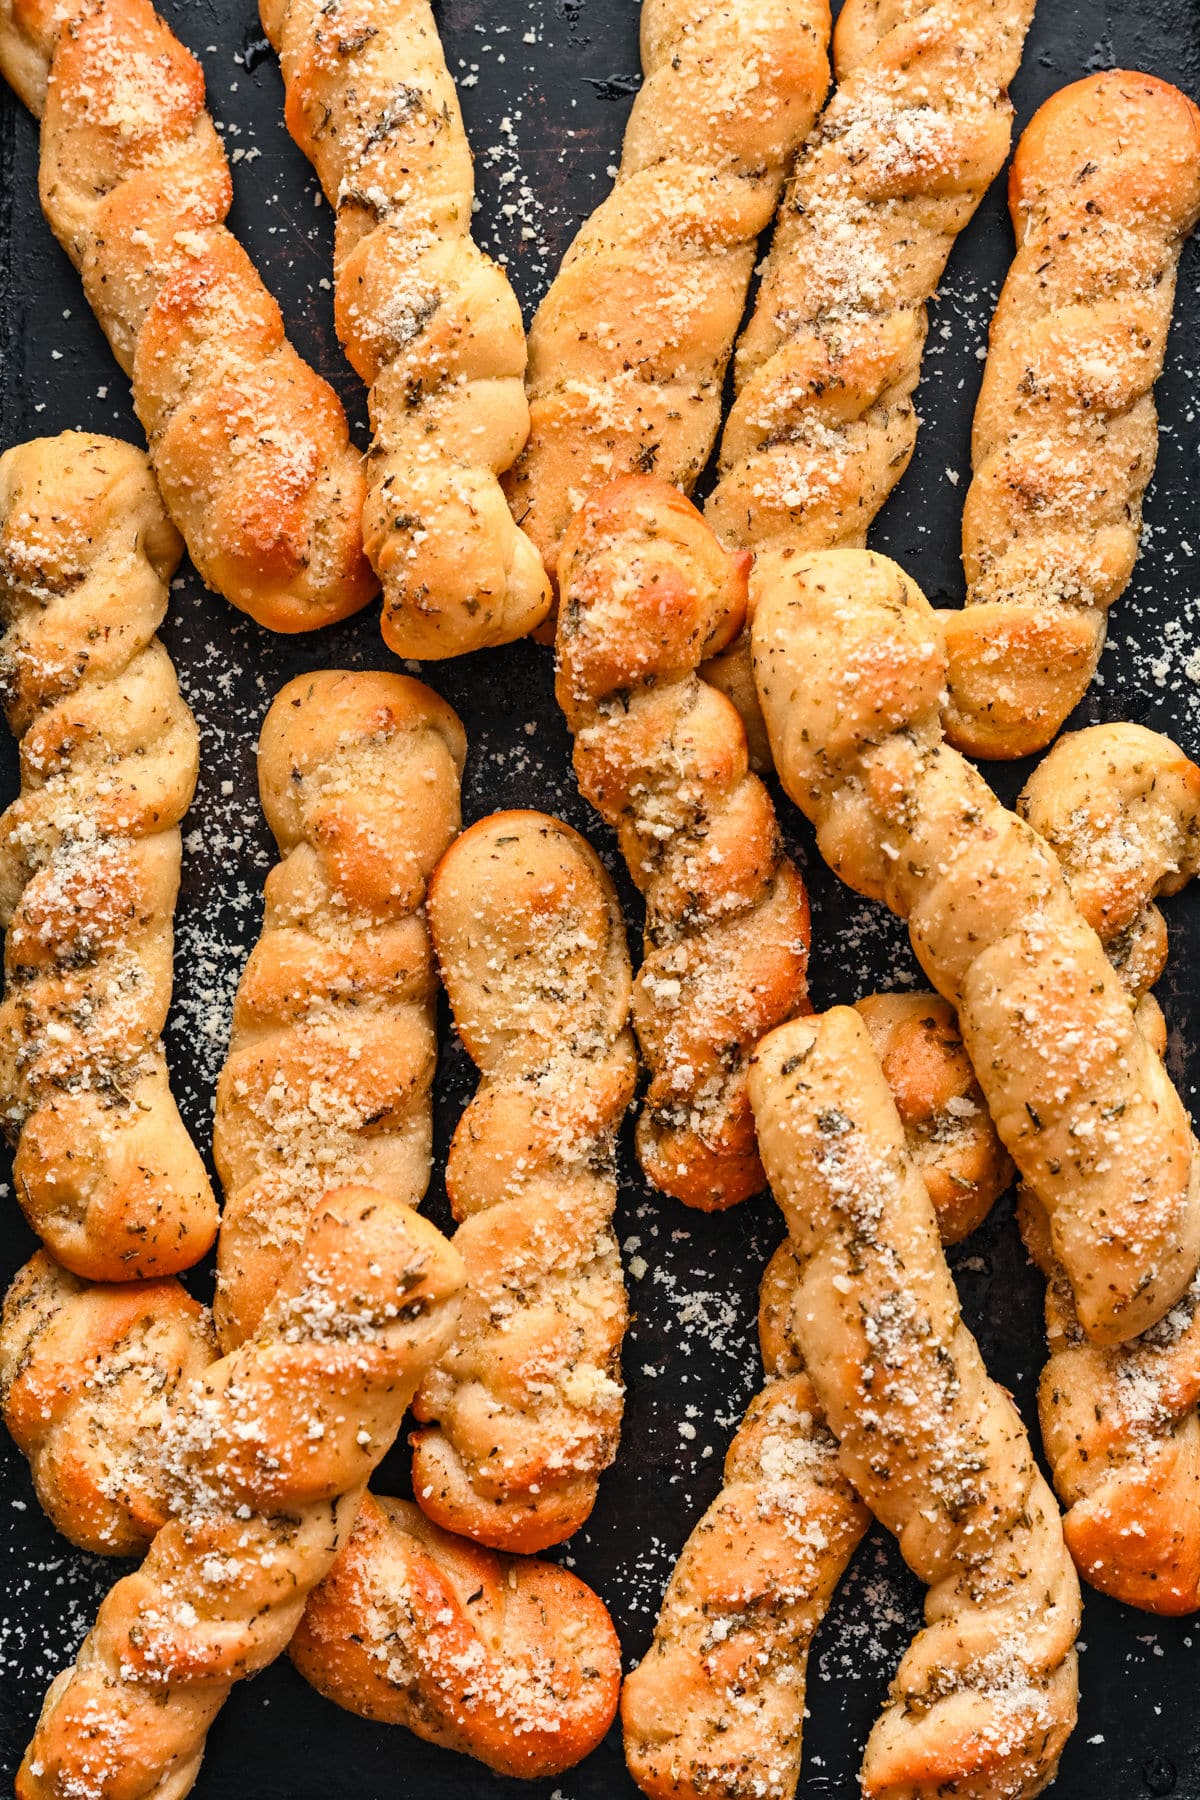
I love bread. Learning to bake bread can be intimidating, but it doesn’t have to be!
These Easy Homemade Breadsticks are perfect for beginners who want to try their hand at bread making. They take just about an hour from start to finish, and they taste great!
They’re perfect for those times when you want homemade bread but don’t want to spend hours making it.
How to make homemade breadsticks (step-by-step photos)
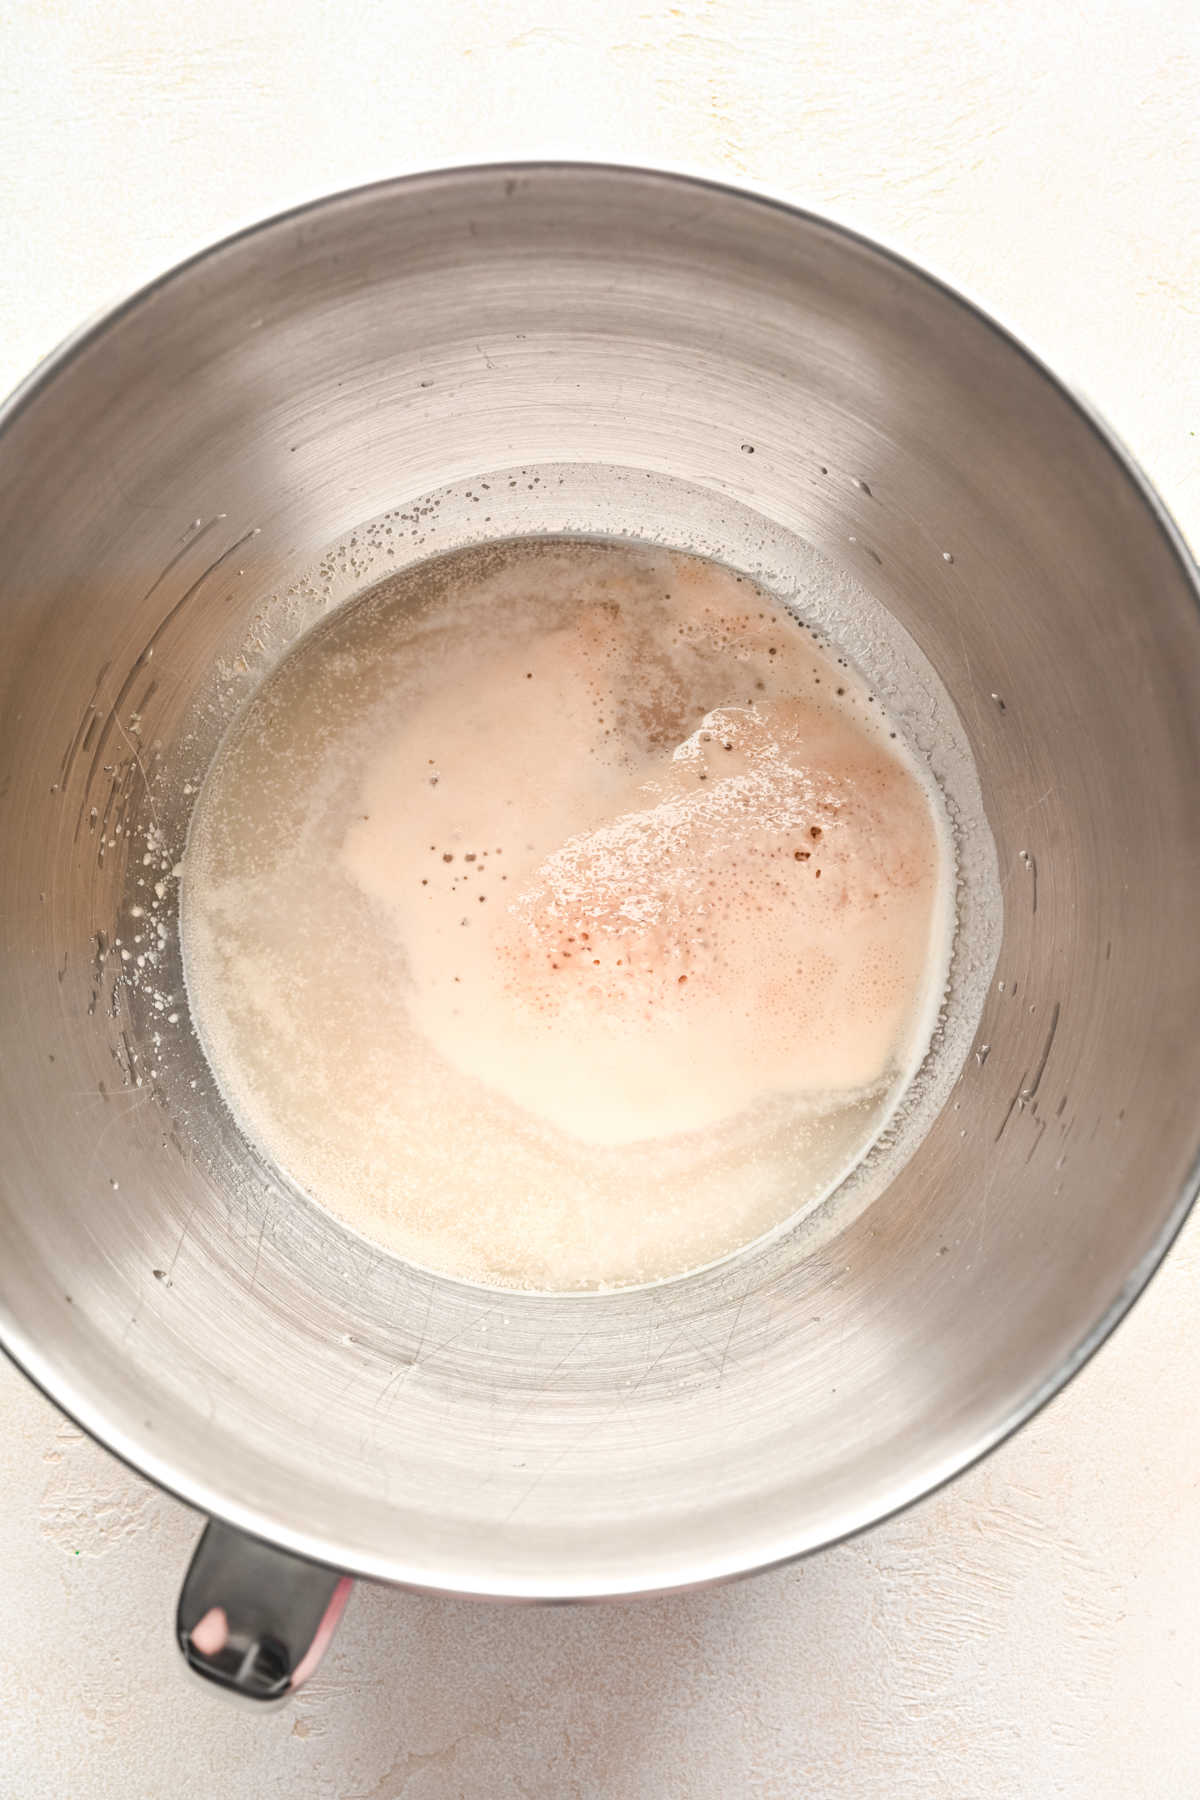
Step 1: In the bowl of a stand mixer (or in a large bowl), stir together the warm water, yeast, and sugar. Let stand for 5-10 minutes or until foamy.
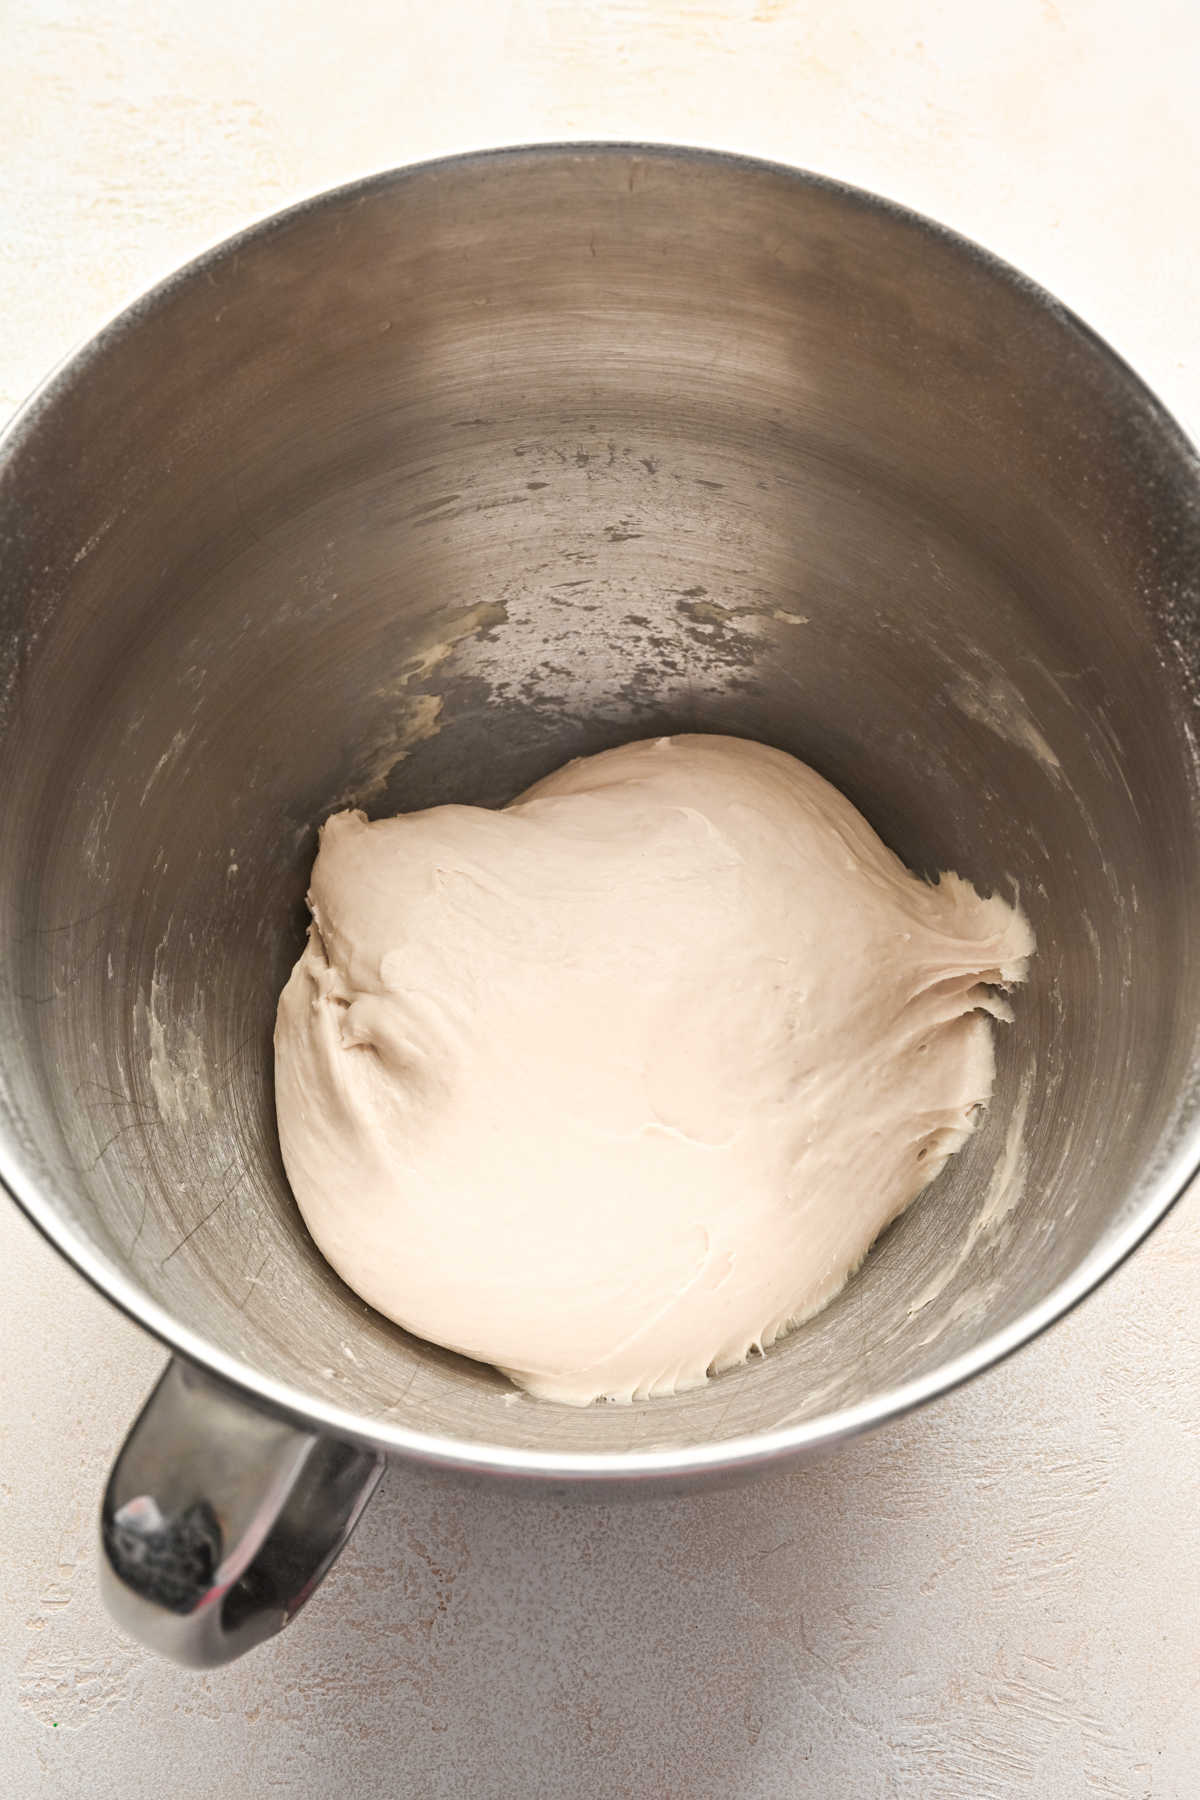
Step 2: Mix in flour and salt. The dough should clear the sides of the mixing bowl and feel slightly sticky but shouldn’t come off on your fingers if you pinch it. Knead dough for three minutes.
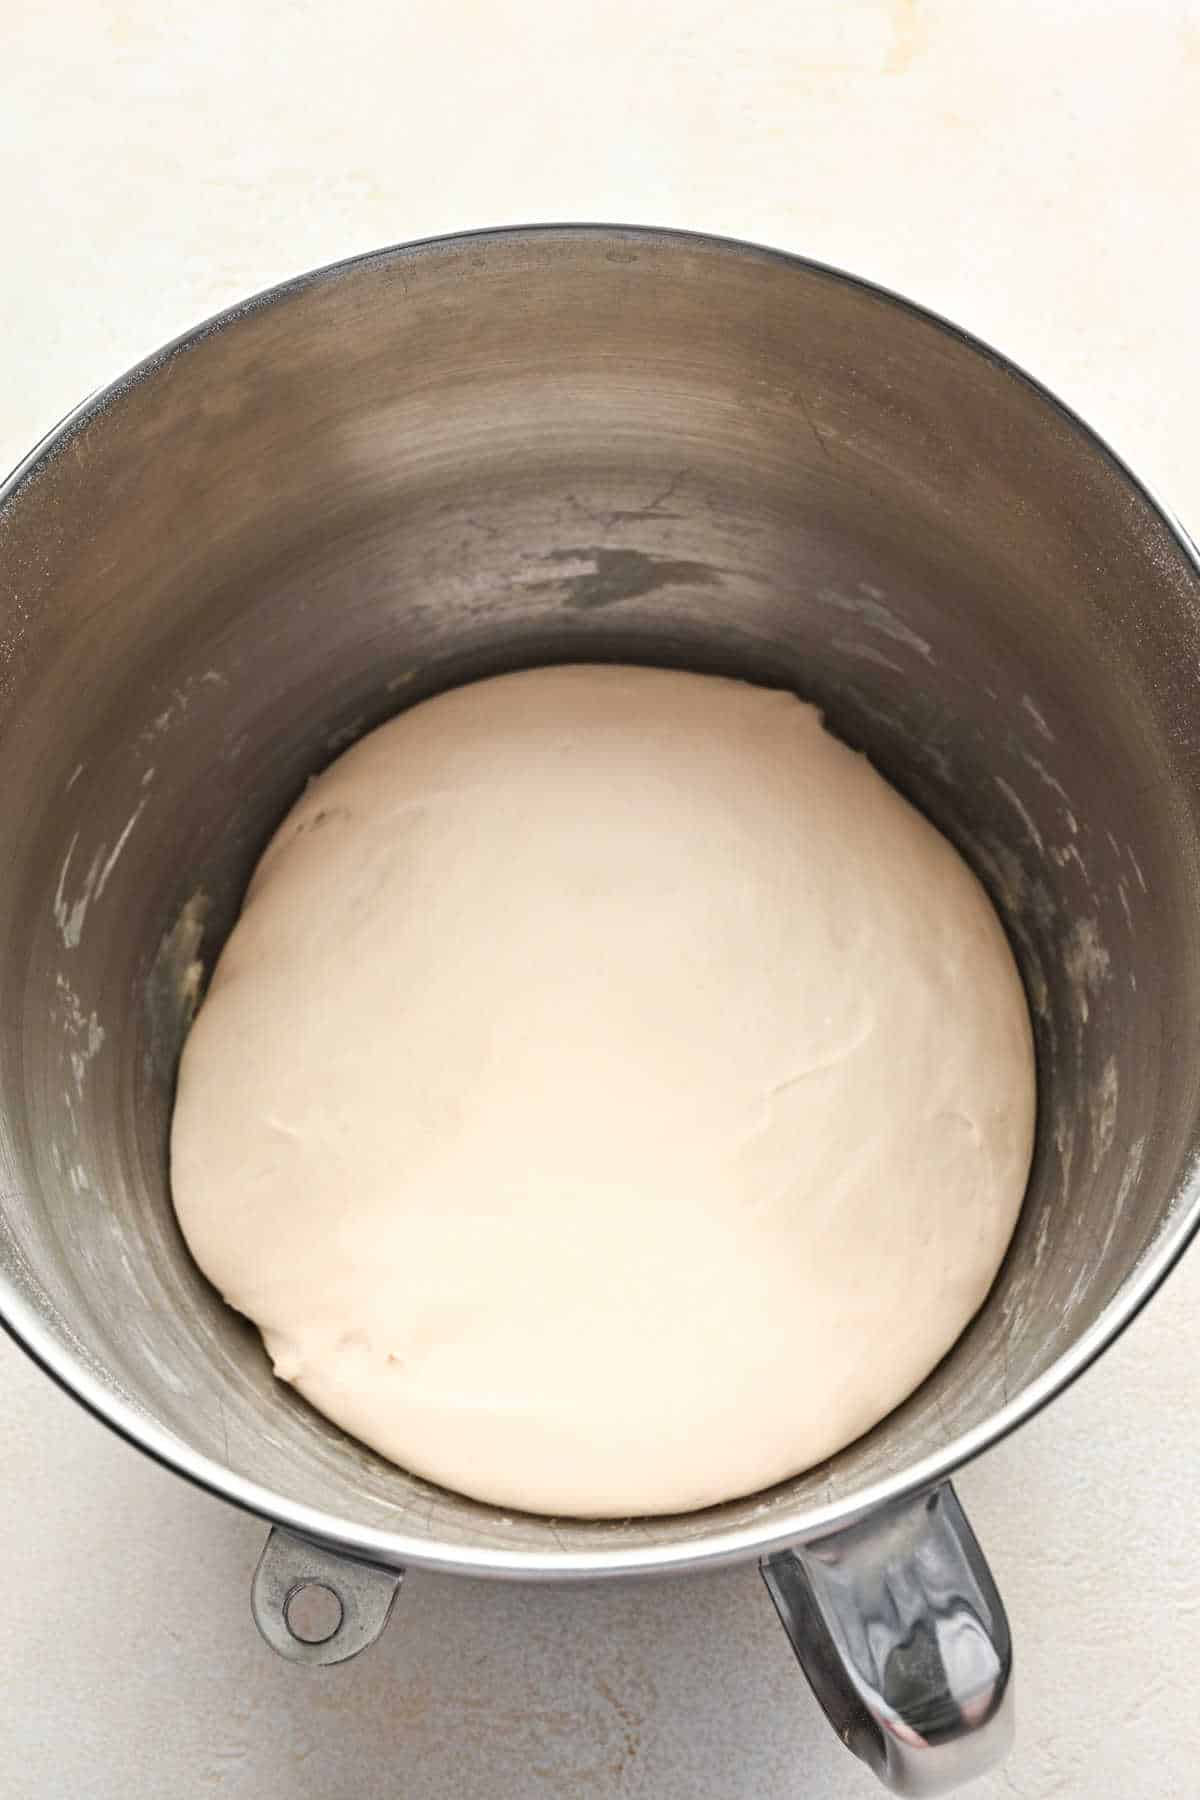
Step 3: Cover, and let the dough rest for 10 minutes.
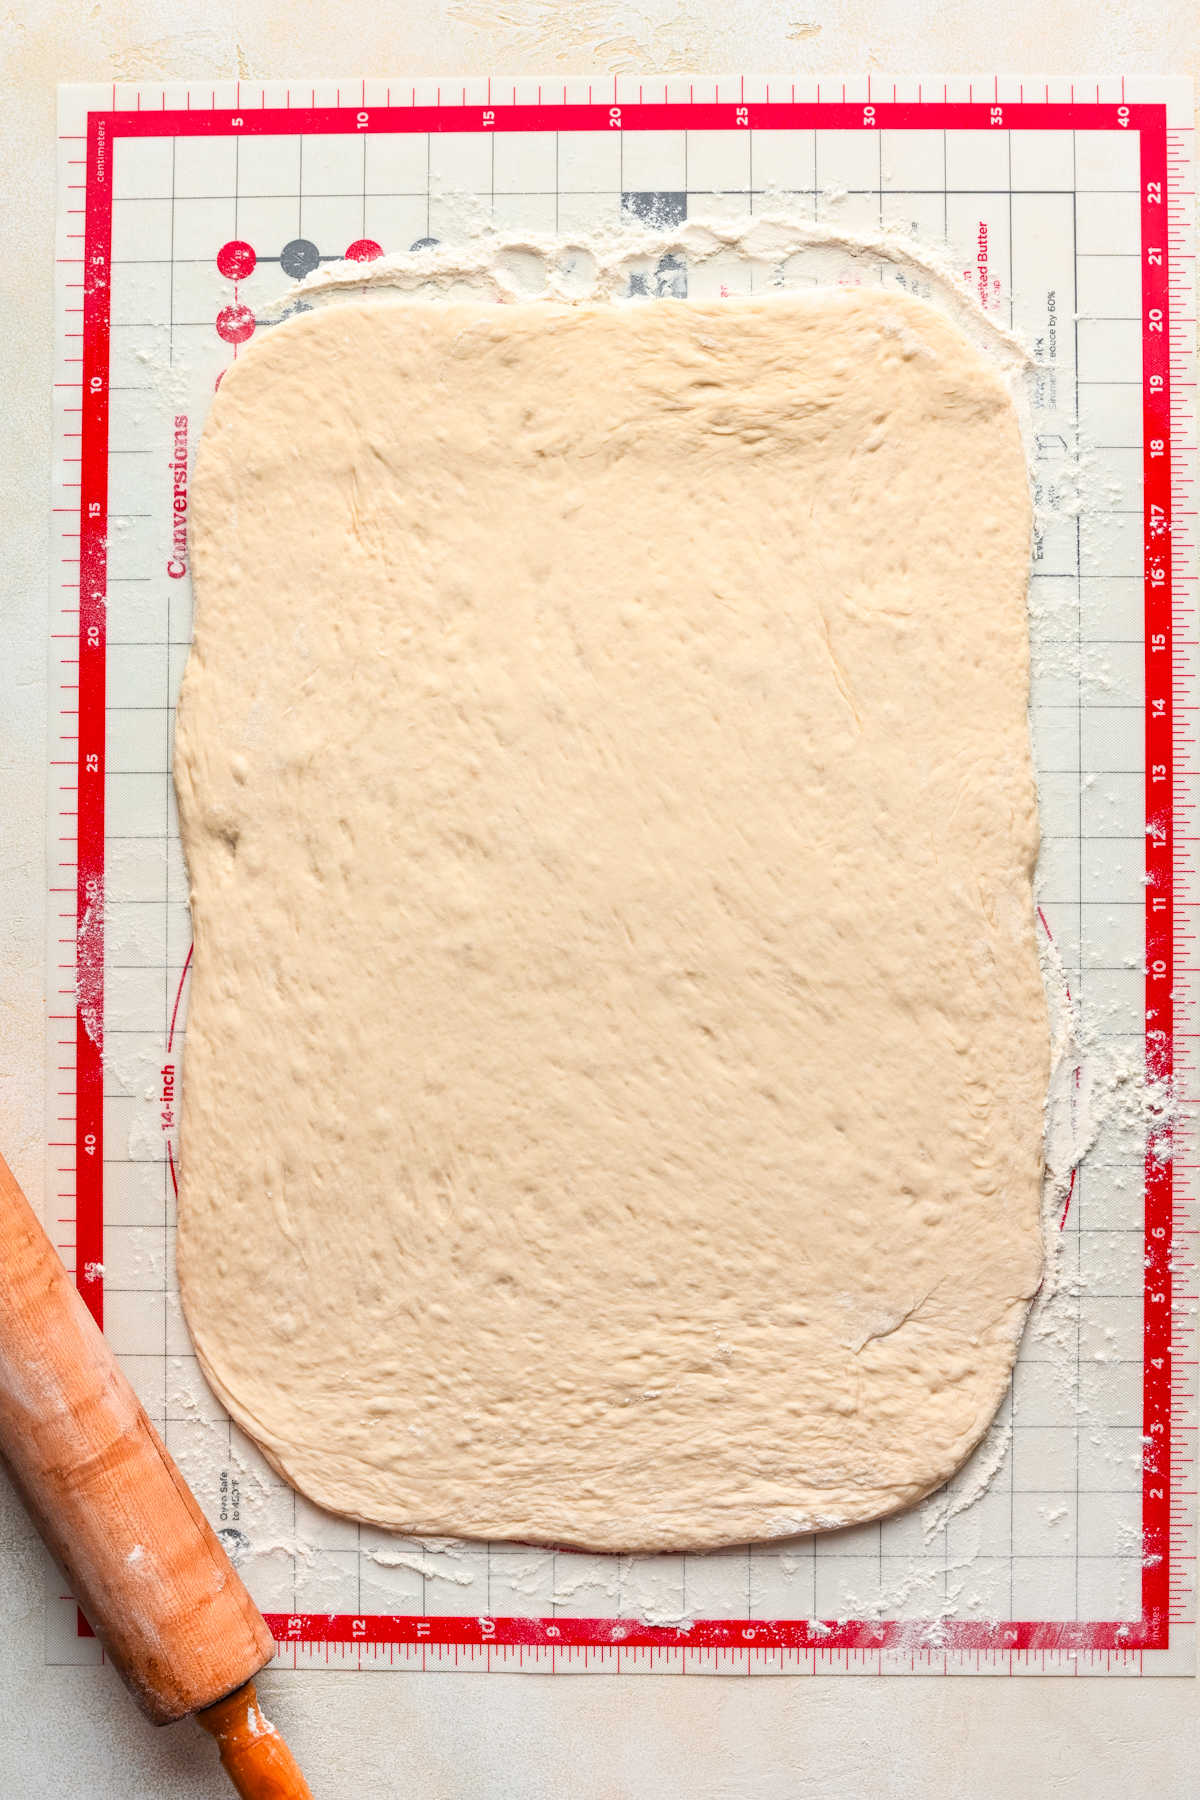
Step 4: Grease an 11X17-inch baking sheet with nonstick cooking spray. On a floured surface, roll out the dough into about a 12×16-inch rectangle about 1/2-inch thick.
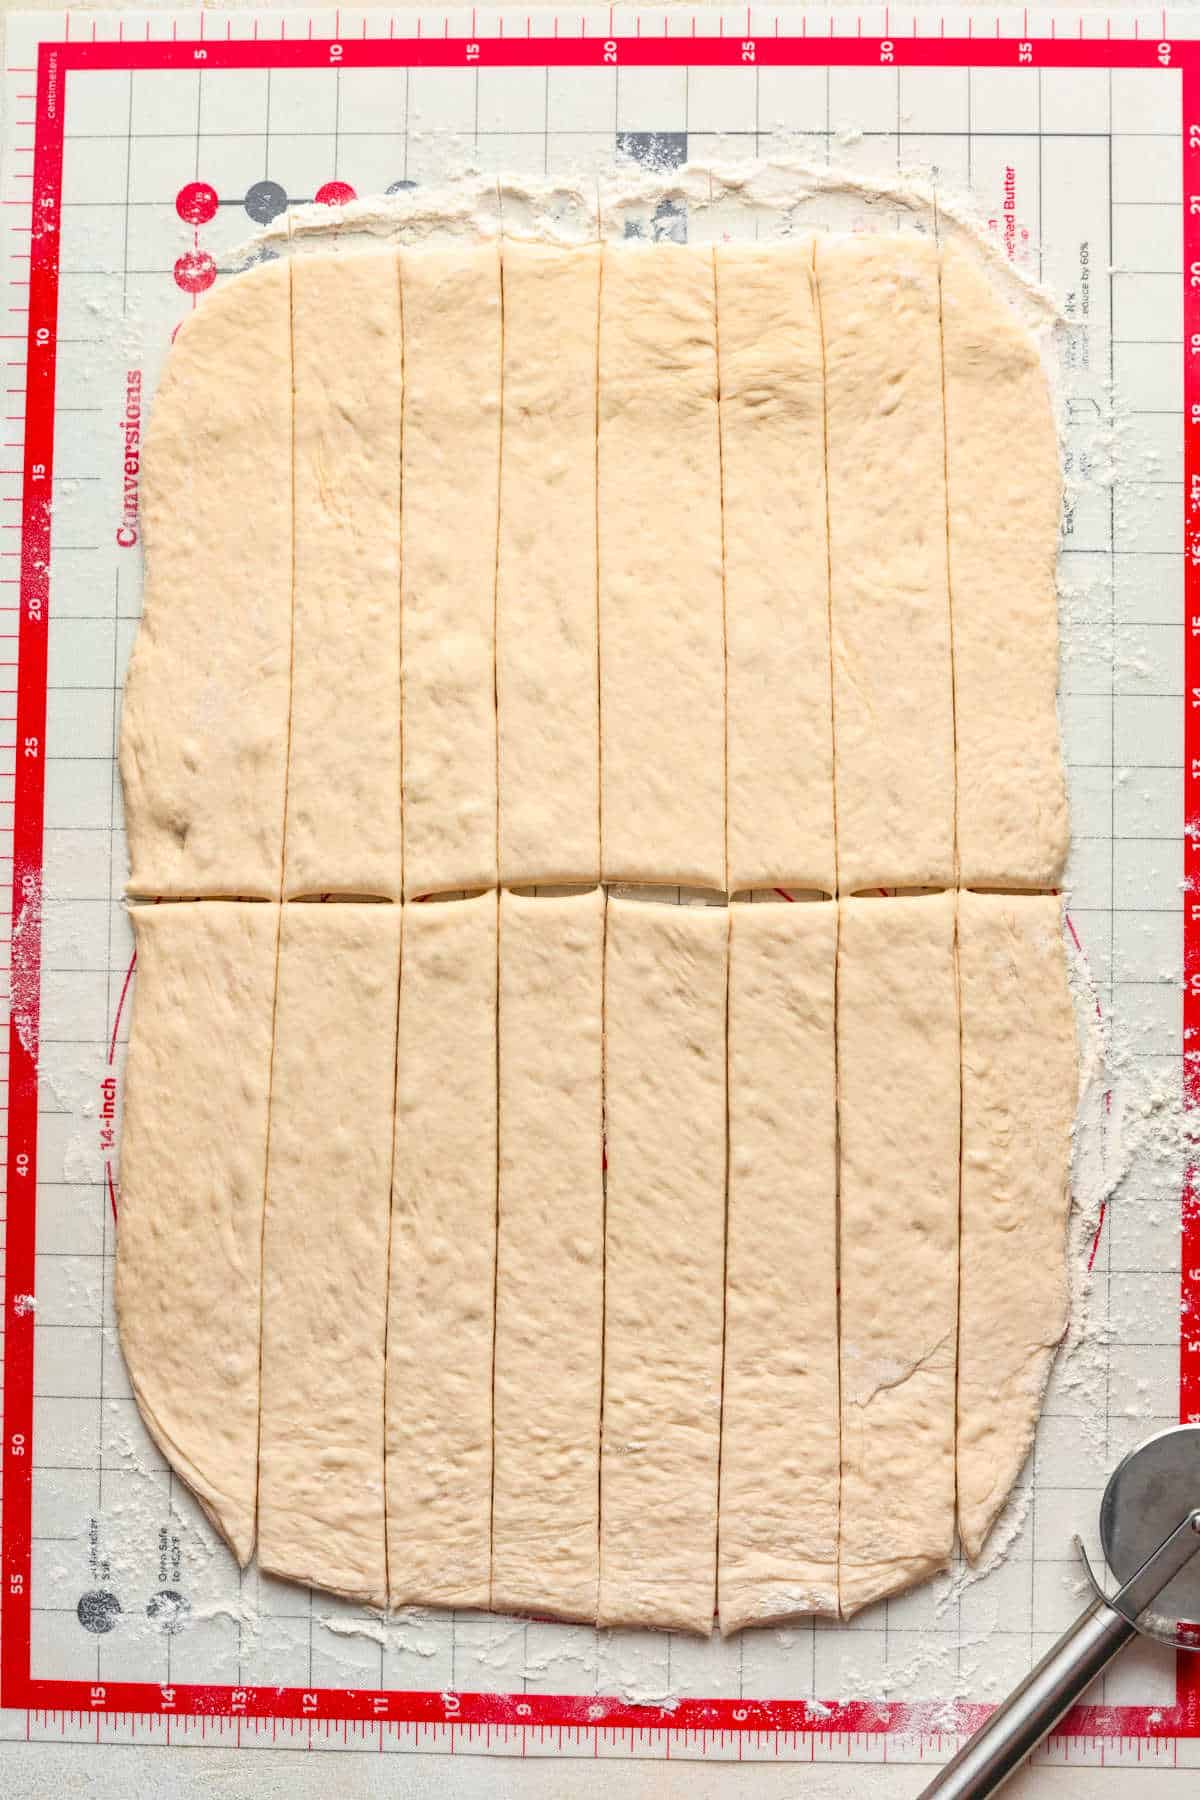
Step 5: Cut the dough in half width-wise with a pizza cutter. I like to use a pizza cutter because it moves nicely through the dough without tearing it.
Step 6: Cut into 8 strips lengthwise for a total of 16 strips.
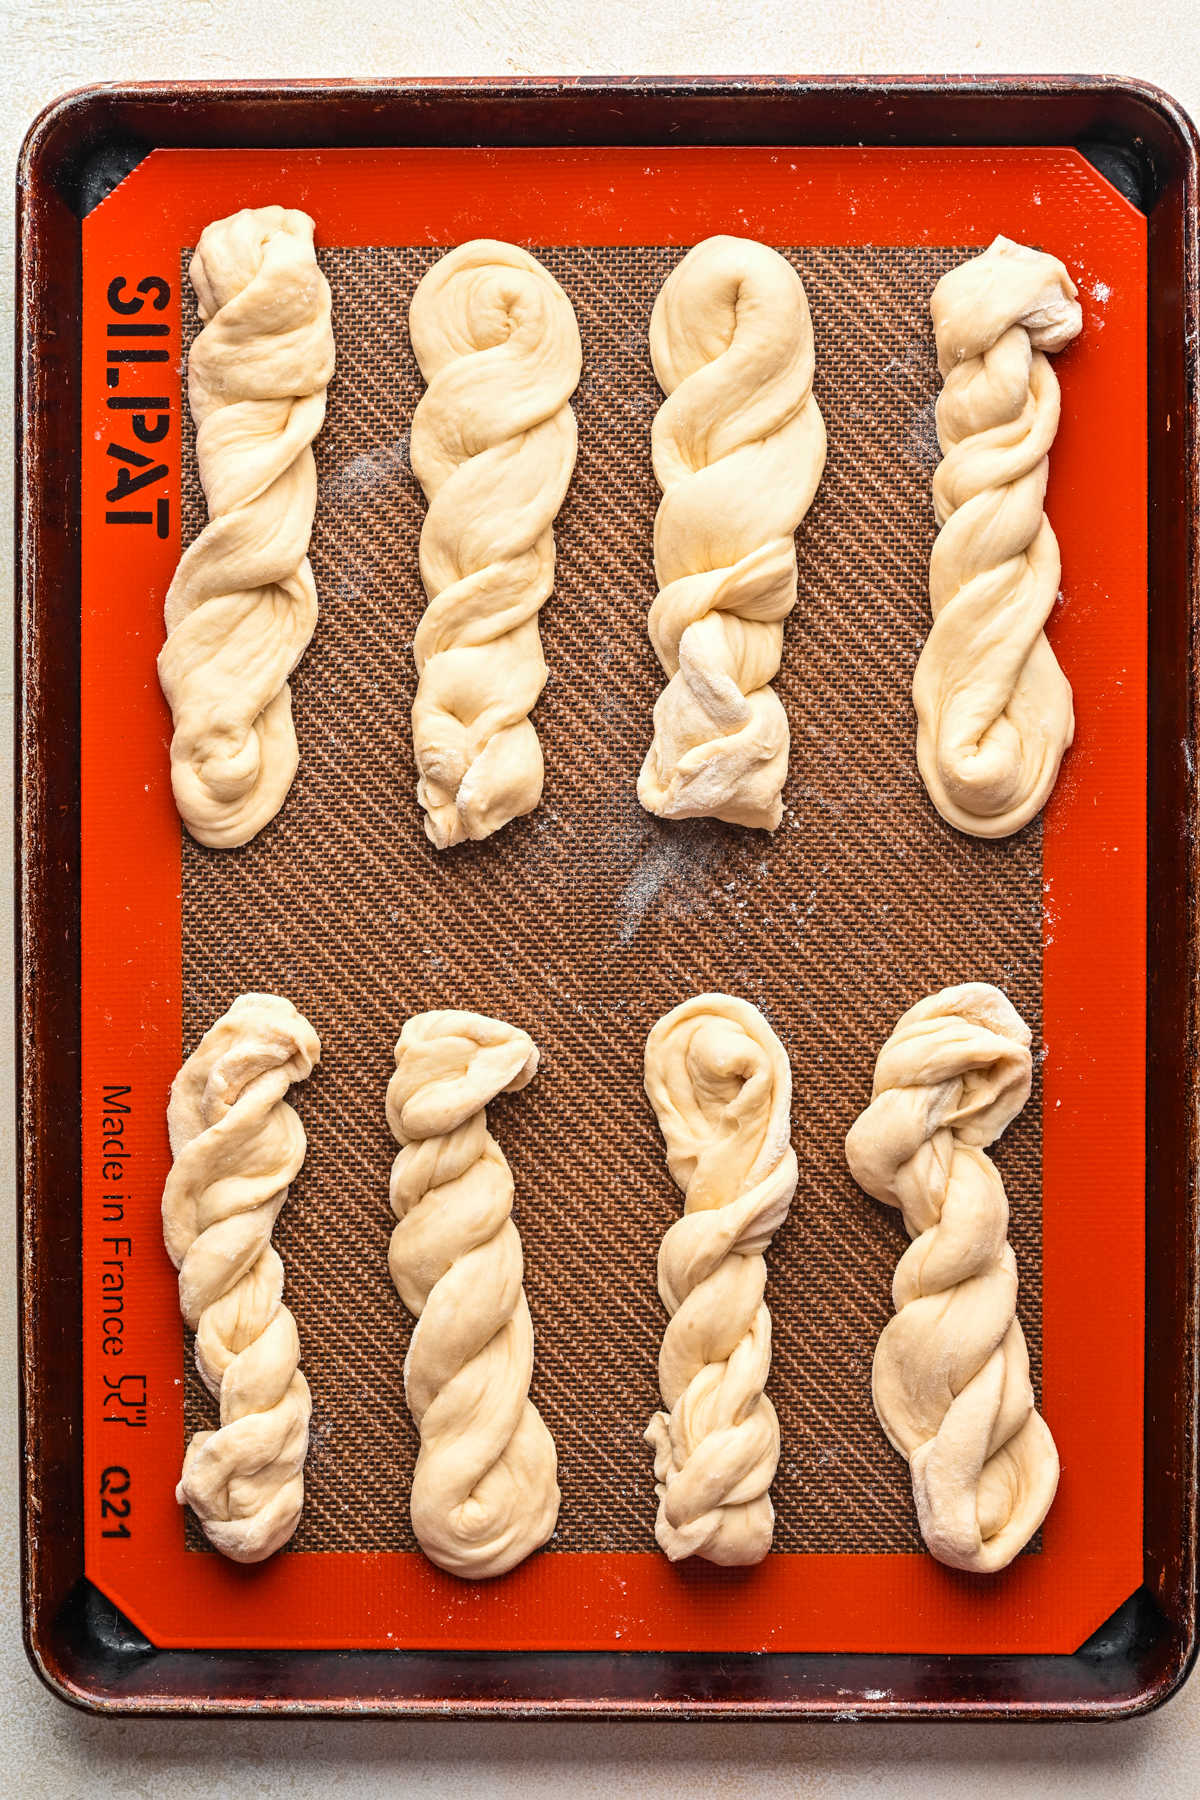
Step 7: Twist each strip slightly (or leave them as strips), and place about 1/2-inch apart on the baking sheet. Cover with greased plastic wrap and let rise 30 minutes.
Step 8: Bake.
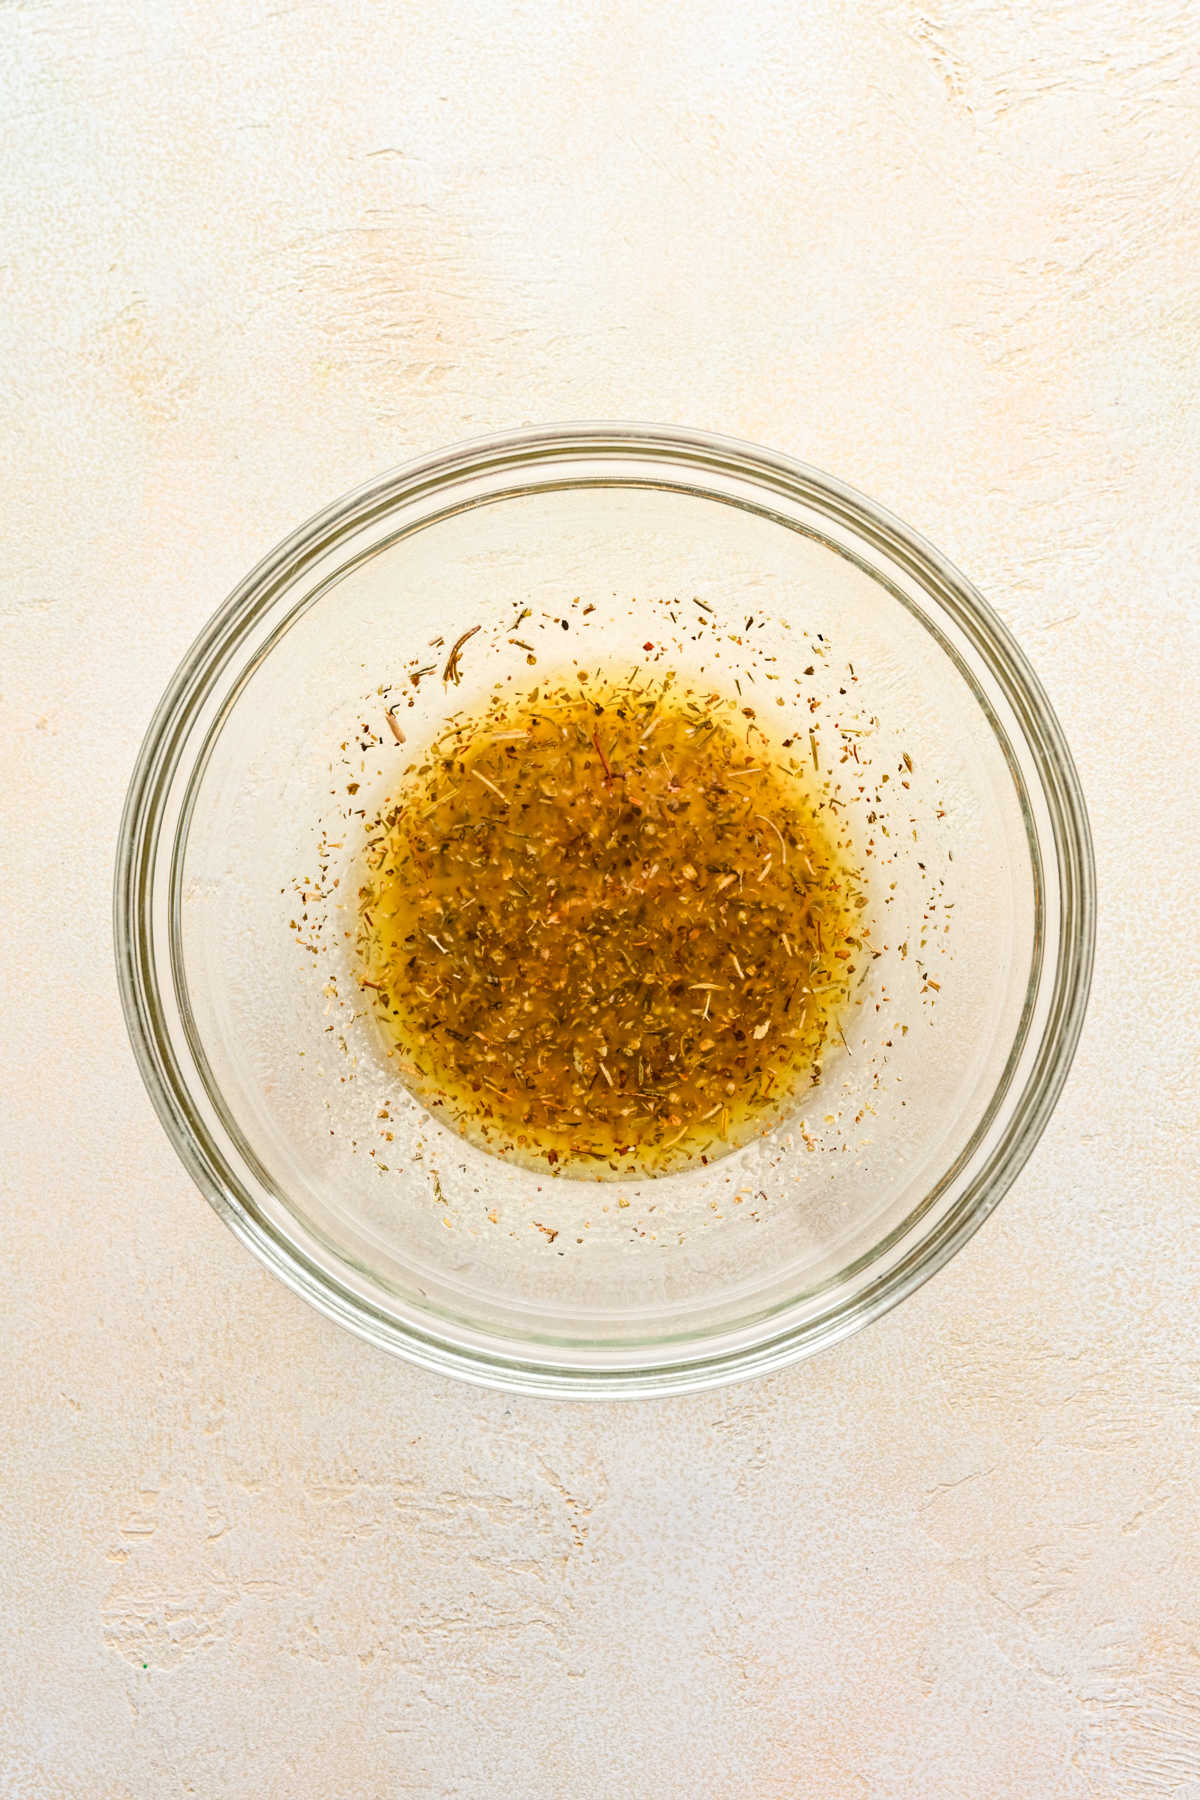
Step 9: While breadsticks are baking, stir together butter, seasoning, and garlic salt.
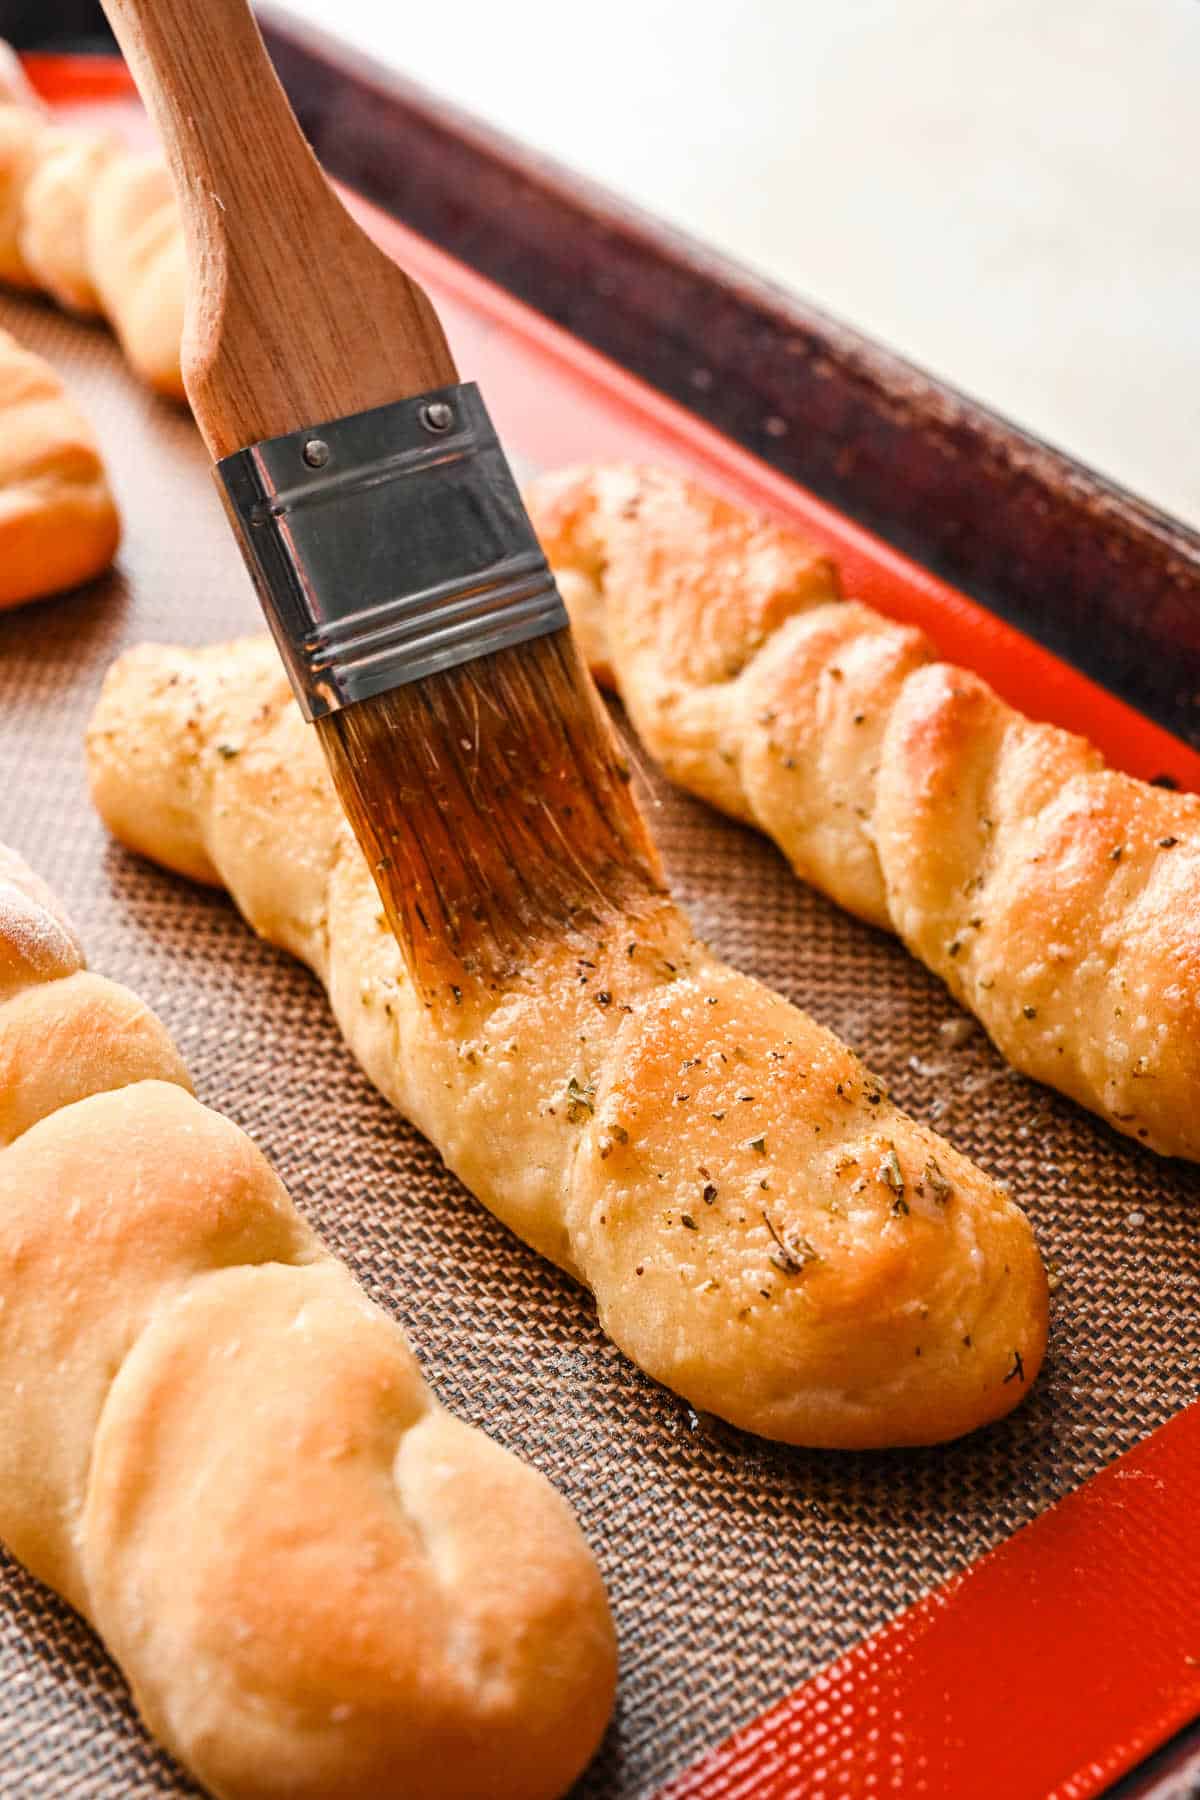
Step 10: Brush the baked breadsticks with garlic butter.
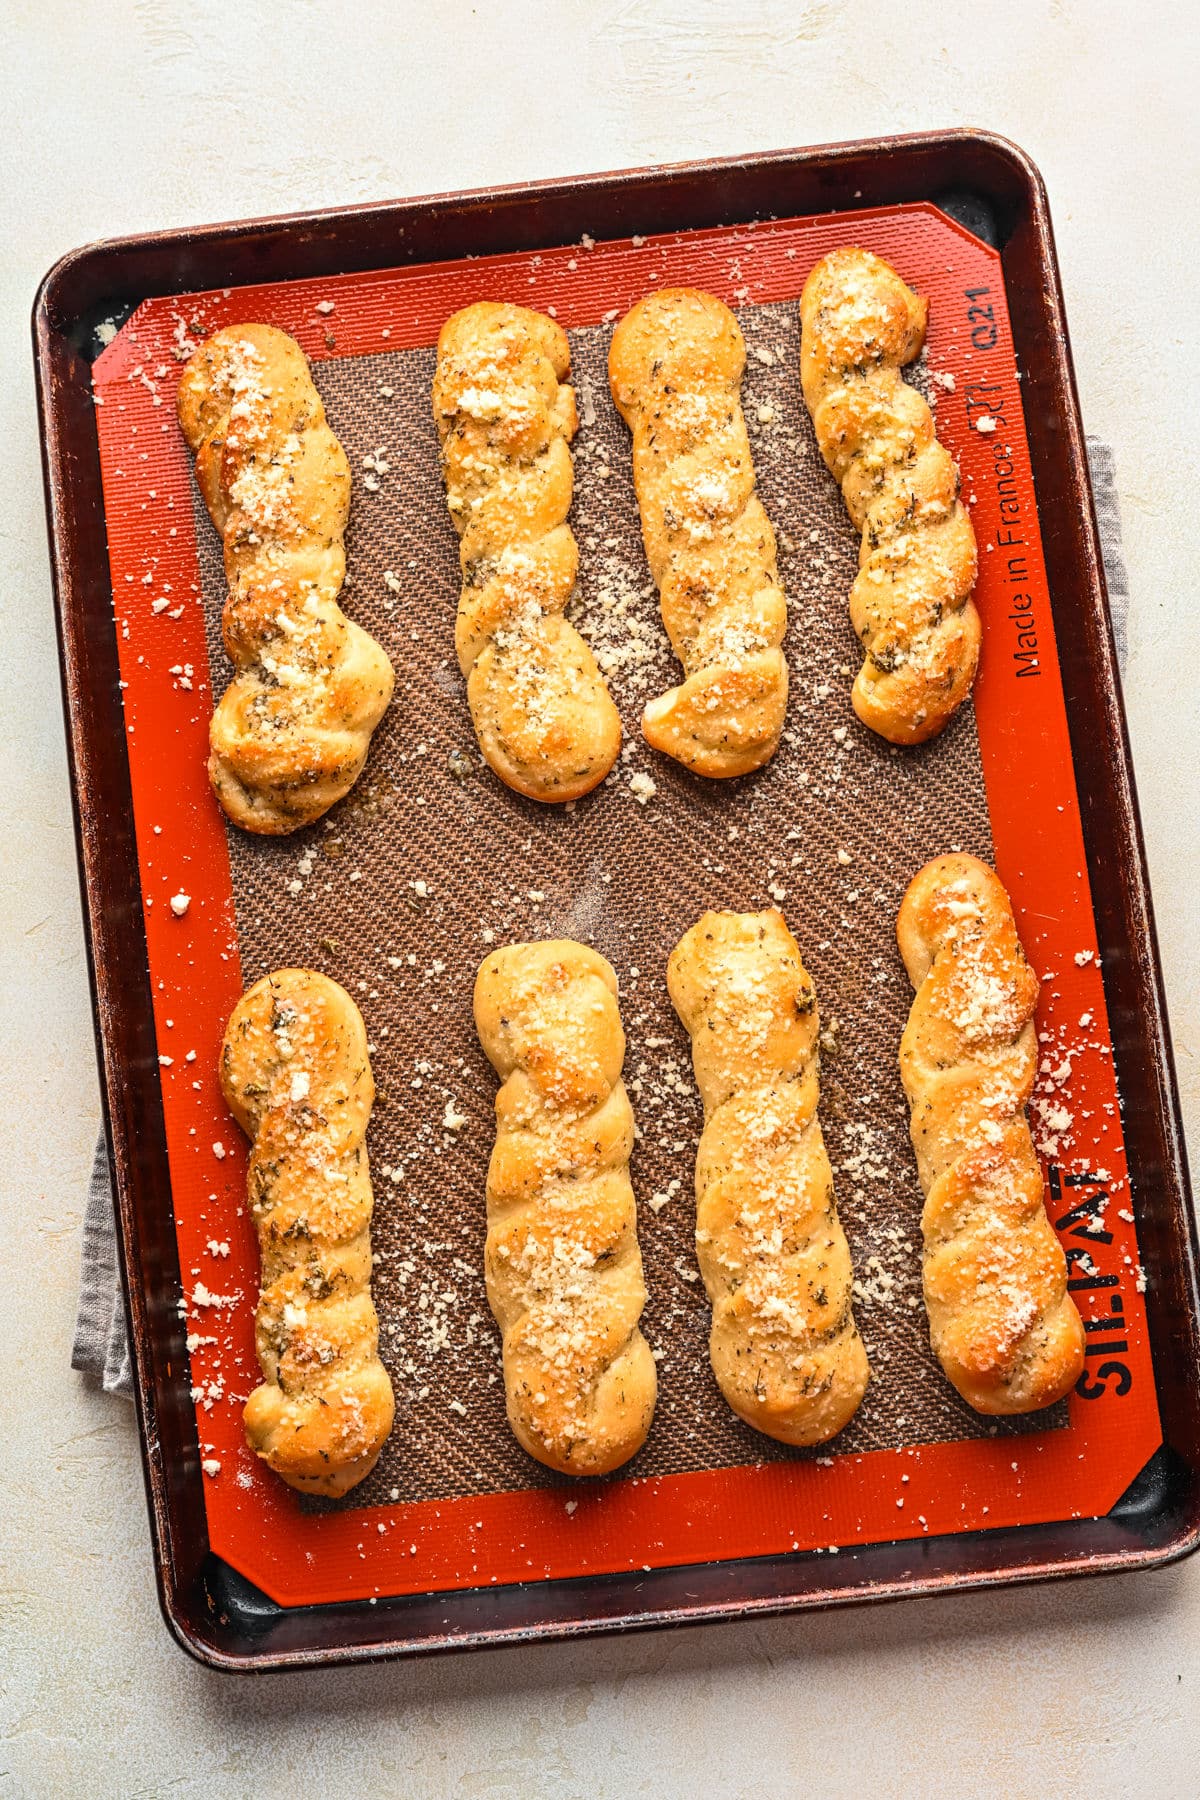
Recipe Tips!
- Yeast: Can sub an equal amount of instant yeast. If using instant yeast, there’s no need to let the yeast mixture stand until foamy.
- Flour: You may find that you need to use a little more or less flour depending on how you measure and other factors like the humidity where you live. If you’re unsure, you can start with a little less (like 3 cups) and add in the rest as needed.
- Butter: I use salted butter in this recipe.
- Garlic salt: If you’re watching your sodium, you can use garlic powder in place of part of the garlic salt.
- Mixing by hand: If you’d like to make the dough by hand, I have a section just below that gives the instructions for that.
How to make breadsticks by hand
This dough is fairly easy to mix by hand. The only change necessary is in step 3.
You will need to increase the kneading time to 5-6 minutes. Otherwise, make the breadsticks as-directed.
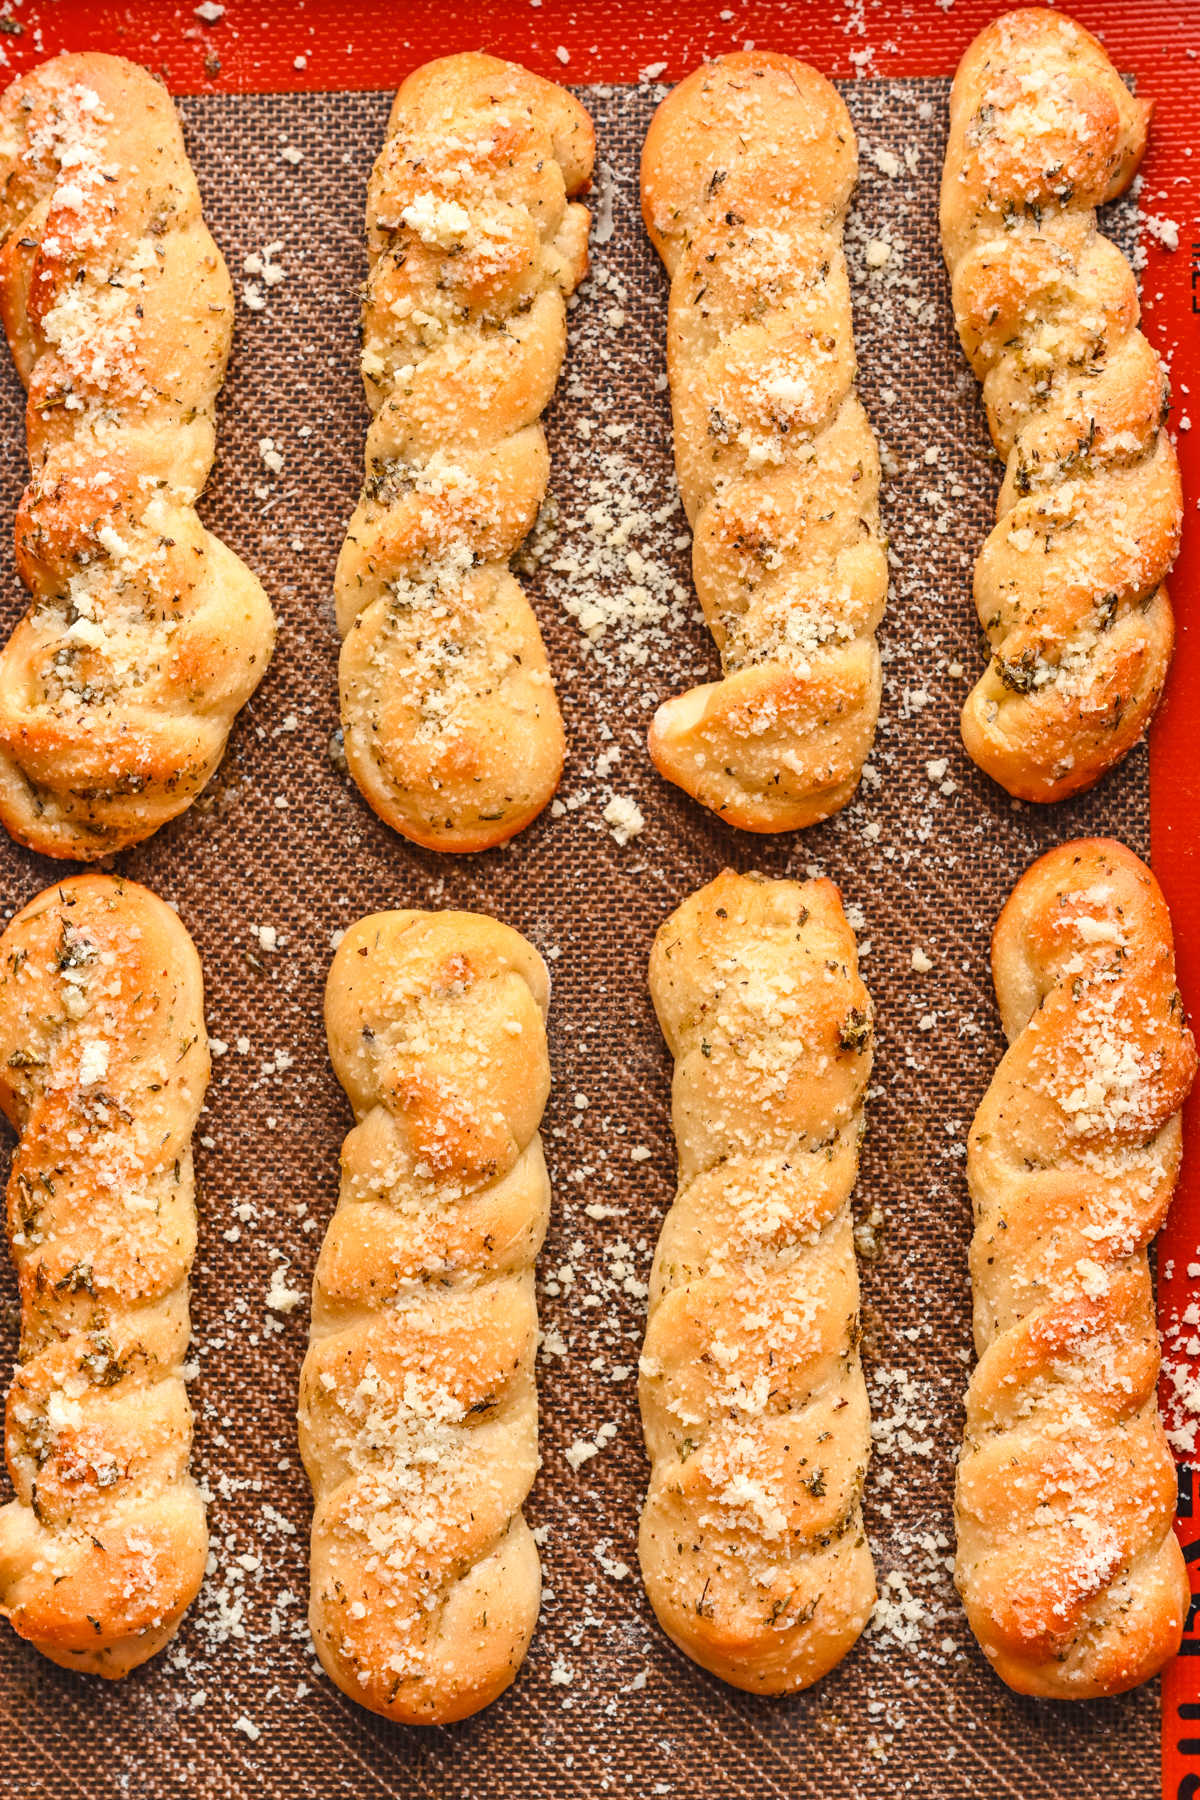
Breadstick variations and dips
- Gluten-free breadsticks: You can substitute gluten free cup for cup baking flour for the all-purpose flour. This will may slightly change the texture of the breadsticks.
- Vegan breadsticks: The breadstick dough is vegan as-is.
- Cheesy breadsticks: Add an additional 1/4 cup shredded cheese with the parmesan cheese. Italian cheese blend or mozzarella works well. You may want to pop them back in the oven for a minute or two to let the cheese melt.
- Cinnamon sugar: Id you’d like to make cinnamon sugar breadsticks, I have that recipe here.
- Dipping sauce: I have a great homemade pizza sauce recipe that makes a quick and delicious dipping sauce.
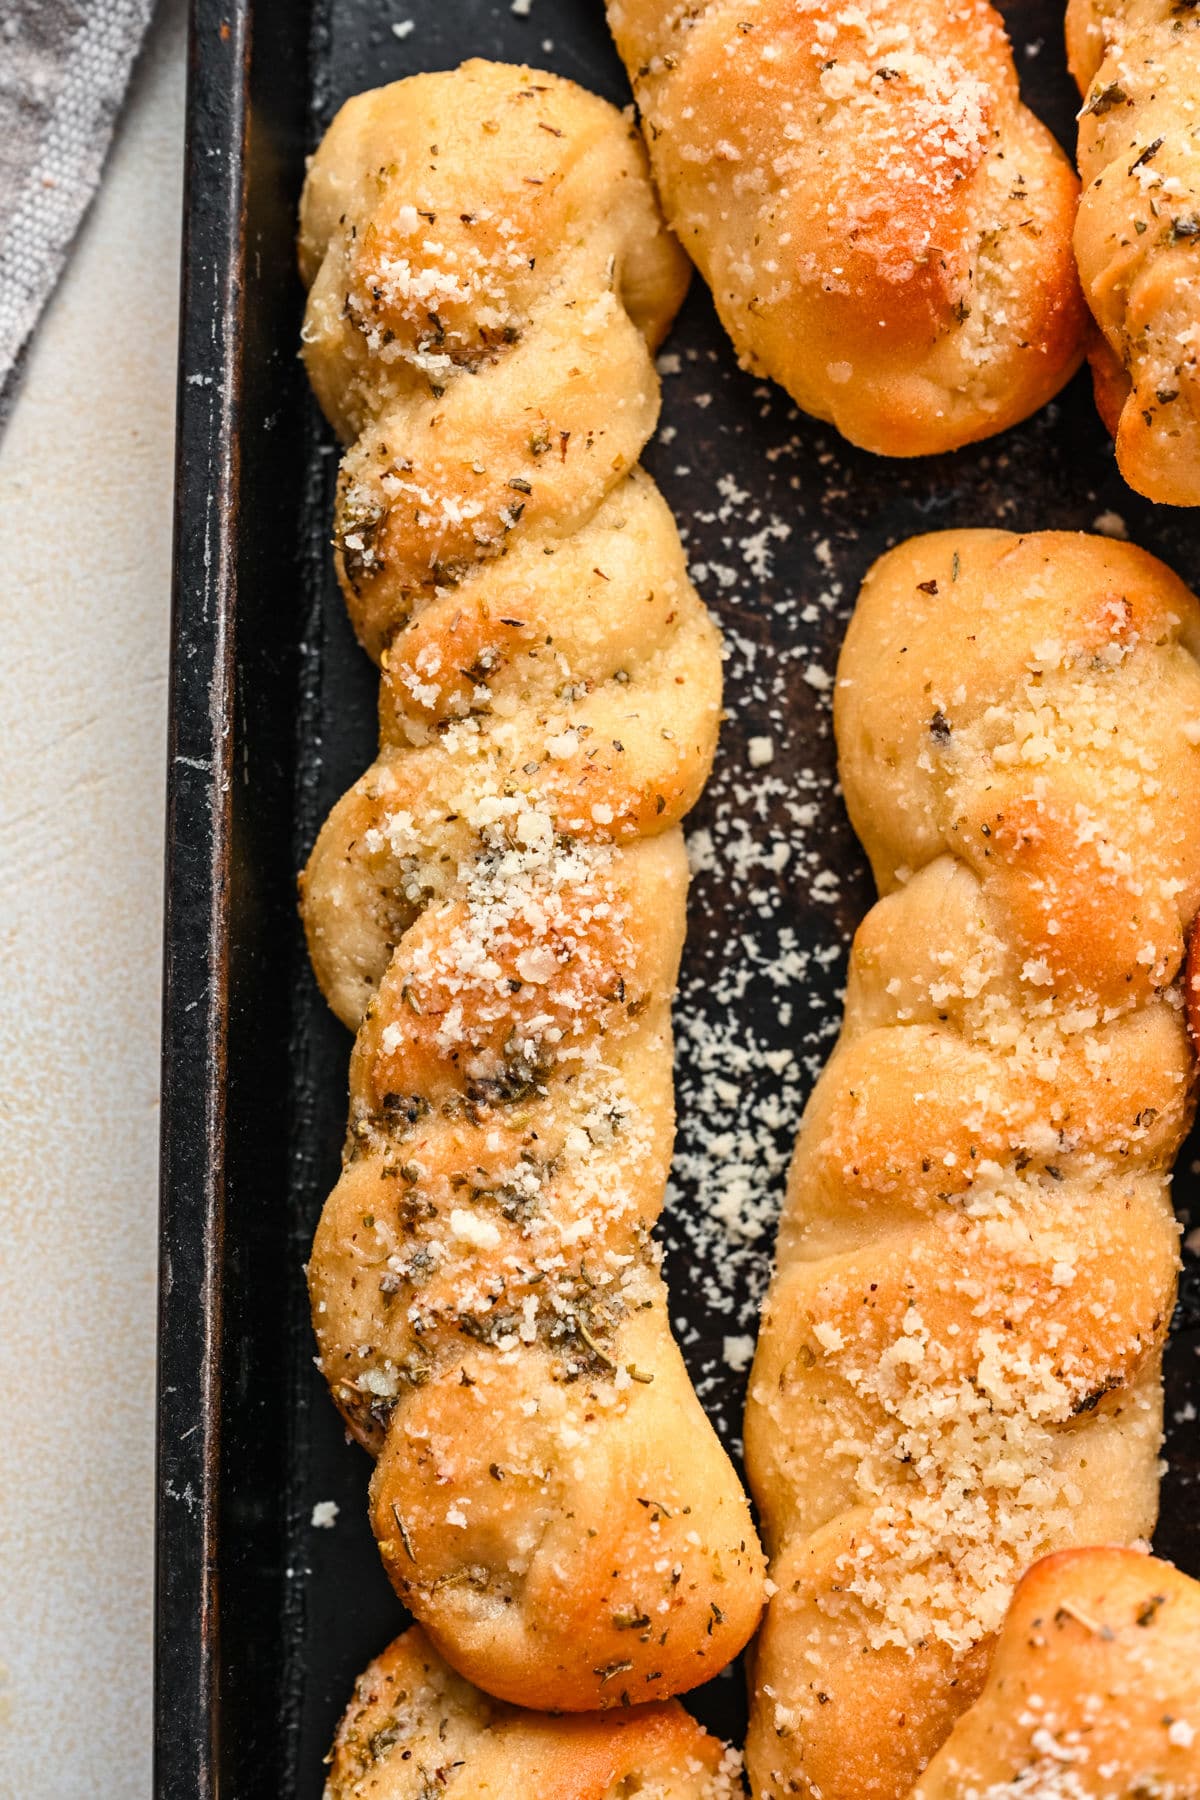
Make ahead and freezing directions
>>To freeze the breadstick dough: Make the recipe to step 8. Before the second rise, spray a piece of plastic wrap with nonstick baking spray and place it lightly over the dough.
Place the cookie sheet into the freezer and freeze the dough for 1 hour, or until the breadsticks have frozen solid. Once frozen, place breadstick dough into a freezer-safe plastic bag and freeze for up to 3 months.
>>To bake: Thaw the frozen breadsticks in the refrigerator overnight (for at least 12 hours). When ready to bake, place thawed breadsticks on a cookie sheet and allow to sit at room temperature for 30 minutes while the oven preheats. Continue starting at step 10 of the recipe.
>>To freeze baked breadsticks: Allow to the baked breadsticks to cool completely. I like to place them on a wire cooling rack so that they don’t form condensation as they cool.
Place the cooled breadsticks in a freeze- safe bag and freeze for up to 3 months. Thaw at room temperature or wrap the frozen baked breadsticks in foil and warm in oven until hot and heated through.
Storage
Store any leftover breadsticks in an airtight container at room temperature. The breadsticks will keep for up to 3 days when properly stored.
Recipes to serve with homemade breadsticks!
If you’ve tried this easy homemade breadstick recipe, don’t forget to rate the recipe and leave me a comment below. I love to hear from people who’ve made my recipes!
You can subscribe to receive my latest recipe newsletters or follow me on Facebook, Instagram and Pinterest for even more delicious food.
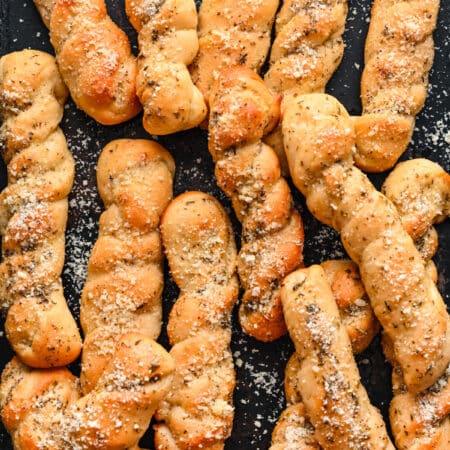

Easy Homemade Breadstick Recipe
Equipment
- Stand mixer
Ingredients
- 1 ½ cups warm water about 105 F
- 1 tablespoon active dry yeast
- 2 tablespoons granulated sugar
- 3 ½ cups all-purpose flour plus extra for sprinkling. Please see the note below about the flour.
- 1/2 teaspoon salt
- 3 tablespoons butter melted
- 1 teaspoon Italian seasoning
- 1/2-1 teaspoon garlic salt
- 1/4 cup Parmesan cheese optional
Instructions
- In the bowl of a stand mixer (or in a large bowl), stir together the warm water, yeast, and sugar. Let stand for 5-10 minutes or until foamy.
- Mix in flour and salt. The dough should clear the sides of the mixing bowl and feel slightly sticky but shouldn't come off on your fingers if you pinch it.
- Knead dough for three minutes.
- Cover, and let the dough rest for 10 minutes.
- Grease an 11X17-inch baking sheet with nonstick cooking spray.
- On a floured surface, roll out the dough into about a 12×16-inch rectangle about 1/2-inch thick.
- Cut the dough in half width-wise with a pizza cutter. Cut into 8 strips lengthwise for a total of 16 strips.
- Twist each strip slightly (or leave them as strips), and place about 1/2-inch apart on the baking sheet.
- Cover with greased plastic wrap and let rise 30 minutes. Toward the end of the resting time, preheat oven to 375 F.
- Bake 12-20 minutes or until golden brown.
- While breadsticks are baking, stir together butter, seasoning, and garlic salt.
- Brush over hot breadsticks, and then sprinkle with Parmesan cheese, if using.
Notes
- Warm water: The water should be about 105 F. Water that’s too hot will kill the yeast. Water that’s too cool will slow the rising process.
- Yeast: Can sub an equal amount of instant yeast. If using instant yeast, there’s no need to let the yeast mixture stand until foamy.
- Flour: You may find that you need to use a little more or less flour depending on how you measure and other factors like the humidity where you live.
- Butter: I use salted butter in this recipe.
- Garlic salt: If you’re watching your sodium, you can use garlic powder in place of part of the garlic salt.
- Mixing by hand: If you’d like to make the dough by hand, I have a section above the recipe that gives the instructions for that.
- Nutrition values are estimates.
Nutrition
Did You Make This Recipe?
Share it with me on Instagram @i_heart_eating and follow on Youtube @katedean and Pinterest @katedean for more!
Originally posted 3/5/12. Updated with new tips and photos 3/1/21.
Reader Interactions
Love this recipe?
Share your thoughts below and let’s chat! Make sure to connect with me on your favorite social platform below and show me what you made!



Comments & Reviews
Brenda says
These were great! Will half it though next time. Made way too many for two people! Also, baked for 15 min at 375 and the bottoms burned and the tops didn’t get golden at all. Problem might be rack too close to bottom element (electric oven). Although it is in the middle.
Kate says
Hi! Do you have dark baking sheets? That can affect lead to dark bottoms and light tops on baked goods.
teal says
I made these tonight to go along with some lasagna we were having. They were a total win! I am so pleased with how great they came out and how fluffy they were. I worried they would be dense or chewy, but they were perfect breadstick consistency. I made half with the twist and half without, and the twists came out a little better !
Kate says
Thank you! I’m glad you liked them!
Pokemon Fan says
These are soooo good!
Kate says
Thank you!!
Jill Sable says
I am SUCH sucker for breadsticks! However, I’ve gone over your entire page multiple times to see how to make this simply by hand and I can’t find it. Where did I miss it?
Kate says
You didn’t miss it; I missed adding that section when I updated this post. Thanks for letting me know! I added a section with those directions just under “tips”. Thanks again for letting me know about that!
Ella Peterson says
they turned out so great!!! i had to save this recipe
Kate says
Thank you! =)
Lesley says
Wonderfully forgiving recipe, used slightly expired yeast, first rise went way too long, forgot the second rise, went wild and added sesame seeds and bit of 3-onion dip mix and coarse salt. Loved. Might add a tomato based dipping sauce next time too. :)
Kate says
Thank you! I’m so happy to hear that you liked it. Those sounds like delicious additions. =) Thanks for commenting!
Cindy Mc says
This just became my favorite dough recipe.
Kate says
That’s great! I’m so glad that you like it. =) Thanks for commenting!
Mandy G says
My family fought over these haha!!
Kate says
Must mean they were good! ;) I’m glad that they were so popular! Thank you for coming back to comment.
Kerri Johnson says
Found this recipe a couple of weeks ago. I have been trying to make yeast breads for over a year to no avail. They either don’t rise correctly or are extremely heavy. I have used this recipe for breadsticks, rolls, French-y style bread. It is amazing!!! Love, live, love this recipe.
Kate says
Thank you so much! I’m so glad that they worked out for you and that you’ve been able to use the recipe to make all sorts of things! =) Thank you for coming back to comment!
Natalie Jurrius says
They kicked ass….remembered these the other day, dough is rising as we speak….it’s sooo good.Going to add way more garlic this time,they are great!!
Thank you!
Kate says
Thank you! More garlic is always good. =) Thanks for coming back to comment!
Emar says
Hi. How come my dough is sticking on my hands no matter how much I applied grease or dust with flour? Is ot because of my gluten fee al purpose flour and not using yeast?
Thanks.
Kate says
If you didn’t use yeast, then the breadsticks won’t rise. That will completely change the consistency of the dough. Did you leave the yeast out due to an allergy?
Emar says
My son is autistic and we are trying to elimate yeast in his system.
Kate says
Totally understand, and I would suggest looking for a no-yeast bread or breadstick recipe. Since this recipe was formulated using yeast, it just won’t come out right without the yeast. Good luck!
Natalie Jurrius says
Making these now….brb…?
Kate says
Great! Hope you enjoy!
Sheryl kienholz says
These look so good! Have you tried freezing the dough?
Kate says
Thank you! I have a section on freezing the dough just above the recipe. If you have any questions on it, please let me know!
Brenda Sue says
My family loves these breadsticks! I love that they are easy and quick, but taste like I spent hours making them. I probably make them once a week.
Kate says
I’m so glad that you and your family like them! Thank you for taking the time to come back and leave a comment! =)