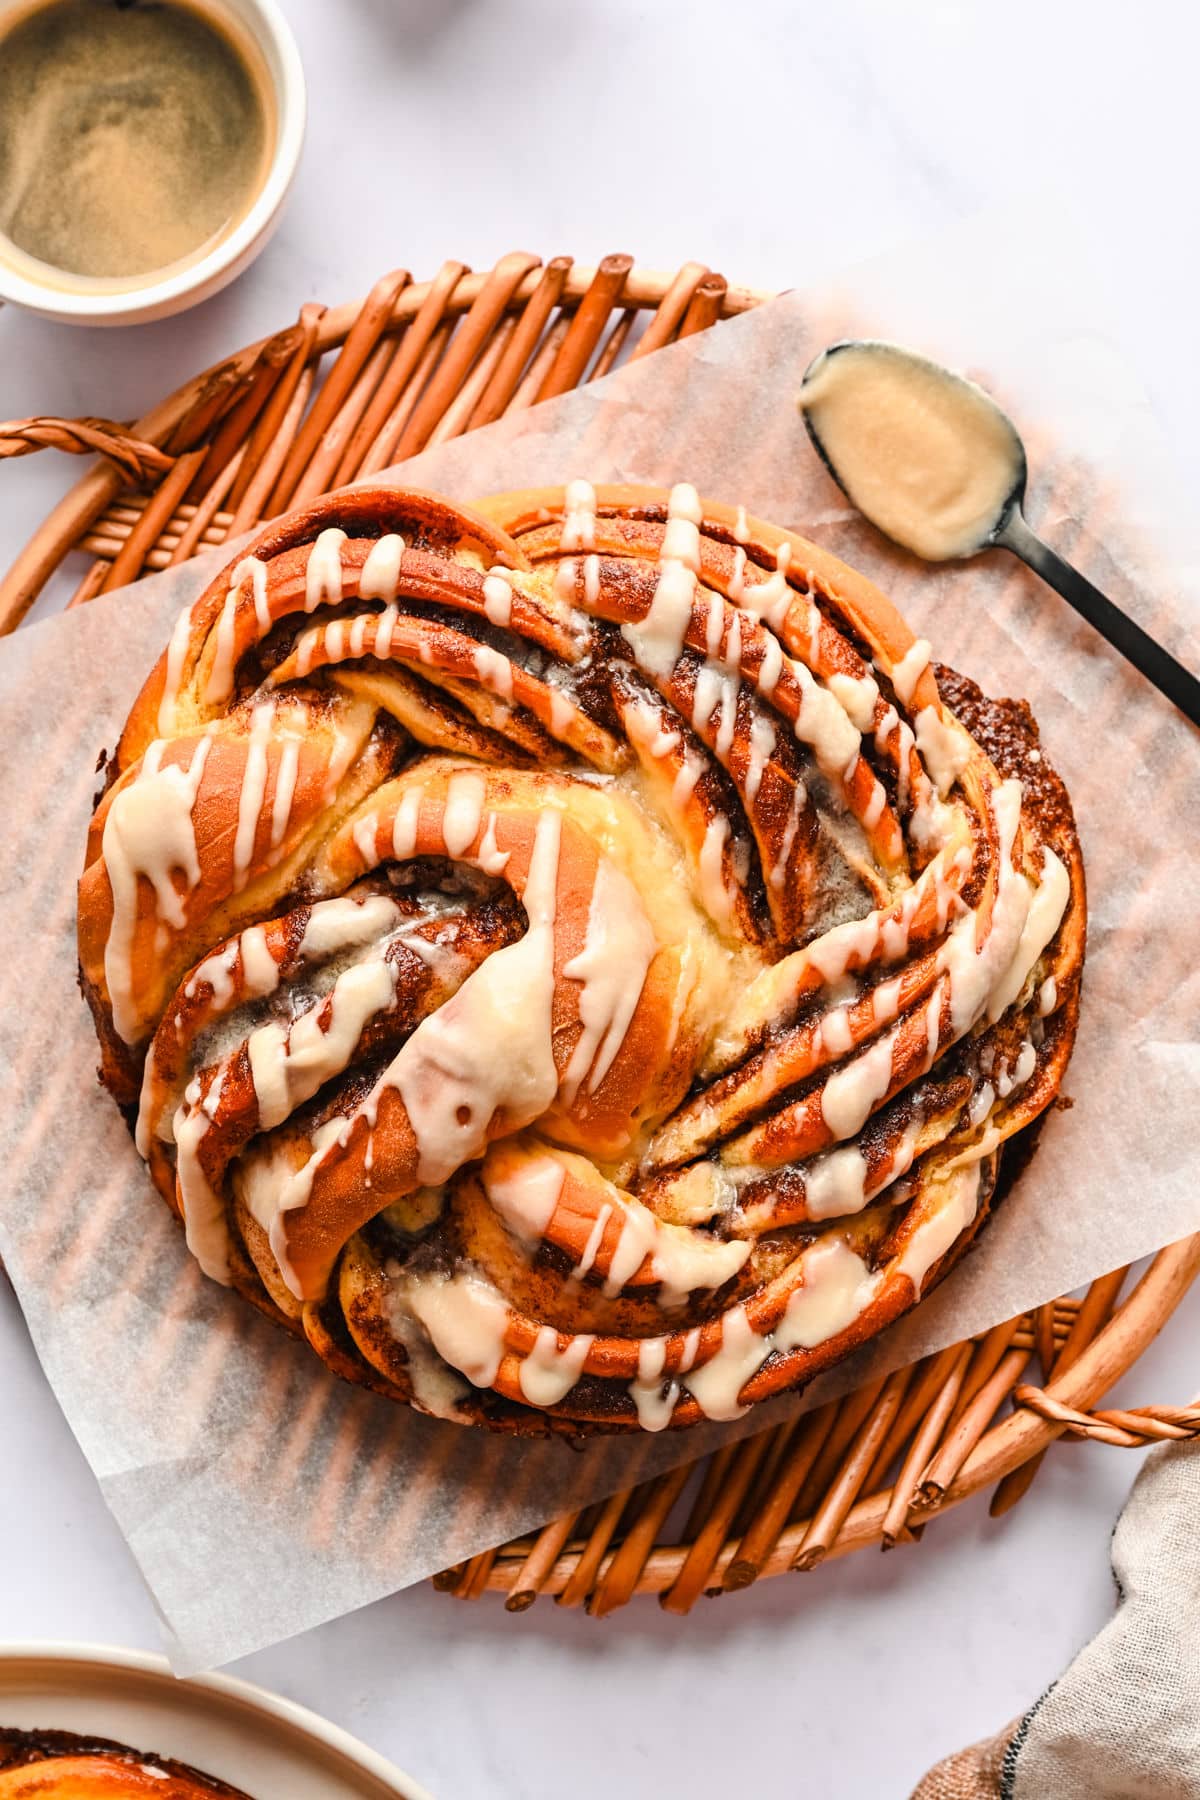
Best braided homemade cinnamon bread recipe! This simple recipe includes step-by-step pictures so you can make perfect braided cinnamon bread.

It’s no secret that I love cinnamon sugar everything! My family and I can’t get enough monkey bread, cinnamon roll bites, maple cinnamon rolls, and even cinnamon roll poke cake.
This braided cinnamon bread is fun way to get that cinnamon sugar fix. It looks like it’s much more complicated than it is, and with the easy homemade dough, it can be made in less time than it takes for traditional bread dough to rise.
This bread makes a great addition to any breakfast or a lovely homemade gift.
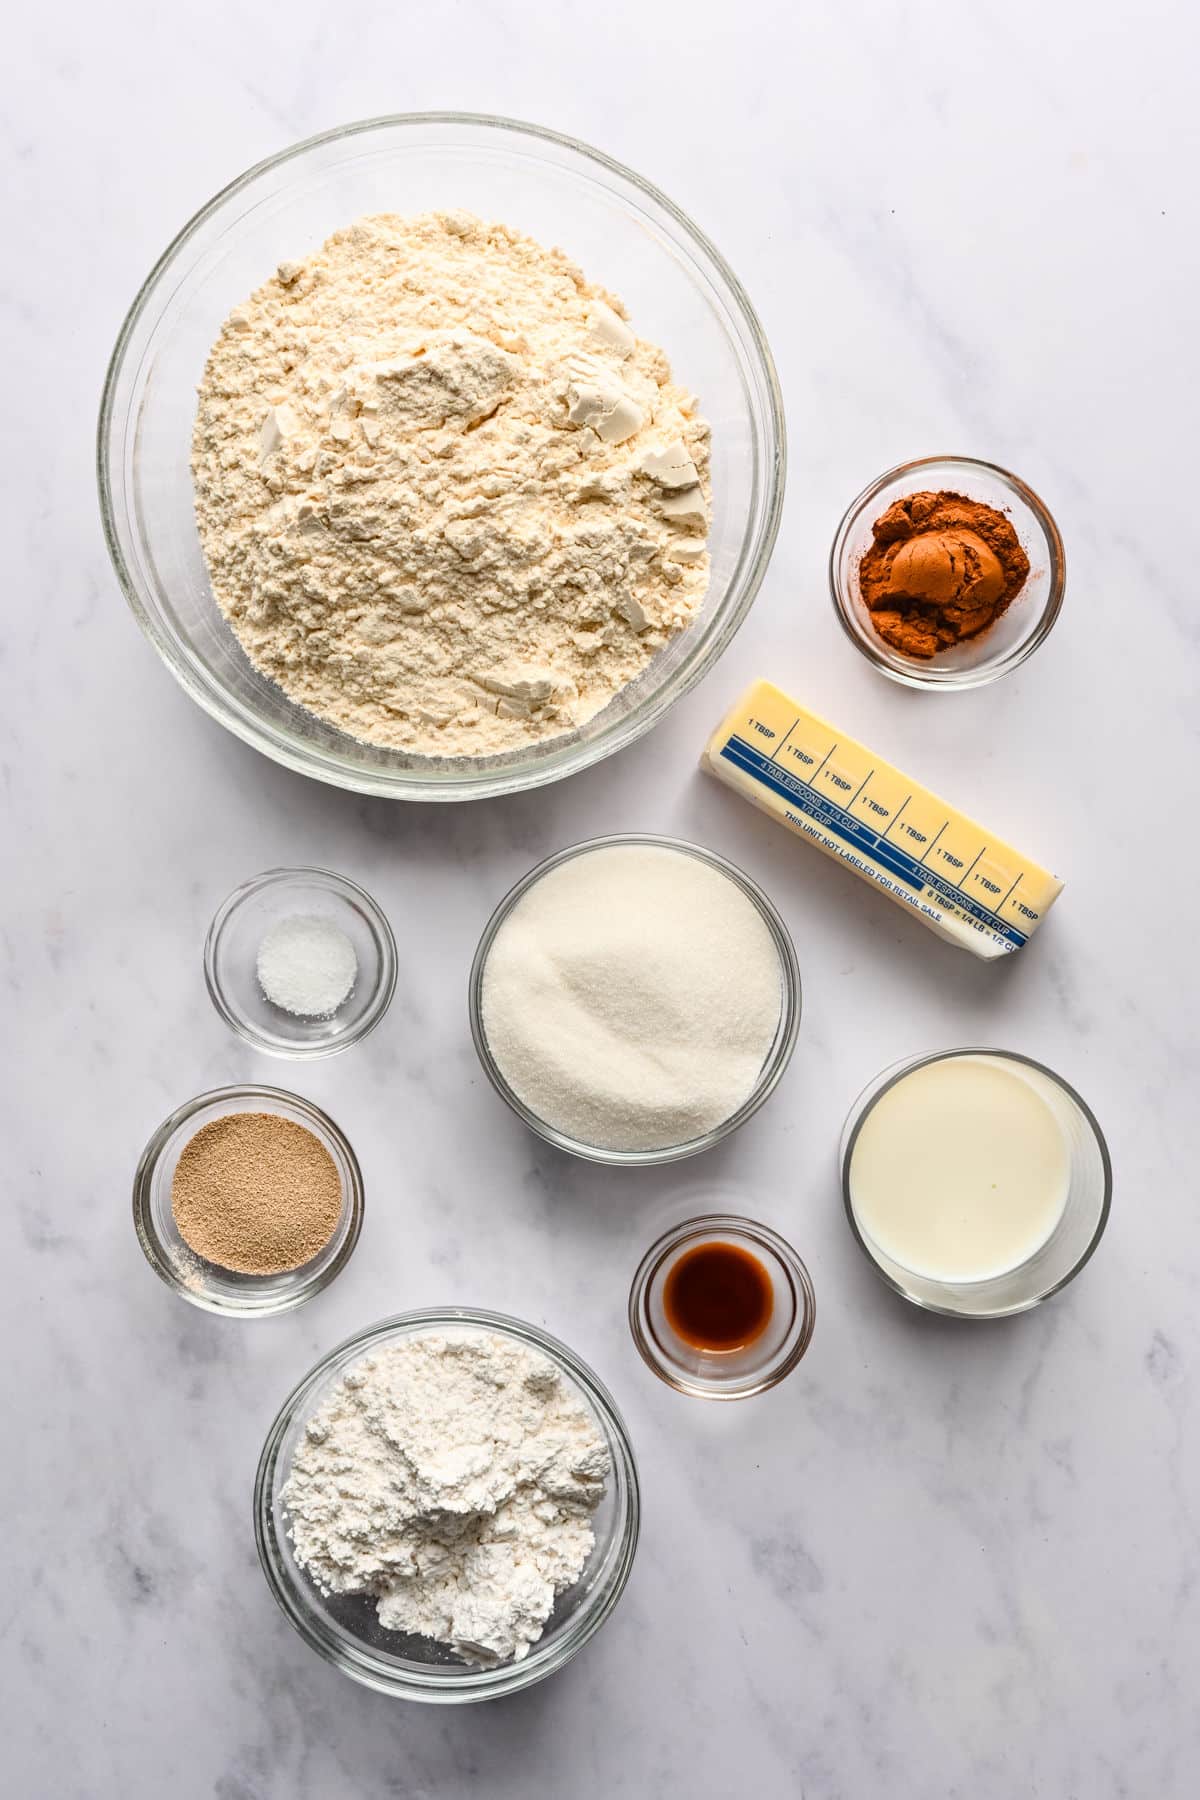
Ingredient notes and substitutions
- Milk: Anything from skim to whole milk will work. Whole milk will make the dough richer, and skim milk will give you a leaner dough. You could also use nondairy milk, like almond milk, if you prefer.
- Butter: I use salted butter in this recipe.
- Yeast: If you’re using active dry yeast, let the yeast sit for 5-10 minutes, or until foamy, after step 4. Then, continue with the recipe as-written.
- Flour: I recommend either weighing the flour or aerating, spooning, and leveling the flour. Too much flour will give you a dry, heavy dough.
How to make braided cinnamon bread
Here you’ll find step-by-step photos showing how to make this recipe. The full recipe, including ingredients, is given below.
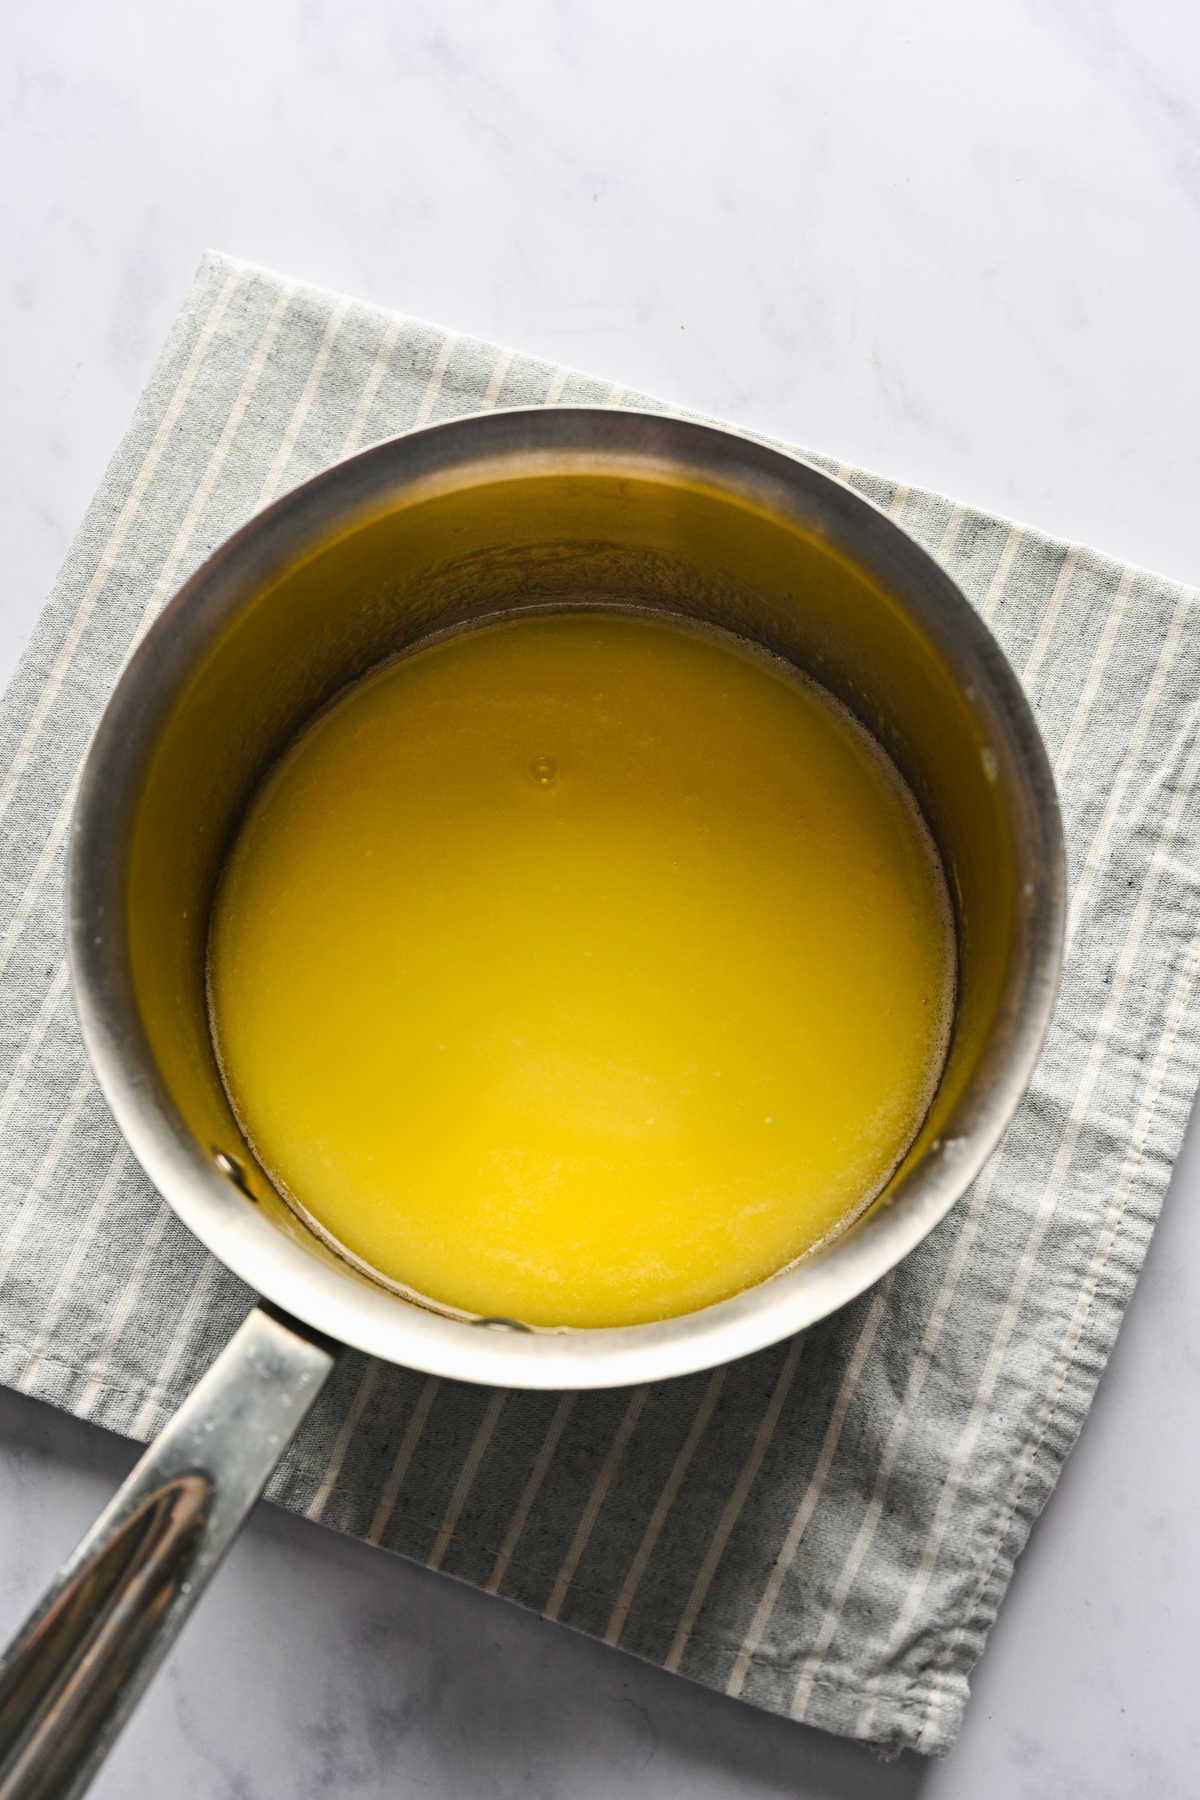
Step 1: Begin by warming the butter, milk, and sugar to temperature.
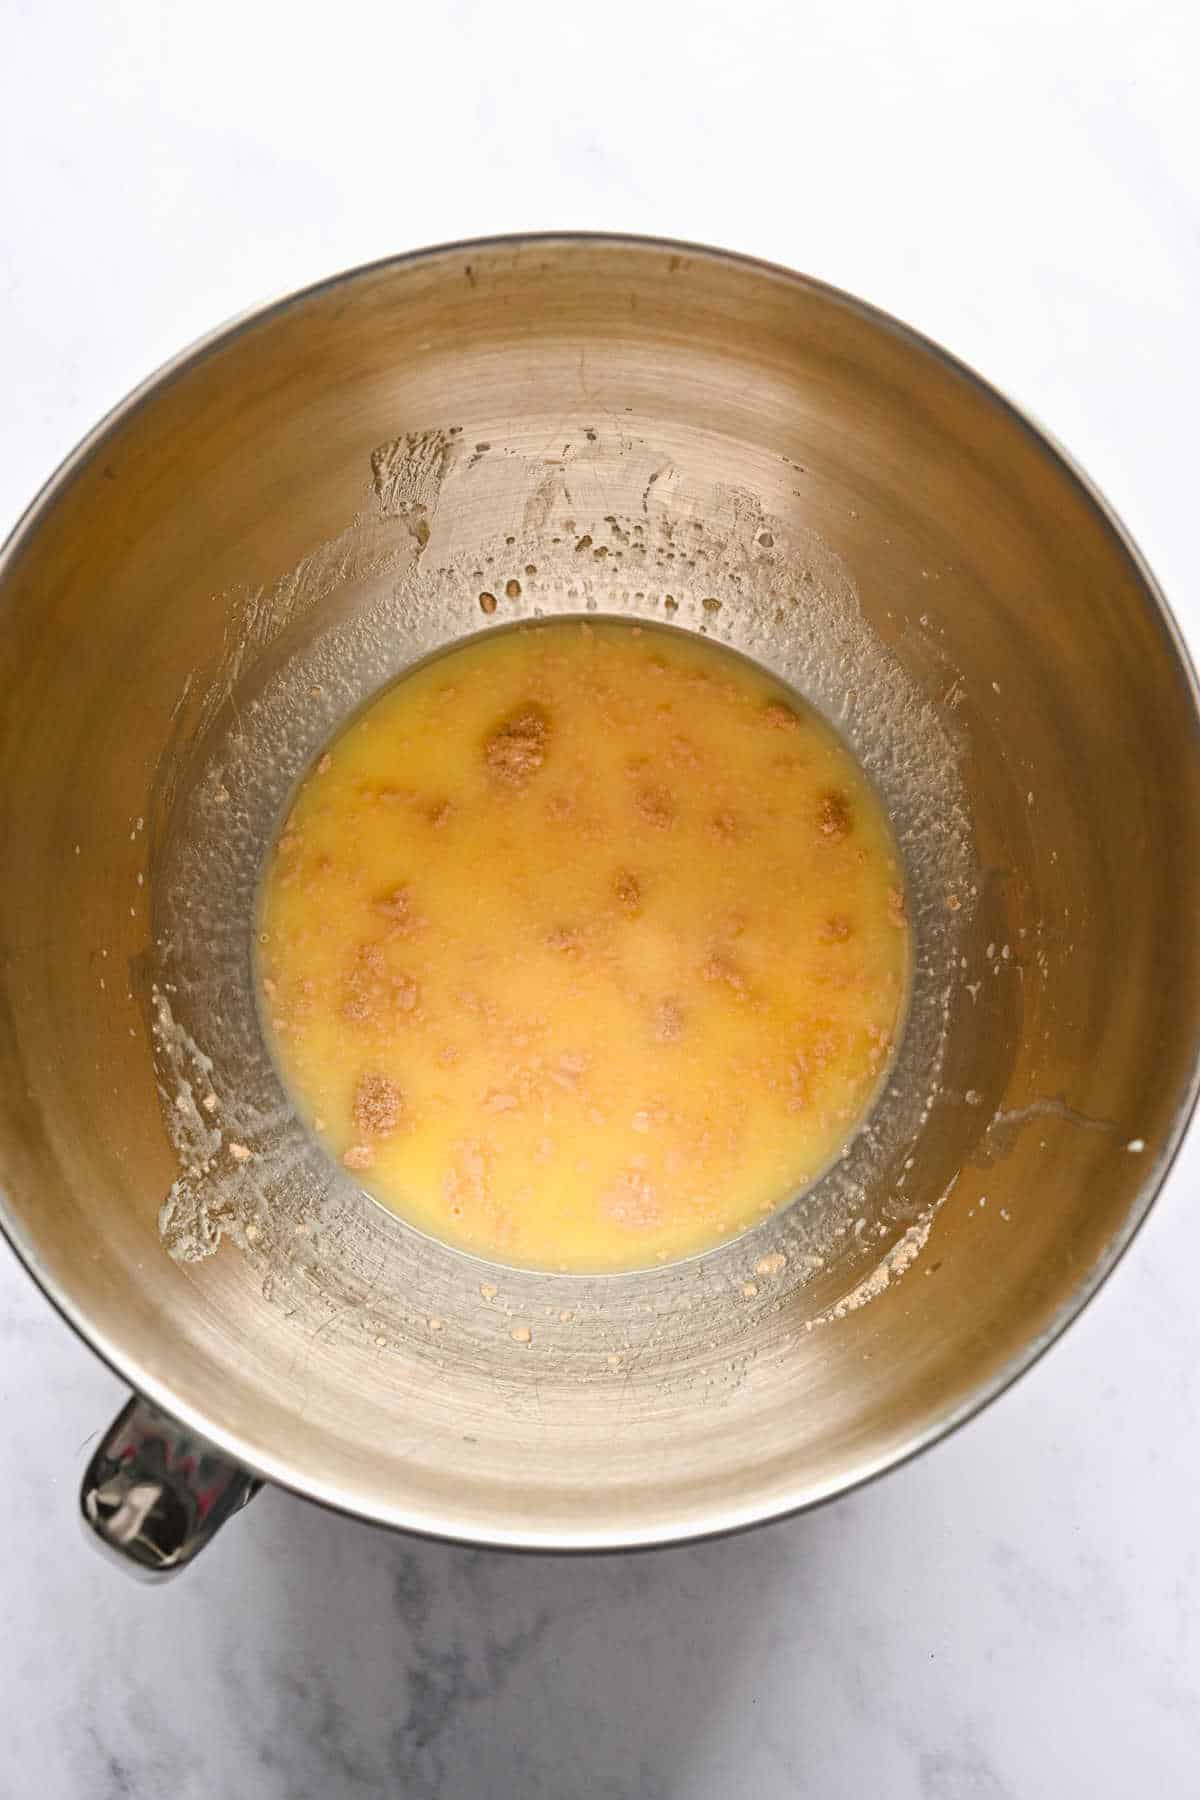
Step 2: Add the butter mixture, yeast, and warm water to a mixing bowl.
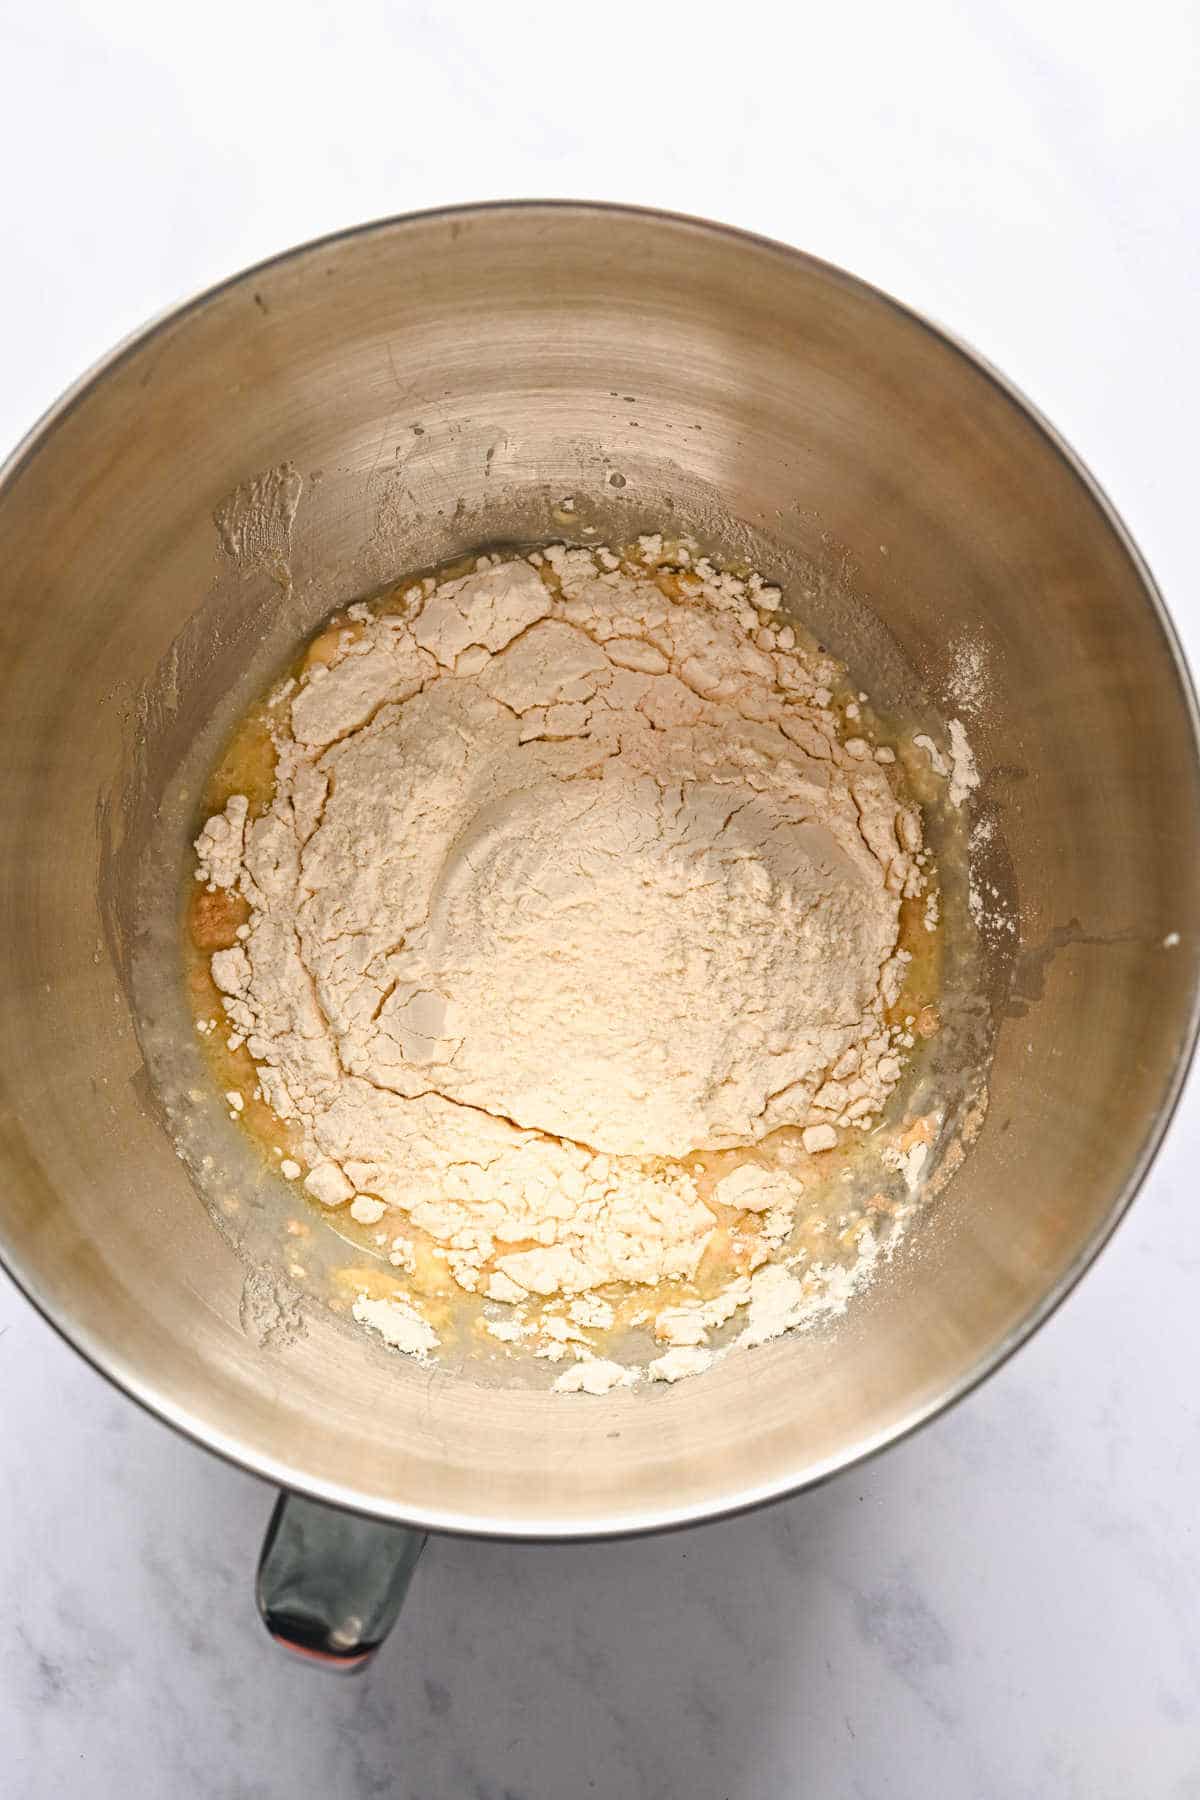
Step 3: Mix in salt and enough flour to form a soft, slightly sticky dough. The dough should feel a little sticky to the touch but shouldn’t come stick to your finger if you pinch it.
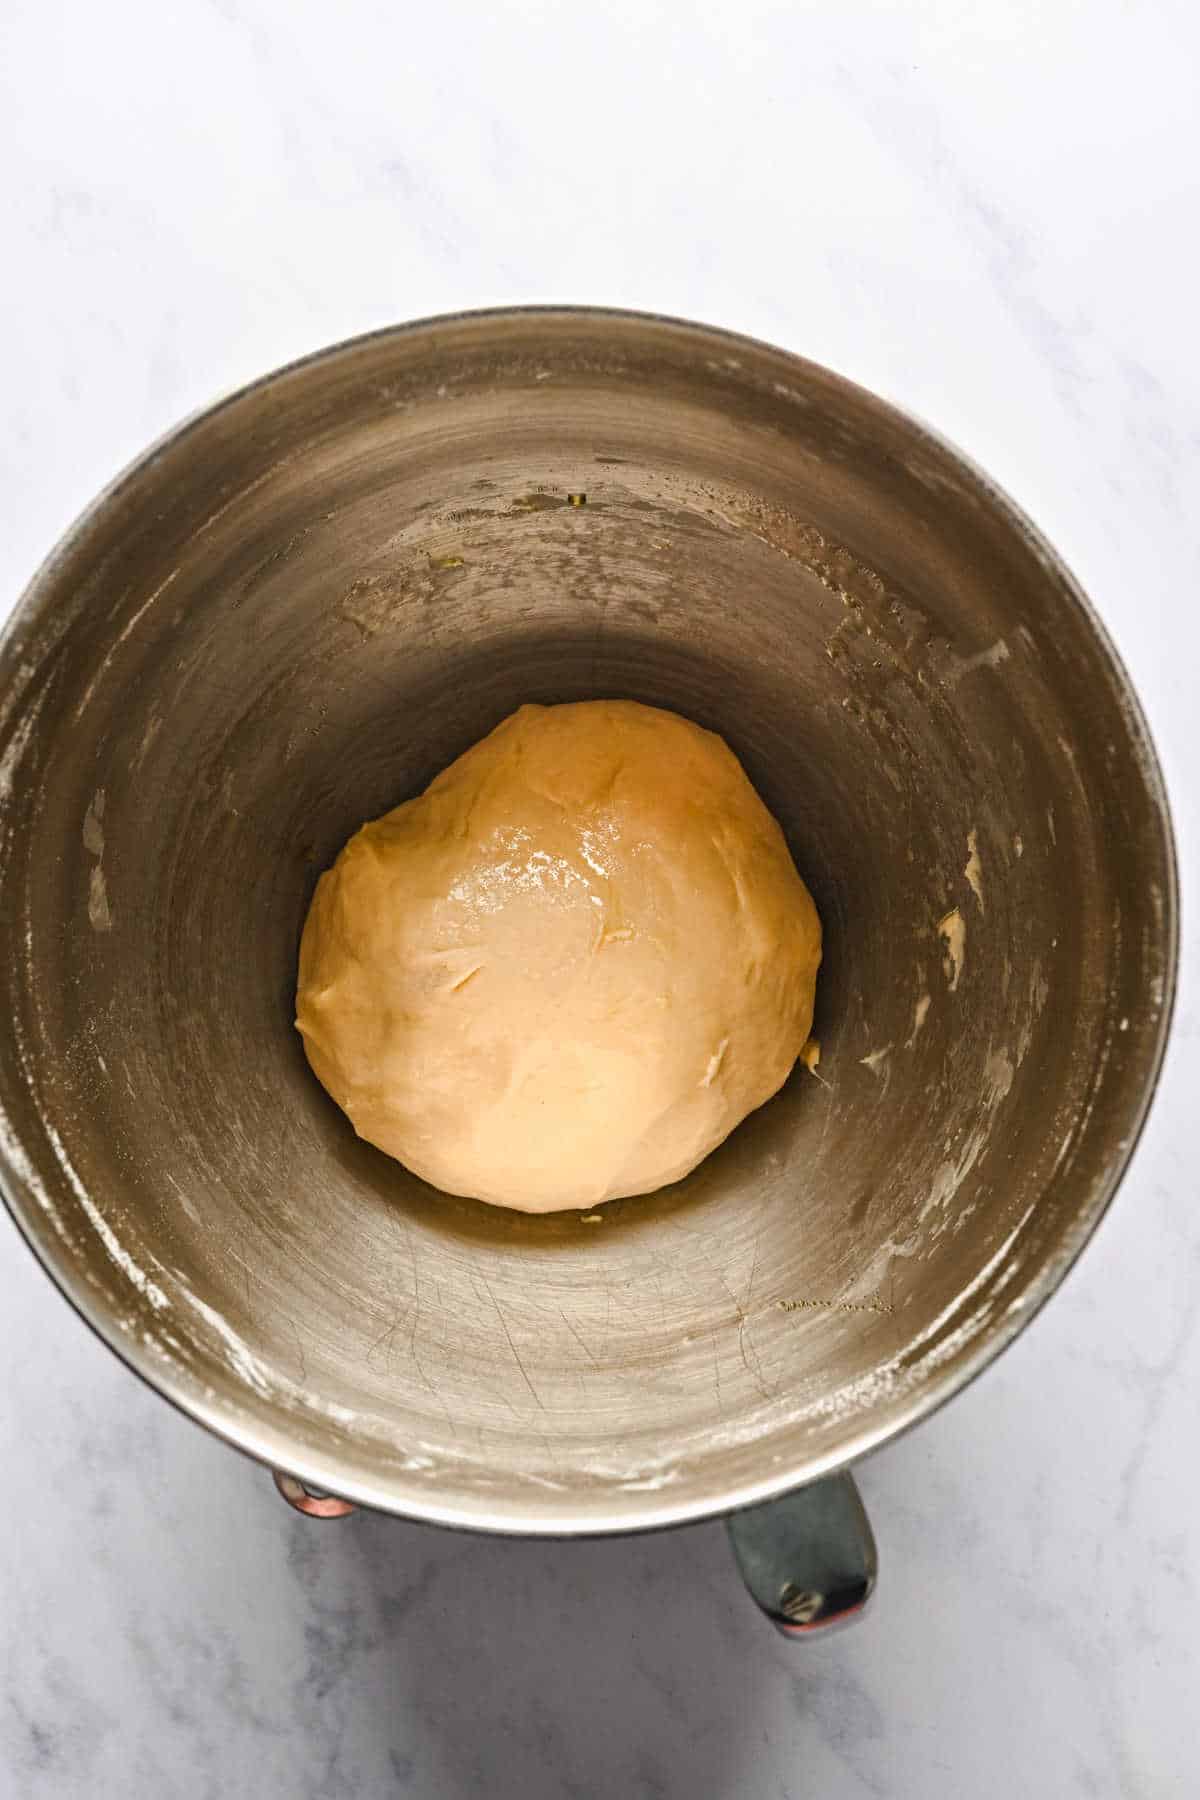
Step 4: Let the dough rest.
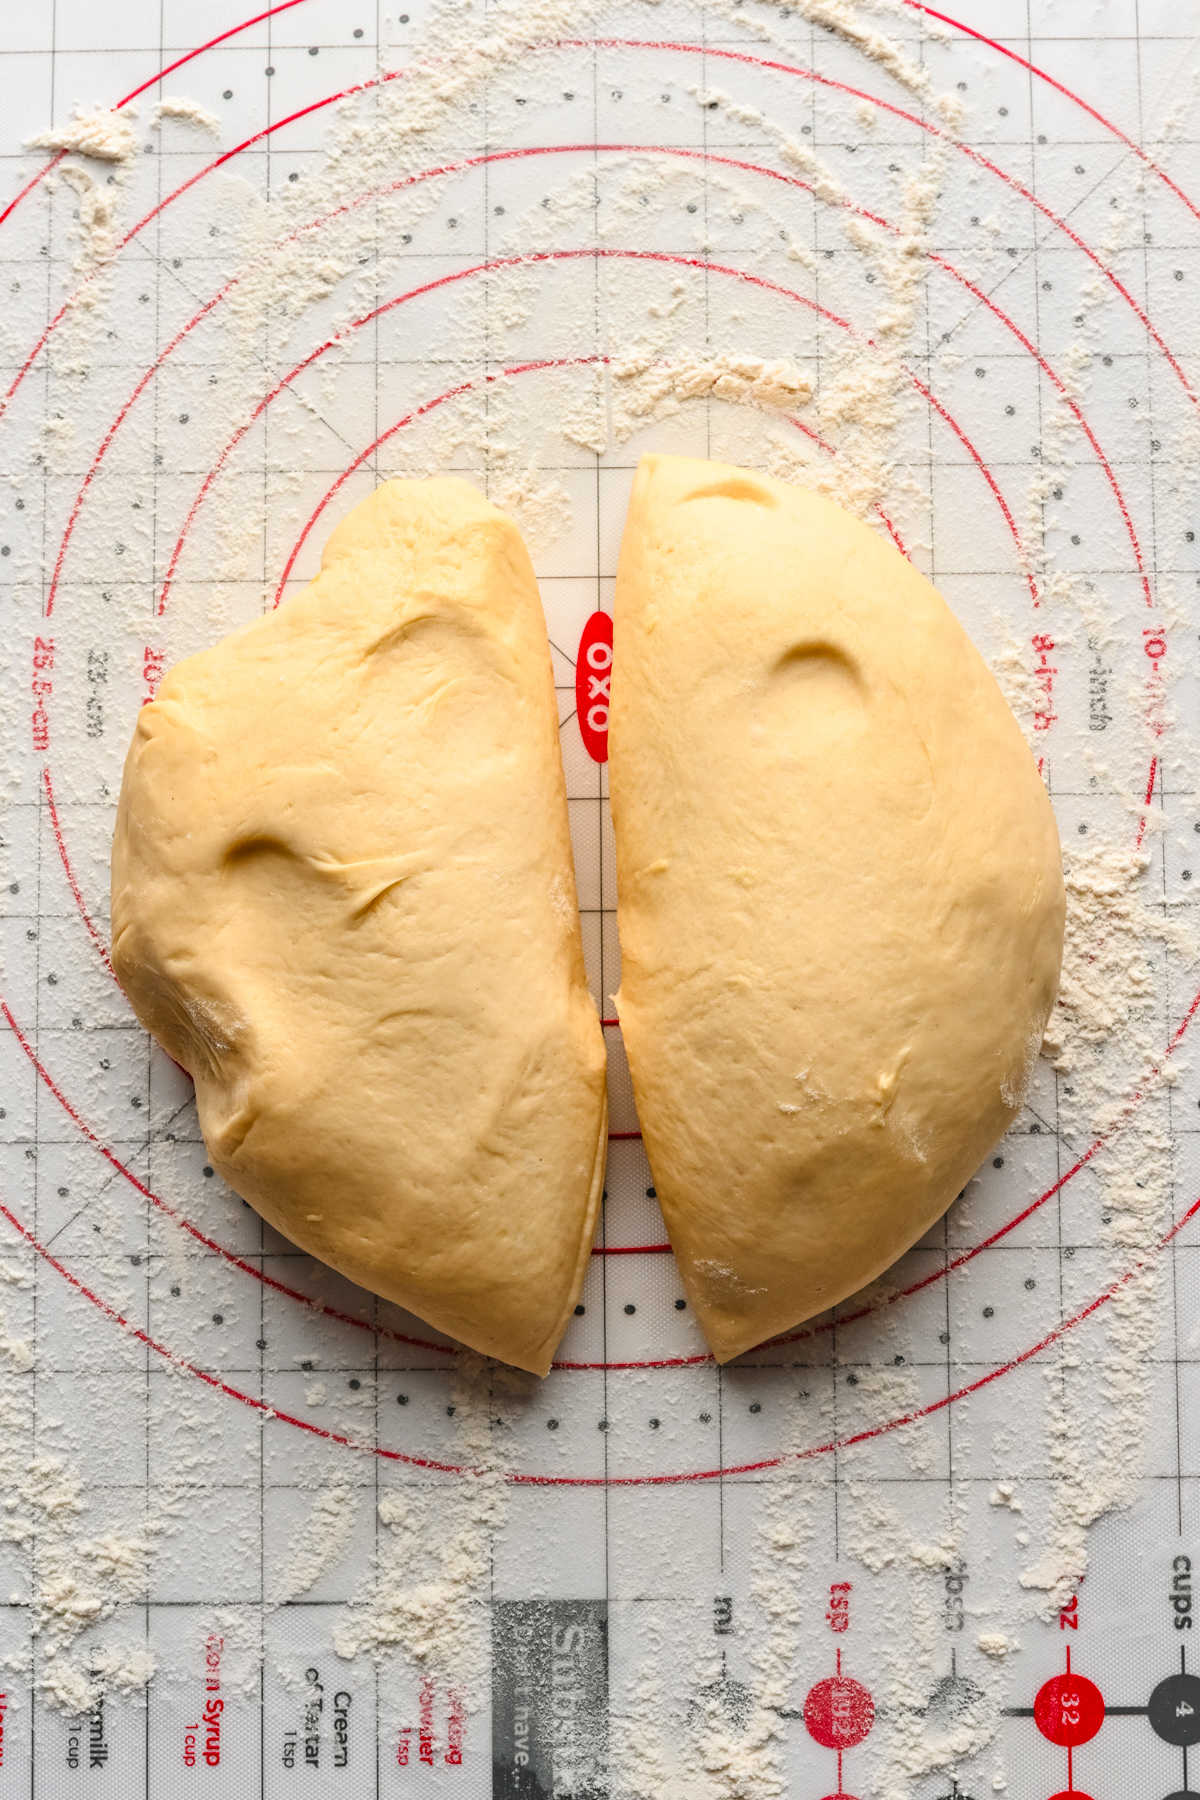
Step 5: Divide the dough into two equal pieces.
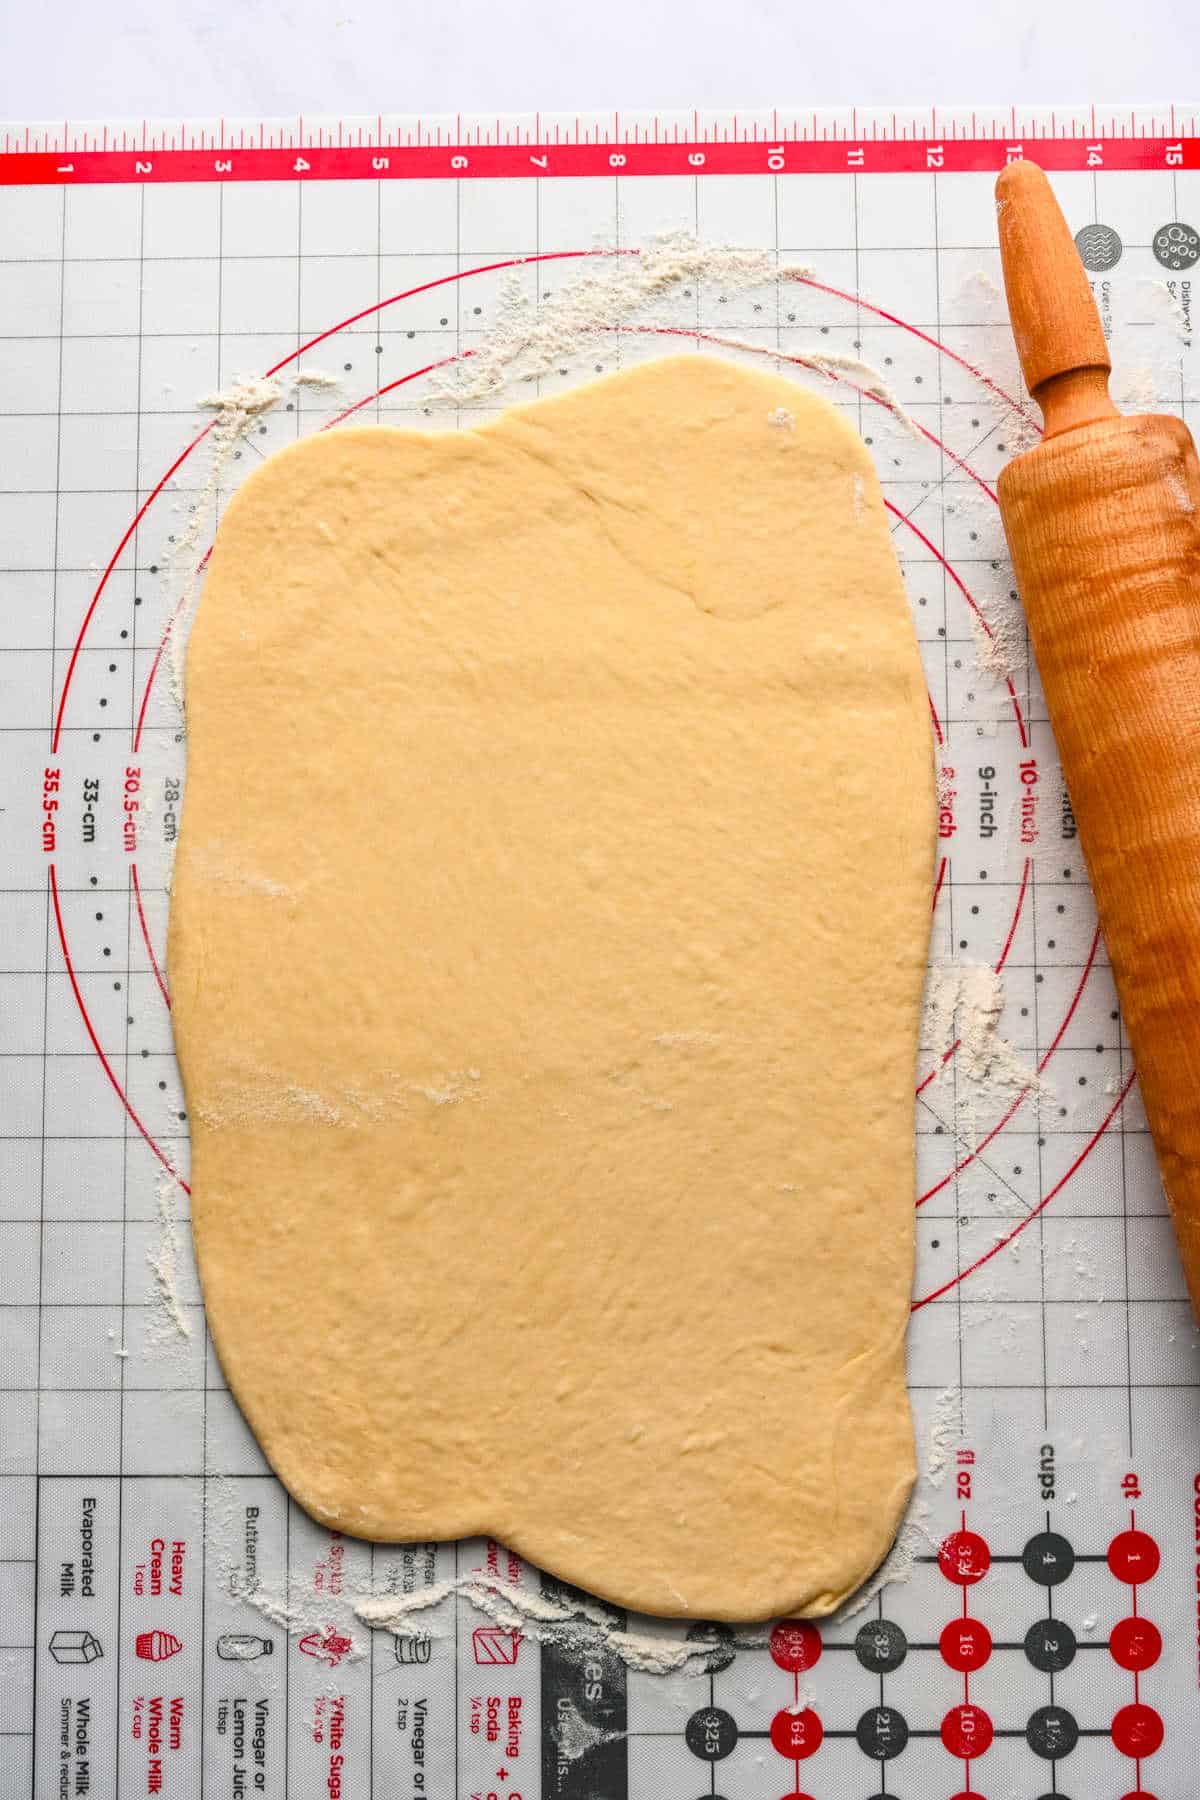
Step 6: Working one piece at a time, roll out dough into an 8×12 inch rectangle. Keep the other piece of dough covered while you work.
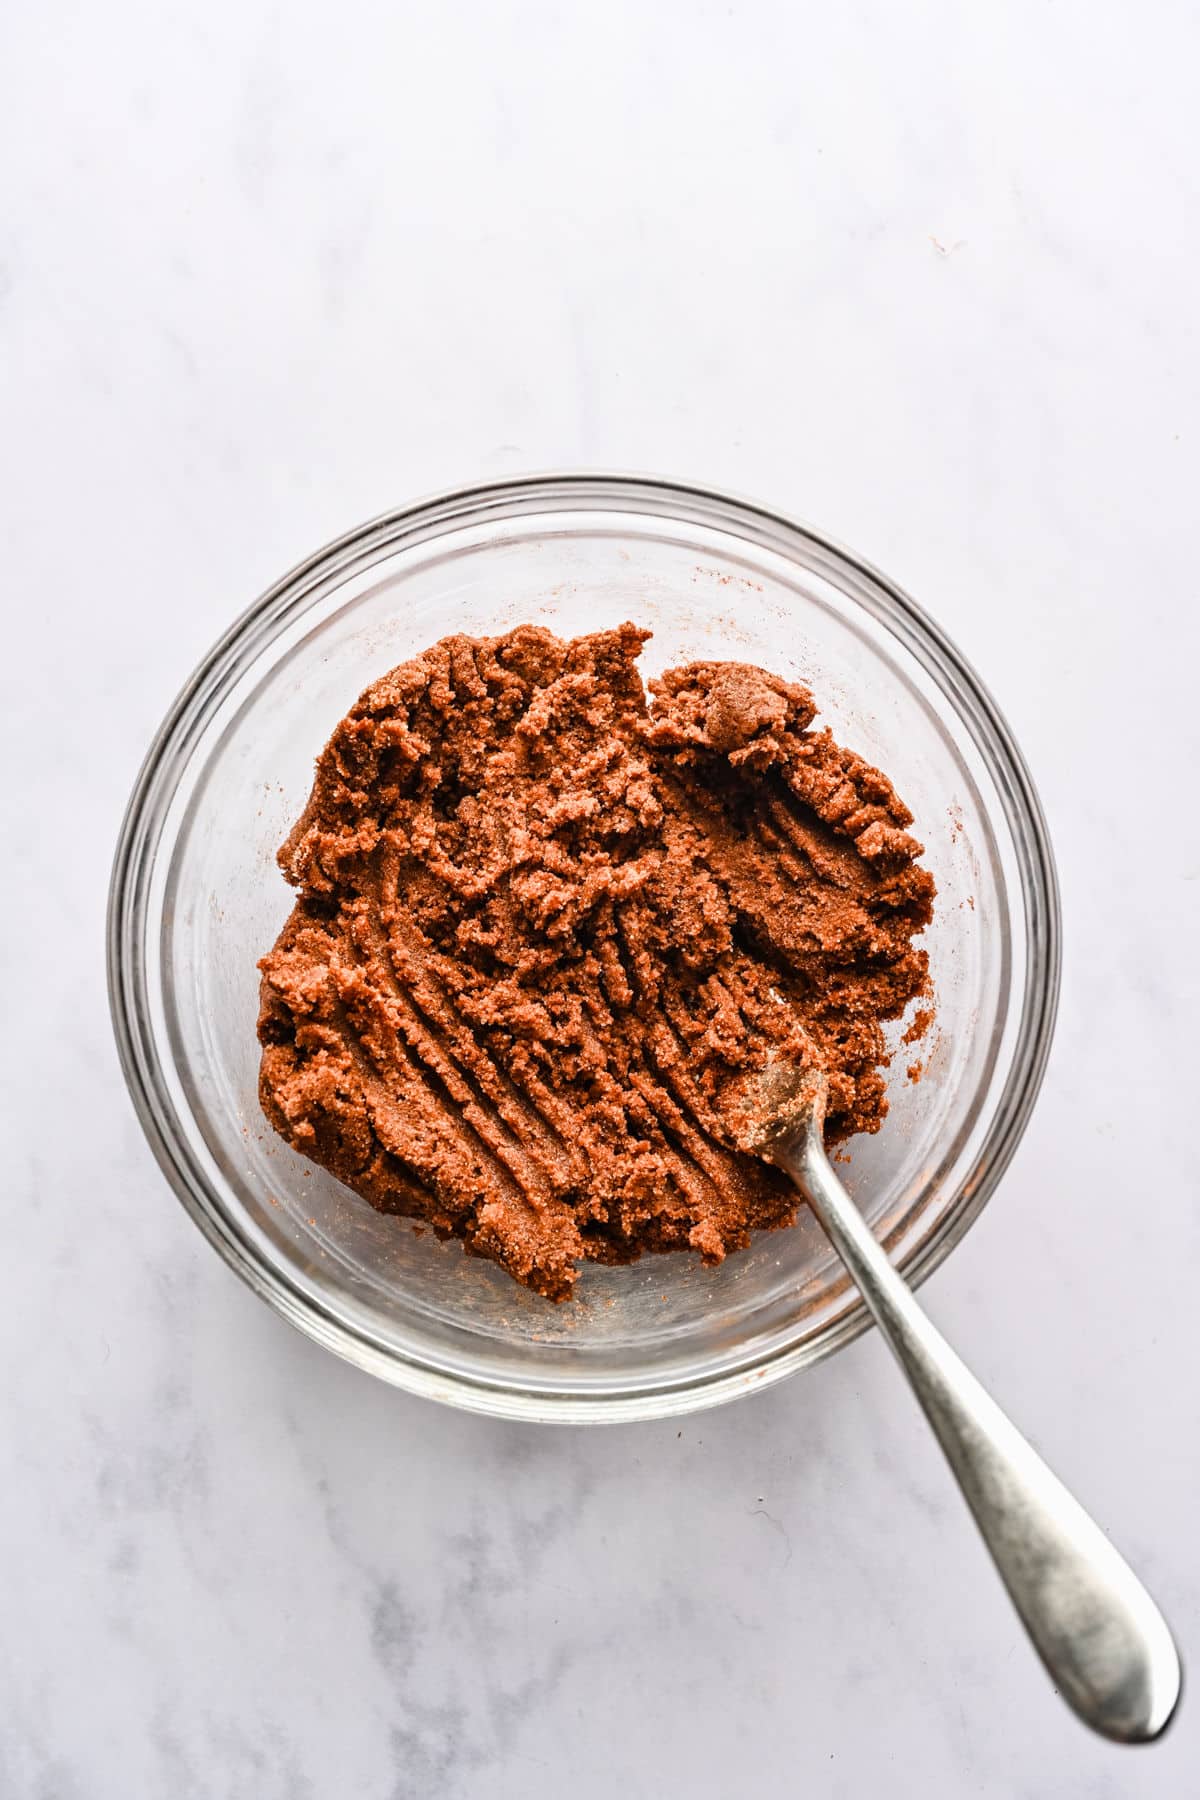
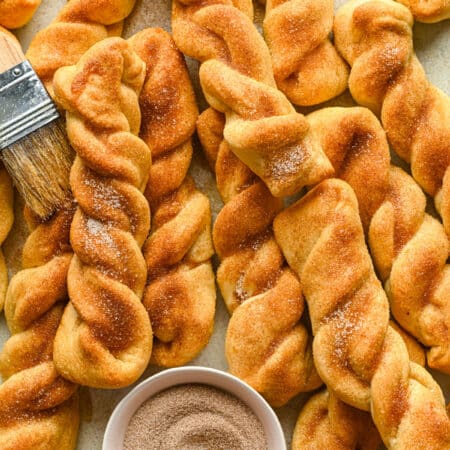
Step 7: Mix the filling ingredients.
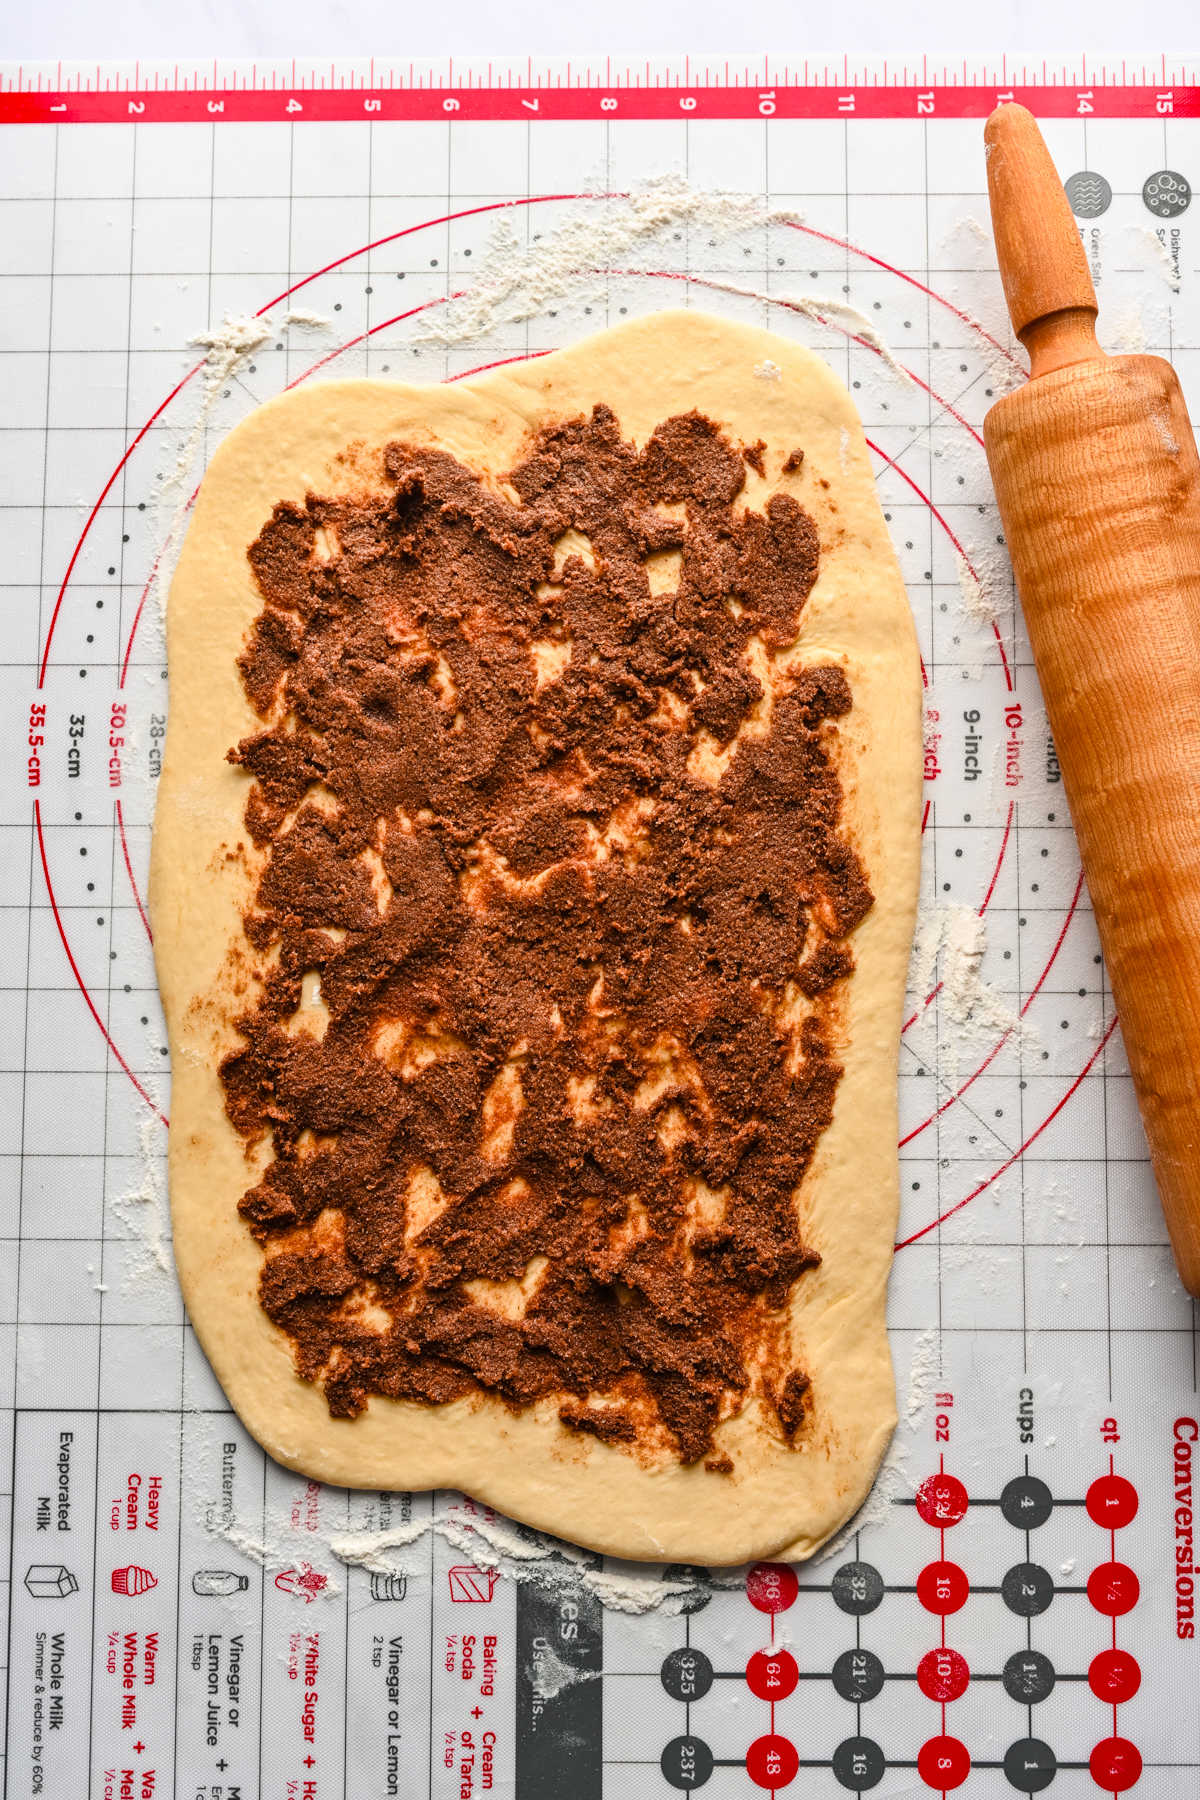
Step 8: Sprinkle half of the filling ingredients over each rectangle, leaving a 1/2-inch border around the edges.
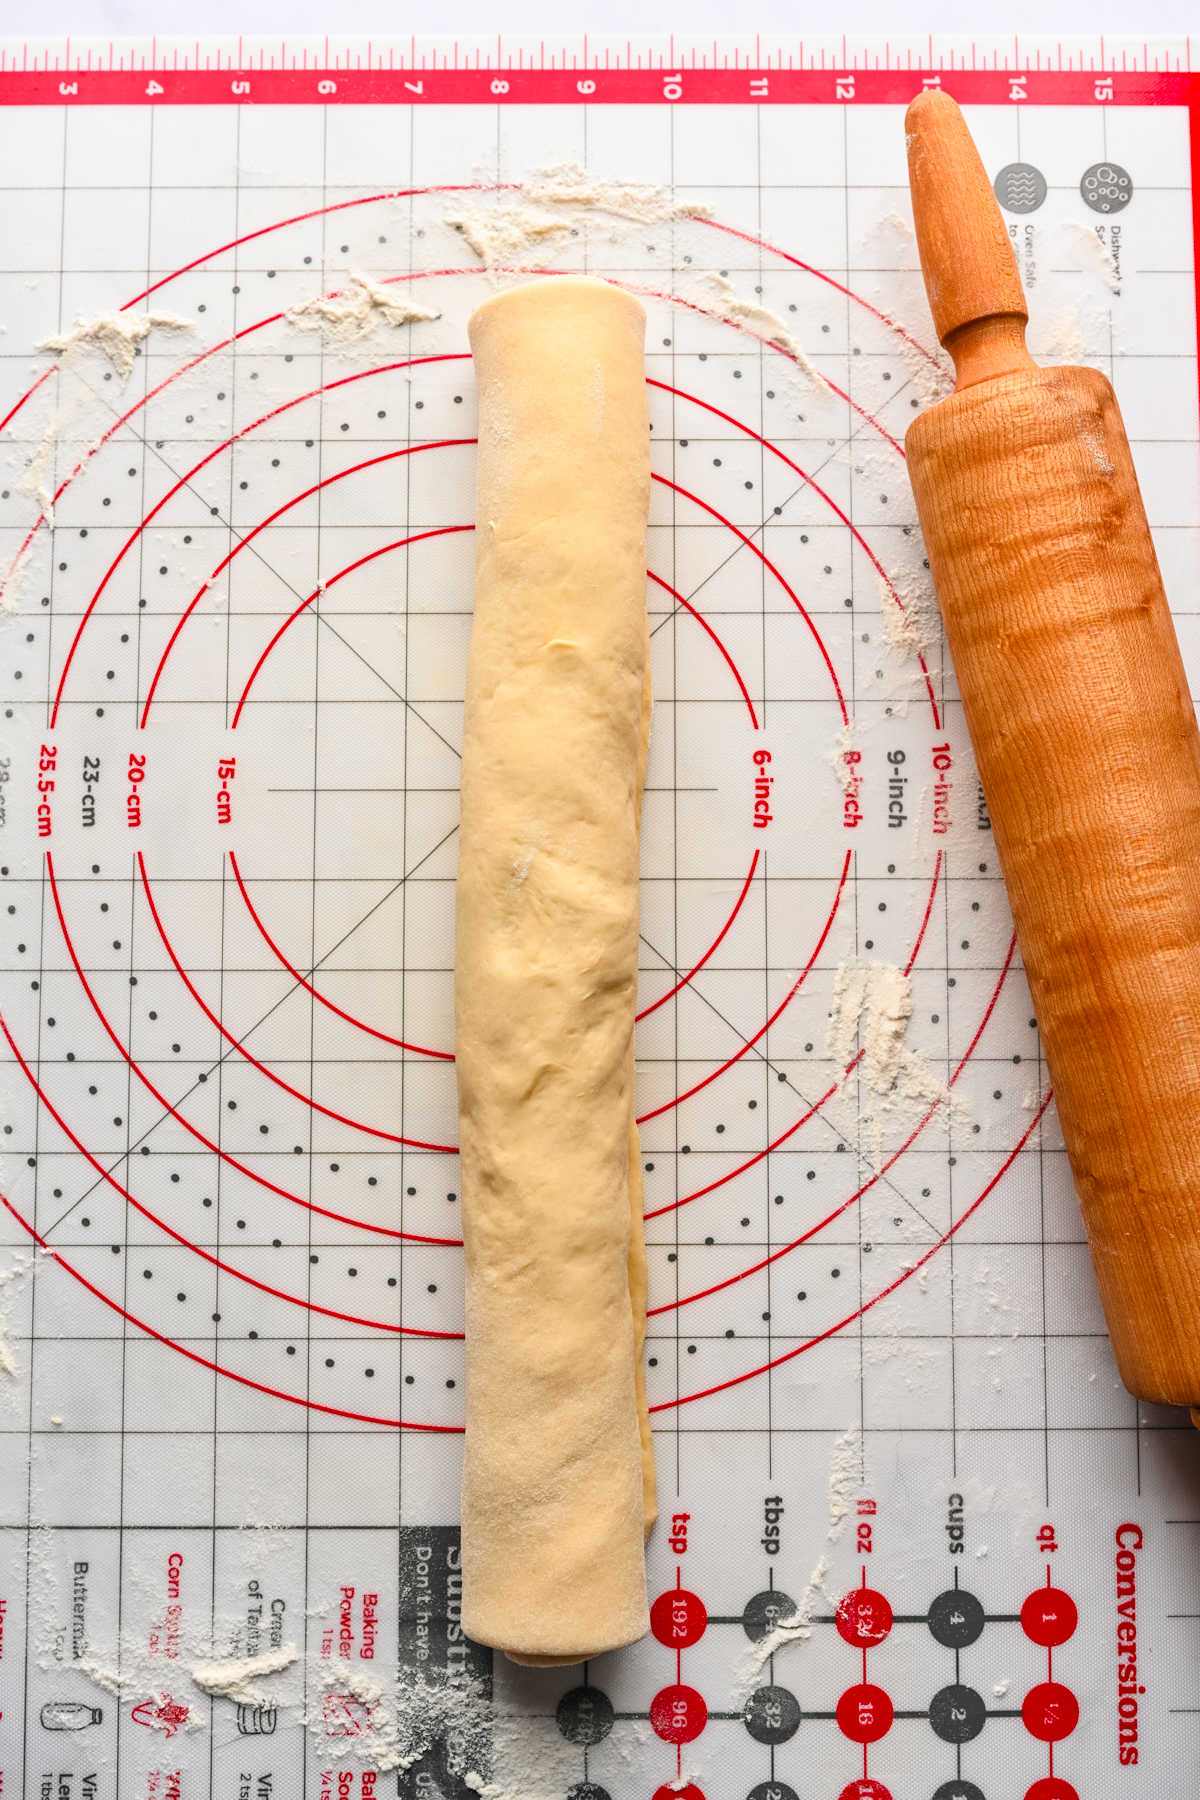
Step 9: Roll up the dough lengthwise and pinch the seal together to seal.
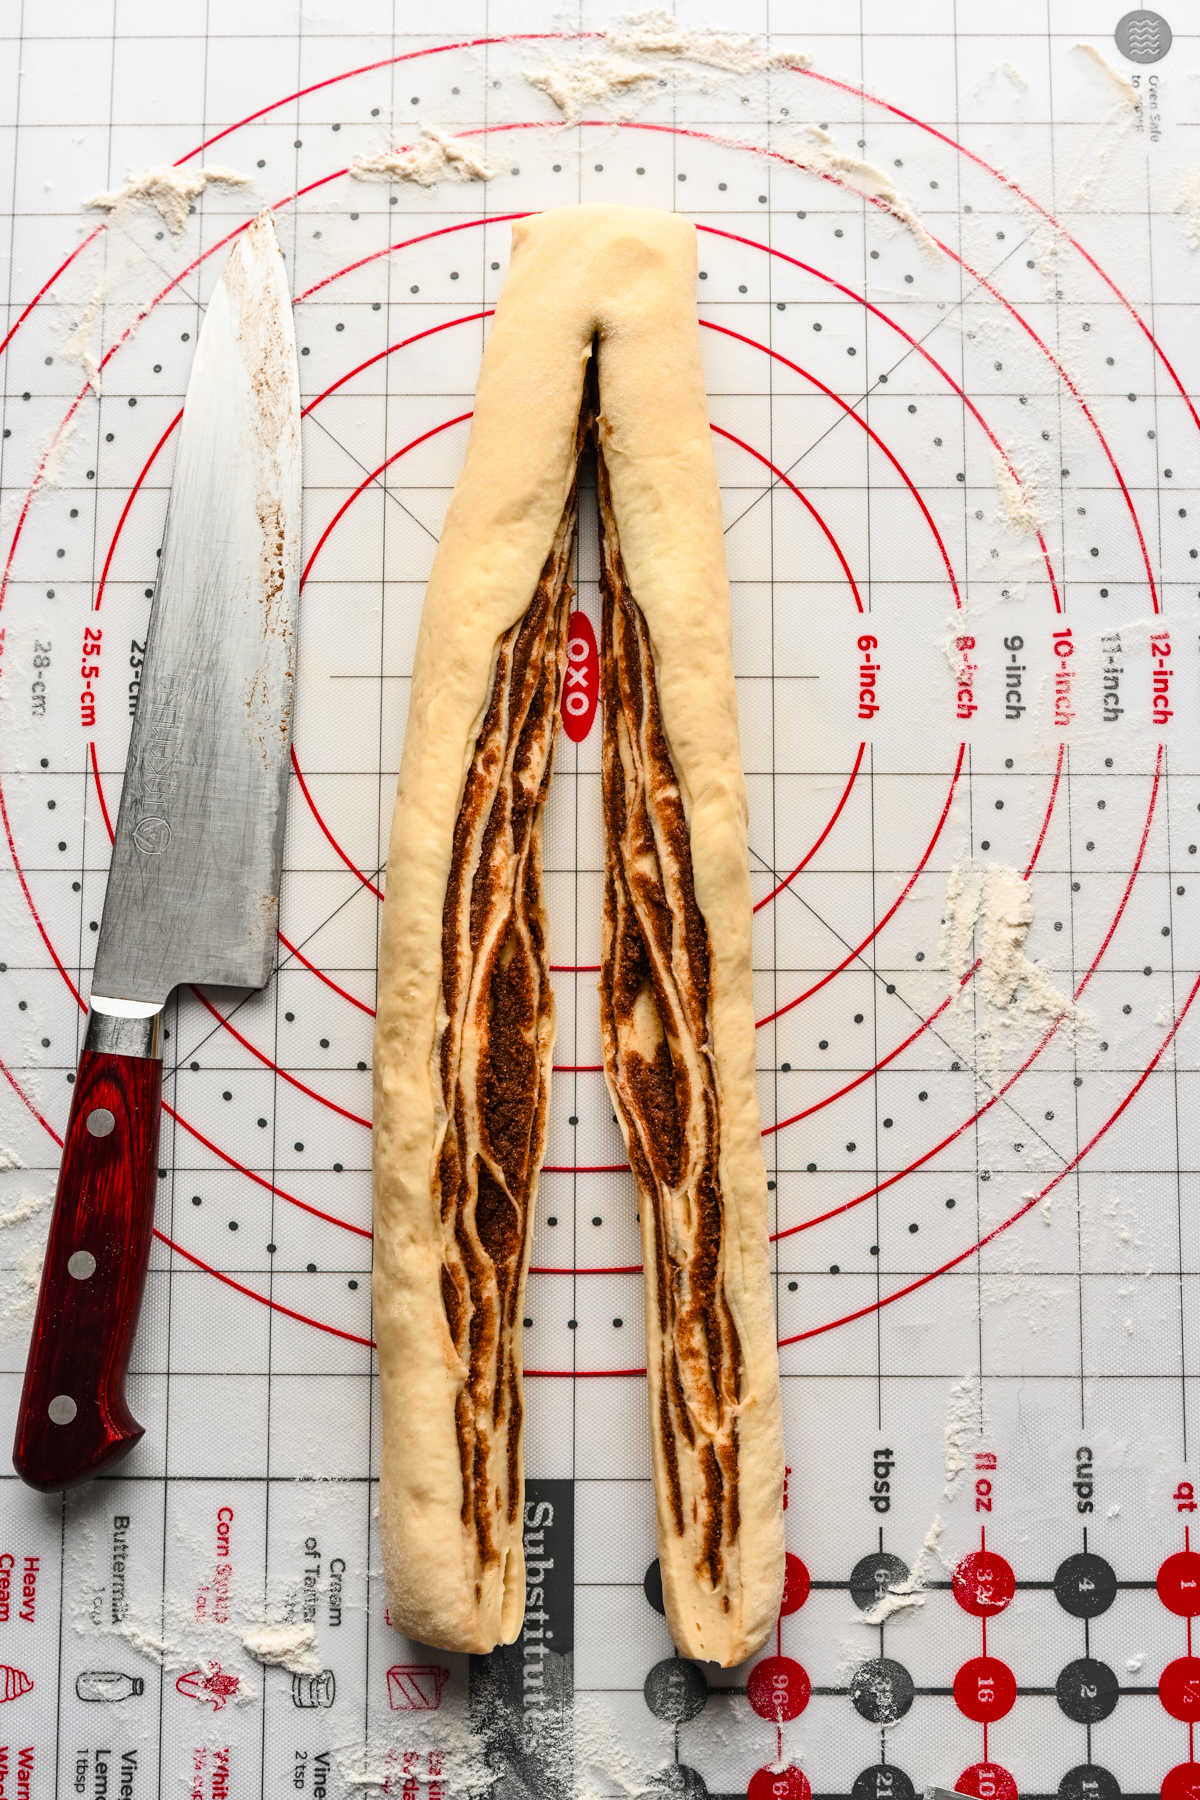
Step 10: Using a sharp knife, cut the dough in half lengthwise, leaving a 1/2-inch section at one end uncut.
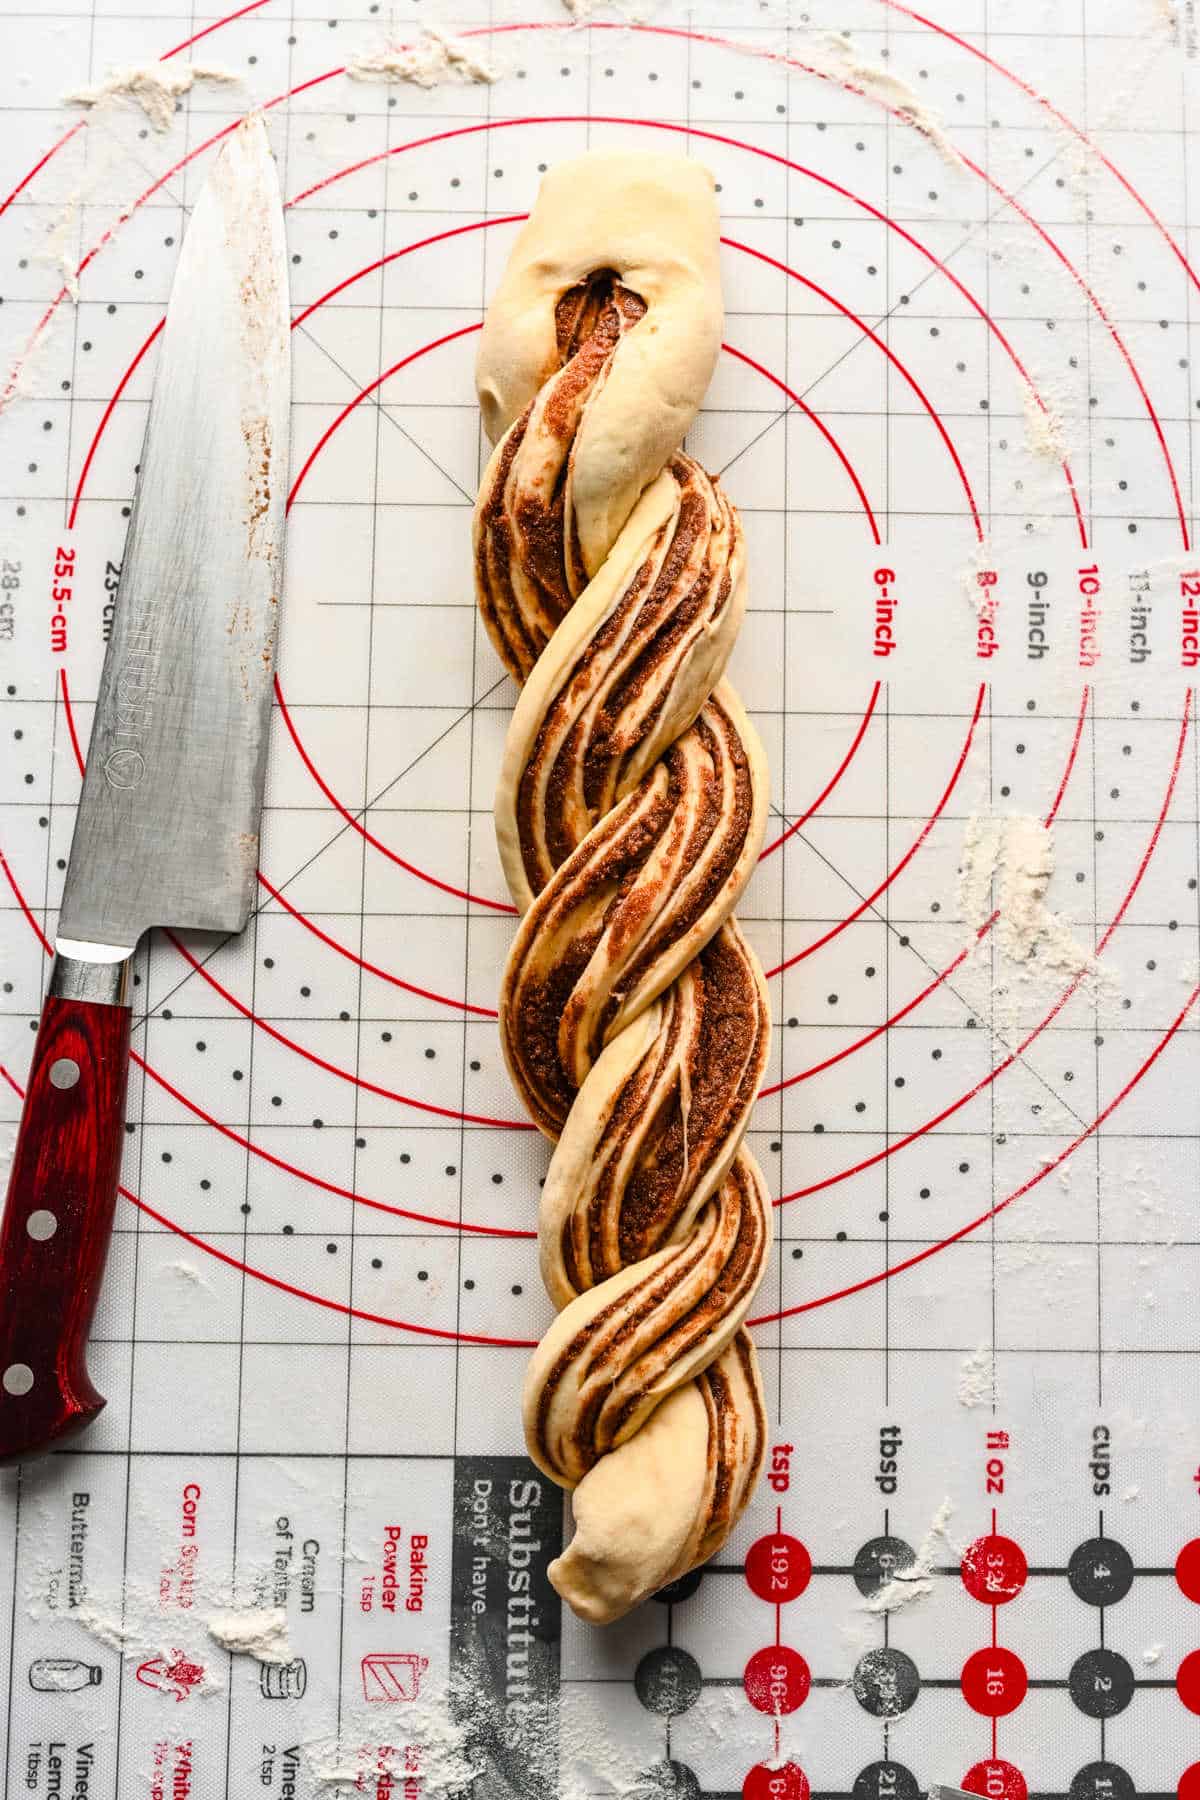
Step 11: Twist the sections of the dough over each other and pinch the ends together.
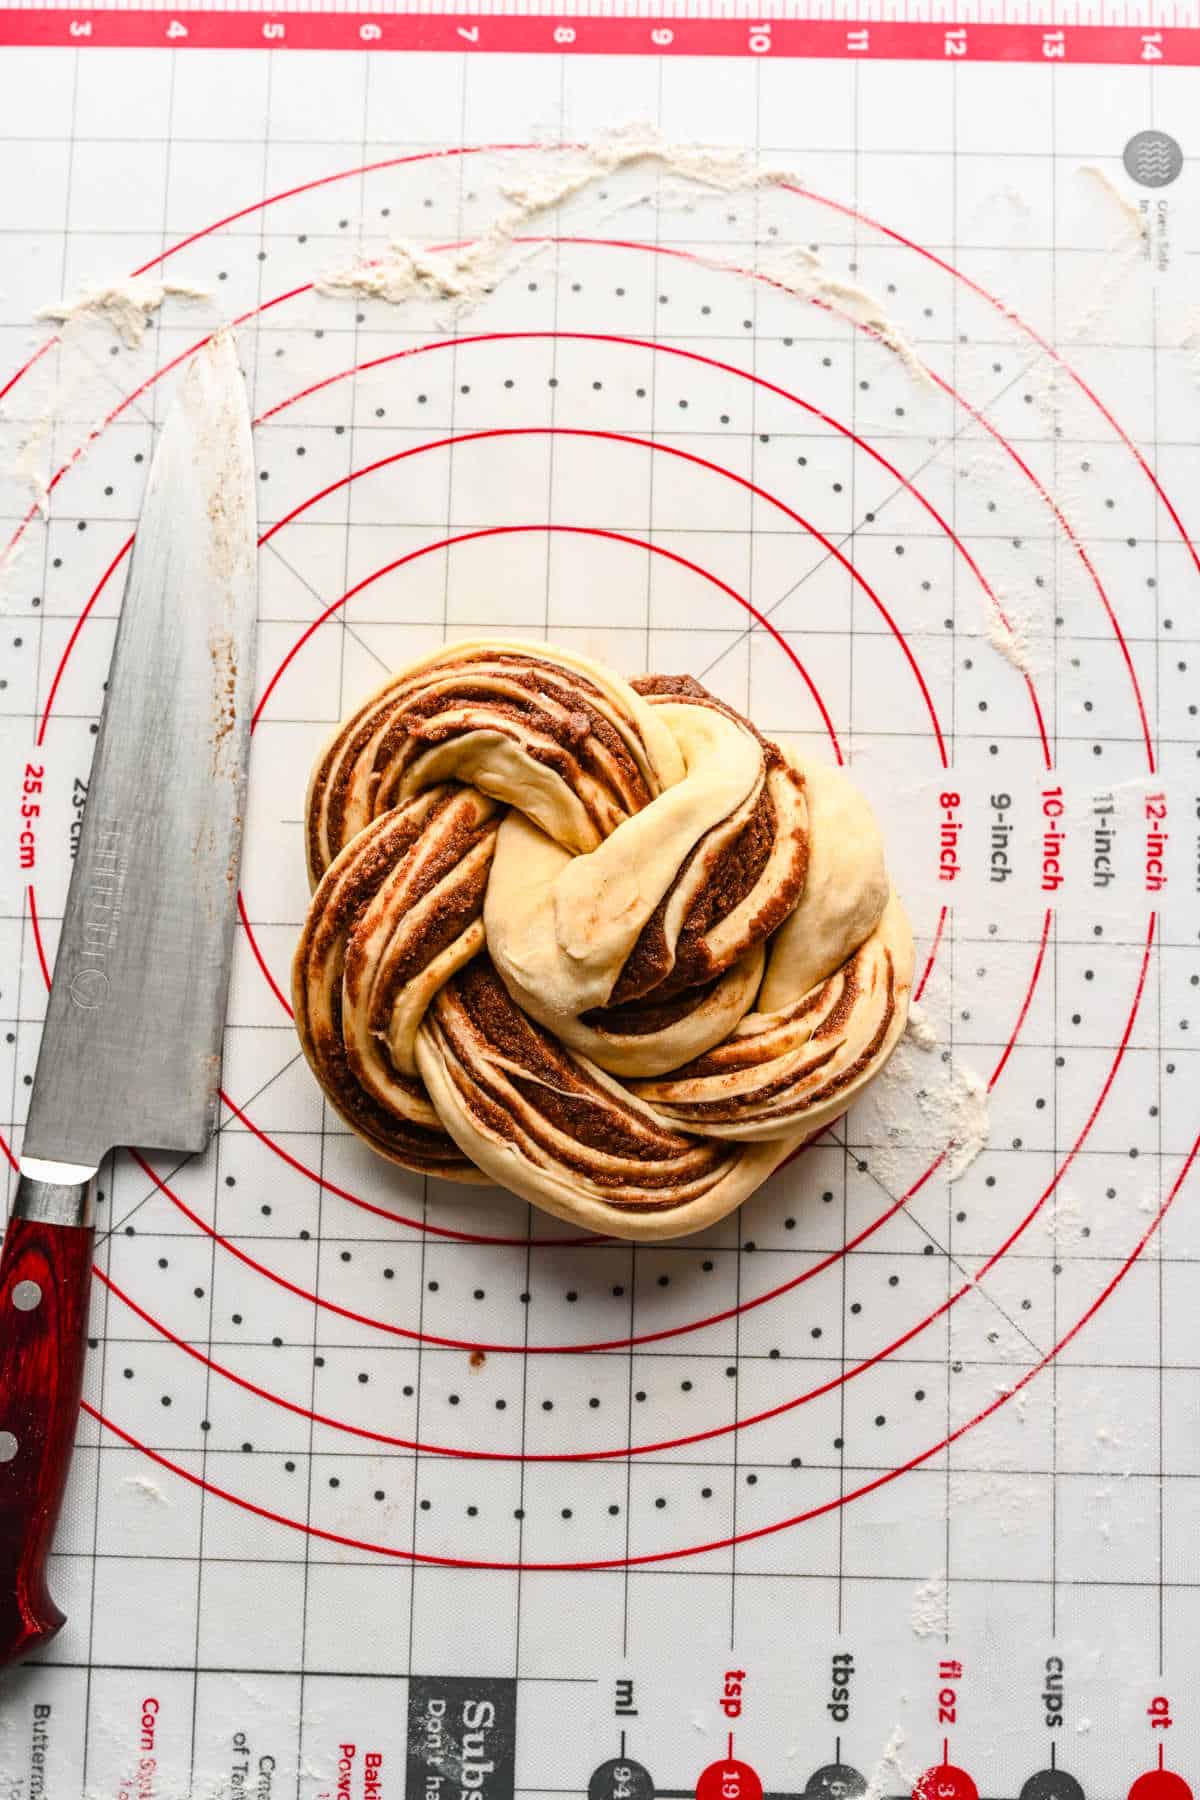
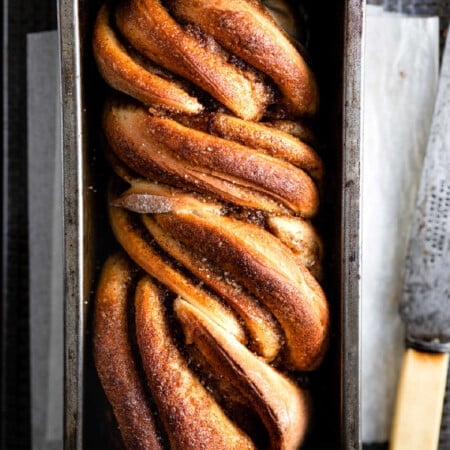
Step 12: Starting at the uncut end, coil the twisted bread around on each other. Tuck the ends under to seal.
Step 13: Repeat with the remaining dough and filling.
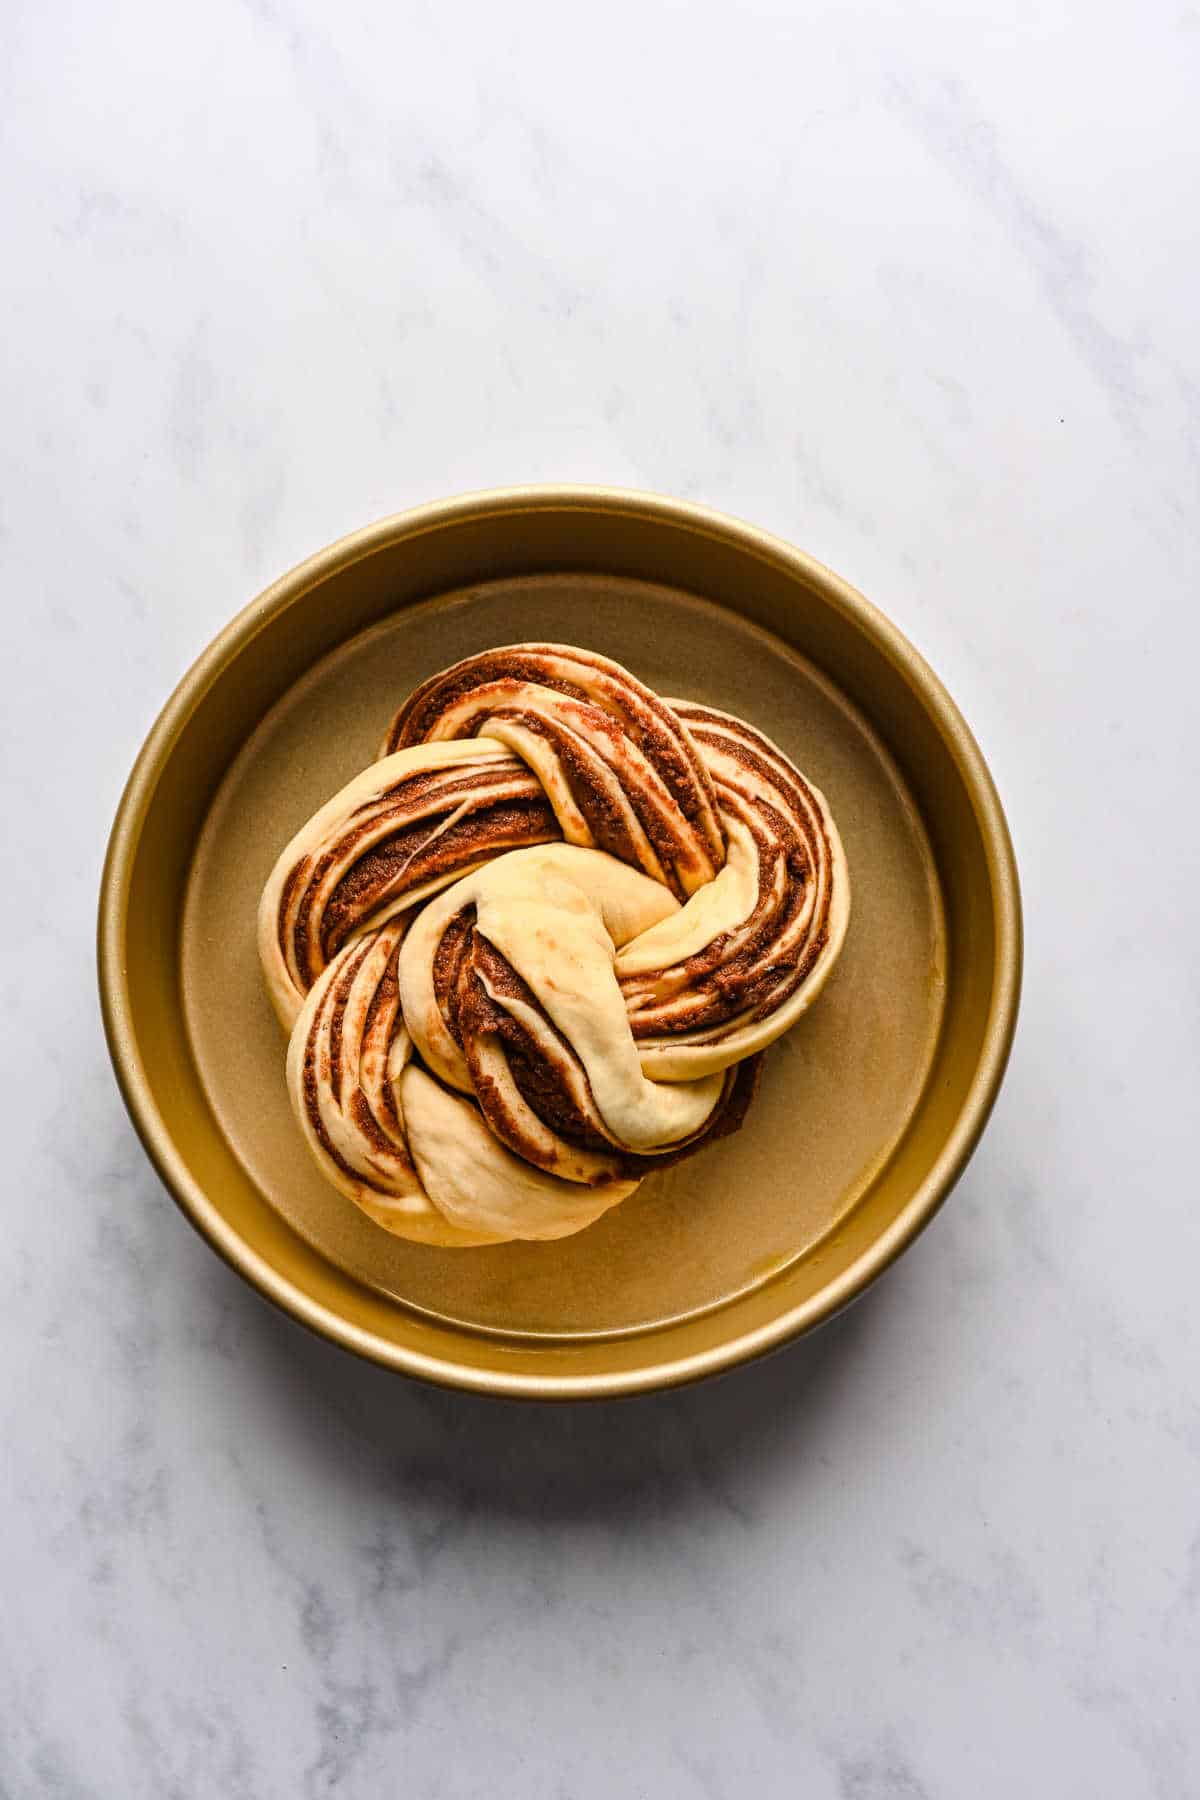
Step 14: Place each piece of dough in a greased cake pan. Cover with a clean dry towel and let dough rise in a warm, draft-free spot for 15 minutes.
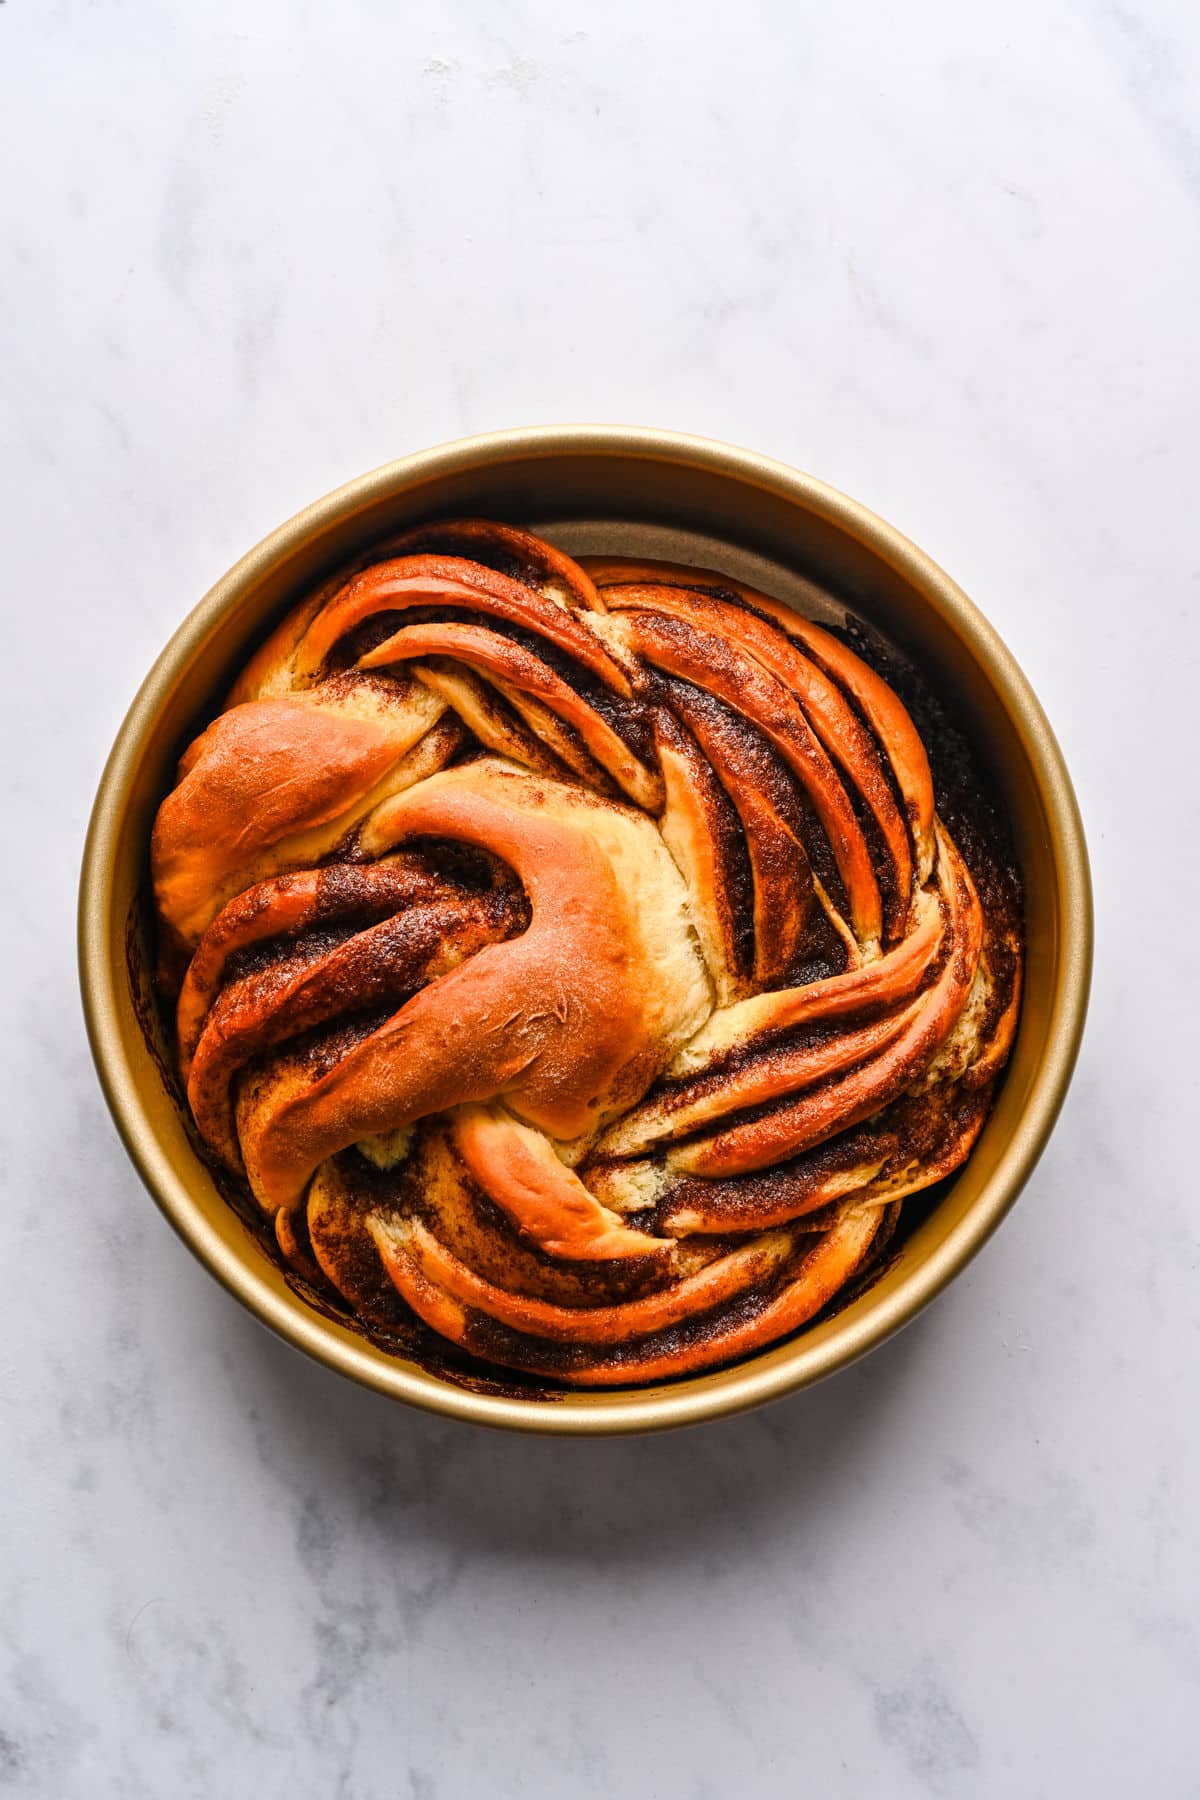
Step 15: Bake for 20-25 minutes, or until golden brown.
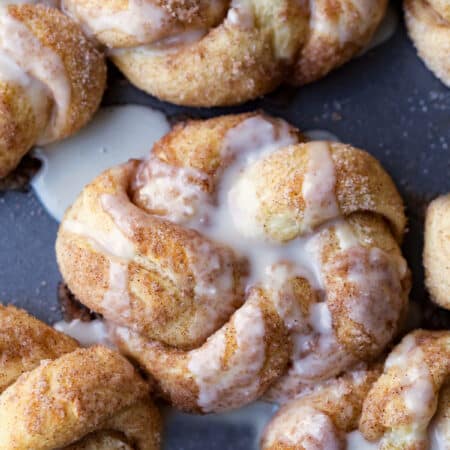
Step 16: While the bread is baking, stir together the icing ingredients.
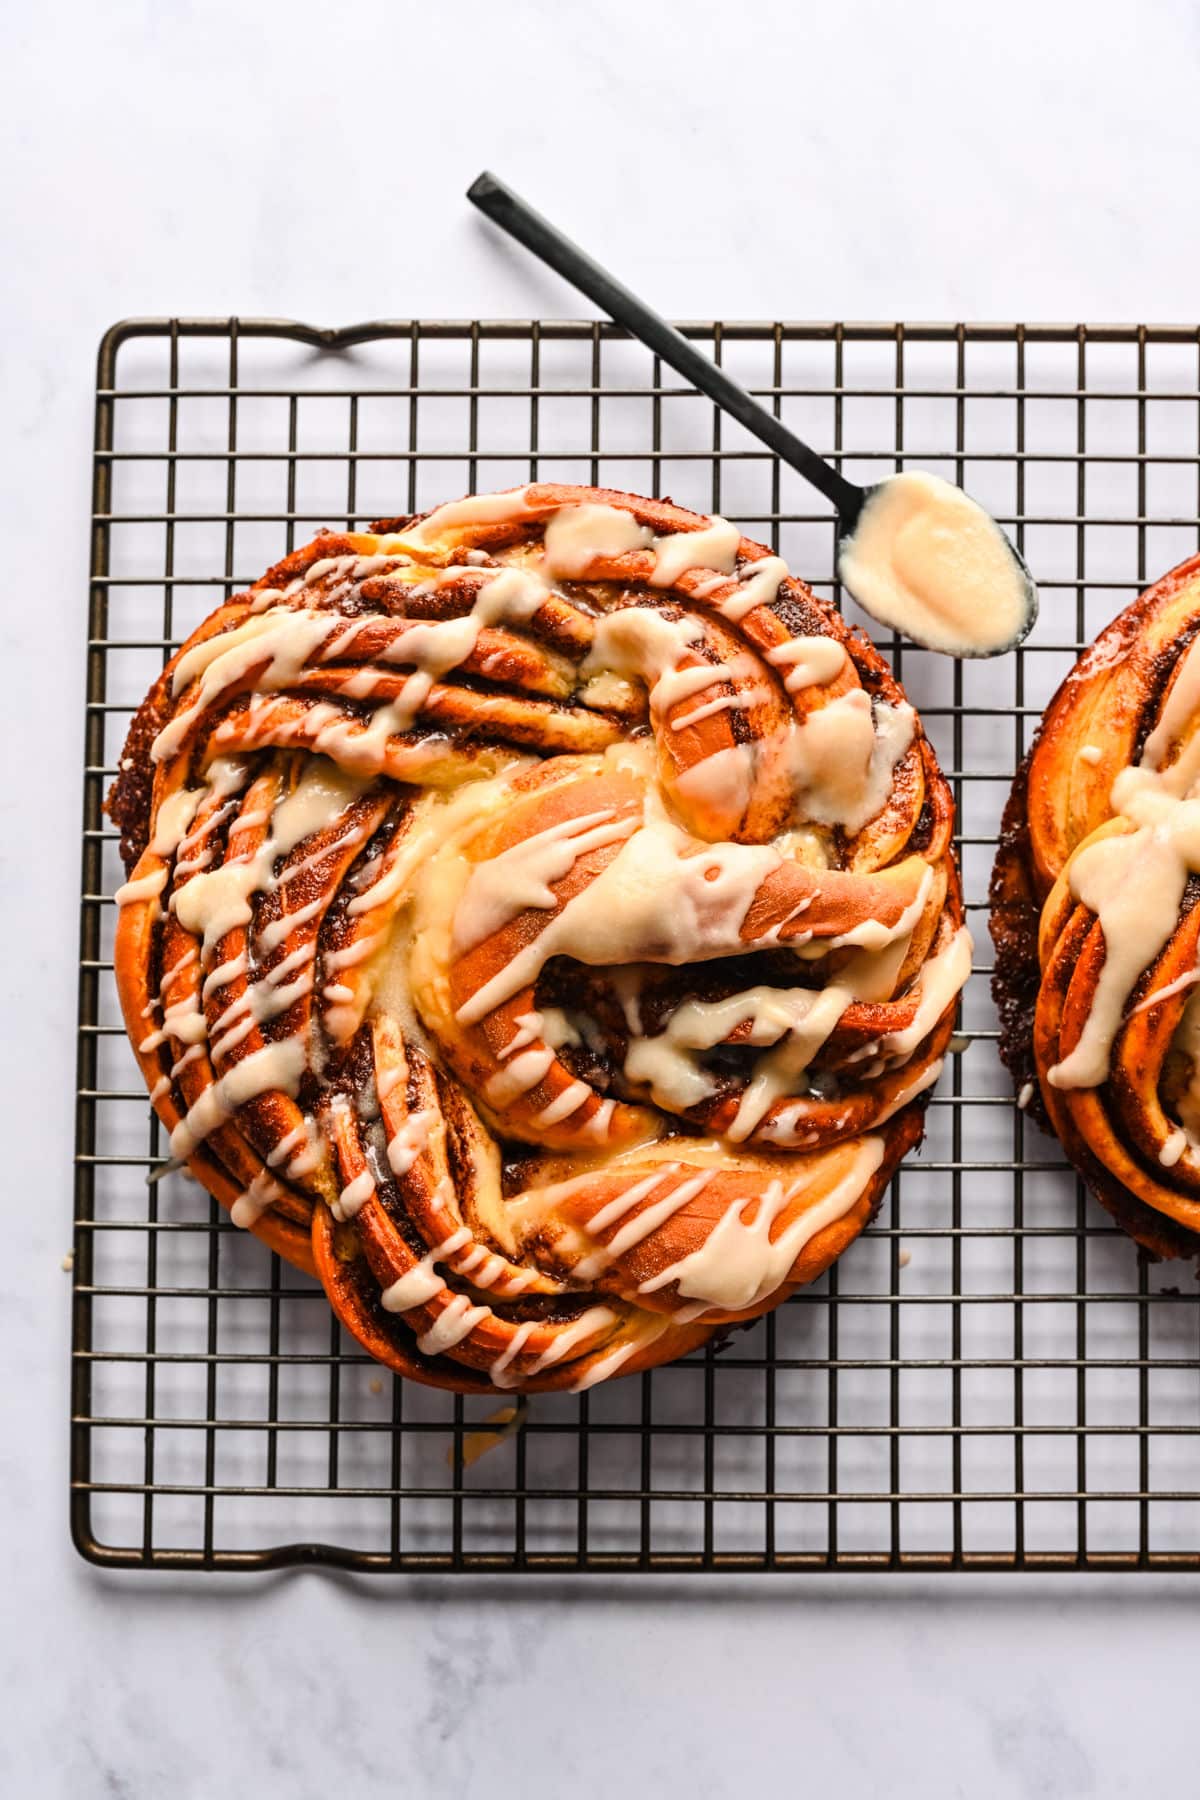
Step 17: Drizzle the icing over the warm bread.

Recipe Tips!
- Dough: It’s important to add flour until the dough feels sticky but doesn’t come off on your finger when you pinch it. You may find that you need to use a little more or a little less flour depending on how humid it is where you live.
- Rising: If your kitchen is cool, the bread will rise slowly. You can create a warm spot for the bread to rise by turning your oven on to preheat 350F for exactly 60 seconds. Then, turn your oven off. Place the dough in the warm oven to rise.
Recipe FAQs
Sure! You can omit the icing or use a cream cheese icing if you prefer.
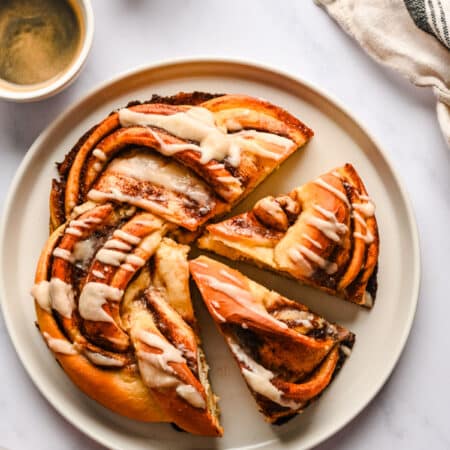
I cut the cinnamon bread into wedges to serve.
You can! The baked and cooled bread will keep well-wrapped in a freezer-safe container for up to 1 month. I recommend waiting until you’ve thawed the bread to ice it. The icing tends to melt into the bread when frozen and thawed.

Storage
I think the bread is best eaten fresh. However, the bread will keep for 2-3 days if stored covered in an airtight container at room temperature.
More cinnamon bread recipes!

If you’ve tried this cinnamon twist recipe, don’t forget to rate the recipe and leave me a comment below. I love to hear from people who’ve made my recipes!
You can subscribe to receive my latest recipe newsletters or follow me on Facebook, Instagram and Pinterest for even more delicious food.

Braided Cinnamon Bread
Ingredients
Dough
- ⅓ cup milk
- 3 tablespoons granulated sugar
- ¼ cup butter
- 3 ½ teaspoons instant yeast
- ¾ cup warm water 105F – 115F
- 3 cups all-purpose flour
- ½ teaspoon salt
Filling
- ½ cup butter softened
- ⅔ cup granulated sugar
- 2 tablespoons cinnamon
Icing
- ¾ cups sifted powdered sugar
- 2 tablespoons butter melted
- ½ tsp vanilla extract
- 2-4 tablespoons milk
Instructions
- Grease two 9-inch round cake pans; set aside.
- In a small saucepan, stir milk, sugar, and butter together. Heat over low heat just until butter melts and sugar dissolves. Cool to about 100-105 F.⅓ cup milk, 3 tablespoons granulated sugar, ¼ cup butter
- Pour the milk mixture into the bowl of a stand mixer.
- Add the yeast and warm water.3 ½ teaspoons instant yeast, ¾ cup warm water
- Add 2 cups flour and salt to yeast mixture. Using a dough hook, mix on low speed for about 1 minute.3 cups all-purpose flour, ½ teaspoon salt
- With the mixer still going, add remaining flour, 1/2 cup at a time. Mix about 1 ½ minutes, or until dough starts to clean the sides of the bowl.
- Knead on low speed for about 2 more minutes, or until dough is smooth and elastic. The dough should feel soft and slightly sticky, but it shouldn’t stick to your finger if you pinch it.
- Place dough in a greased bowl, turning it to grease the top. Cover the dough with a clean, dry dish towel.
- Let it rise in a warm place, free from draft, for about 10 minutes.
- Turn the dough onto a floured surface, and divide dough into two equal pieces.
- Roll each piece into a 12×8-inch rectangle.
- Stir filling ingredients together, and spread 1/2 of the filling ingredients over each piece of dough, leaving a 1/2-inch border around the edges.½ cup butter, ⅔ cup granulated sugar, 2 tablespoons cinnamon
- Roll up lengthwise, pinching seam to seal.
- Cut the dough in half lengthwise, leaving a 1/2-inch uncut section at the end.
- Twist the pieces of dough over each other to form a long twist, and pinch cut ends together.
- Starting at the uncut end, coil the twist around, tucking in the ends.
- Place 1 braid in each pan.
- Cover the pans with the dish towel, and let the dough rise for about 15 minutes.
- Meanwhile, preheat oven to 350 F.
- Bake for 20-25 minutes, or until the bread is golden brown.
- While the bread is baking, prepare the frosting.
- To prepare the frosting, whisk powdered sugar, butter, and vanilla together in a medium bowl.¾ cups sifted powdered sugar, 2 tablespoons butter, ½ tsp vanilla extract
- Whisk in enough milk to make desired consistency. I leave the frosting on the thicker side because it melts when it’s drizzled over the warm bread.2-4 tablespoons milk
- Let bread cool in pan for 10 minutes.
- Remove bread from pans and place on a wire cooling rack. I put a baking mat or a piece of parchment underneath to catch any drips.
- Drizzle bread with frosting while warm.
Notes
- Milk: Anything from skim to whole milk will work. Whole milk will make the dough richer, and skim milk will give you a leaner dough. You could also use nondairy milk, like almond milk, if you prefer.
- Butter: I use salted butter in this recipe.
- Yeast: If you’re using active dry yeast, let the yeast sit for 5-10 minutes, or until foamy, after step 4. Then, continue with the recipe as-written.
- Flour: I recommend either weighing the flour or aerating, spooning, and leveling the flour. Too much flour will give you a dry, heavy dough.
- Nutrition values are estimates.
Nutrition
Did You Make This Recipe?
Share it with me on Instagram @i_heart_eating and follow on Youtube @katedean and Pinterest @katedean for more!
Reader Interactions
Love this recipe?
Share your thoughts below and let’s chat! Make sure to connect with me on your favorite social platform below and show me what you made!


Comments & Reviews
Sherry says
Excellent recipe! Tried to post a picture but couldn’t!
Kate Dean says
Thank you!