
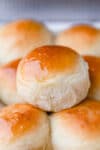


Make your own copycat version of Hawaiian Rolls at home with this easy, made-from-scratch recipe that makes soft and fluffy Hawaiian sweet rolls!

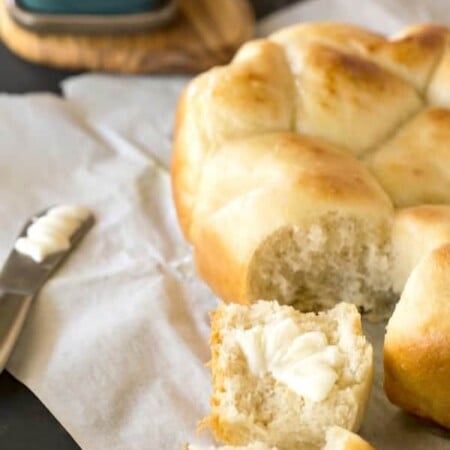
Hawaiian rolls are quite possibly the most delicious rolls ever. They are soft and buttery and sweet.
They can be made into smaller dinner rolls or buns for slider, or they can be made into larger, bun-sized rolls. They pair well with everything from burgers to ham, which makes them perfect for baked ham and Swiss poppy seed sandwiches.
“This is my new go-to dinner roll recipe! Very easy to make and everyone loves them. It’s also very easy to cut the recipe in half when I don’t need so many. I love this recipe!” – Julie
Why you’ll love these rolls
- They’re soft! The rolls are soft and fluffy.
- They’re tasty! The rolls are sweet and buttery with a bit of sweet pineapple flavor thrown in.
- They’re easy to make! The rolls are simple and don’t require much hands-on time.
Ingredient notes and substitutions
- Pineapple Juice: I use the mini cans of pineapple juice that come in a 6 pack. However, any 100% pineapple juice should work.
- Yeast: An equal amount of instant yeast will also work. Just skip proofing the yeast and continue with the recipe as written.
- Butter: I use salted butter in this recipe.
- Flour: I’ve also made these rolls with all-purpose flour when I didn’t have any bread flour. I had to add about 1/2-1 cup additional flour for a total of 6-6 1/2 cups of flour.
How to make homemade Hawaiian rolls
Here you’ll find step-by-step photos showing how to make this recipe. The full recipe is given below.
Step 1: Grease 2 9×13-inch pans. Set aside.

Step 2: In a small saucepan, heat pineapple juice over medium-low temperature until juice reaches about 105 F.

Step 3: In the bowl of a stand mixer fitted with a paddle attachment, stir together yeast and 2 tablespoons of sugar.
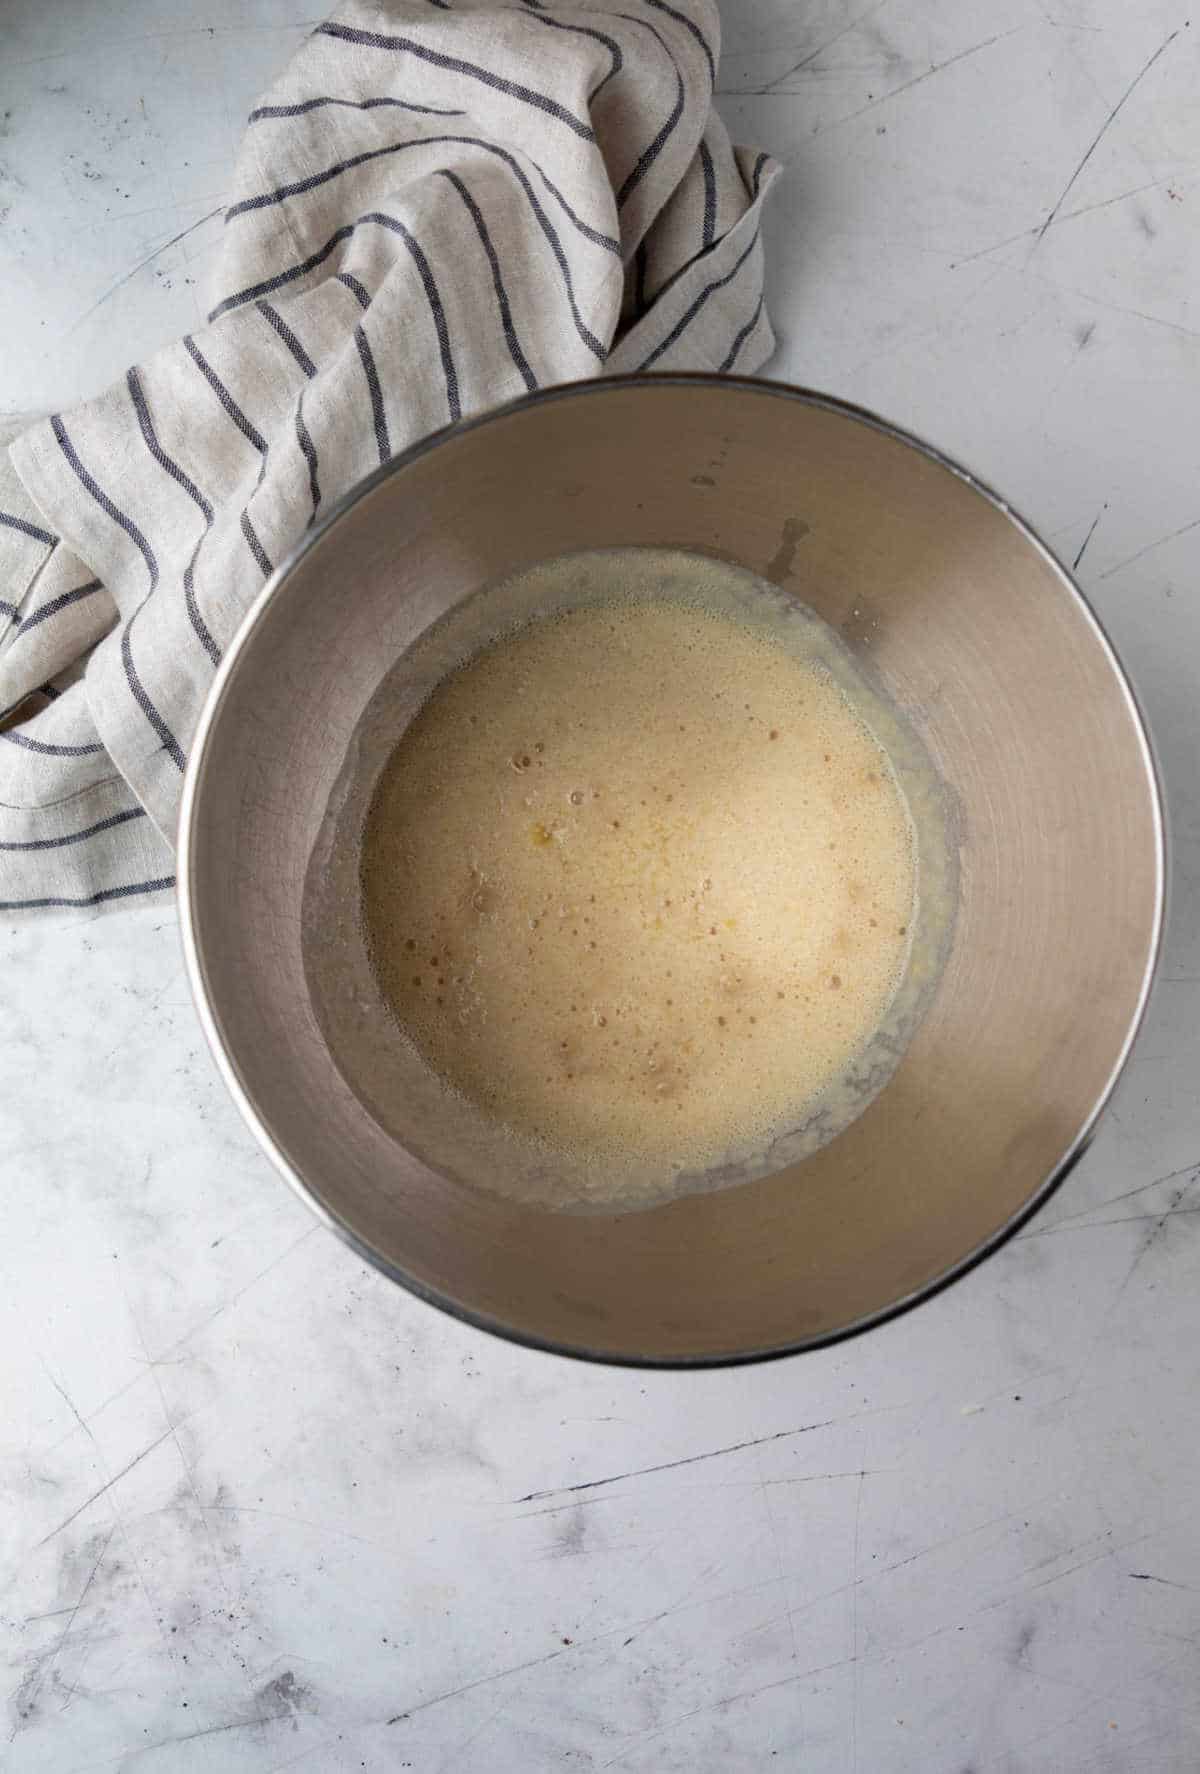
Step 4: Once the pineapple juice is at temperature, add to the bowl. Stir, and let the yeast mixture stand for 5-10 minutes, or until foamy.
Step 5: Once the yeast is foamy, add the remaining sugar, butter, vanilla extract, and eggs; stir to combine.
Step 6: Switch from the paddle attachment to the dough hook, and add 3 cups of flour and salt. Stir on low.
Step 7: Continue adding flour ½ cup at a time until dough clears the sides of the bowl. The dough will feel slightly sticky. It takes 5 ½ cups of flour for my rolls.

Step 8: Once the dough comes together and clears the sides, continue to knead for about 1 minute.
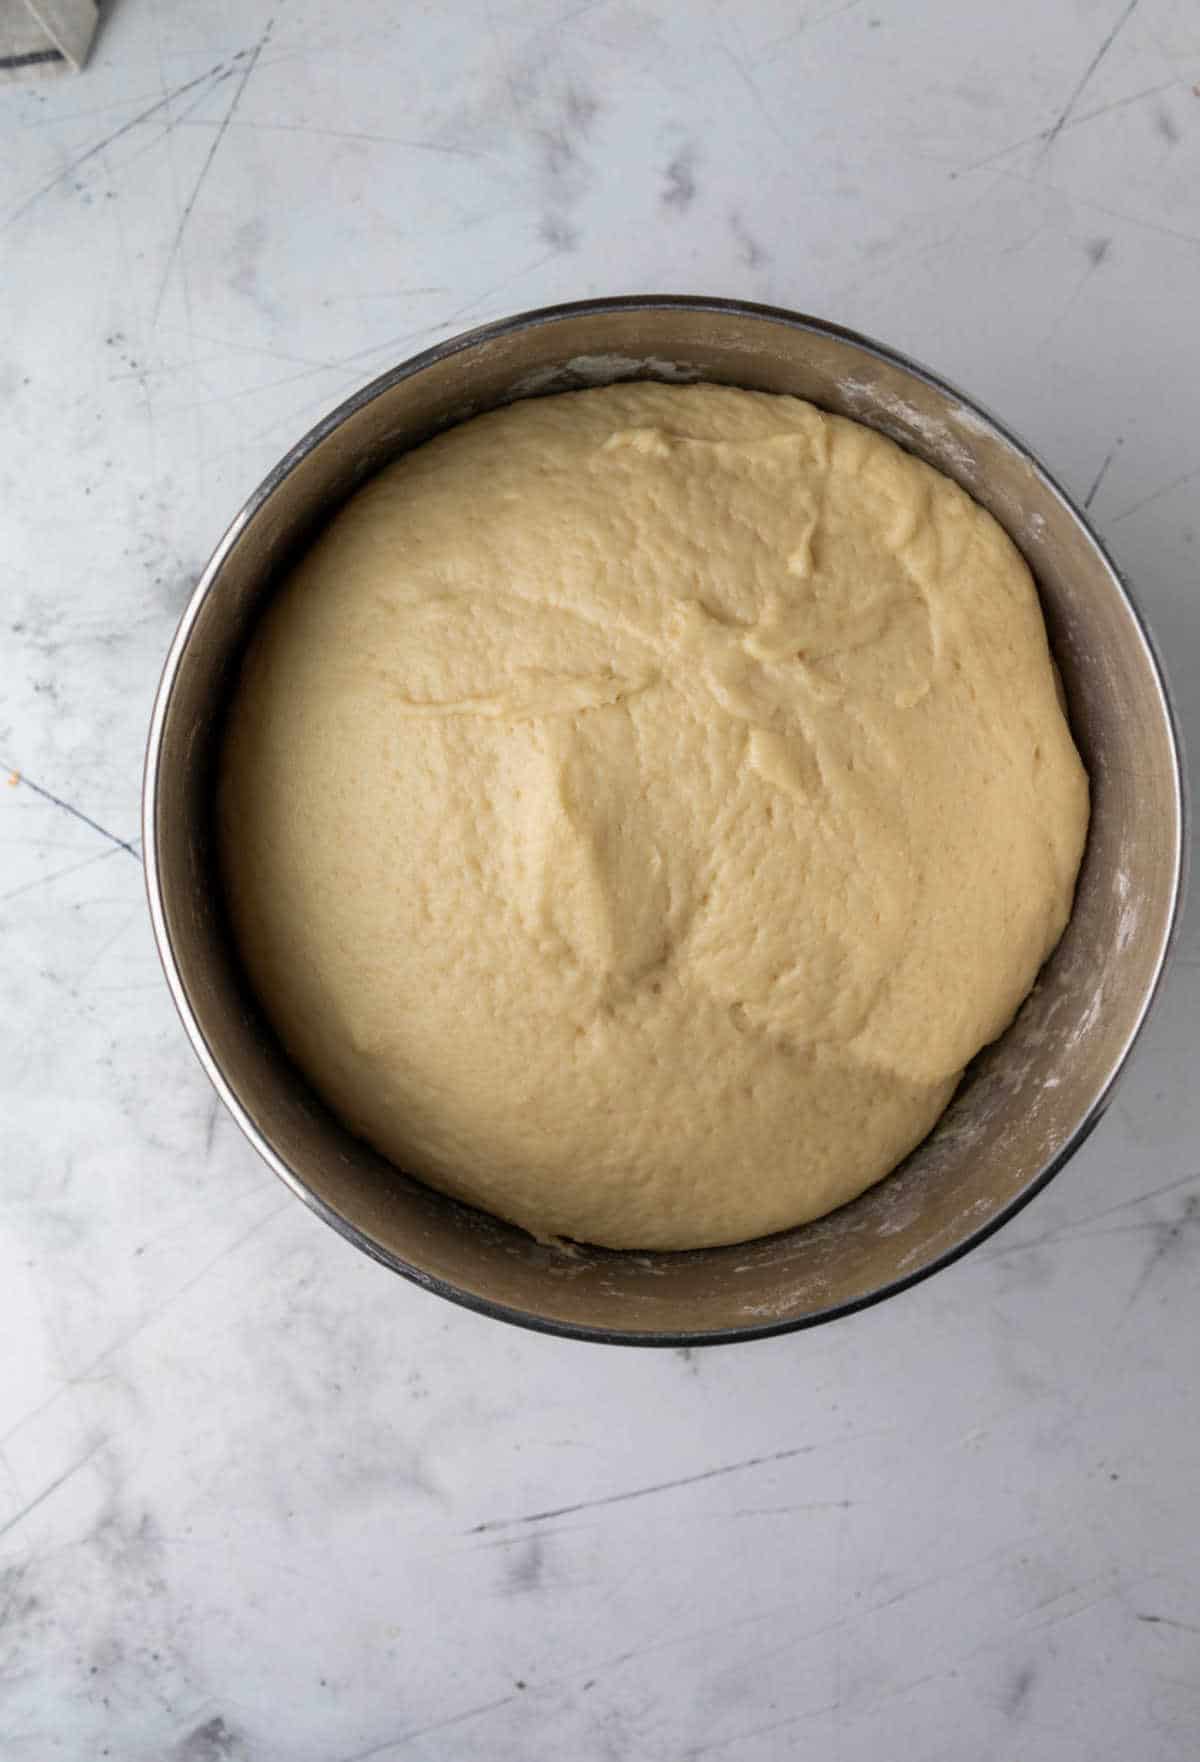
Step 9: Cover bowl with plastic wrap or a clean towel, and let it rise until dough has doubled in size, about 1 ½ hours.
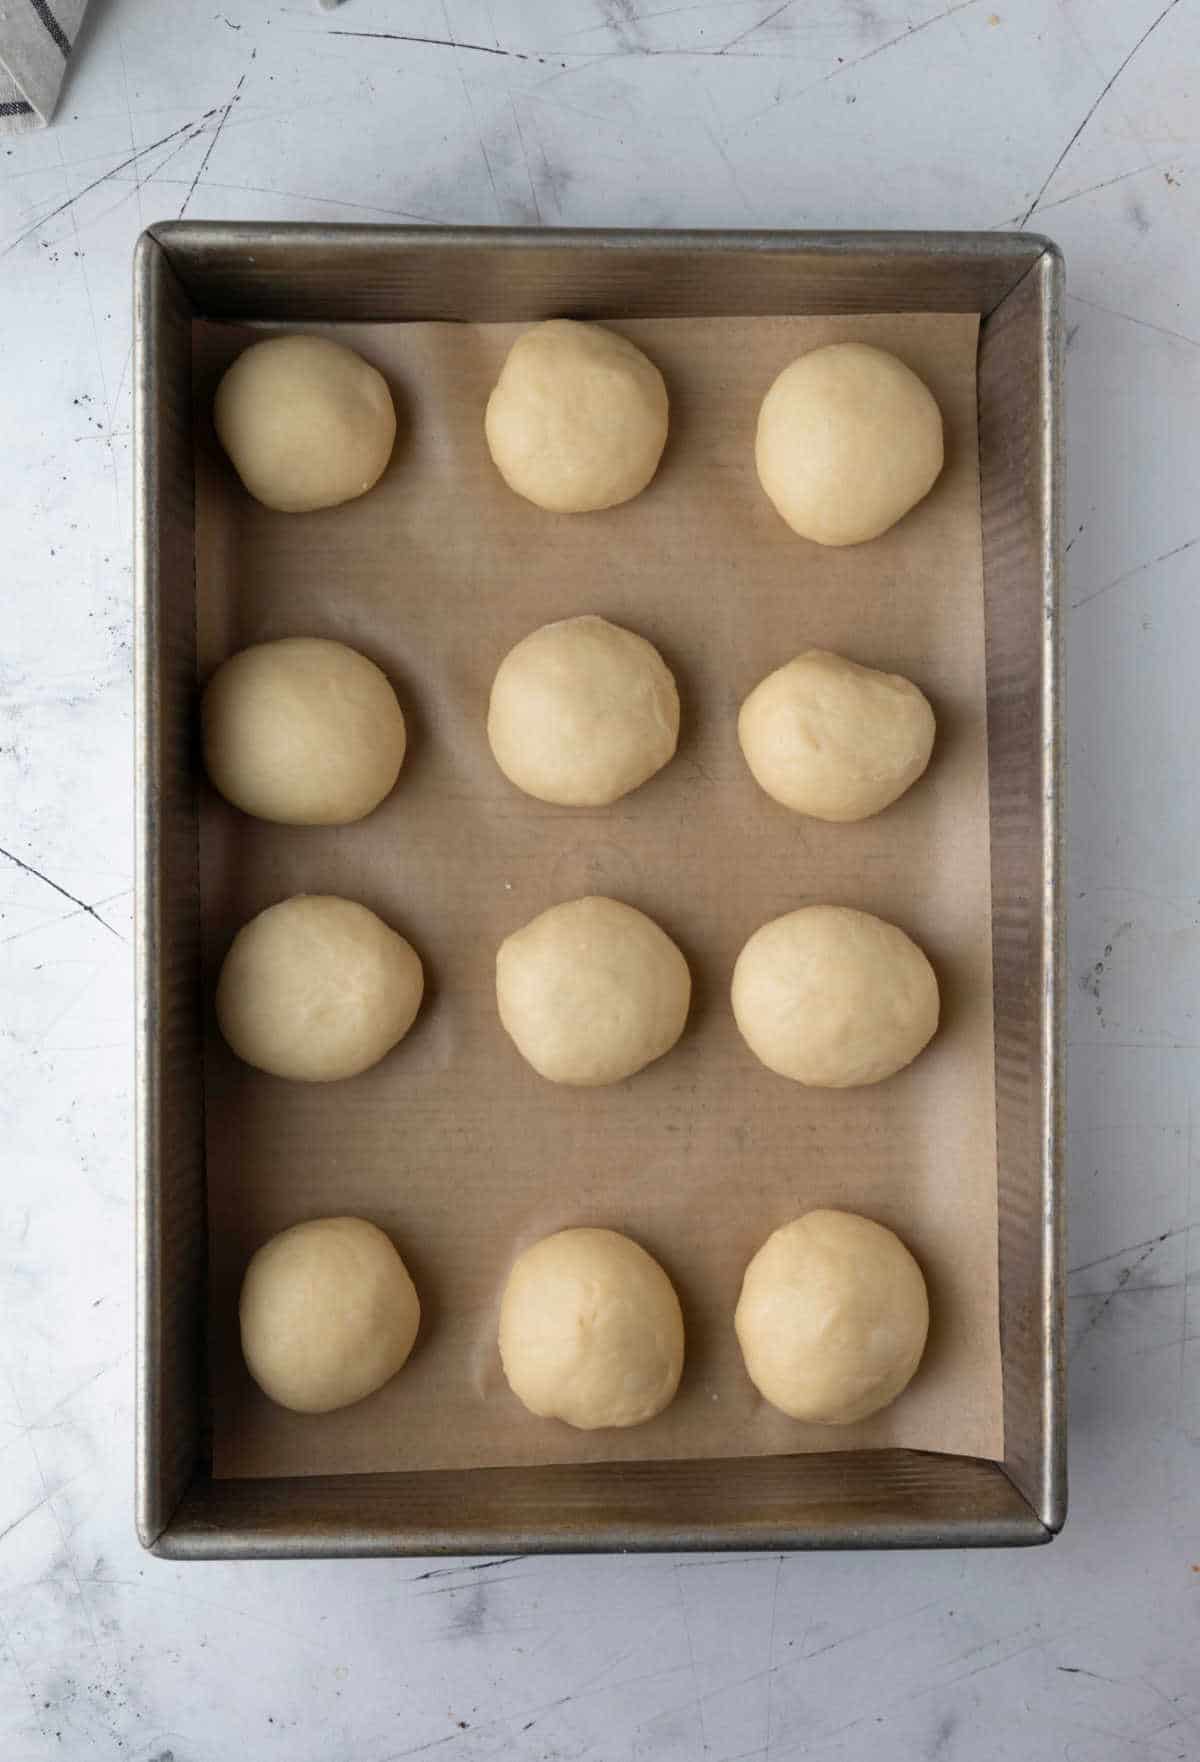
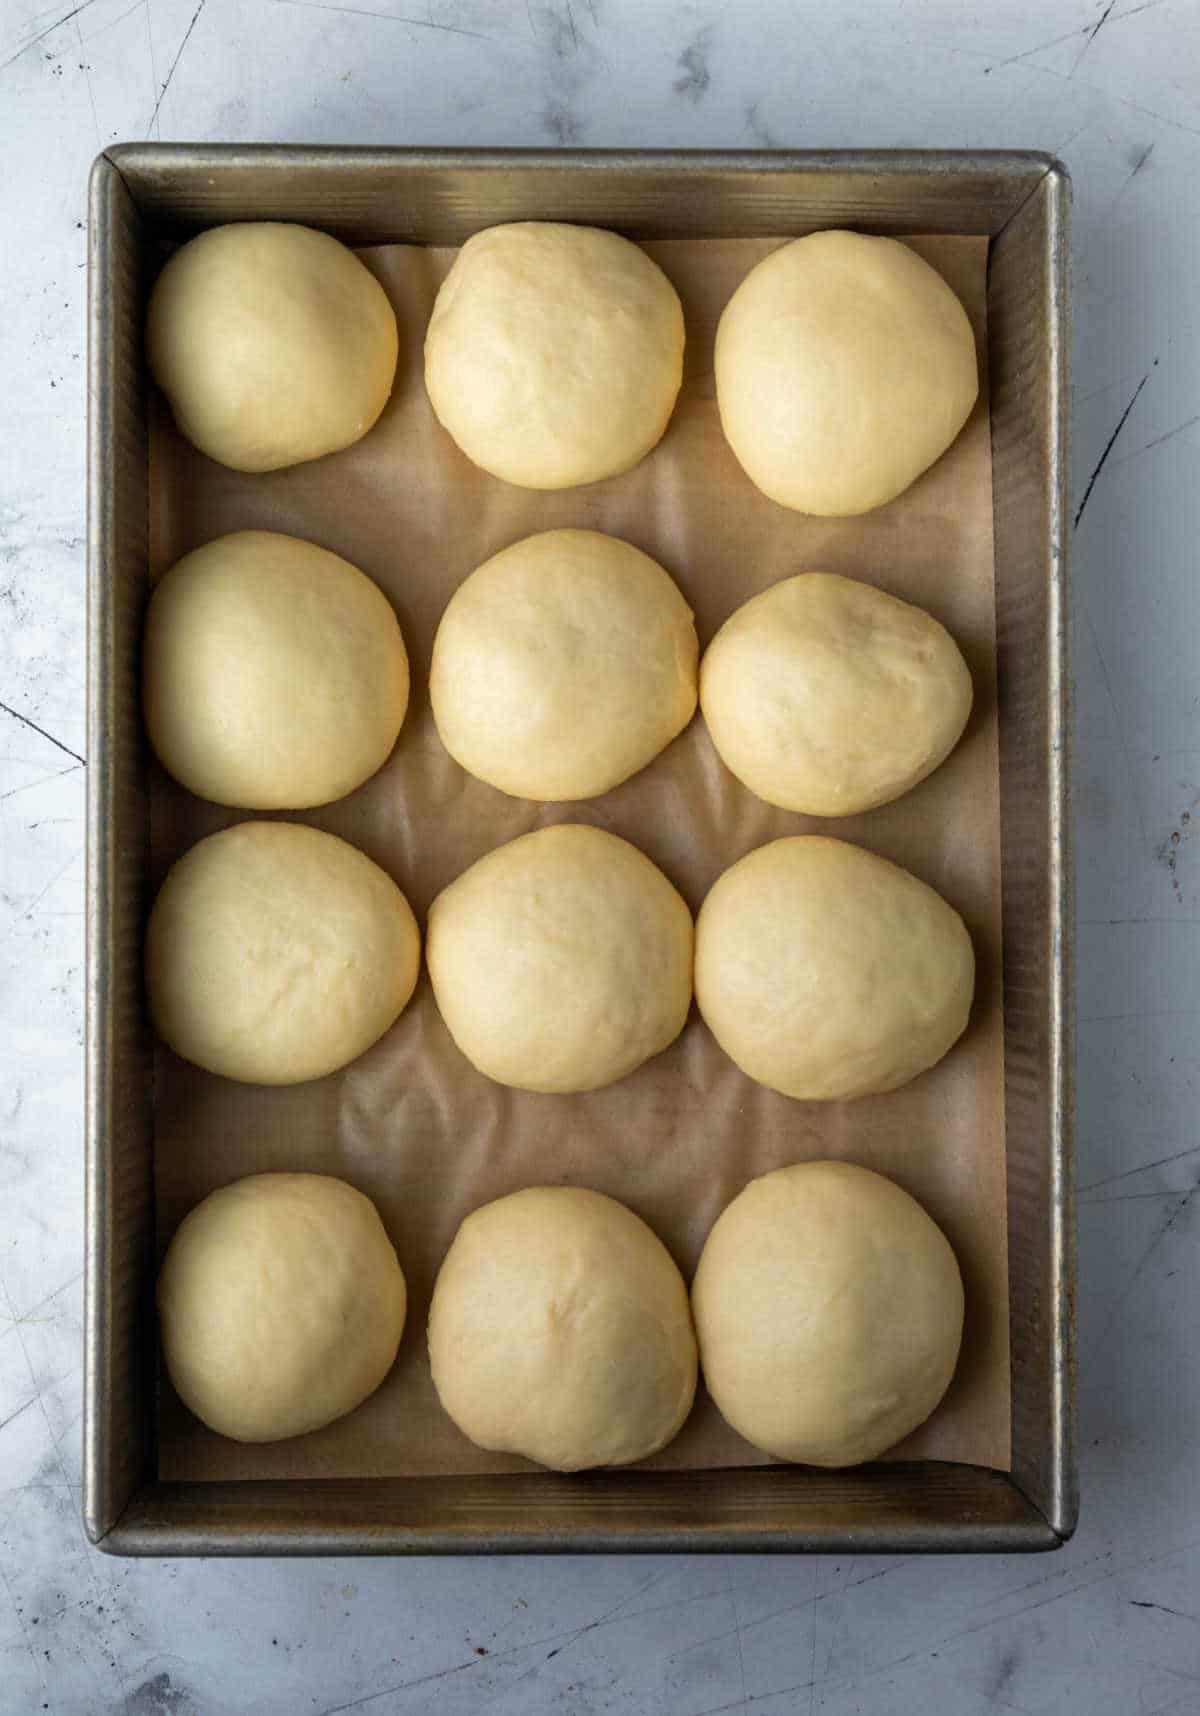
Step 10: Shape dough into rolls. If you would like smaller, dinner-sized rolls, shape into 24 rolls. If you would like larger, bun-sized rolls, shape into 12-18 rolls depending on desired size. Place half of the rolls in each pan.
Step 11: Cover rolls with plastic wrap, and let rolls rise until doubled, about 1 ½ hours.
Toward the end of the second rise, preheat oven to 350 F.
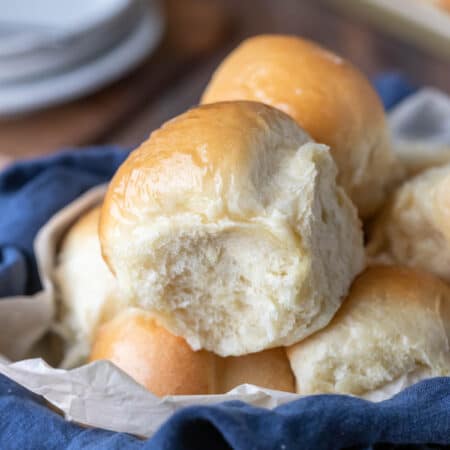
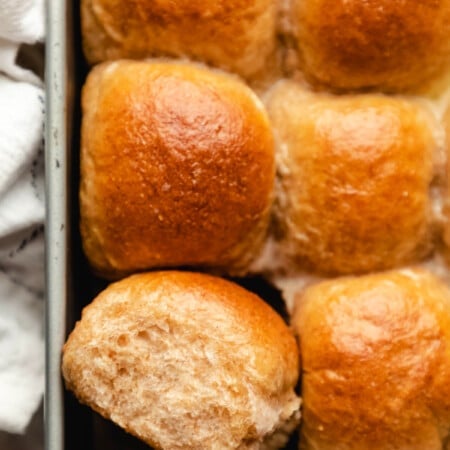
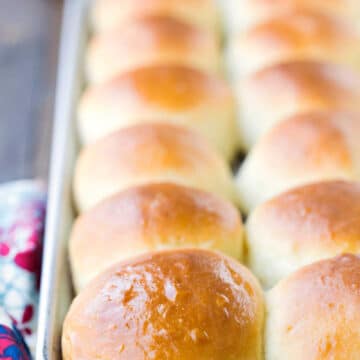
Step 12: Bake rolls for about 20 minutes (for dinner-sized rolls), or until rolls are golden brown. Immediately brush rolls with butter.
Serve warm or at room temperature.

Recipe Tips!
- Freezing the rolls: To freeze the baked rolls, let them cool to room temperature. Wrap the rolls tightly in plastic wrap and then place in a freezer-safe container. Freeze the baked rolls for up to 1 month.
- Gluten Free: While I haven’t tried it, I have heard from people who have successfully used measure-for-measure gluten free flour in this recipe.

Storage
The rolls should be stored in an airtight container at room temperature. They’ll keep for up to 3 days when properly stored.
More delicious roll recipes!
If you’ve tried this Hawaiian roll recipe, don’t forget to rate the recipe and leave me a comment below. I love to hear from people who’ve made my recipes!
You can subscribe to receive my latest recipe newsletters or follow me on Facebook, Instagram and Pinterest for even more delicious food.

Hawaiian Rolls
Ingredients
- 1 ½ cups pineapple juice
- 4 ½ teaspoons active dry yeast
- ⅔ cup granulated sugar divided
- ½ cup butter at room temperature, plus extra for brushing rolls
- 1 teaspoon vanilla extract
- 2 large eggs
- 5-6 cups bread flour
- 1 teaspoon salt
Instructions
- Grease 2 9×13-inch pans. Set aside.
- In a small saucepan, heat pineapple juice over medium-low temperature until juice reaches about 105 F.1 ½ cups pineapple juice
- In the bowl of a stand mixer fitted with a paddle attachment, stir together yeast and 2 tablespoons of sugar.4 ½ teaspoons active dry yeast, ⅔ cup granulated sugar
- Once the pineapple juice is at temperature, add to the bowl. Stir, and let the yeast mixture stand for 5-10 minutes, or until foamy.
- Once the yeast is foamy, add the remaining sugar, butter, vanilla extract, and eggs; stir to combine.½ cup butter, 1 teaspoon vanilla extract, 2 large eggs
- Switch from the paddle attachment to the dough hook, and add 3 cups of flour and salt. Stir on low.1 teaspoon salt, 5-6 cups bread flour
- Continue adding flour 1/2 cup at a time until dough clears the sides of the bowl. The dough will feel slightly sticky. It takes 5 1/2 cups of flour for my rolls.
- Once the dough comes together and clears the sides, continue to knead for about 1 minute.
- Cover bowl with plastic wrap, and let it rise until dough has doubled in size, about 1 ½ hours.
- Shape dough into rolls. If you would like smaller, dinner-sized rolls, shape into 24 rolls. If you would like larger, bun-sized rolls, shape into 12-18 rolls depending on desired size.
- Place half of the rolls in each pan.
- Cover rolls with plastic wrap, and let rolls rise until doubled, about 1 ½ hours.
- Toward the end of the second rise, preheat oven to 350 F.
- Bake rolls for about 20 minutes (for dinner-sized rolls), or until rolls are golden brown.
- Immediately brush rolls with butter.
- Serve warm or at room temperature.
Video
Notes
- Flour: I’ve also made these rolls with all-purpose flour when I didn’t have any bread flour. I had to add about 1/2-1 cup additional flour for a total of 6-6 1/2 cups flour.
- Nutrition facts are estimates.
Nutrition
Did You Make This Recipe?
Share it with me on Instagram @i_heart_eating and follow on Youtube @katedean and Pinterest @katedean for more!
Reader Interactions
Love this recipe?
Share your thoughts below and let’s chat! Make sure to connect with me on your favorite social platform below and show me what you made!


Comments & Reviews
Alida says
Made these rolls last night and they were (are, still have some) amazing!! We loved them!! I don’t have a stand up mixed or a bread machine so I did everything by hand and they came out perfect and with the right sweetness. Thank you for much for sharing this recipe! Will be making again and again :)
Kate says
I’m so glad that you liked them!! They are one of my family’s favorite recipes and always make an appearance for Christmas and Easter dinner. Thanks for taking the time to come back and leave a comment! =)
Jam says
Hello kate, how are you. Few days back i decided to make complete Hawaiian recipes, so i tried these delicious Rolls with Hawaiian chicken breast Recipe. I must say my kids and husband really loved Hawaiian flavor. You guys are awesome, great, and super foodie. I am a regular member of your site, i mostly like recipes that my kids can eat.
Kate says
I’m so glad that you liked them! =)
Desiree says
These were amazing. I’ve had this recipe pinned for over a year now, but just finally got to try it out. My brother helped make these and we had to knead by hand. My stand mixer is out of commission for the moment. Even though I had thought I killed the yeast because the pineapple juice was still too hot (my fault for not checking behind him) these were still a success!! We made some smaller sub type, hamburger sized, and dinner style rolls with a double batch. My kids were trying to eat every one in the house as they came out of the oven! These were perfect for our beef dip and pulled pork sandwiches! Thank you!
Kate says
I’m so glad that you tried them and liked them! =)
Fran Mitchell says
Hi Kate; I just printed your recipe for the Honey buns, and am looking forward to trying them. Will let you know how they turn out. Thanks Fran.
Kate says
Sounds good! I hope you enjoy them! =)
Chris says
these bun are fabulous only thing I burned them a bit but cut bottom off and they are good to go
nice and airy etc will make them a lot
Kate says
I’m glad you liked them! They’re a favorite with my family, so it’s nice to hear that other people enjoy them, too. =)
June says
I don’t have a stand mixer, but would love to try these rolls. Would the recipe work with a hand mixer?
Kate says
I wouldn’t use a hand mixer because I’d be afraid that the amount of flour might burn out the motor. You can mix this dough by hand, though. If you have any other questions about that, please let me know.
June says
Thanks, Kate. Guess if great-grandmother did it by hand, I can too.
Kate says
Good luck! If you have any other questions, just let me know! =)
larry says
Tried tis 2 times and no good results. Tasted like junk buns. There is no rise in the dough even with fresh yeast.
Kate says
I’m sorry that you didn’t like the rolls. However, I’ve made this recipe numerous times, as have many other people, with success. My dough has never failed to rise, so I think there must be some issue if your dough didn’t rise. If you’d like some help, please let me know.
Chris says
it may not be warm enough or to warm for your rise I always turn my oven light on and leave it and proof all my buns in there including my yeast you wont believe how high it rises
Kate says
Thanks for the tip!
Linda says
My 2nd recipe and 2nd attempt at these rolls. First batch failed to rise.
Read elsewhere that the temp of pineapple juice is extremely important for yeast to properly activate.
Guess it makes sense.
I tried making the first batch with “room temp” Pineapple juice and I think it might have been a little too cold. (I live 2 hrs north of Toronto and still covered in snow.)
Sunshine up here isn’t as warm as the Hawaiian Sun ;(
Got the dough through the first rise and waiting for the rolls to double ;)
Wish me luck!
Kate says
Yes, the temperature definitely affects the rising. If it’s too cold, it should still rise, but it’s a much, much slower process. If it’s too hot, it can kill the yeast and won’t rise. I know that when my kitchen is cold, the rising slows down. One trick that I learned from America’s Test Kitchen was to turn my oven to 350F for 1 minute. Then you turn your oven off. That little bit of warmth helps to keep the rising on track.
Good luck! I hope you are enjoying your rolls soon! =)
Linda says
My husband and absolutely love it!
We recently moved to a very small town and the local markets don’t carry the Hawaiian Sweet Rolls..:(
I didn’t follow the directions to a T and crowded them but I’ll remember it next time.
thank you so so much for sharing your recipe :)
You saved my Pulled Pork Sliders!
Kate says
I’m glad that you like them! They’re a family favorite at our house, and it’s always nice to hear that other people enjoy them, too! =)
Rosa says
These buns look perfect! I would like to make them for a luncheon but I need to make them the night before, do you think they will still taste fresh enough? How far apart do you space the buns if they are small, and do you space them further apart if they are larger buns? I was thinking of using an egg wash before baking but I notice your recipe does not call for one, is that because of the butter used after baking?
Kate says
Thanks! I think they would still be ok. We eat them for a day or two after I make them, and I don’t notice much of a difference. One note about that, though, is that it’s really humid where we live, and if I cover the rolls tightly, I notice that they get extra soft the next day.
If they’re smaller rolls, I try to space them so that they’re about touching each other (maybe 1/2-inch apart). If they’re larger rolls, I space them about 1 to 1 1/2-inches apart.
That is why. Since I brush them with butter, I don’t use an egg wash. My kids like the rolls to be as buttery as possible, so that’s what I do. I’m sure that an egg wash would be a fine substitution, though.
If you have any other questions, please let me know. Good luck with the rolls! =)
Nancy says
I have made the dough in my bread machine with another recipe. This one would be too much for the size of my machine. The recipe I used also had a little bit of ground ginger but pretty much the same. Yummy rolls. Maybe take a hint from Texas Roadhouse and put a little sugar and cinnamon in the butter brushed on top. N
Kate says
Thanks for the tip! =)
Casey says
Can you make the dough in advance then freeze it? If so what step would you do that at?
Kate says
I haven’t frozen them, so I can’t say for sure. My guess would be that you would want to freeze them after you shape them into rolls but before the 2nd rise. If you try it, I’d be really interested to hear how they turn out!
Jean says
I have made potato rolls for 26 years and always froze them in plastic bags (double the bags to prevent freezer burn), and they are always delicious. I thawed the buns and then warmed them in the oven (325 degrees F for perhaps 5 minutes) on a jelly roll pan or some in the microwave.
Kate says
I love potato rolls! My mom made those for the holidays, and they are so good! Thanks for the tips on freezing the rolls!
Shelley Rampton says
Casey- how did they turn out frozen? Did you bake them first and freeze them?
Diann says
Has anyone made the dough in a bread machine?
Kate says
Yes, I’ve ever tried it, but I’ve had people say that they’ve made them in their bread machine with good results. They said that they used the dough cycle and then shaped the dough for the second rise. Good luck! =)
Walter says
My rolls didn’t bake. They looked beautiful when they came out of the oven. When I went to use them, they were not anywhere baked inside the roll. I kneed them with my mixer. did I kneed them to long. Is it my oven ? I was wondering if I used the wrong pineapple juice, maybe it is to thick. Please help, Thank You.
Kate says
Sorry to hear that you had trouble with the rolls! I use my mixer to knead the dough, too, and I use the cans of Dole Pineapple Juice. I don’t think it was the kneading or your pineapple juice, though. I’m guessing that if they looked right but weren’t baked inside that they make have needed to bake longer.
Once the rolls get to your desired level of golden brown, you can tent a piece of aluminum foil over the rolls. That will allow them to continue to cook inside without overbrowning on the top.
The other thing that you can check is the position of your oven racks. You’ll want your oven rack to be in the middle of your oven. Otherwise, the rolls can overbrown if they’re too close to the top heating element in your oven.
I hope that helps! Please let me know if you have any other questions.
Lynne Lindsay says
These look so good and the comments are good. I think I let them rise too long the 2nd time as the flavor was good, but the rolls had a funny texture (too many holes within the bread). Just wanting to know thoughts or suggestions before I try these again. Thanks so much for all the lovely recipes!
Kate says
Sorry to hear that you had trouble with the texture! I think you’re right; it does sound like they rose too long. I’d try checking them after about 45-60 minutes during the second rise because, for whatever reason, they may not have needed the full 1 1/2 hours to rise the second time. I hope they work out better for you next time! If you have any other questions, please feel free to ask!
sherry says
Hi I wanted to say I have tried making these rolls and followed the reciepe to find them cracking on top and not baking thru while it the oven at 350 degrees . I don’t know why this is happeni have tried these 3x and wasted alot of ingrediens. there has to be a reason I even put the dough in refrigerator and it did not help. Can someone let me know what the problem might be. Thank you..
Kate says
I haven’t experienced those problems or heard from anyone about those issues. I’m guessing that if the rolls didn’t bake through that there may be an issue with your oven temperature. There can be quite a difference between the actual temperature and what the setting is. The easiest and most accurate way to to check that is with an oven thermometer; otherwise, it’s just a matter of trial and error.
As far as the cracking goes, I’m guessing that it’s a moisture issue. For whatever reason, 5 cups of flour may be too much in your dough. You could try starting with 3 cups and then add in additional flour by 1/4 cup increments until you get the dough to the right consistency. I hope this helps!
Rachelle Bergstrom says
I am almost done with my first rise…is it extremely important to let it rise for a second time? :s
Kate says
The rolls will be heavier, and the texture won’t be as good if the rolls don’t rise a second time.
If you’re pressed for time, you could probably cut some of the time off of the second rise by placing the rolls in a warm area to help them rise faster. One of the easiest ways to do that is to turn your oven on to 350 F for 1 minute, and then turn the oven off. The warmth in the oven should speed things up.
I hope that helps!
Lanee says
What kind of pan do you bake these in? Do they all fit in one pan? Are they spaced apart?
Kate says
I bake the rolls in a half sheet pan, and they all fit. I space them about 1-inch apart. I hope that helps!
Erica says
I am wanting to make these for Thanksgiving and I was wondering if you have any advice on preparing them the night before so that I can just bake them right before dinner is served?
Kate says
I’m sorry, but I haven’t made them ahead of time like that. My mom puts
hers in the fridge and lets them rise overnight in there, but I haven’t
tried it with this recipe. If you try making them ahead of time, I’d
interested to hear how it works out. Good luck!
Erica says
I am in Guam and it’s Thanksgiving eve here so I will be prepping the rolls tonight. I am going to do the first rise and shape them before putting them into the fridge overnight. I will let you know tomorrow how they turn out. I am so excited to try these!
Kate says
Happy Thanksgiving Eve, and I hope the rolls work out! =)
Erica says
They turned out great! I shaped them last night and then covered them and put them in the fridge. Then I took them out about 2 hours before I baked them to let them come up to at least room temp & rise a little more. They were a big hit and everybody loved them, I will defiantly be making these again! Thanks so much for sharing.
Kate says
I’m so glad to hear that they turned out well!! Thank you for taking the time to come back and leave those tips for making the rolls ahead of time. I’m sure it will help someone else out! Happy (day after) Thanksgiving!! =)
Brelynndee1 says
This recipe is absolutely fantastic! So easy to make! Thank you!
Kate says
Thanks!! We love this recipe, and I’m so glad you liked them rolls, too! =)
marnyka says
This is the second time making them with your recipe. The first time, they were so huge and delicious. I had to give some to my co-workers and my parents. My mom ate 3 before she realized what she was doing. LOL
Kate says
That totally happens with these rolls. You eat one, and the next thing you know, half of them are gone! =) Glad to hear that you enjoyed them!
Shirley says
Don’t have bread flour, will regular flour work ?
Kate says
Yes, you can use all-purpose flour in the rolls instead of bread flour. Please let me know if you have any other questions!