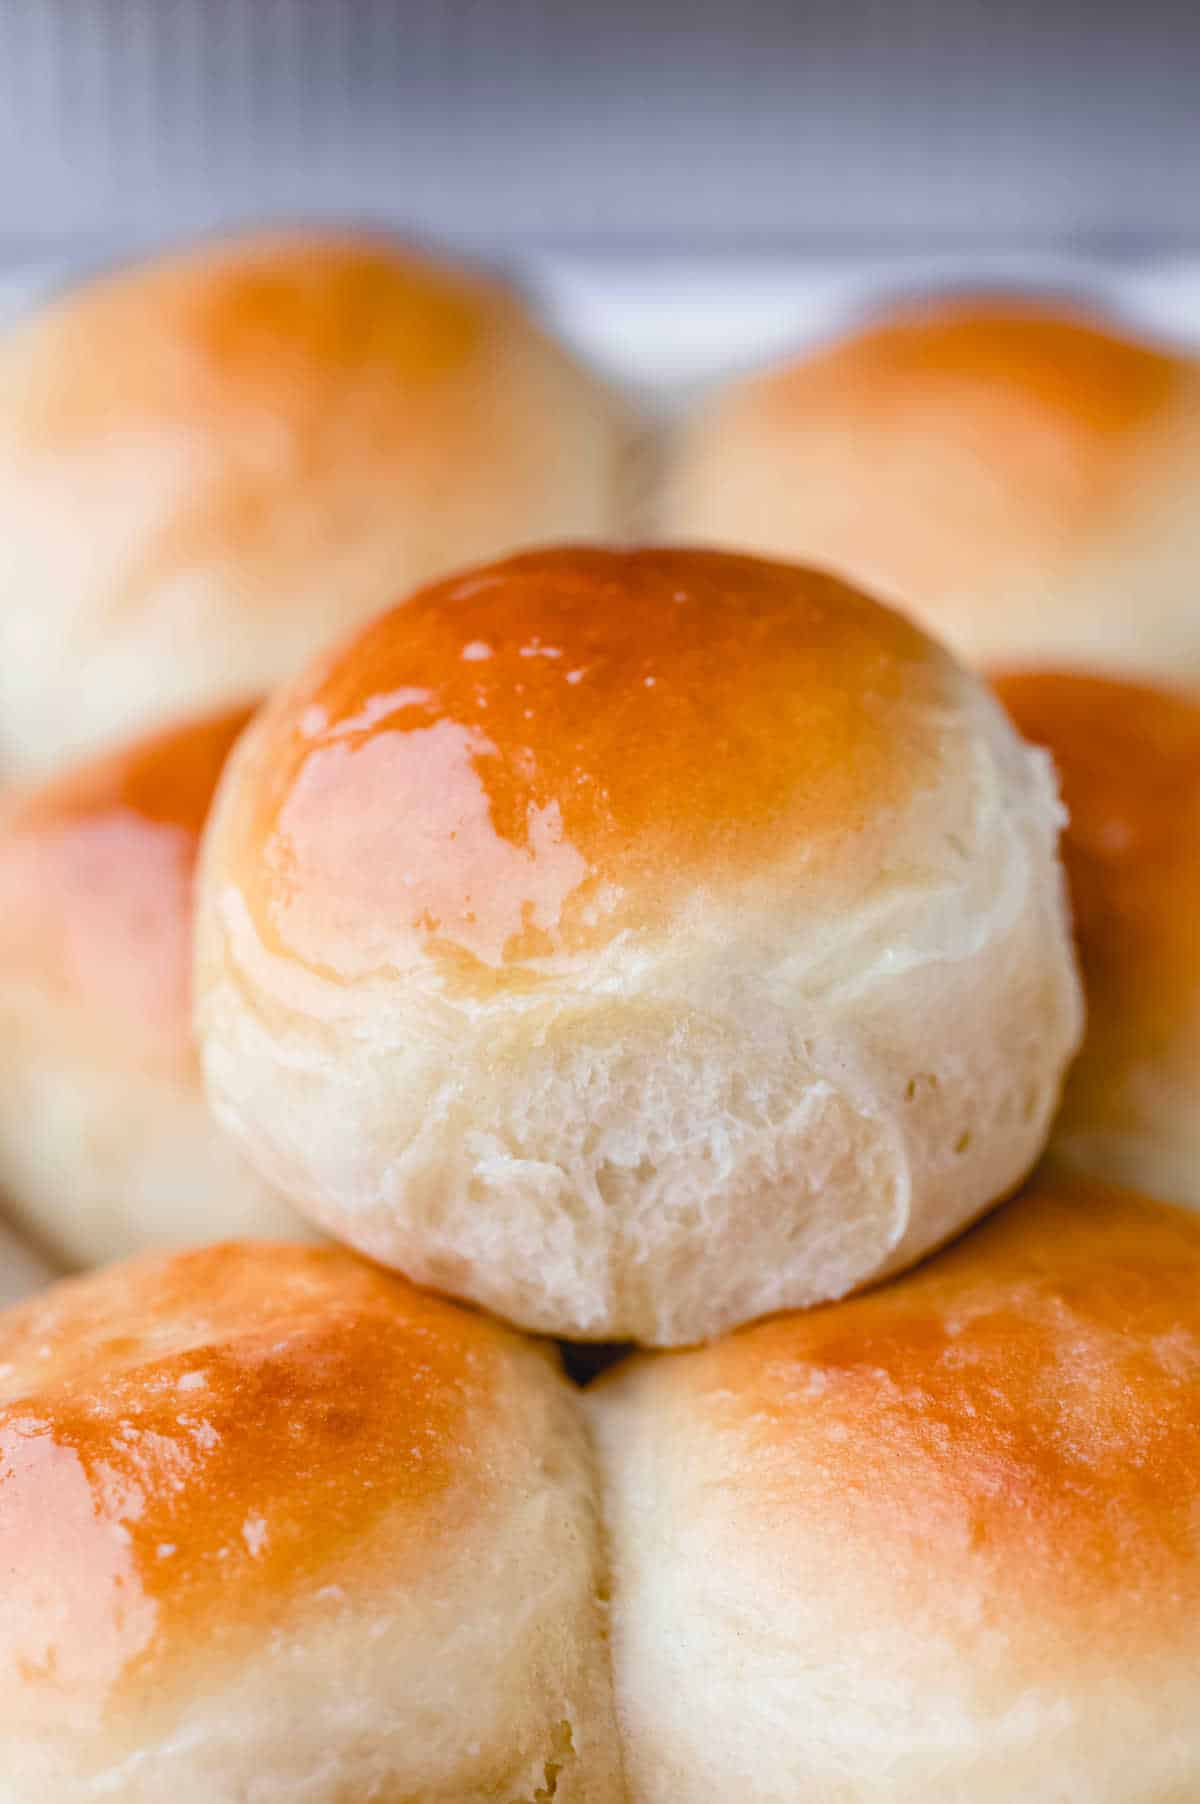
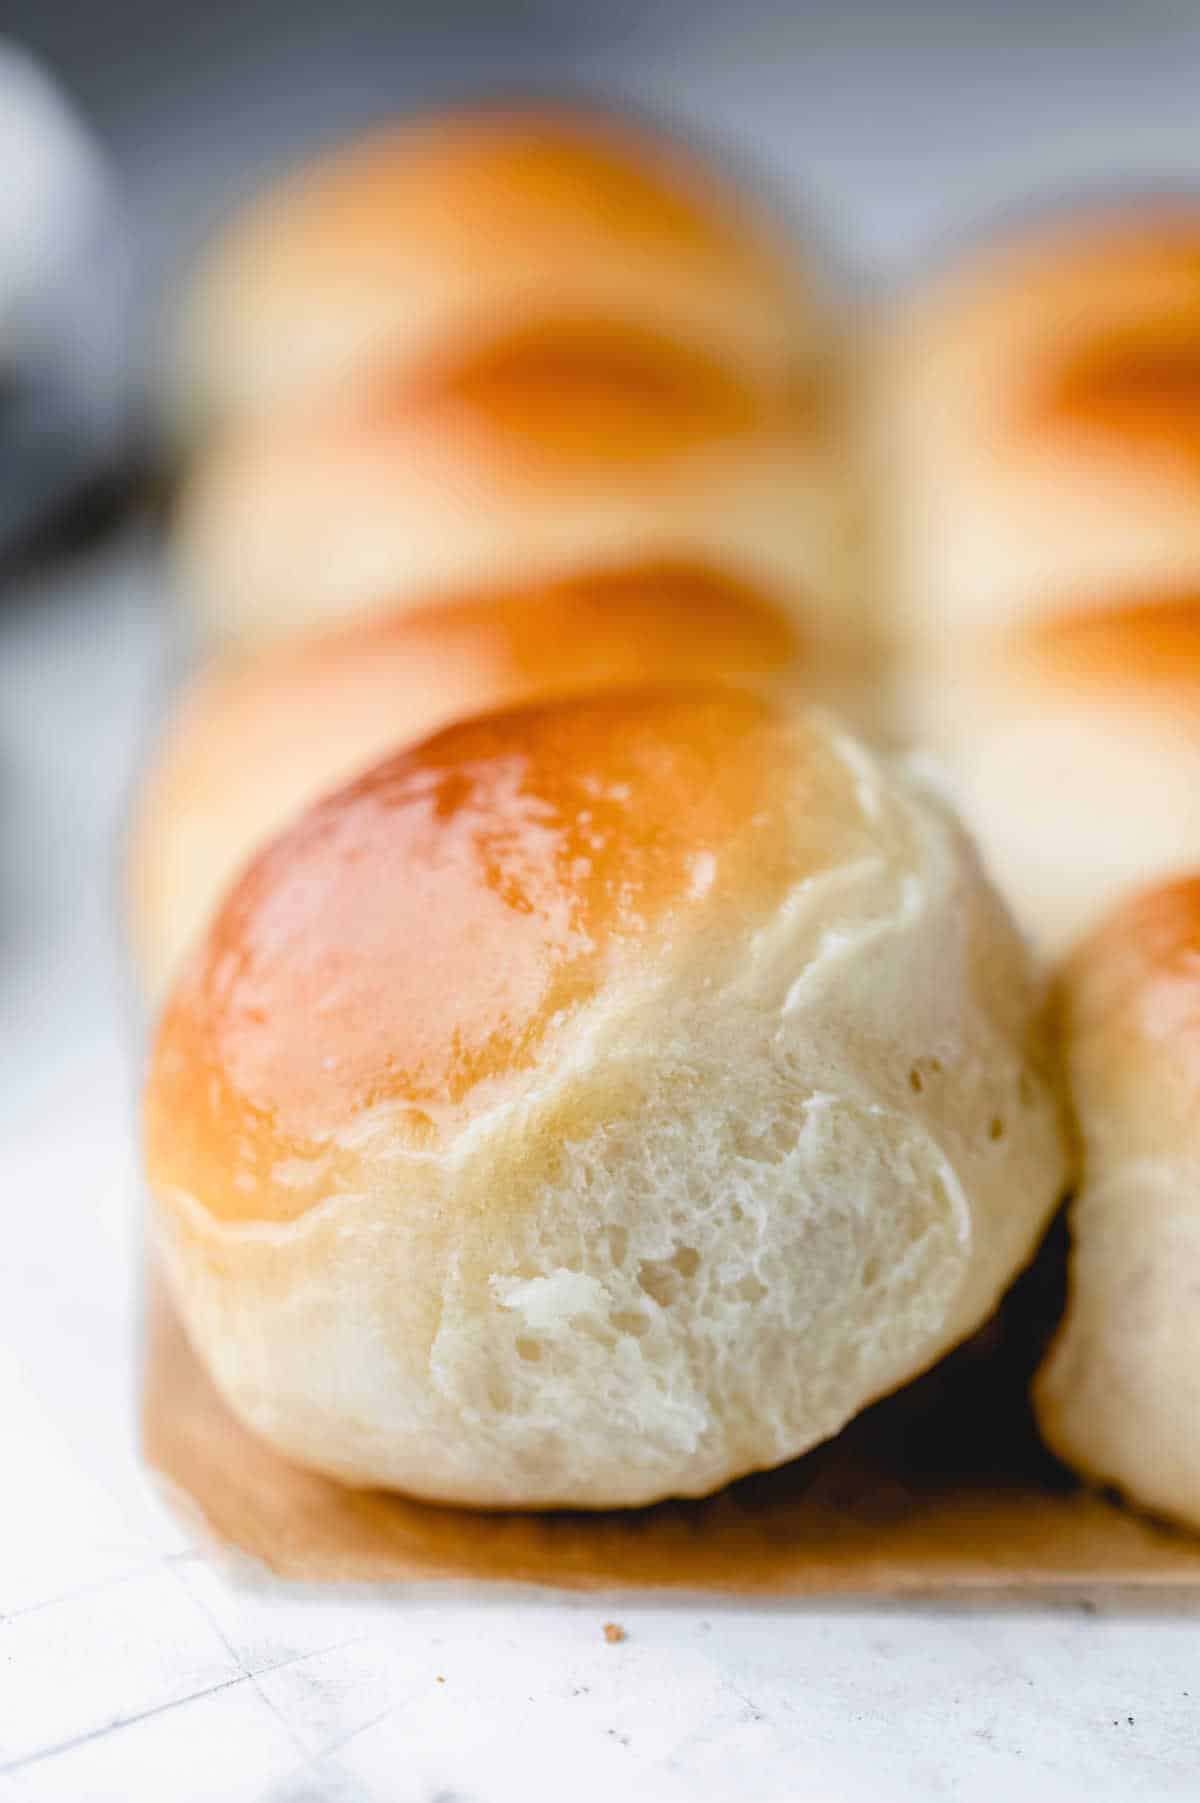
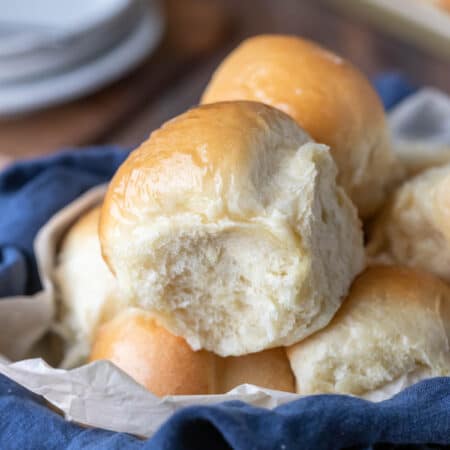
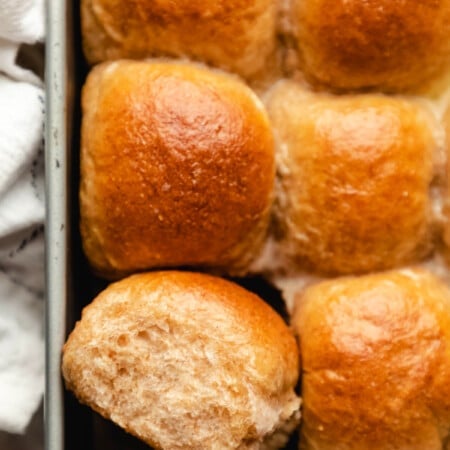
Make your own copycat version of Hawaiian Rolls at home with this easy, made-from-scratch recipe that makes soft and fluffy Hawaiian sweet rolls!
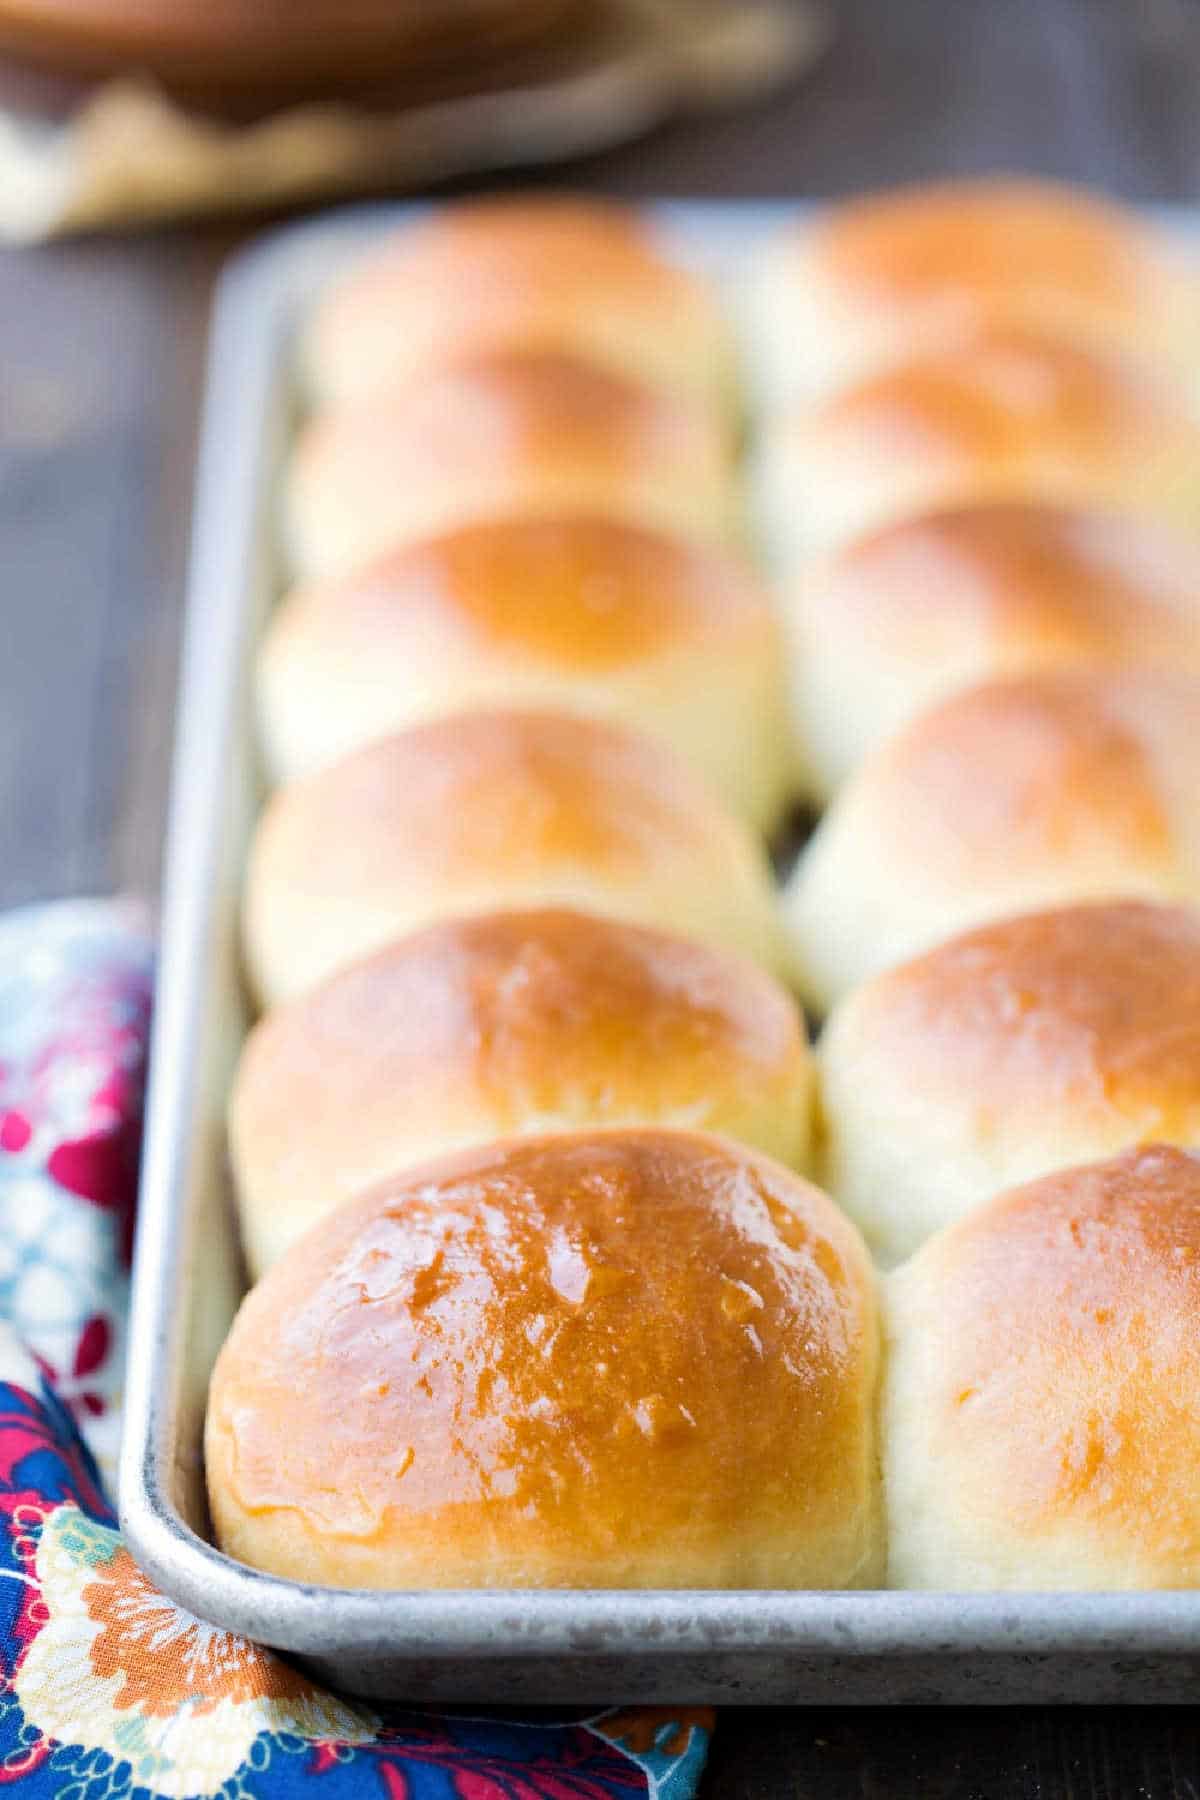
Hawaiian rolls are quite possibly the most delicious rolls ever. They are soft and buttery and sweet.
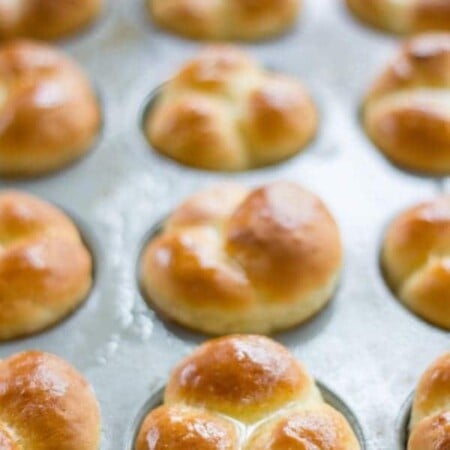
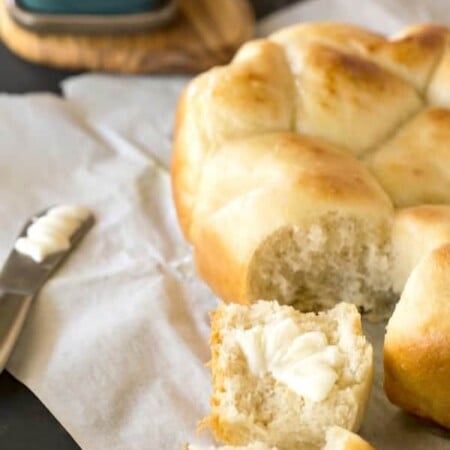
They can be made into smaller dinner rolls or buns for slider, or they can be made into larger, bun-sized rolls. They pair well with everything from burgers to ham, which makes them perfect for baked ham and Swiss poppy seed sandwiches.
“This is my new go-to dinner roll recipe! Very easy to make and everyone loves them. It’s also very easy to cut the recipe in half when I don’t need so many. I love this recipe!” – Julie
Why you’ll love these rolls
- They’re soft! The rolls are soft and fluffy.
- They’re tasty! The rolls are sweet and buttery with a bit of sweet pineapple flavor thrown in.
- They’re easy to make! The rolls are simple and don’t require much hands-on time.
Ingredient notes and substitutions
- Pineapple Juice: I use the mini cans of pineapple juice that come in a 6 pack. However, any 100% pineapple juice should work.
- Yeast: An equal amount of instant yeast will also work. Just skip proofing the yeast and continue with the recipe as written.
- Butter: I use salted butter in this recipe.
- Flour: I’ve also made these rolls with all-purpose flour when I didn’t have any bread flour. I had to add about 1/2-1 cup additional flour for a total of 6-6 1/2 cups of flour.
How to make homemade Hawaiian rolls
Here you’ll find step-by-step photos showing how to make this recipe. The full recipe is given below.
Step 1: Grease 2 9×13-inch pans. Set aside.
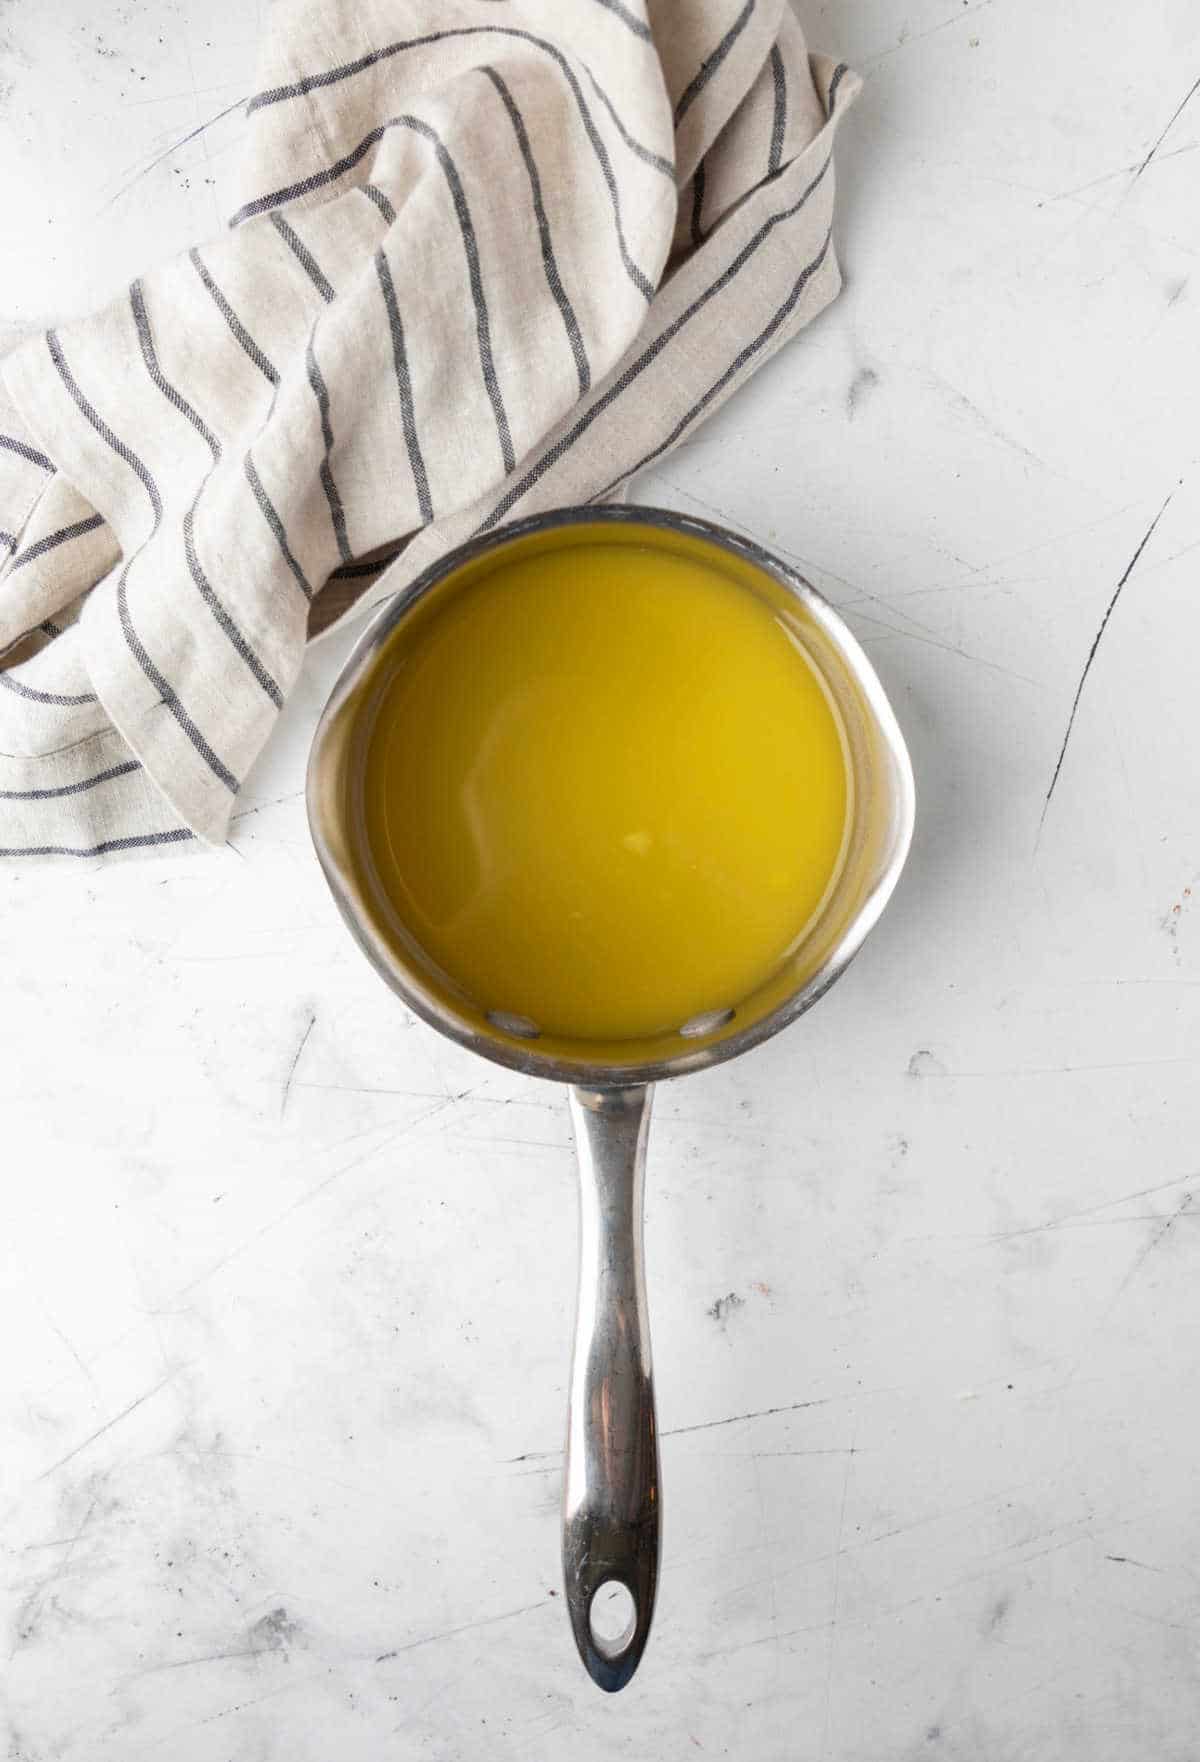
Step 2: In a small saucepan, heat pineapple juice over medium-low temperature until juice reaches about 105 F.
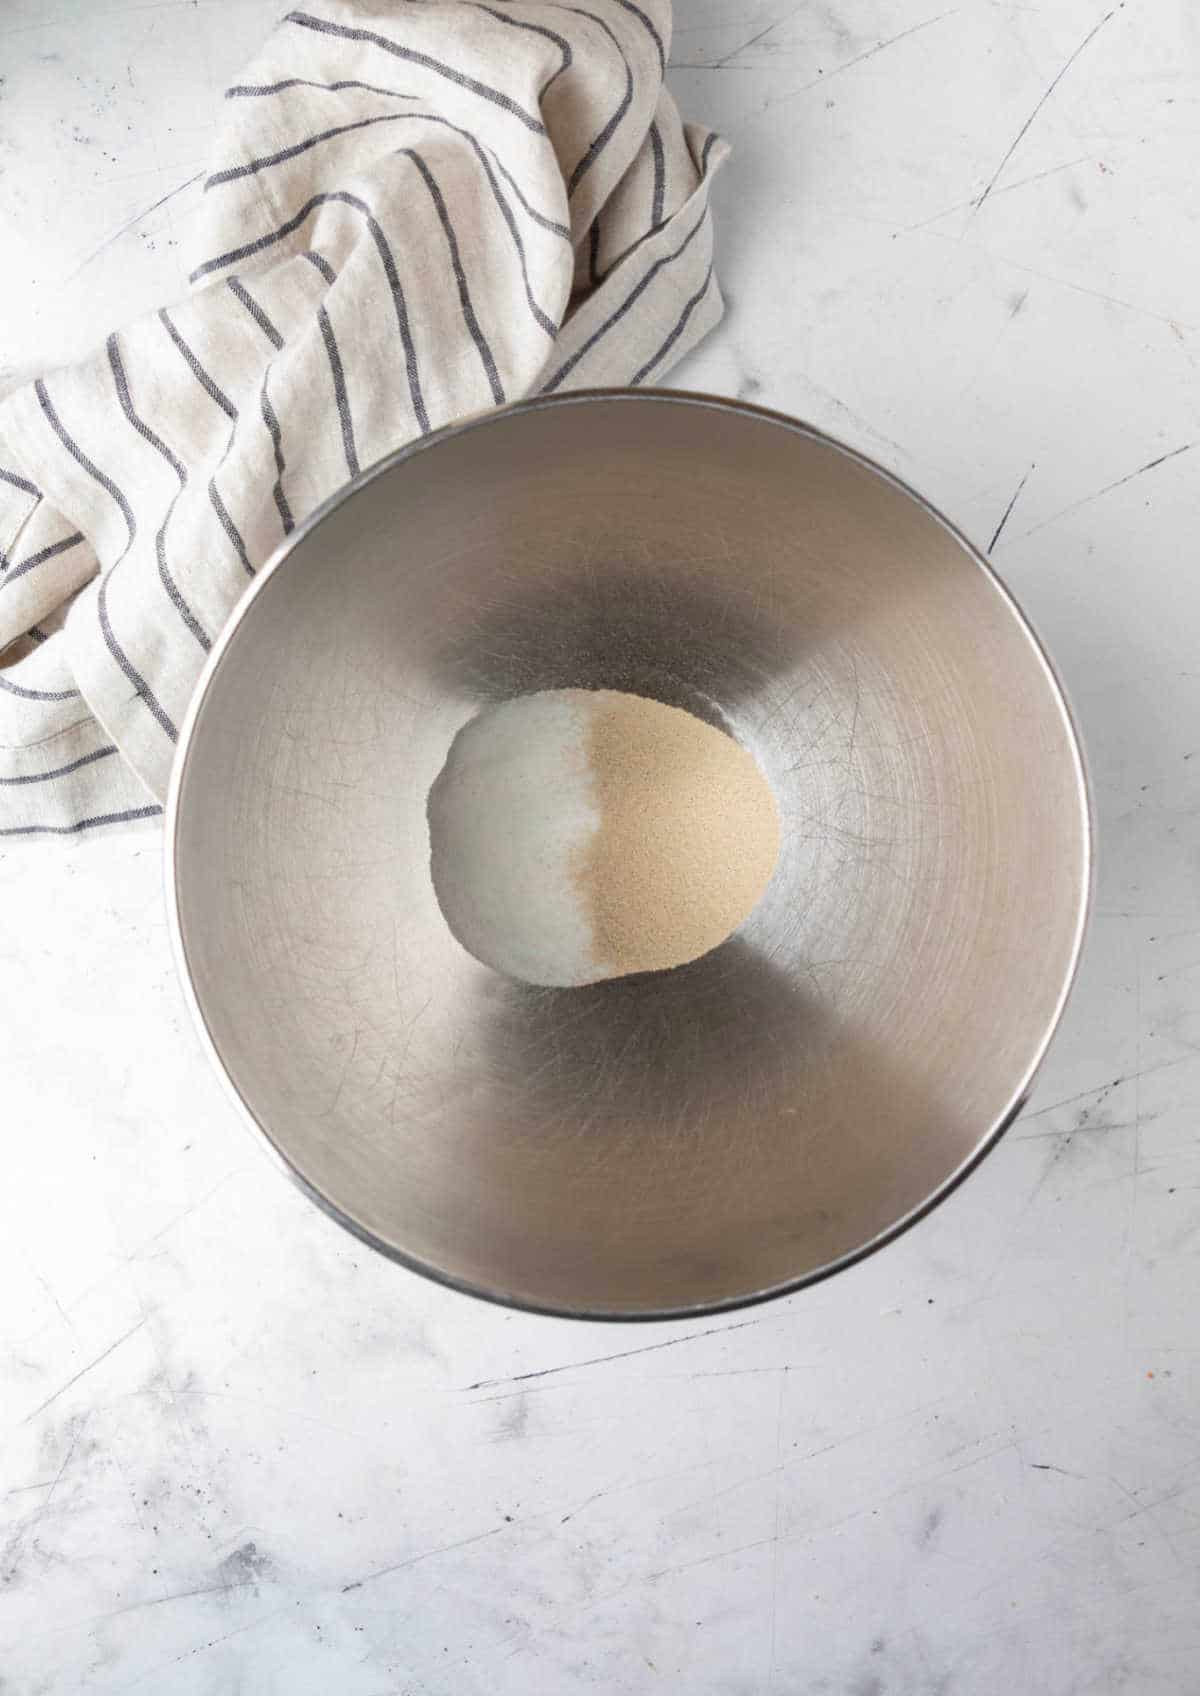
Step 3: In the bowl of a stand mixer fitted with a paddle attachment, stir together yeast and 2 tablespoons of sugar.
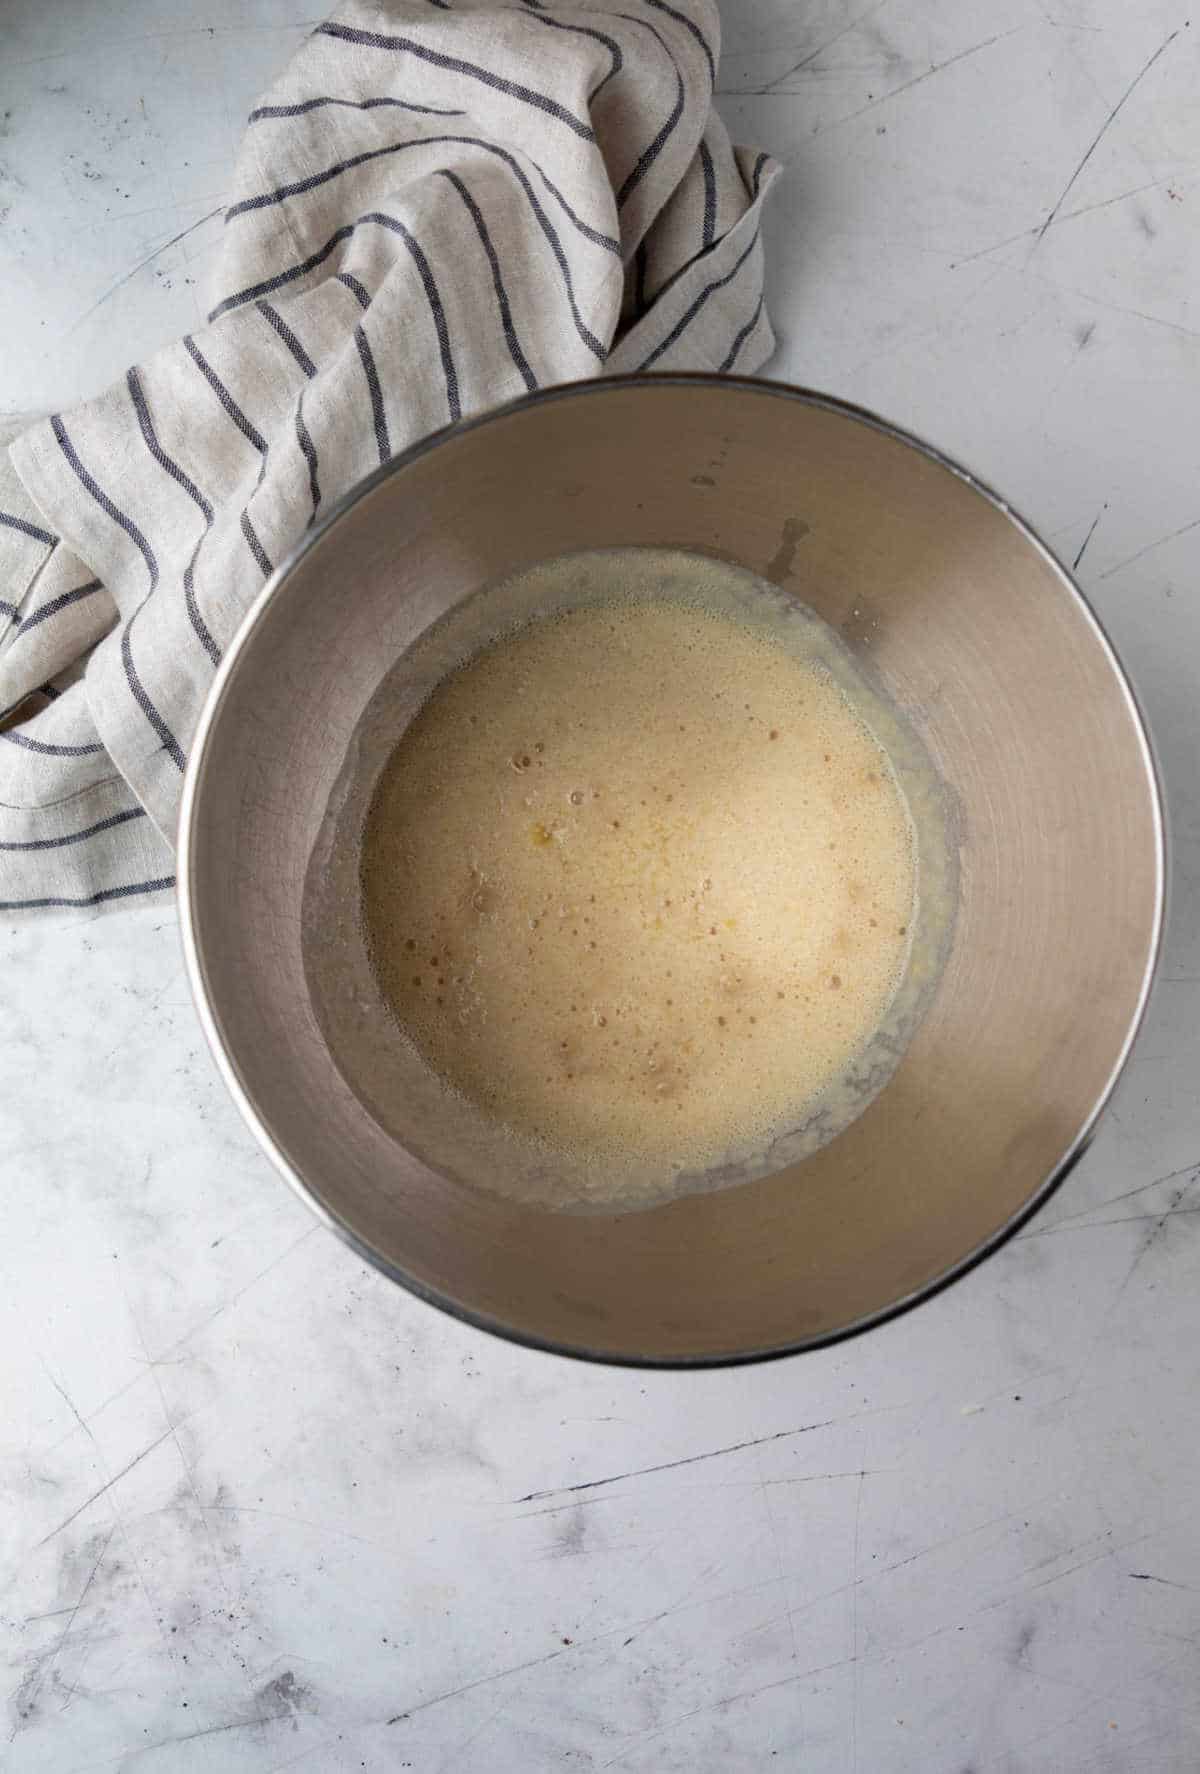
Step 4: Once the pineapple juice is at temperature, add to the bowl. Stir, and let the yeast mixture stand for 5-10 minutes, or until foamy.
Step 5: Once the yeast is foamy, add the remaining sugar, butter, vanilla extract, and eggs; stir to combine.
Step 6: Switch from the paddle attachment to the dough hook, and add 3 cups of flour and salt. Stir on low.
Step 7: Continue adding flour ½ cup at a time until dough clears the sides of the bowl. The dough will feel slightly sticky. It takes 5 ½ cups of flour for my rolls.
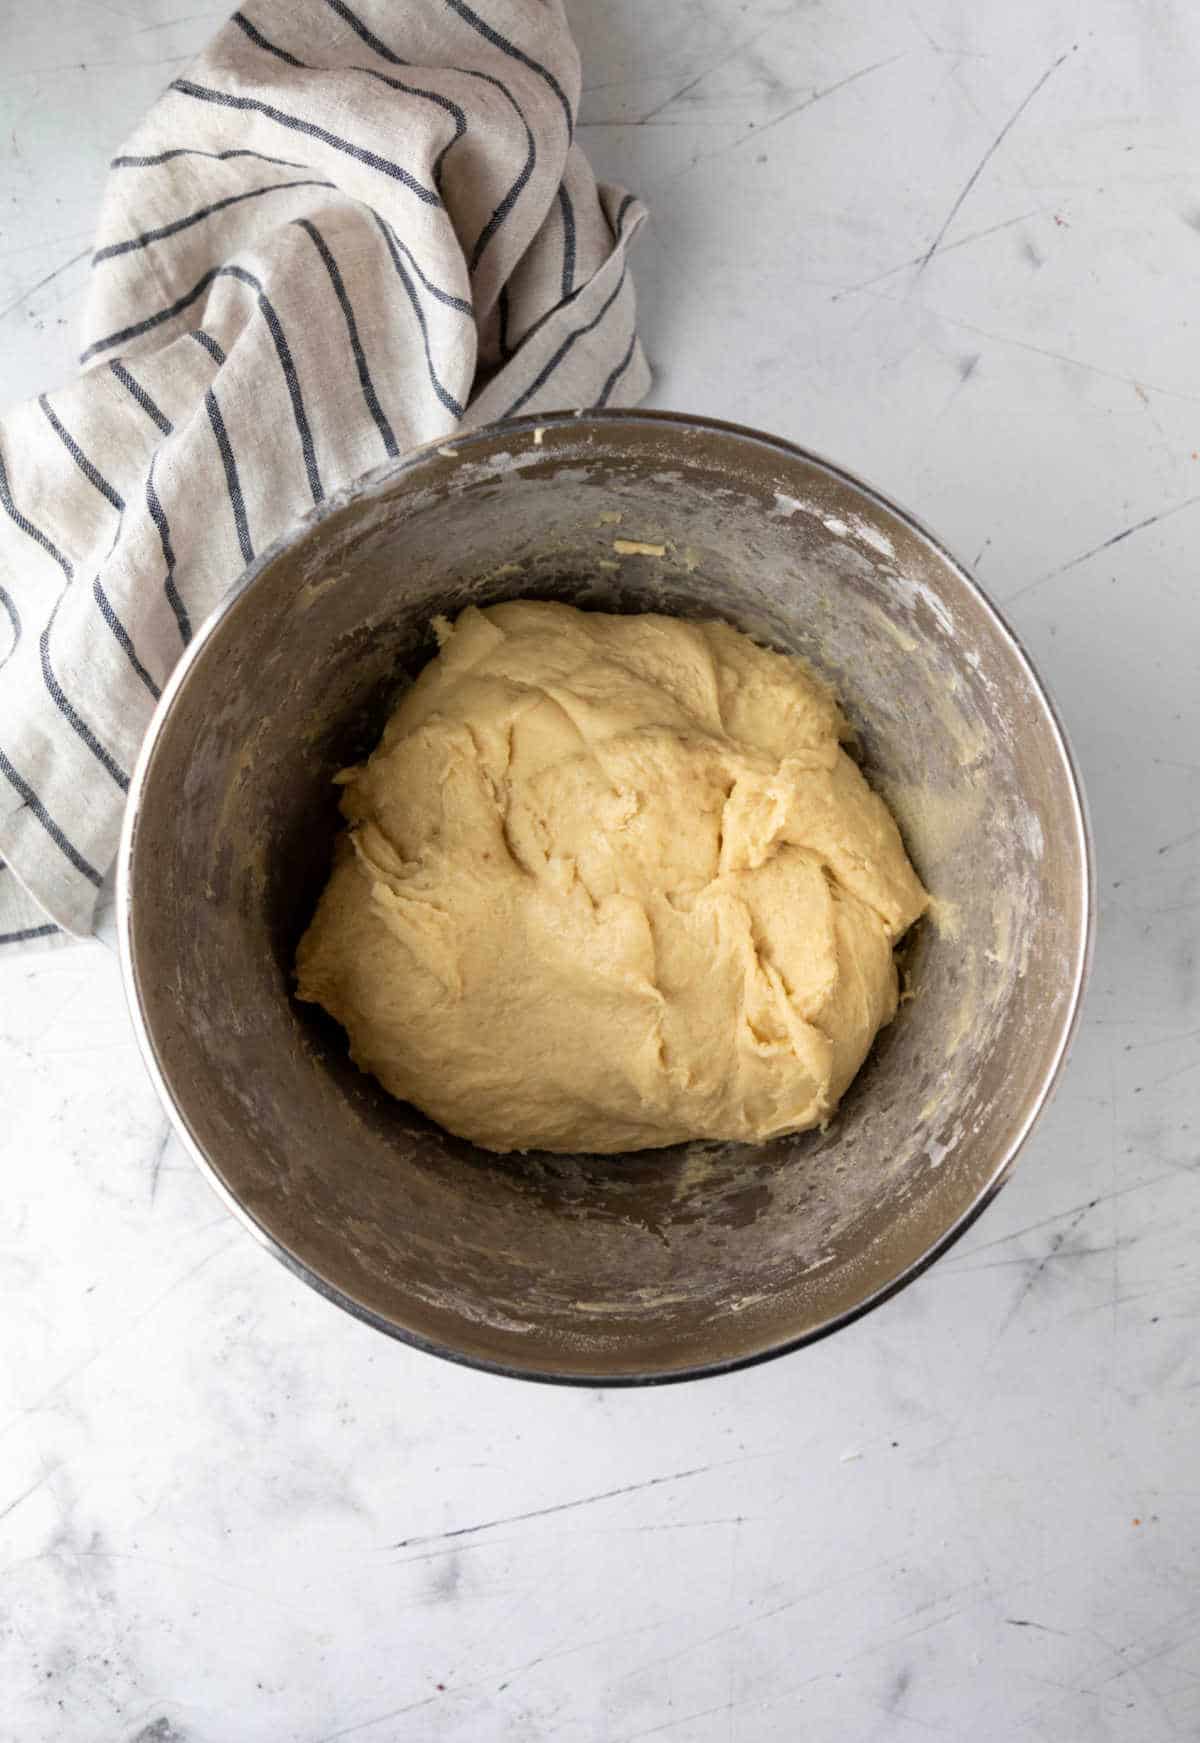
Step 8: Once the dough comes together and clears the sides, continue to knead for about 1 minute.
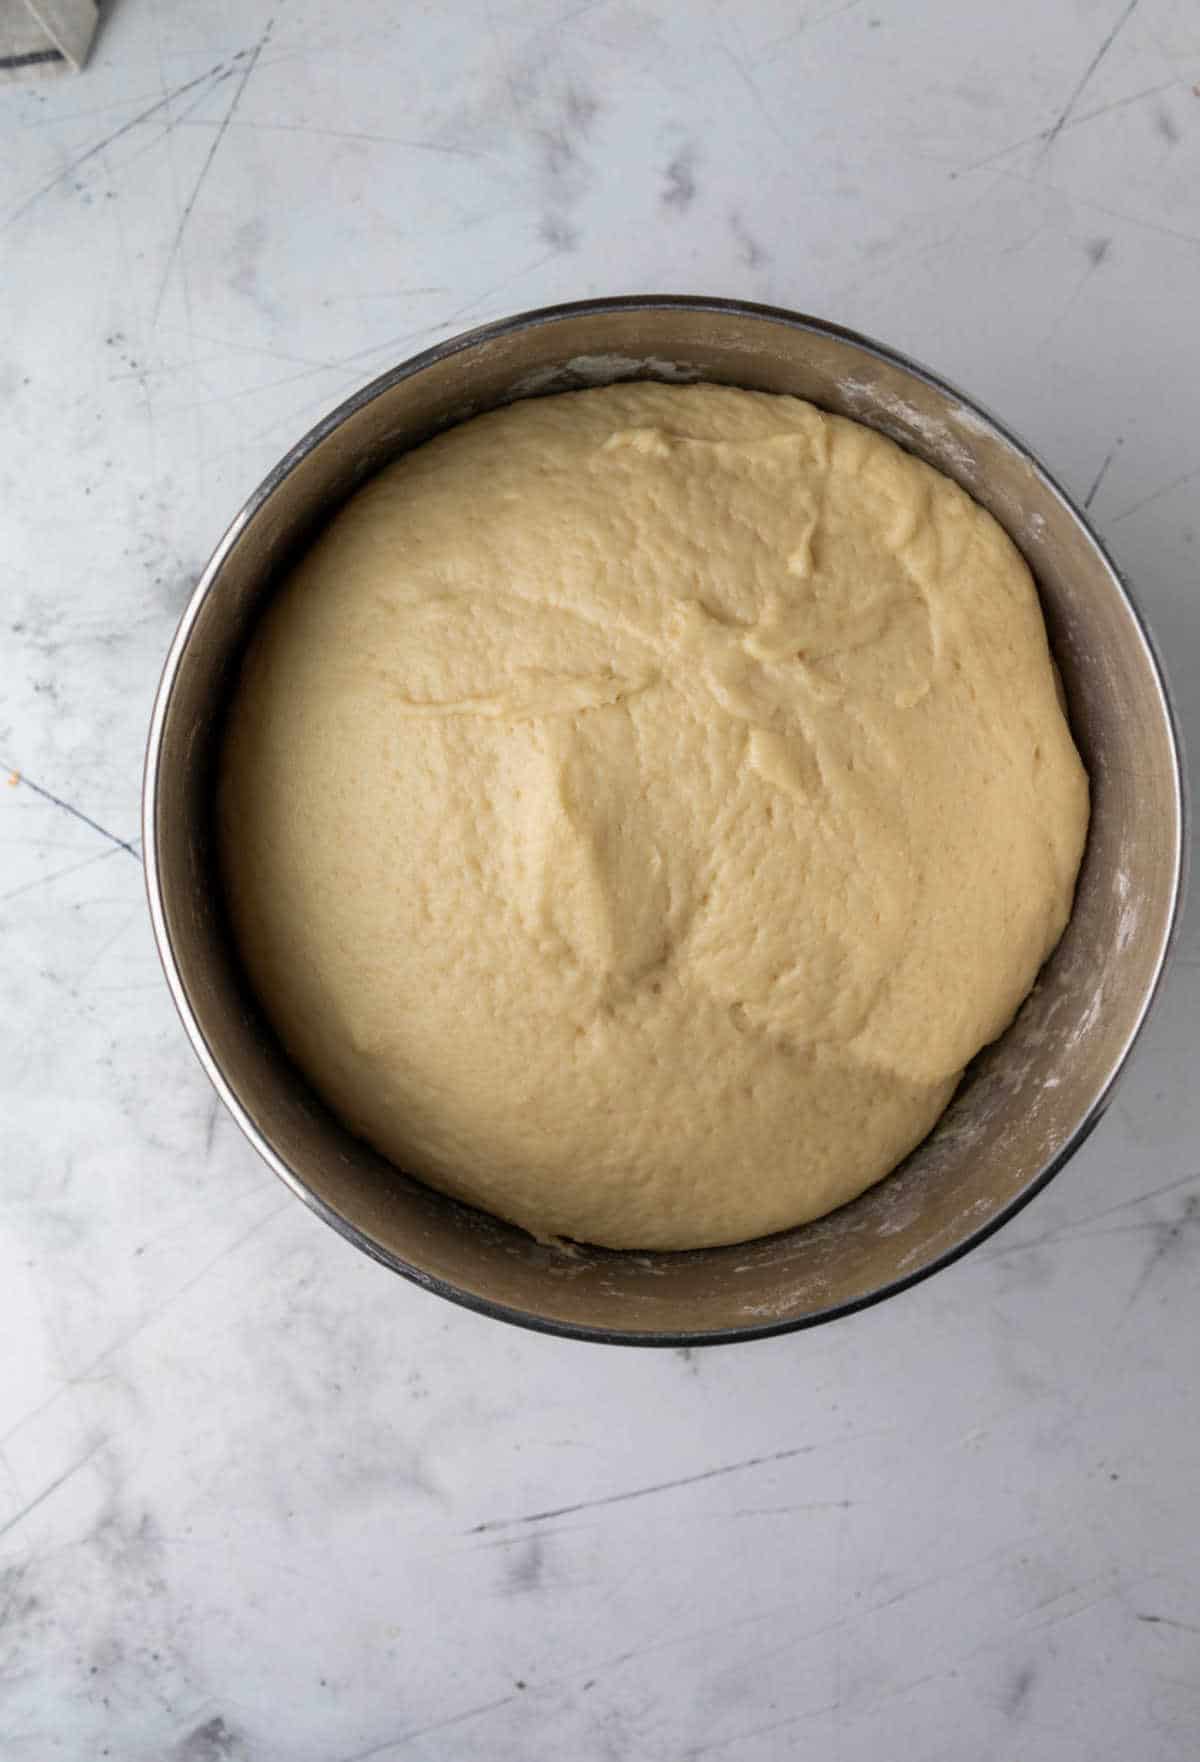
Step 9: Cover bowl with plastic wrap or a clean towel, and let it rise until dough has doubled in size, about 1 ½ hours.
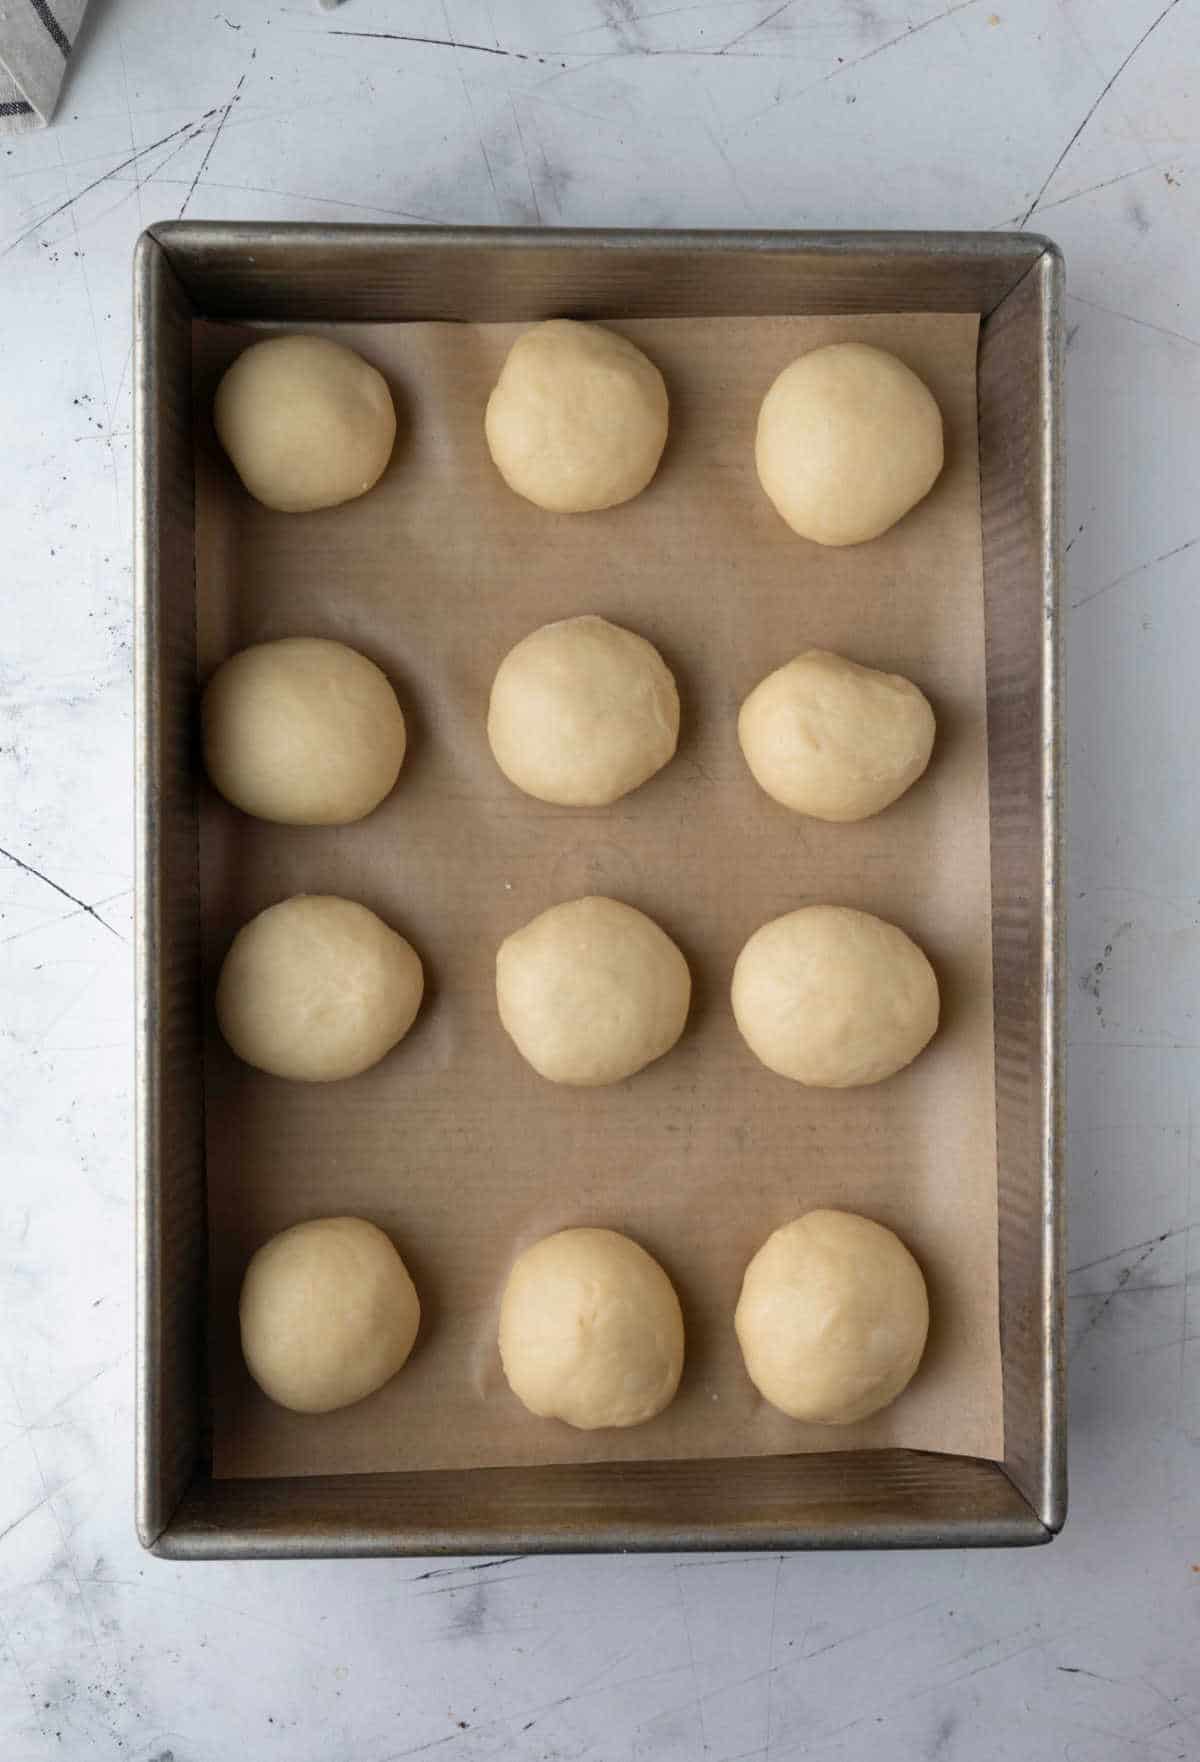
Step 10: Shape dough into rolls. If you would like smaller, dinner-sized rolls, shape into 24 rolls. If you would like larger, bun-sized rolls, shape into 12-18 rolls depending on desired size. Place half of the rolls in each pan.
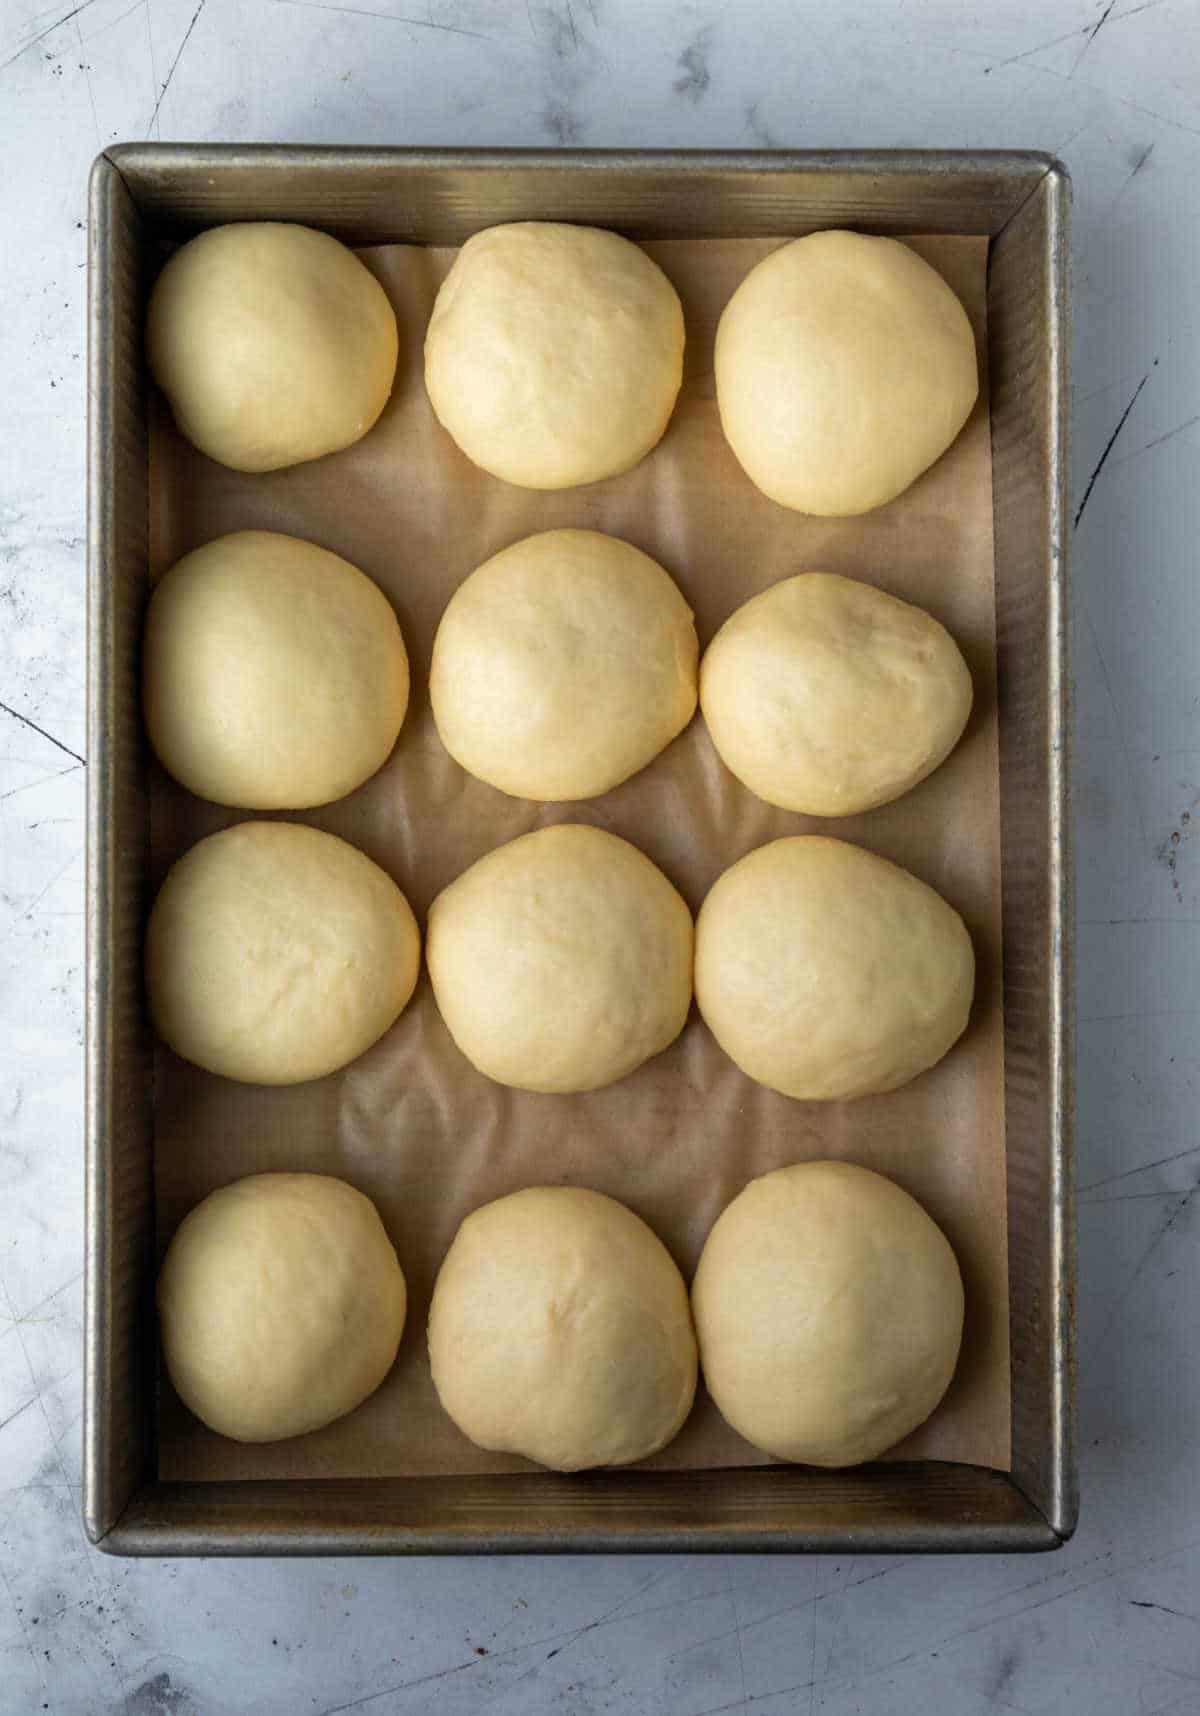
Step 11: Cover rolls with plastic wrap, and let rolls rise until doubled, about 1 ½ hours.
Toward the end of the second rise, preheat oven to 350 F.
Step 12: Bake rolls for about 20 minutes (for dinner-sized rolls), or until rolls are golden brown. Immediately brush rolls with butter.
Serve warm or at room temperature.
Recipe Tips!
- Freezing the rolls: To freeze the baked rolls, let them cool to room temperature. Wrap the rolls tightly in plastic wrap and then place in a freezer-safe container. Freeze the baked rolls for up to 1 month.
- Gluten Free: While I haven’t tried it, I have heard from people who have successfully used measure-for-measure gluten free flour in this recipe.
Storage
The rolls should be stored in an airtight container at room temperature. They’ll keep for up to 3 days when properly stored.
More delicious roll recipes!
If you’ve tried this Hawaiian roll recipe, don’t forget to rate the recipe and leave me a comment below. I love to hear from people who’ve made my recipes!
You can subscribe to receive my latest recipe newsletters or follow me on Facebook, Instagram and Pinterest for even more delicious food.

Hawaiian Rolls
Ingredients
- 1 ½ cups pineapple juice
- 4 ½ teaspoons active dry yeast
- 2/3 cup granulated sugar divided
- 1/2 cup butter at room temperature, plus extra for brushing rolls
- 1 teaspoon vanilla extract
- 2 large eggs
- 5-6 cups bread flour
- 1 teaspoon salt
Instructions
- Grease 2 9×13-inch pans. Set aside.
- In a small saucepan, heat pineapple juice over medium-low temperature until juice reaches about 105 F.
- In the bowl of a stand mixer fitted with a paddle attachment, stir together yeast and 2 tablespoons of sugar.
- Once the pineapple juice is at temperature, add to the bowl. Stir, and let the yeast mixture stand for 5-10 minutes, or until foamy.
- Once the yeast is foamy, add the remaining sugar, butter, vanilla extract, and eggs; stir to combine.
- Switch from the paddle attachment to the dough hook, and add 3 cups of flour and salt. Stir on low.
- Continue adding flour 1/2 cup at a time until dough clears the sides of the bowl. The dough will feel slightly sticky. It takes 5 1/2 cups of flour for my rolls.
- Once the dough comes together and clears the sides, continue to knead for about 1 minute.
- Cover bowl with plastic wrap, and let it rise until dough has doubled in size, about 1 ½ hours.
- Shape dough into rolls. If you would like smaller, dinner-sized rolls, shape into 24 rolls. If you would like larger, bun-sized rolls, shape into 12-18 rolls depending on desired size.
- Place half of the rolls in each pan.
- Cover rolls with plastic wrap, and let rolls rise until doubled, about 1 ½ hours.
- Toward the end of the second rise, preheat oven to 350 F.
- Bake rolls for about 20 minutes (for dinner-sized rolls), or until rolls are golden brown.
- Immediately brush rolls with butter.
- Serve warm or at room temperature.
Video
Notes
- Flour: I’ve also made these rolls with all-purpose flour when I didn’t have any bread flour. I had to add about 1/2-1 cup additional flour for a total of 6-6 1/2 cups flour.
- Nutrition facts are estimates.
Nutrition
Did You Make This Recipe?
Share it with me on Instagram @i_heart_eating and follow on Youtube @katedean and Pinterest @katedean for more!
Originally published April 8, 2013.
Reader Interactions
Love this recipe?
Share your thoughts below and let’s chat! Make sure to connect with me on your favorite social platform below and show me what you made!





Comments & Reviews
Monica says
Hi! I want to try this recipe tomorrow but I’m wondering if I can adjust the type of flour used? I only have whole wheat bread flour and all-purpose. Which would be the better option in this recipe?
Kate says
Hi! All-purpose would be the better option. Whole wheat flour will change the texture of the rolls and requires adjustments in the liquid so that the rolls aren’t dry.
I have a note about using all-purpose flour in my tips section of the post: I’ve also made these rolls with all-purpose flour when I didn’t have any bread flour. I had to add about 1/2-1 cup additional flour for a total of 6-6 1/2 cups of flour. I hope that helps! If you have any other questions, please feel free to ask!
Briana says
Incredible! Mouthwatering, perfect. Loved them. The tastiest bread I’ve ever made to date. Sprinkled some salt on the bread after brushing with butter.
Kate says
Thank you so much!
Christine says
These were fantastic! So soft and fluffy, my family and friends enjoyed them so much I’m making them again for a baby shower this weekend. My only question is, I put 20 rolls on 1 tray, which I buttered, they rose and baked well, but the bottoms were a little doughy. The tops started Browning and I didn’t want to over cook them. Was it that I put too many to close together? Or the butter was a bad idea?
Kate says
Hi! Thank you! Did you lightly butter it? If so, that should be ok. One thing that you can do if you find that the rolls are browning too much on top but haven’t baked all the way through is to tent with aluminum foil. This will allow the rolls to continue baking through without browning as quickly on top.
Milbry says
Will the small can pineapple juice with a little orange juice in work for this recipe?
Kate says
Hi! I’ve used canned pineapple juice, and it works well. I’ve never tried pineapple orange juice, but I would guess that it would work, too.
Seliest says
Just to make sure, I don’t knead or punch down after the first rise? Just make the rolls?
Kate says
Hi! When I go to shape the rolls, I pull the dough out and divide it in half and then subdivide it from there. Doing that it similar to punching it down in that it forces the extra air out, but I don’t punch or knead it down.
Briana says
5 stars! I tried rating it but my phone would only let me click on 4 stars.
Anyway, I have made this recipe several times now since discovering it. I do reduce the sugar a bit now and I’ve figured out I need almost 6 cups of flour (I always use a scale to measure to be precise). I let my mixer knead the first 5 1/2 cups of flour then dump it on my counter with the remaining half cup and hand knead for a minute or so. I let it rise in the warmest room of my house and it takes about an hour each rise. It turns out wonderfully every time. I have used it for homemade slider sandwiches as well as regular dinner rolls. They are so yummy when they are warm and slathered in salted butter. I don’t think I’ll ever go back to the store bought Hawaiian rolls – especially after reading the ingredients list on those. Thanks for sharing!
Kate says
Thank you! I’m so glad that you like the rolls! This is one of my family’s favorite recipes, and I love to hear that other people are enjoying it, too!
E T Steadman says
Loved the simplicity
Kate says
Thank you!
Heidi says
Love the rolls! Made them for Christmas and everyone was so impressed! I am wondering if i make the dough on a Friday will they be good to bake Sunday?
Kate says
Thank you! I haven’t let the dough sit in the fridge that long to say for certain. Usually when I make up dough and let it sit in the fridge, it’s just overnight, so I’m not sure how it would work out.
Lyn says
I made these rolls and they came out dense and didn’t rise much. Where did I go wrong? I want to try again.
Kate says
That sounds like a yeast issue. Did the yeast foam?
Deb says
I used active yeast
Kate says
I was wondering whether the yeast got foamy when you stirred the yeast into the pineapple juice mixture.
Lyn says
I tried the rolls again. I purchased more yeast and they turned out great. My family loves them!! Thank you!!
Kate says
Yay! I’m glad that the new yeast helped and that the rolls turned out well this time!
Theresa says
Can you freeze these rolls ahead of time ?
Kate says
Yes, you can freeze the rolls. They freeze/thaw well.
Shari says
Before you freeze, do you bake them first?
Kate says
Yes, I’ve frozen the baked rolls.
S says
Hi, I plan on making these this weekend. Is there a preference for which pan to bake them in – aluminum or glass? Thanks in advance.
Kate says
I use a metal pan. If you use glass, you’ll need to decrease the oven temp by 25F and start checking the rolls about 5 minutes sooner. Hope that helps!
Julie says
This is my new go-to dinner roll recipe! Very easy to make and everyone loves them. It’s also very easy to cut the recipe in half when I don’t need so many. I love this recipe!
Kate says
I’m so glad that you liked the rolls!
Shannon Miskovich says
This was a very easy and great recipe for Hawaiian buns. Family love them. Thank you for sharing.
Kate says
So glad that you liked them!
Robyn says
Oh my, these are easy & wonderful rolls!
Kate says
Thank you!
Brandi says
My yeast isn’t getting foamy.. I have rapid rise and I tried heating it to 133° because 105 isn’t hot enough for rapid rise. Hopefully they still turn out ok
Kate says
I hope they did, too! I use either instant yeast or active dry yeast in this recipe. Rapid rise yeast is meant for recipes with one rise, so it may not work as well in this recipe. Also, it may not have gotten foamy because yeast begin to die off at 130F. Hope that helps for next time!
Ruth says
Decided to try making this today for Thanksgiving tomorrow. Omg it’s so good, almost identical to kings Hawaiian rolls, but I added extra sugar and switched it for brown sugar. Made amazing sandwiches. Definitely keeping the recipe
Kate says
Thank you!
Doreen says
I followed the recipe exactly and used 6 cups of flour. The rolls are absolutely delicious! They are a winner! Will definitely make them again, and again, and again 🤣
Kate says
Thank you! I’m so glad that you liked the rolls!
Ashley says
I want to make these to take to my husband’s fire department for Thanksgiving. Could I prep them the evening/night prior and have then ready to bake on Thanksgiving?
Kate says
Hi! I haven’t made them ahead of time, but I’ve heard from people who have shaped the rolls and placed the pan in the fridge overnight. They’ve said that that worked well for them.
Ashley says
Thank you!
Mandy says
Planning on making these today! Quick question, do you use salted or unsalted butter?
Kate says
I use salted butter. You can substitute unsalted butter + additional salt if you prefer.
Bev says
Excellent. I subbed brown sugar for the granulated and they were amazing.
Kate says
Thank you!