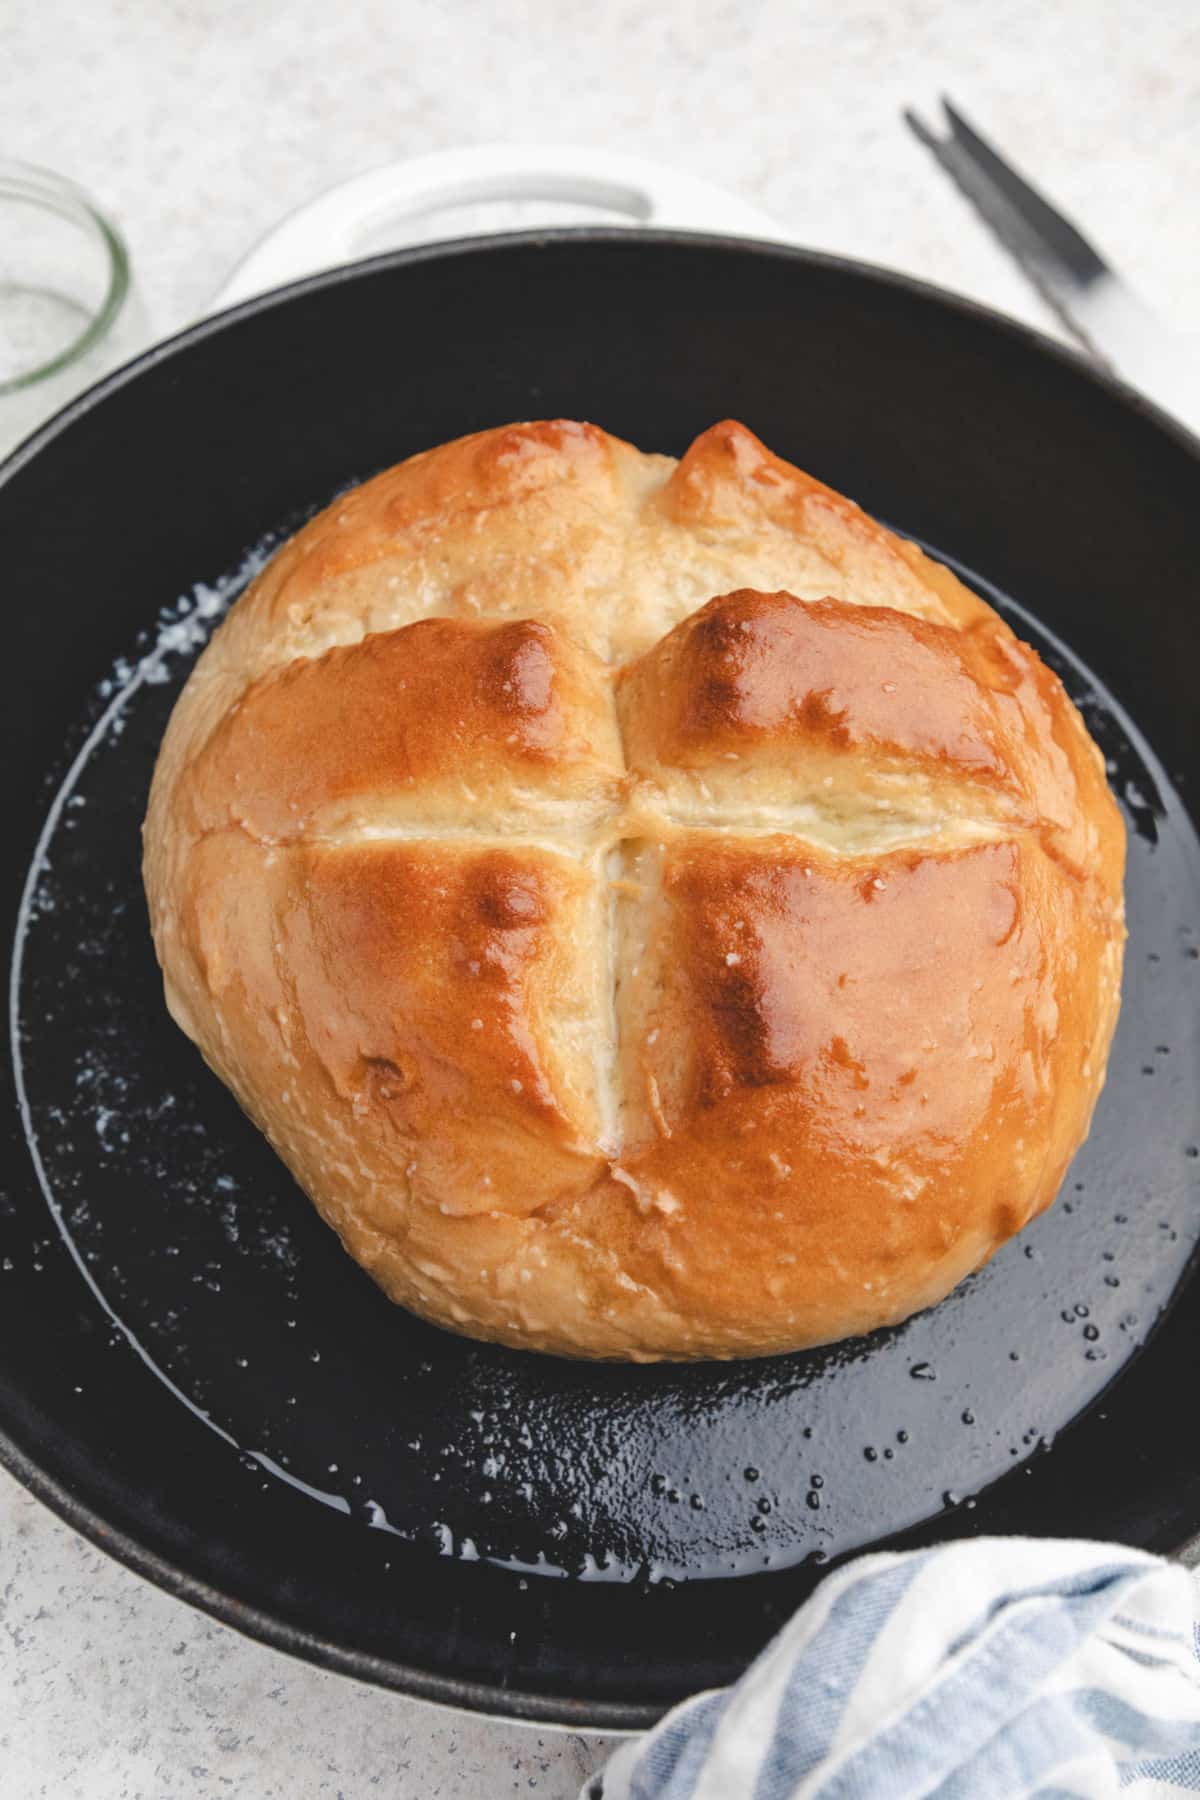
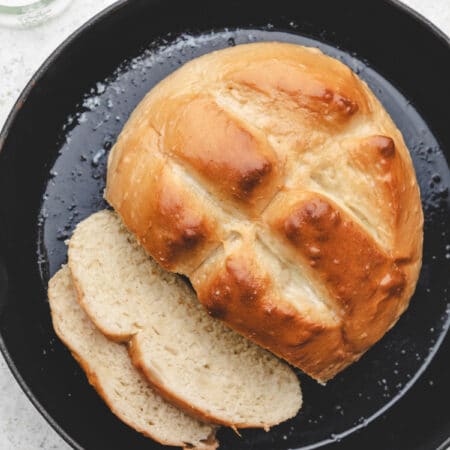
Easy skillet bread recipe! This simple recipe takes just 6 pantry staple ingredients and makes a loaf of light and fluffy bread.

Whether you’re intimidated by yeast and looking for a good beginner recipe or just looking for an easy recipe, this is the recipe for you!
This simple skillet bread recipe only takes about 90 minutes total, and it’s made with 6 basic ingredients. The hands-on time for this recipe is minimal, and most of the time is just rising or baking time.
And the recipe makes delicious, fluffy white bread. I serve this as a table bread and just serve it right out of the skillet at dinner.
“Easy and delicious! The texture is very soft and tender!” – Pat
Ingredient notes and substitutions
- Water: If you don’t have a thermometer, feel the water. It should feel a little warmer than bath water but shouldn’t feel uncomfortably warm. If it’s too hot for you, it will be too hot and could kill the yeast.
- Oil: I like to use olive oil in this recipe. Another neutral oil should work in place of the olive oil.
- Flour: All-purpose flour will also work in this recipe. You may find that you need to adjust the amount of flour, and that’s ok! Just go by feel to avoid adding too much flour.
How to make skillet bread

Step 1: In the bowl of a stand mixer fitted with the dough hook, stir the water, honey, and yeast together. Let mixture sit for 5-10 minutes, or until foamy.
Step 2: Add part of the flour, olive oil, and salt. Knead on low, continuing to add flour 1/4 cup at a time until it forms a soft, smooth dough that clears the sides of the bowl.

Step 3: Once it forms the dough, continue to knead for 5 minutes on low.
Step 4: Cover and let rise for 30 minutes.
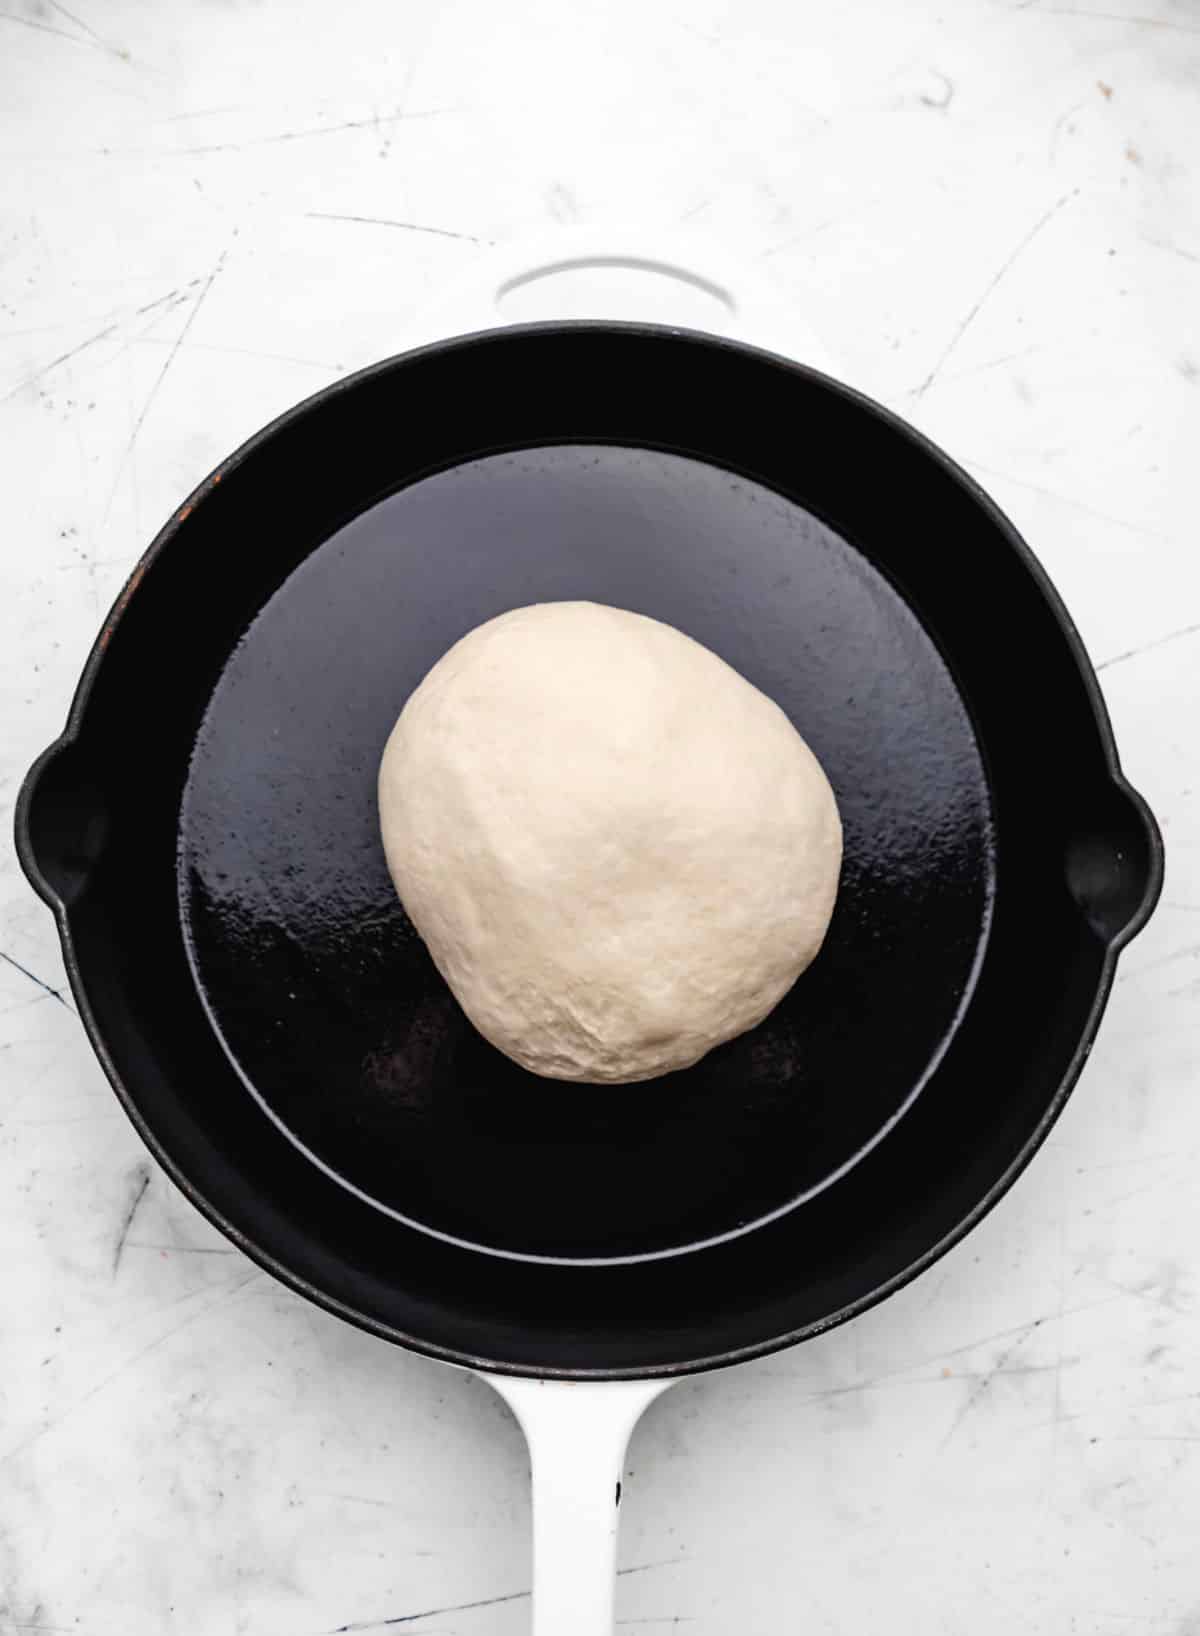
Step 5: Form the dough into a tight ball and place in a cast iron skillet. Cover and let rest for 30 minutes.
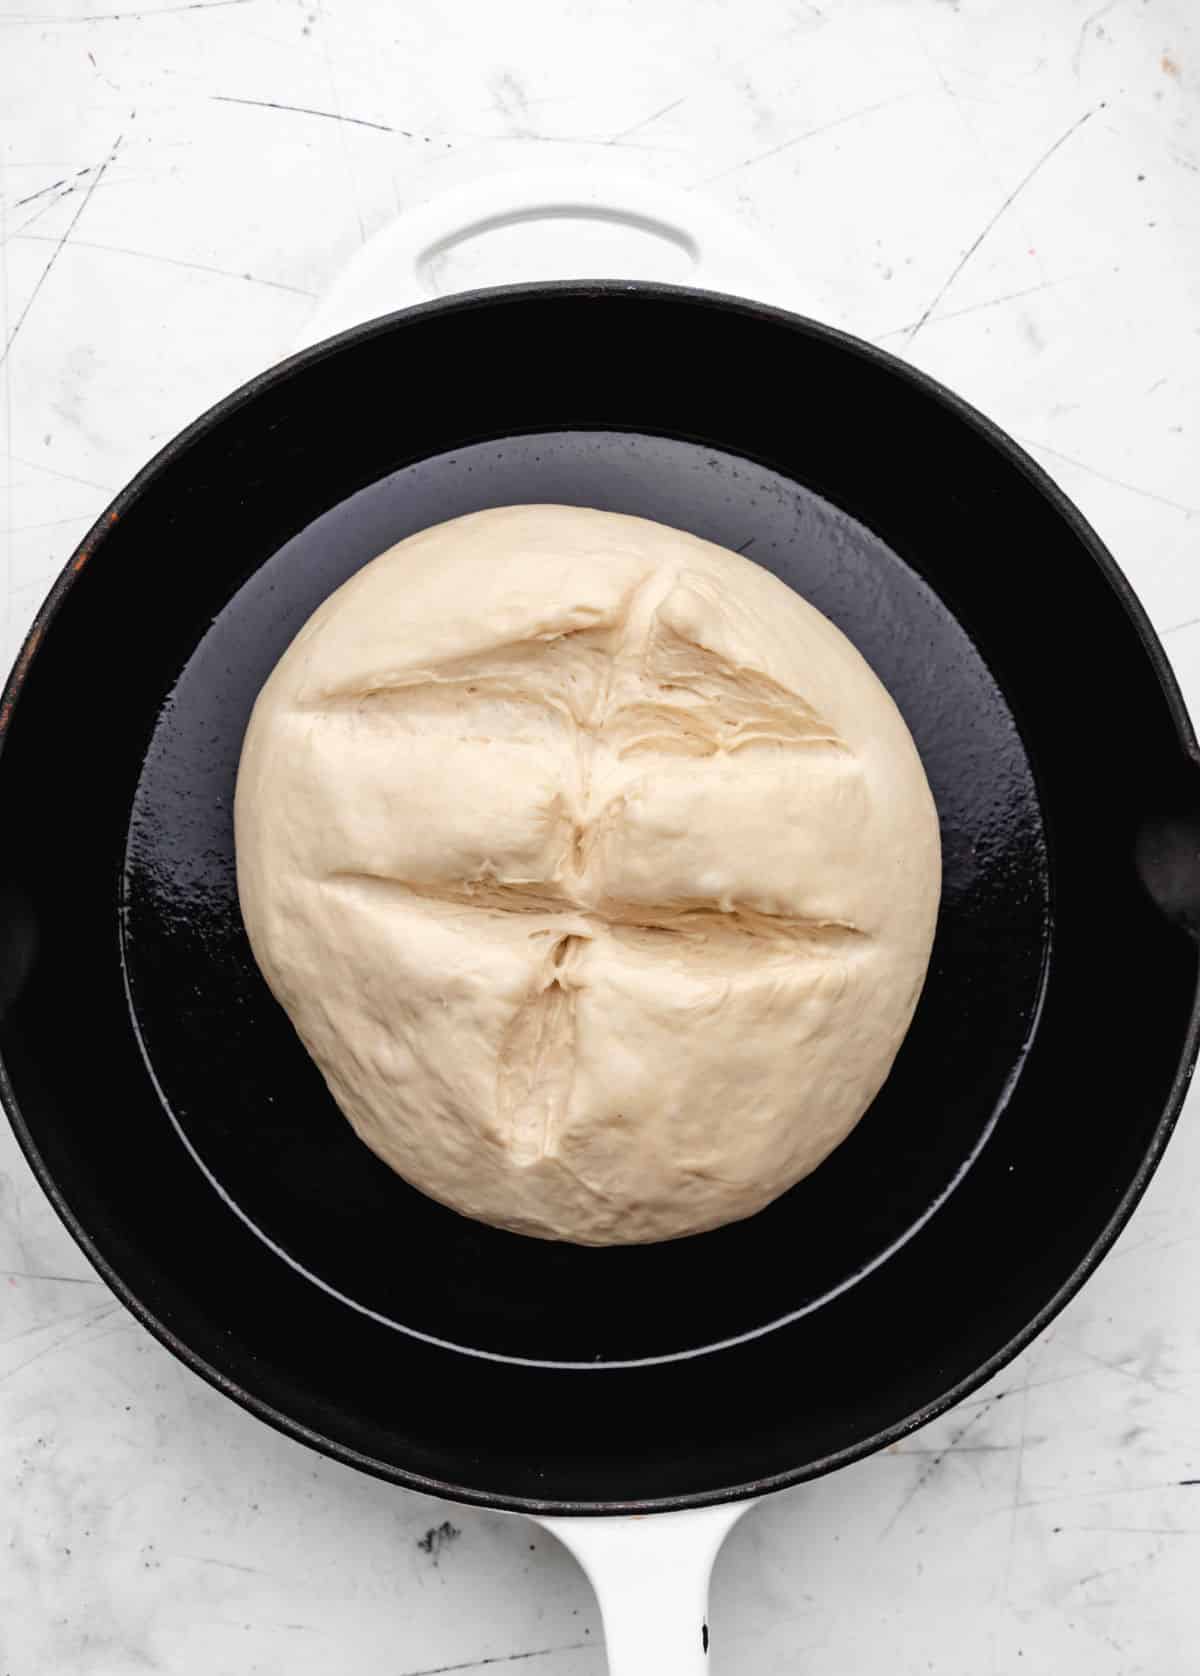
Step 6: Just before you place the bread in the oven cut two slits width-wise and one lengthwise.
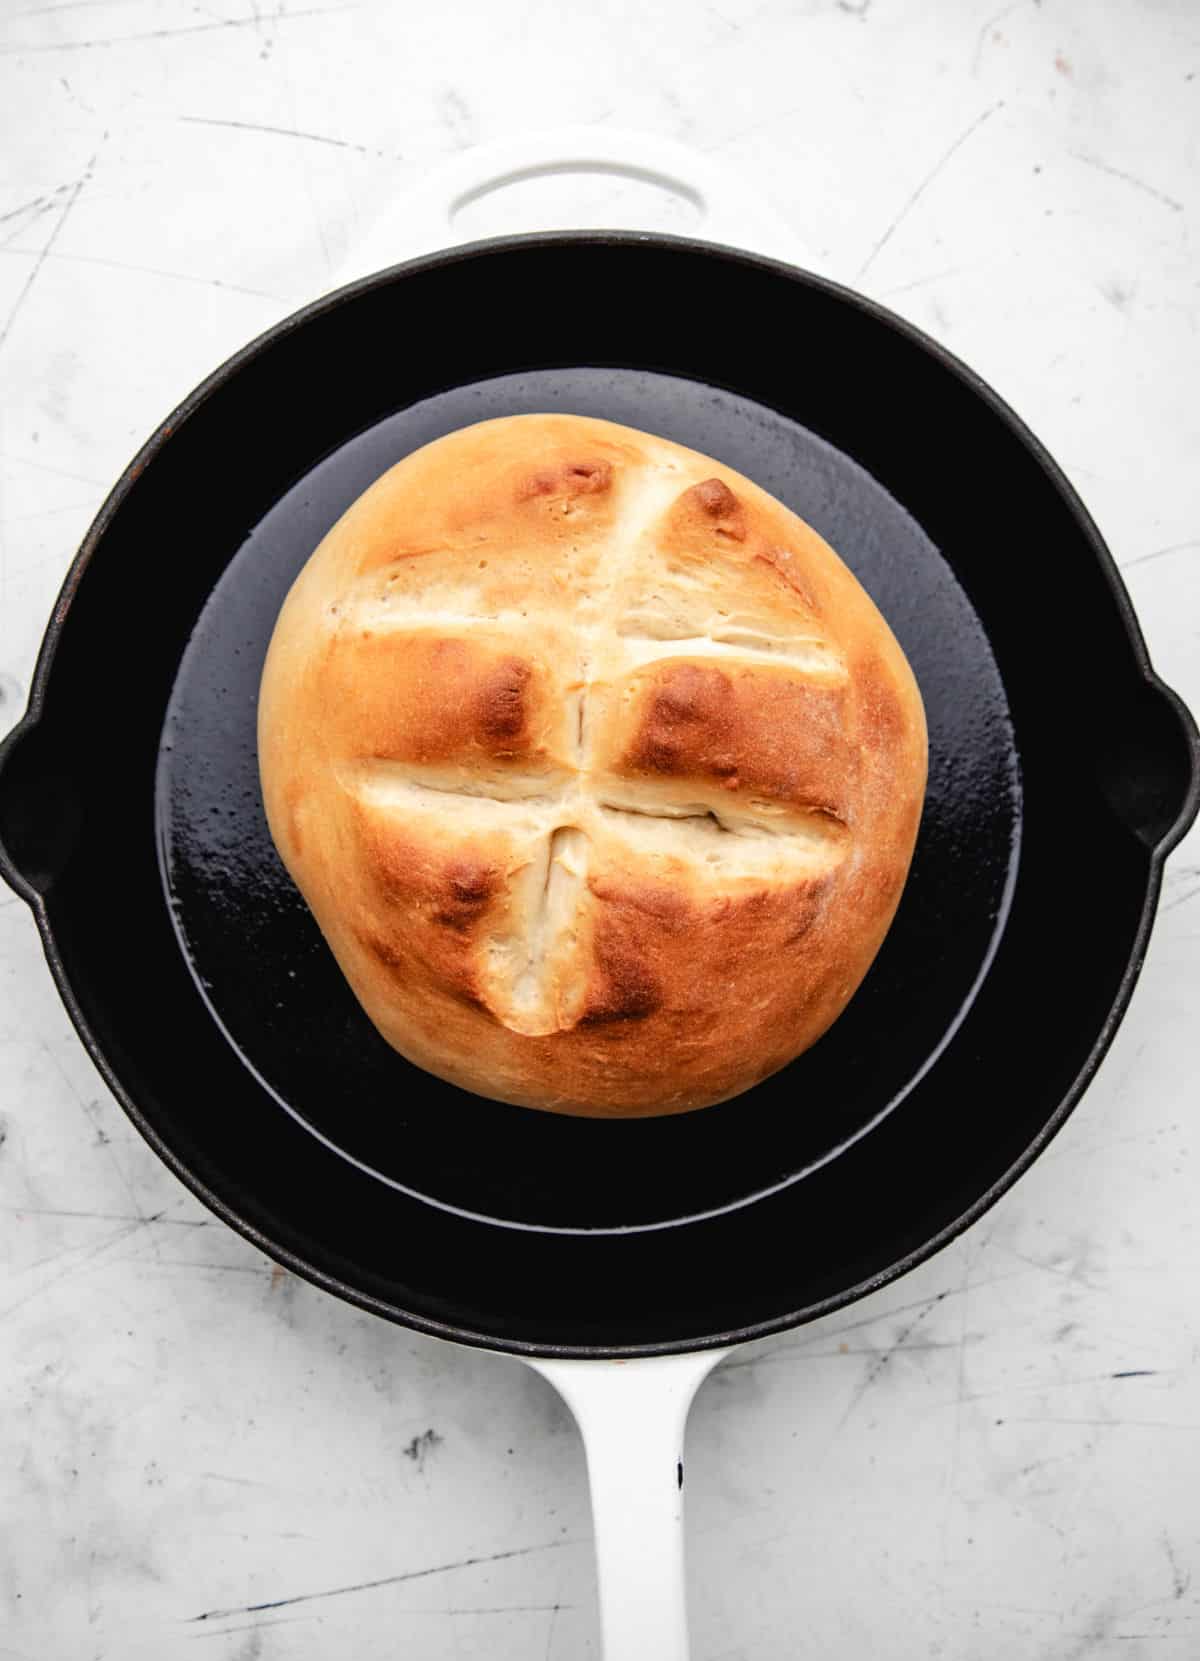
Step 7: Bake. The bread will brown quickly toward the end of the baking time, so keep an eye on it.
Recipe Tips!
- Cast iron skillet: I’ve only used a cast iron skillet to bake this bread.
- Skillet prep: Feel free to lightly coat your cast iron skillet with a little oil. I don’t recommend using nonstick spray as it can damage a cast iron skillet.
- After baking: I lightly brush the outside of the bread with butter and lightly sprinkle it with sea salt. It’s optional, but the butter does help to keep the crust soft.

How to serve this bread
Since this bread is soft and fluffy, it’s great spread with butter or honey butter. Though it isn’t crusty, this bread is also delicious dipped in olive oil and balsamic vinegar.

Storage
Store any leftover bread in an airtight container at room temperature. The bread will keep for 2-3 days when properly stored.
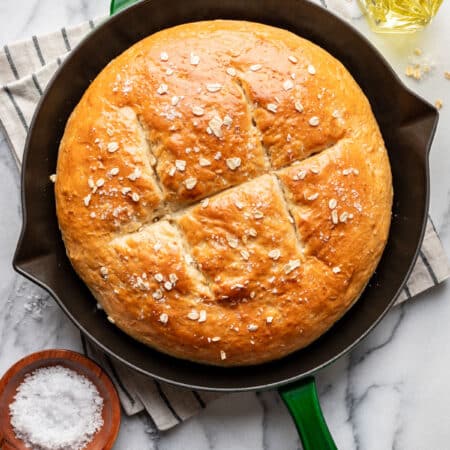
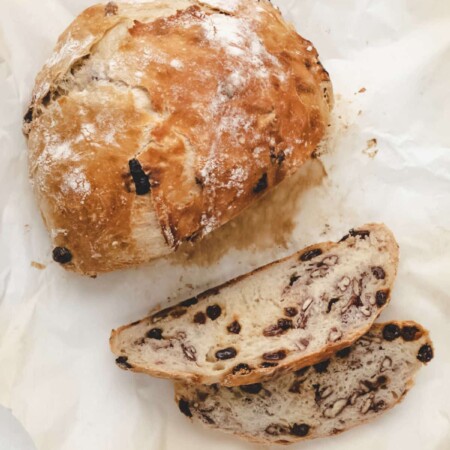
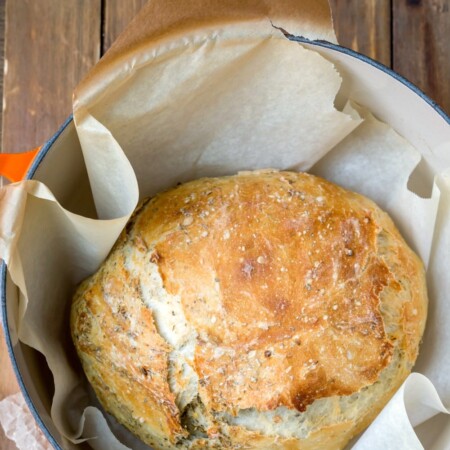
More easy homemade bread recipes!

If you’ve tried this skillet bread recipe, don’t forget to rate the recipe and leave me a comment below. I love to hear from people who’ve made my recipes!
You can subscribe to receive my latest recipe newsletters or follow me on Facebook, Instagram and Pinterest for even more delicious food.

Skillet Bread
Equipment
- cast iron skillet
Ingredients
- 1 ½ cups warm water 105–115 degrees
- 2 tablespoons honey
- 2 ¼ teaspoons active dry yeast
- 2 tablespoons olive oil
- 3 ½ – 4 cups bread flour
- 1 ½ teaspoons salt
Instructions
- In the bowl of a stand mixer fitted with the dough hook, stir the water, honey, and yeast together.1 ½ cups warm water, 2 tablespoons honey, 2 ¼ teaspoons active dry yeast
- Let mixture sit for 5-10 minutes, or until foamy.
- Add 2 ½ cups of flour, olive oil, and salt.2 tablespoons olive oil , 3 ½ – 4 cups bread flour, 1 ½ teaspoons salt
- Knead on low, continuing to add flour 1/4 cup at a time until it forms a soft, smooth dough that clears the sides of the bowl.
- Once it forms the dough, continue to knead for 5 minutes on low.
- Cover and let rise for 30 minutes.
- Form the dough into a tight ball and place in a cast iron skillet. I use a 12" skillet.
- Cover and let rest for 30 minutes.
- Toward the end of the second rising time, set your oven rack to the lower middle position and preheat oven to 400F.
- Just before you place the bread in the oven cut two slits width-wise and one lengthwise.
- Bake for 12-20 minutes. The bread will brown quickly toward the end of the baking time, so keep an eye on it.
- OPTIONAL: I brush a little melted butter over the baked bread and sprinkle sea salt on top.
Video
Notes
- Water: If you don’t have a thermometer, feel the water. It should feel a little warmer than bath water but shouldn’t feel uncomfortably warm. If it’s too hot for you, it will be too hot and could kill the yeast.
- Oil: I like to use olive oil in this recipe. Another neutral oil should work in place of the olive oil.
- Flour: All-purpose flour will also work in this recipe.
- Cast iron skillet: I’ve only used a cast iron skillet to bake this bread.
- After baking: I lightly brush the outside of the bread with butter and lightly sprinkle it with sea salt. It’s optional, but the butter does help to keep the crust soft.
- Nutrition values are estimates.
Nutrition
Did You Make This Recipe?
Share it with me on Instagram @i_heart_eating and follow on Youtube @katedean and Pinterest @katedean for more!
Originally published 4/21/2020.
Reader Interactions
Love this recipe?
Share your thoughts below and let’s chat! Make sure to connect with me on your favorite social platform below and show me what you made!


Comments & Reviews
Larry says
Easy and tastes great
Kate Dean says
Thank you!
Sandra C. McKillop says
I love this recipe. I made it for the first time to bring to a family dinner. I only had once slice, but it was a hit with everyone. I gave it to my sister take the rest of it home since I was already planning to make it again. I do have a question…do you think I can use a gluten free 1 to 1 flour to make this? I have a daughter in law who is GF. They’re coming up for a week in another few days and I’d love to make this for them. Thanks for the recipe. It is now my new favorite. So easy and SO good!
Kate Dean says
Hi! Thank you! I do think that the 1:1 gf flour would work. If you give it a try, I’d love to hear how it turns out!
Joanna says
Almost too easy and SO darn good! Def. a keeper and added to my fave. list!
Kate Dean says
Thank you!
Pat says
This recipe is great! I have sold and given away a lot of these loaves!
Kate says
Thank you!