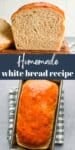
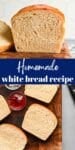
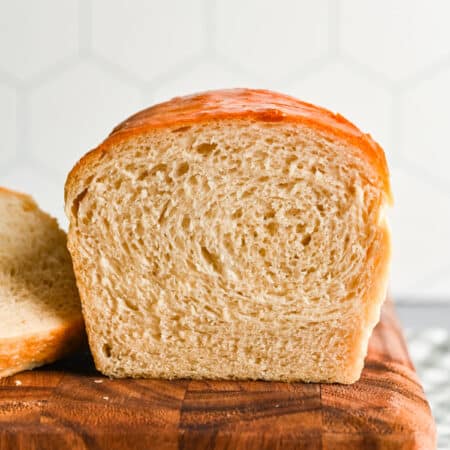
Easy white bread recipe! This homemade bread recipe makes two loaves of soft white bread from scratch in no time with just 6 simple ingredients.

There’s a reason that homemade bread has been gaining in popularity. Not only is homemade bread incredibly tasty, but it’s also really satisfying to bake your own bread.
This white bread recipe really couldn’t be easier! It’s made with just 6 fridge and pantry staple ingredients, and this recipe makes two loaves of bread.
The recipe makes perfect white bread from scratch in no time, and the bread freezes well. So, you can have one loaf now and enjoy the other later.
How to make white bread
Here you’ll find step-by-step photos showing how to make this recipe. The full recipe with ingredients is given below.
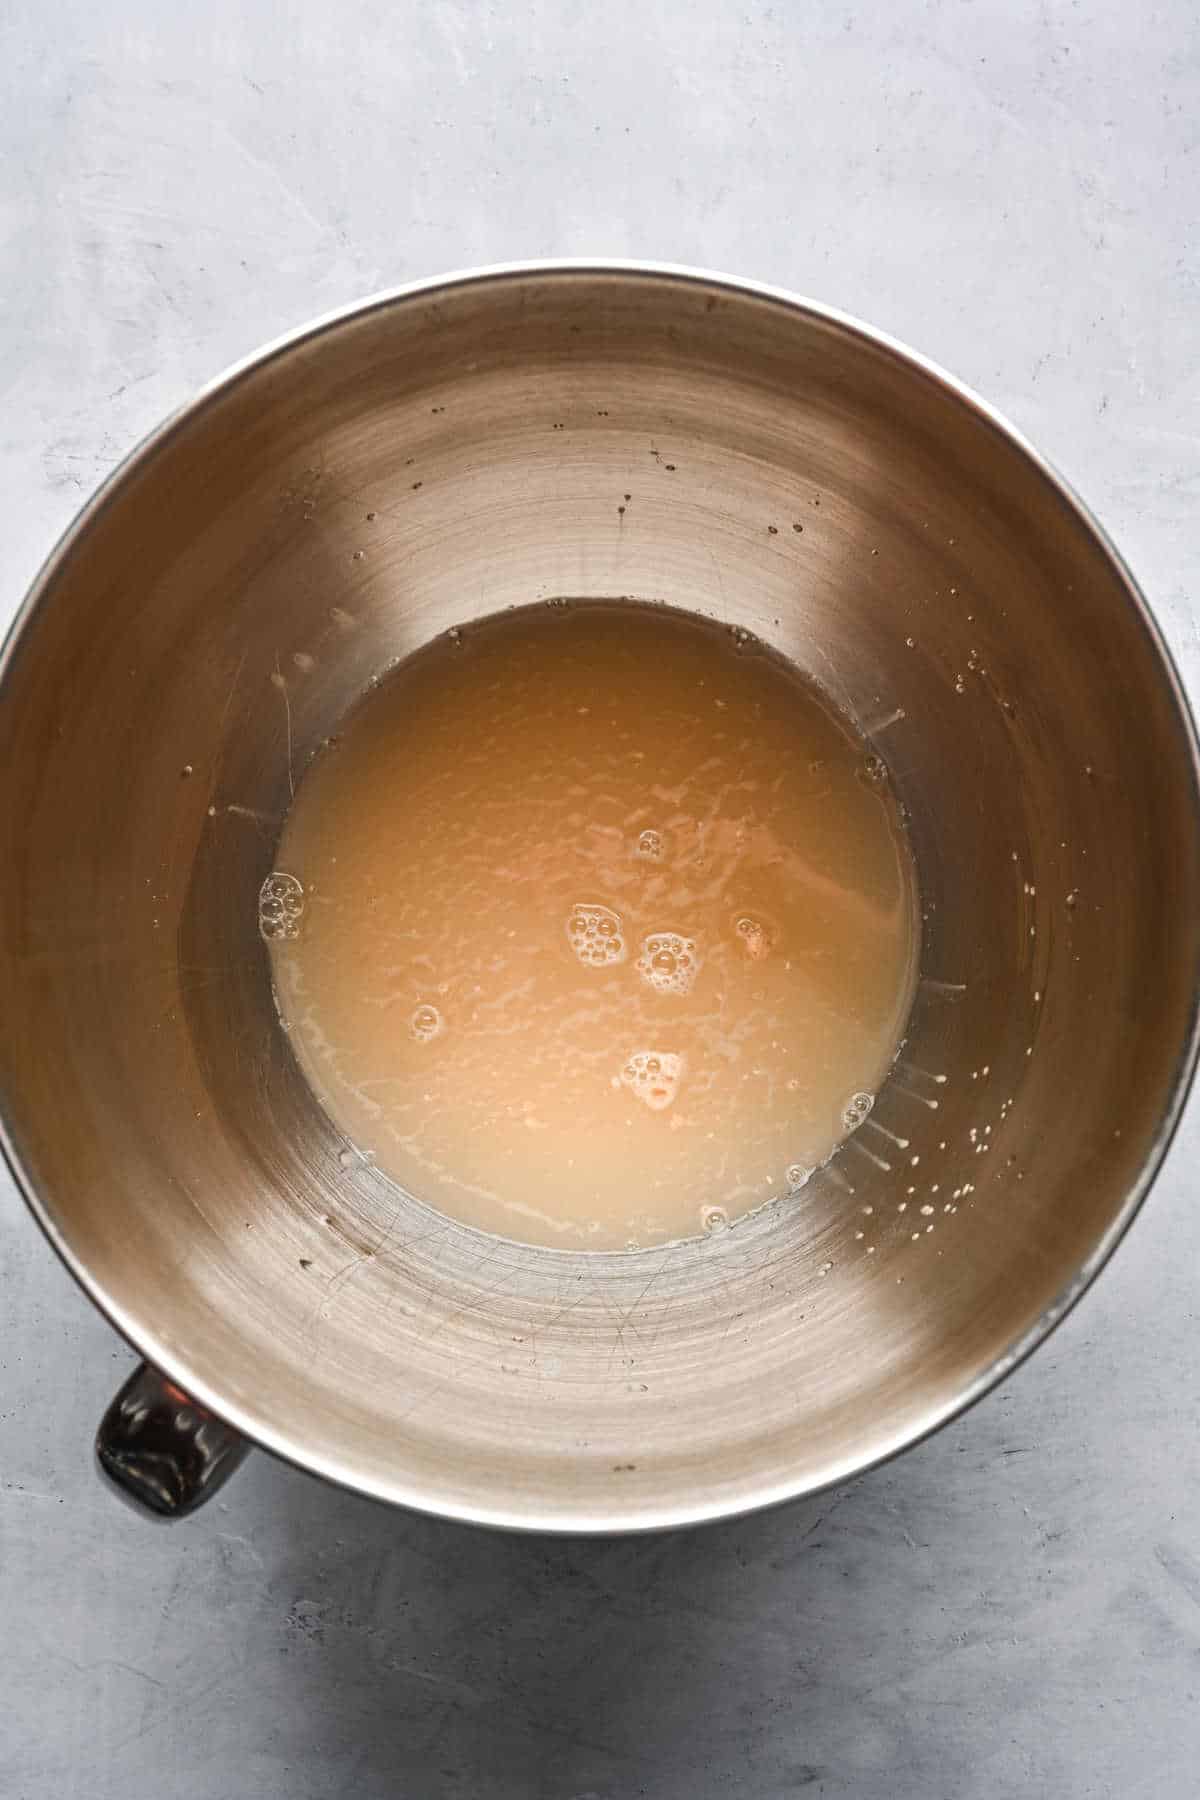
Step 1: In the bowl of a stand mixer fitted with the dough hook combine the lukewarm water, yeast, and honey.
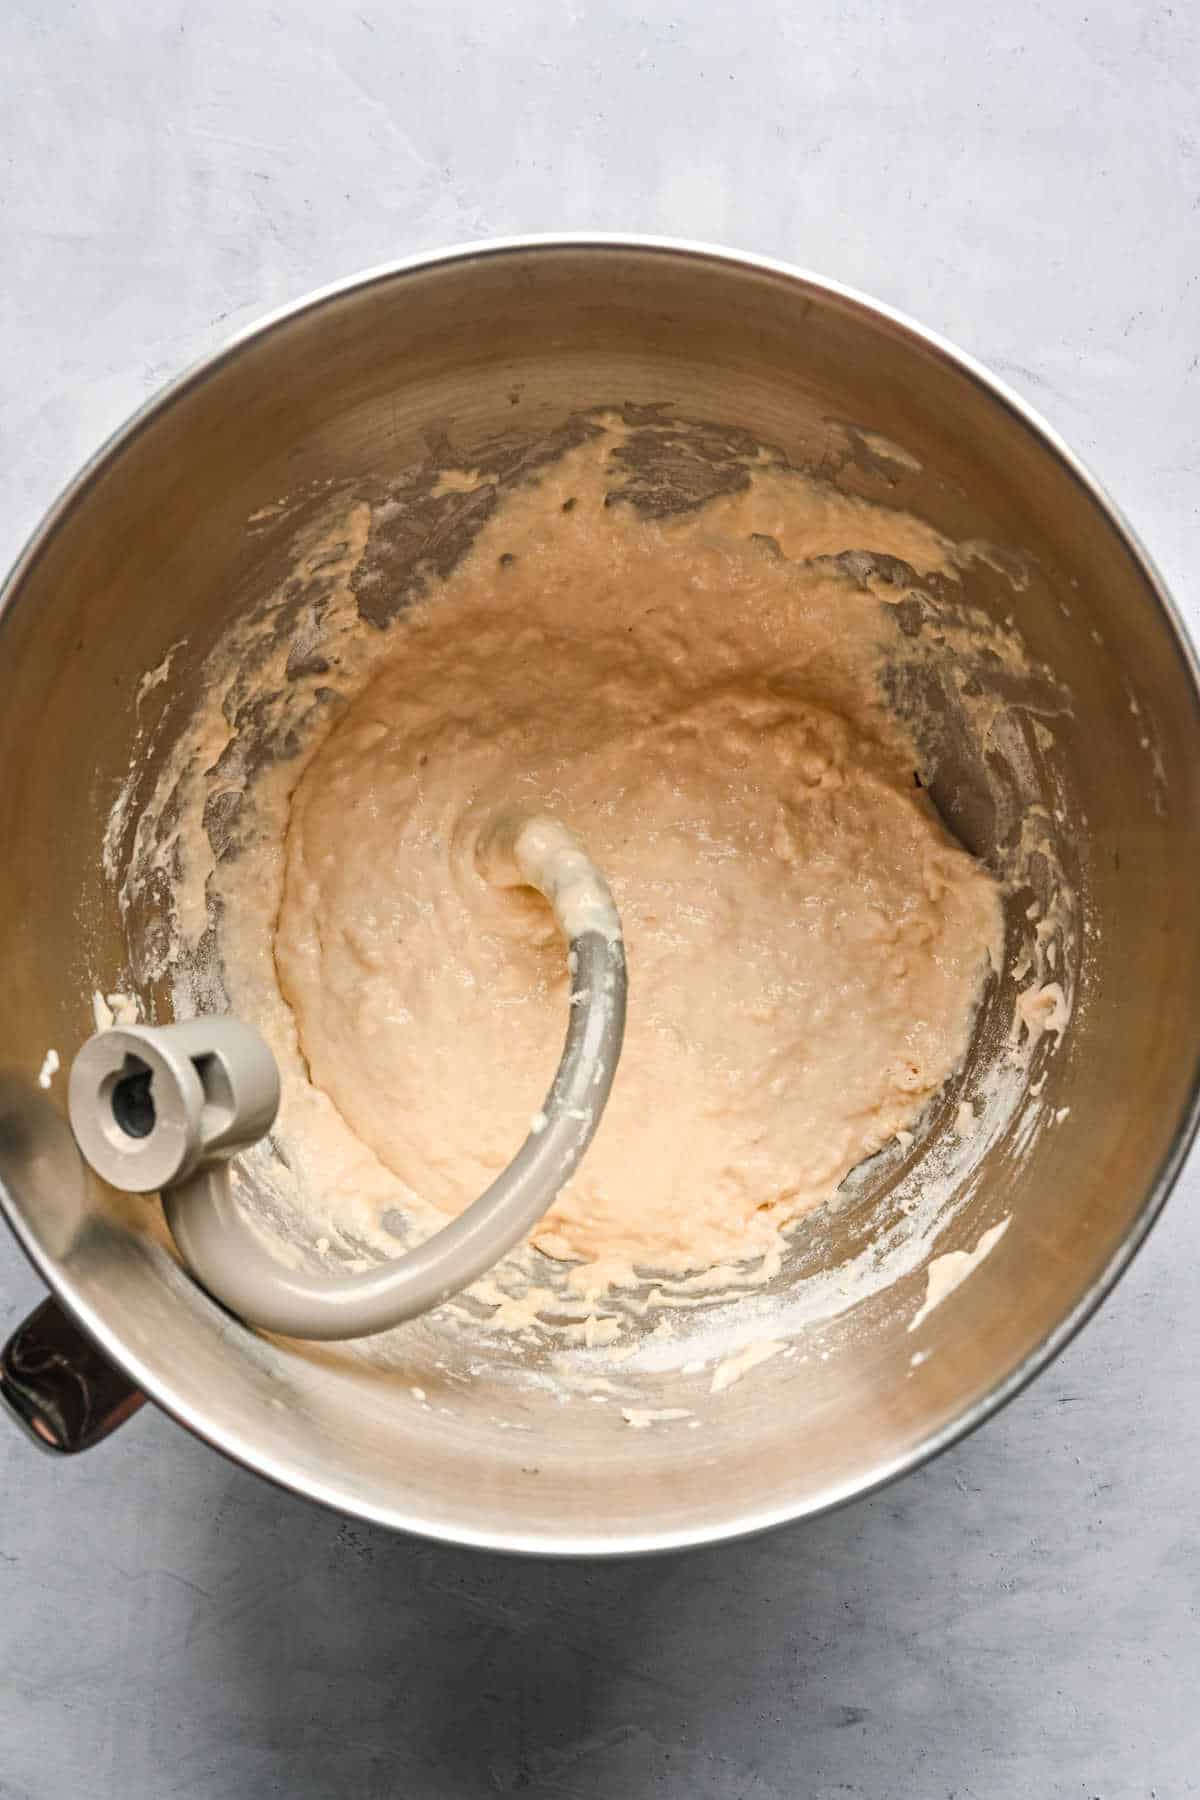
Step 2: Add salt, butter, and 3 cups flour to the bowl.
Step 3: Continue to add in flour ¼ cup at a time until it forms a soft, sticky dough. You may not need to use all of the remaining flour.
Step 4: Knead on low for about 5 minutes, or until the dough clears the sides of the bowl and is soft and smooth. If the dough is too sticky, add the flour 1 tablespoon at time until it feels slightly sticky when you pinch it but doesn’t come off on your fingers.
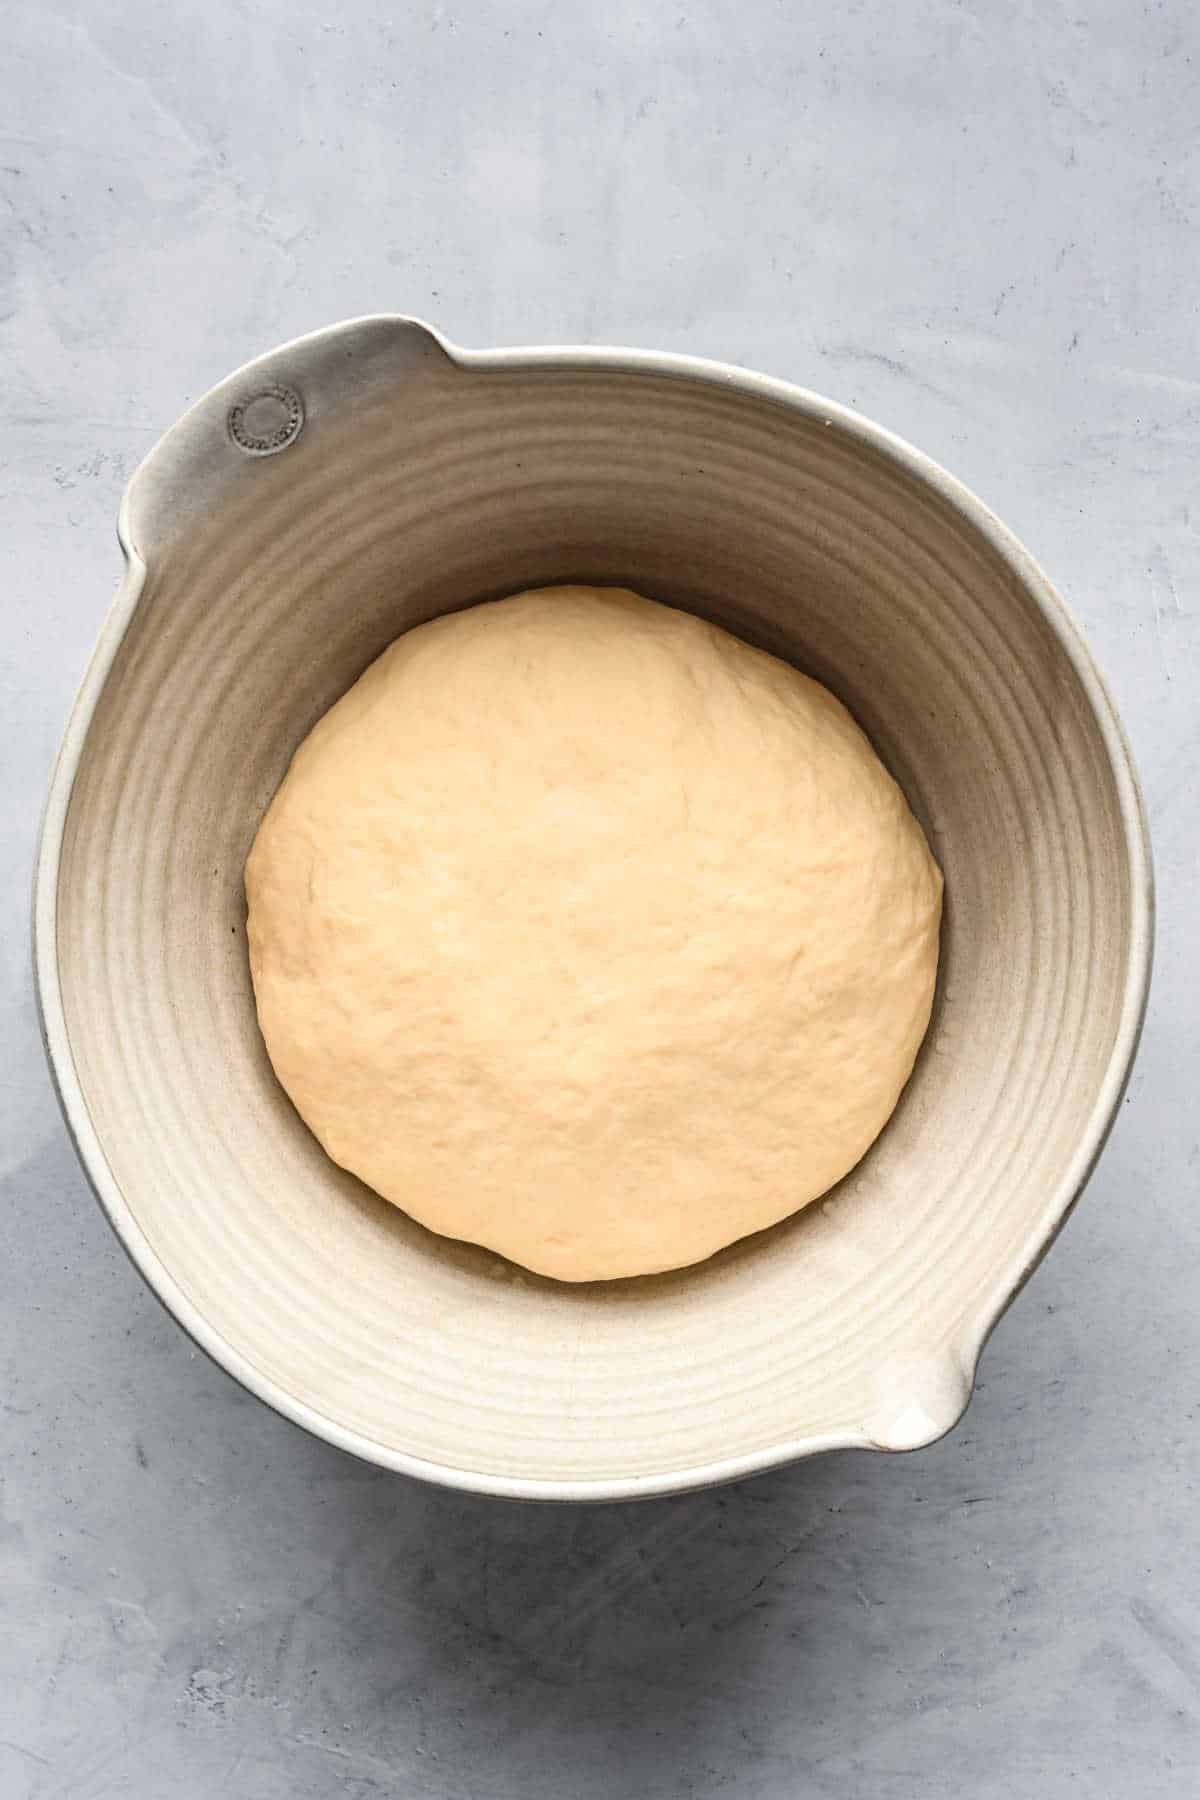
Step 5: Cover with plastic wrap, and let rise in a warm spot for about 45 minutes or until doubled in size.
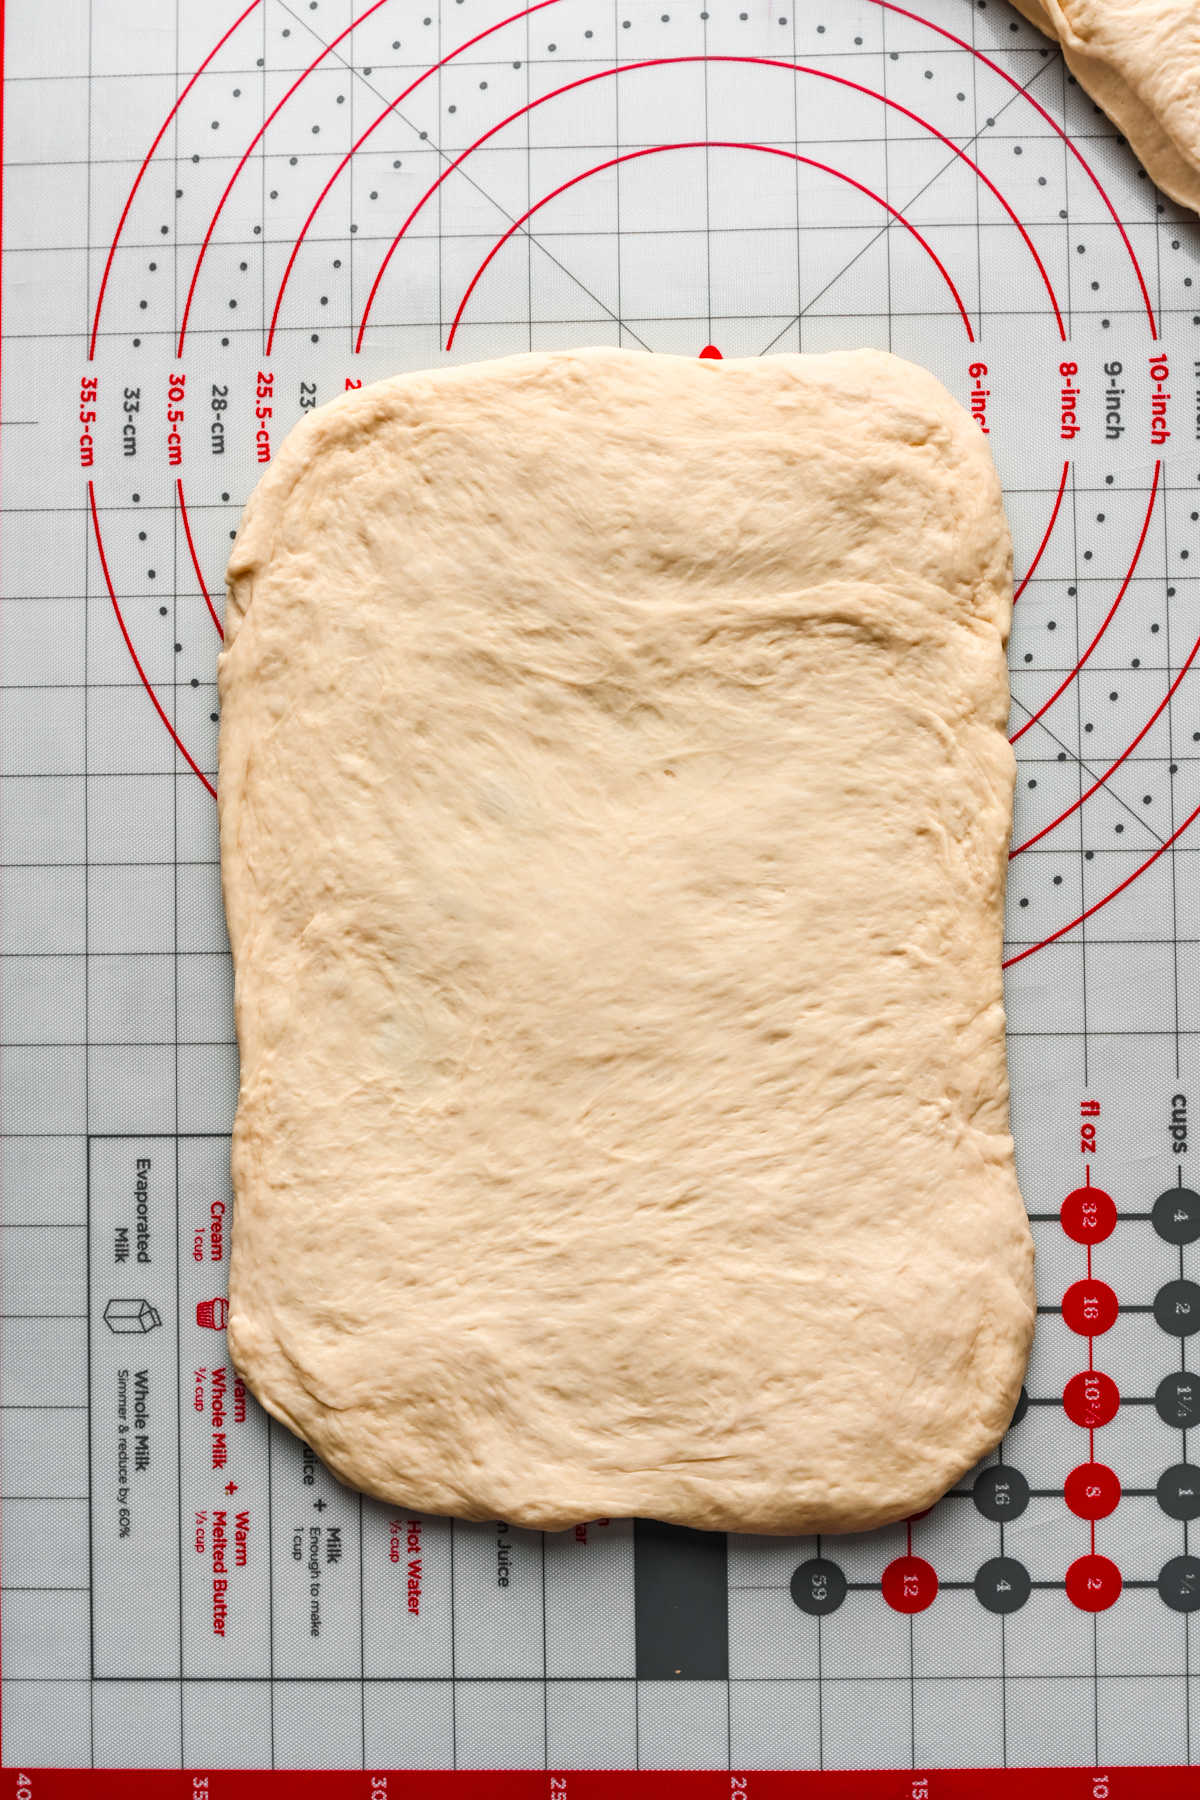
Step 6: Turn the dough onto a lightly floured surface. Divide it into two equal pieces. Gently pat each half into an 8×12 inch rectangle.
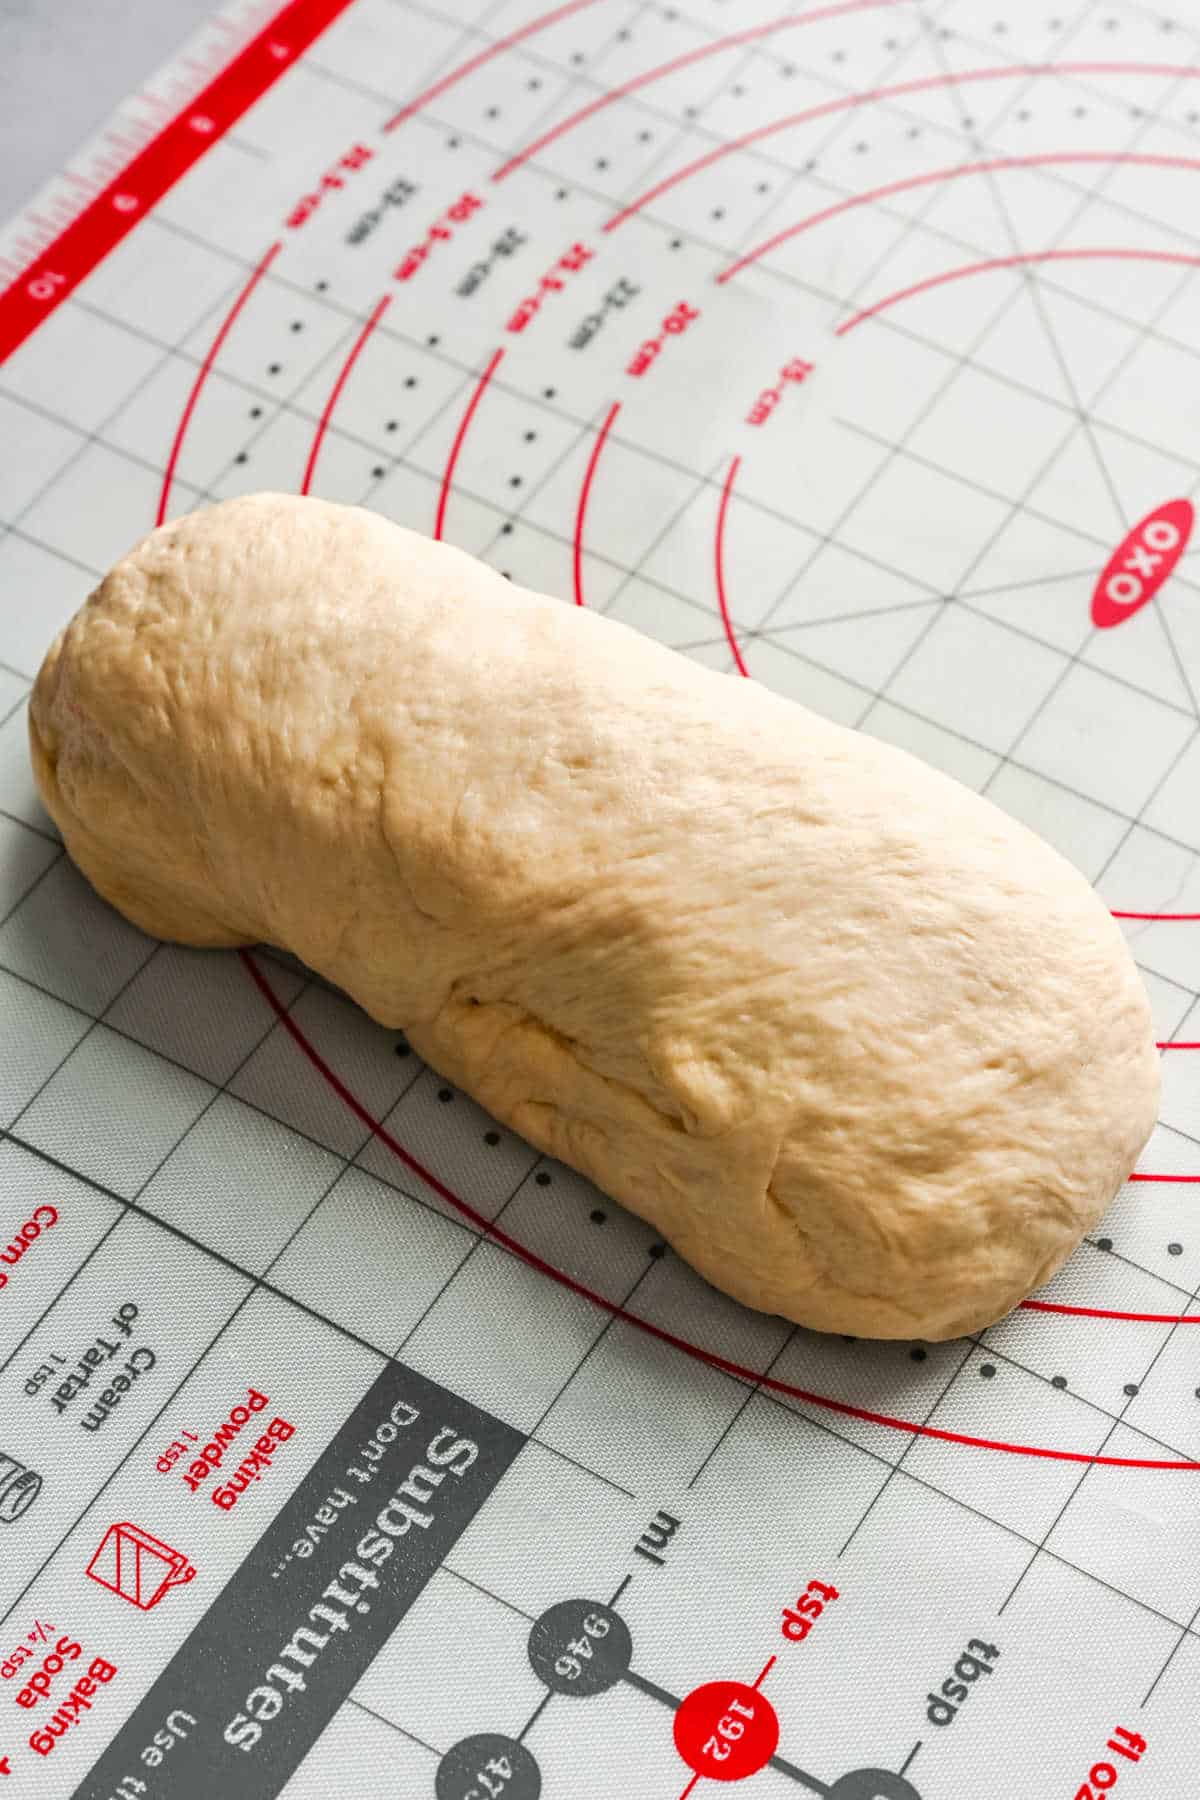
Step 7: Starting at the short end, roll up the rectangle into a tight roll and pinch the seams to seal.
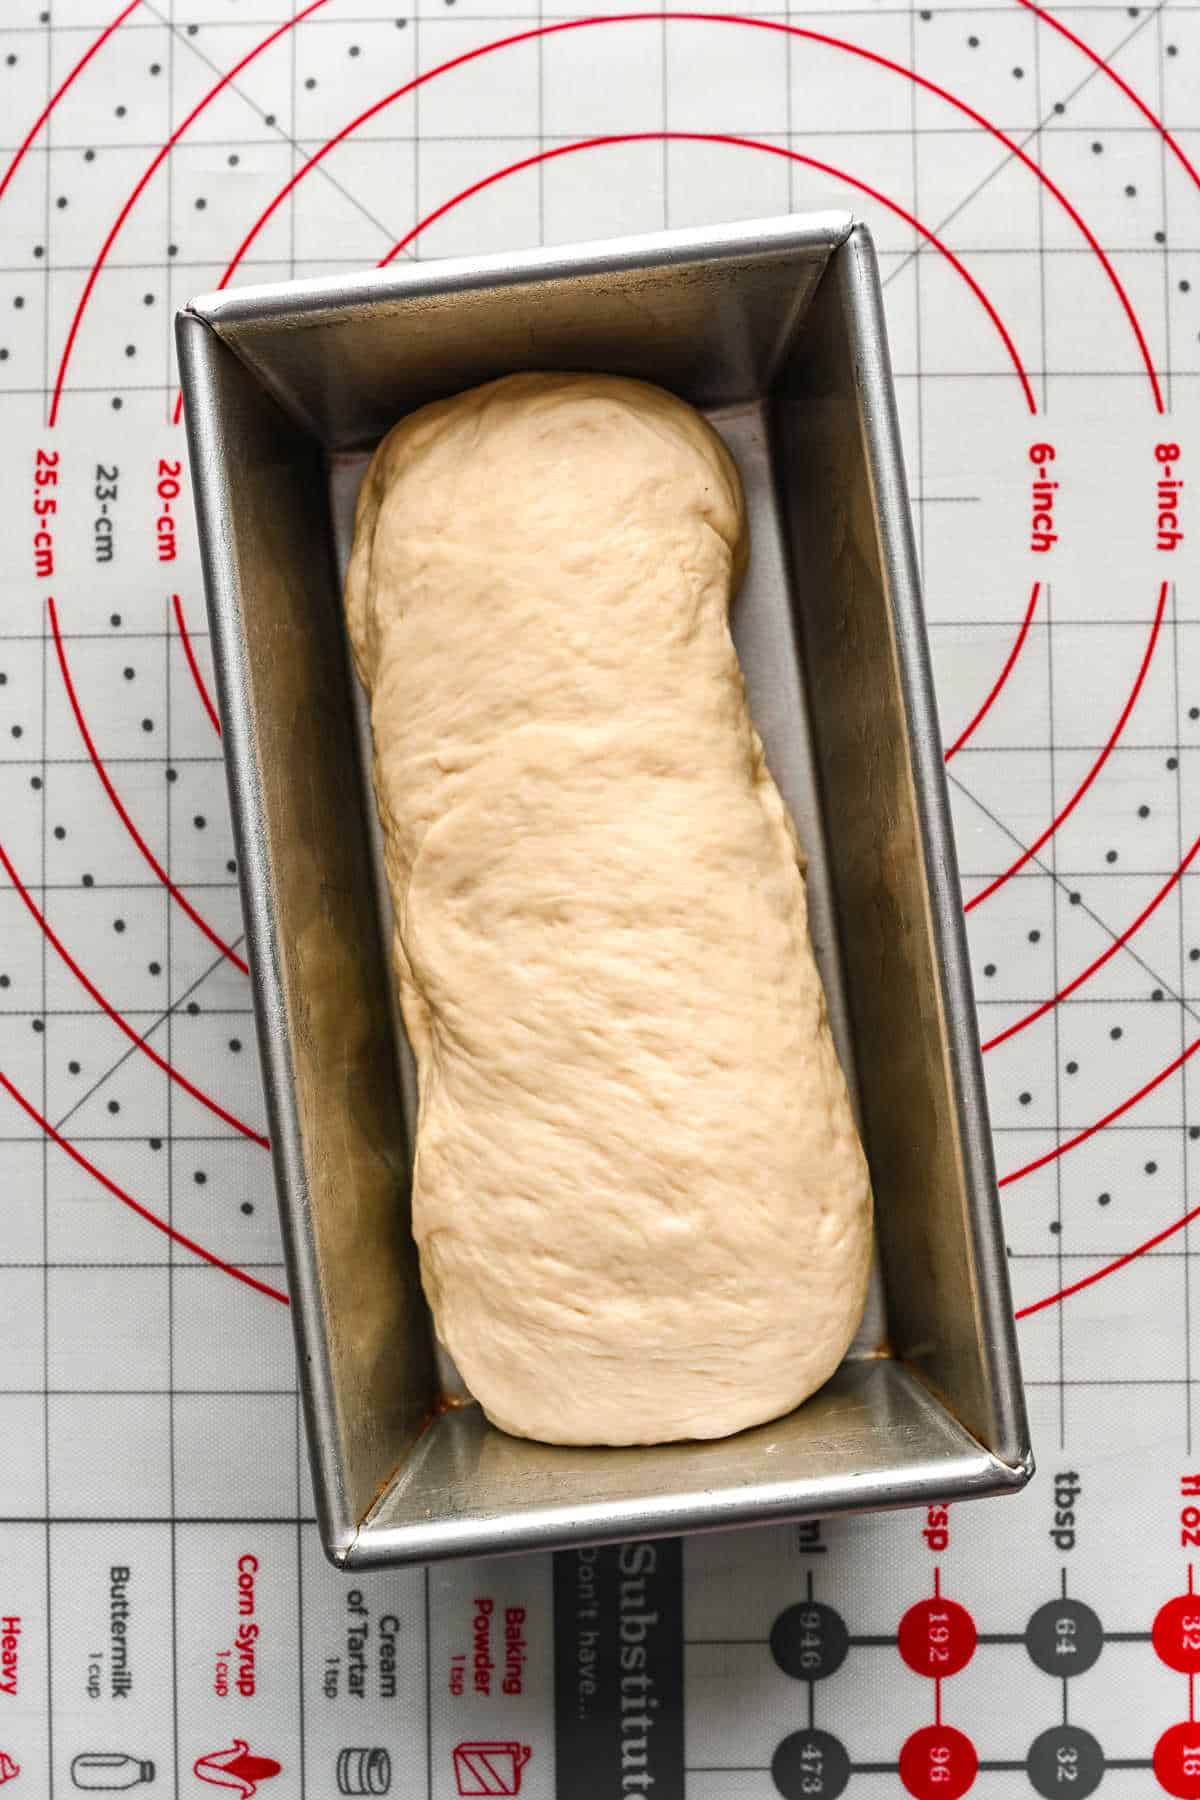
Step 8: Tuck the ends of the roll slightly underneath and place each loaf into a greased 8×4 inch loaf pan seam side down. Cover with a greased piece of plastic wrap or a kitchen towel and let the dough rise for about 45 minutes in a warm and spot until doubled in size.
Step 9: Toward the end of the rising time, preheat oven to 400 F and adjust oven rack to lower-middle position.
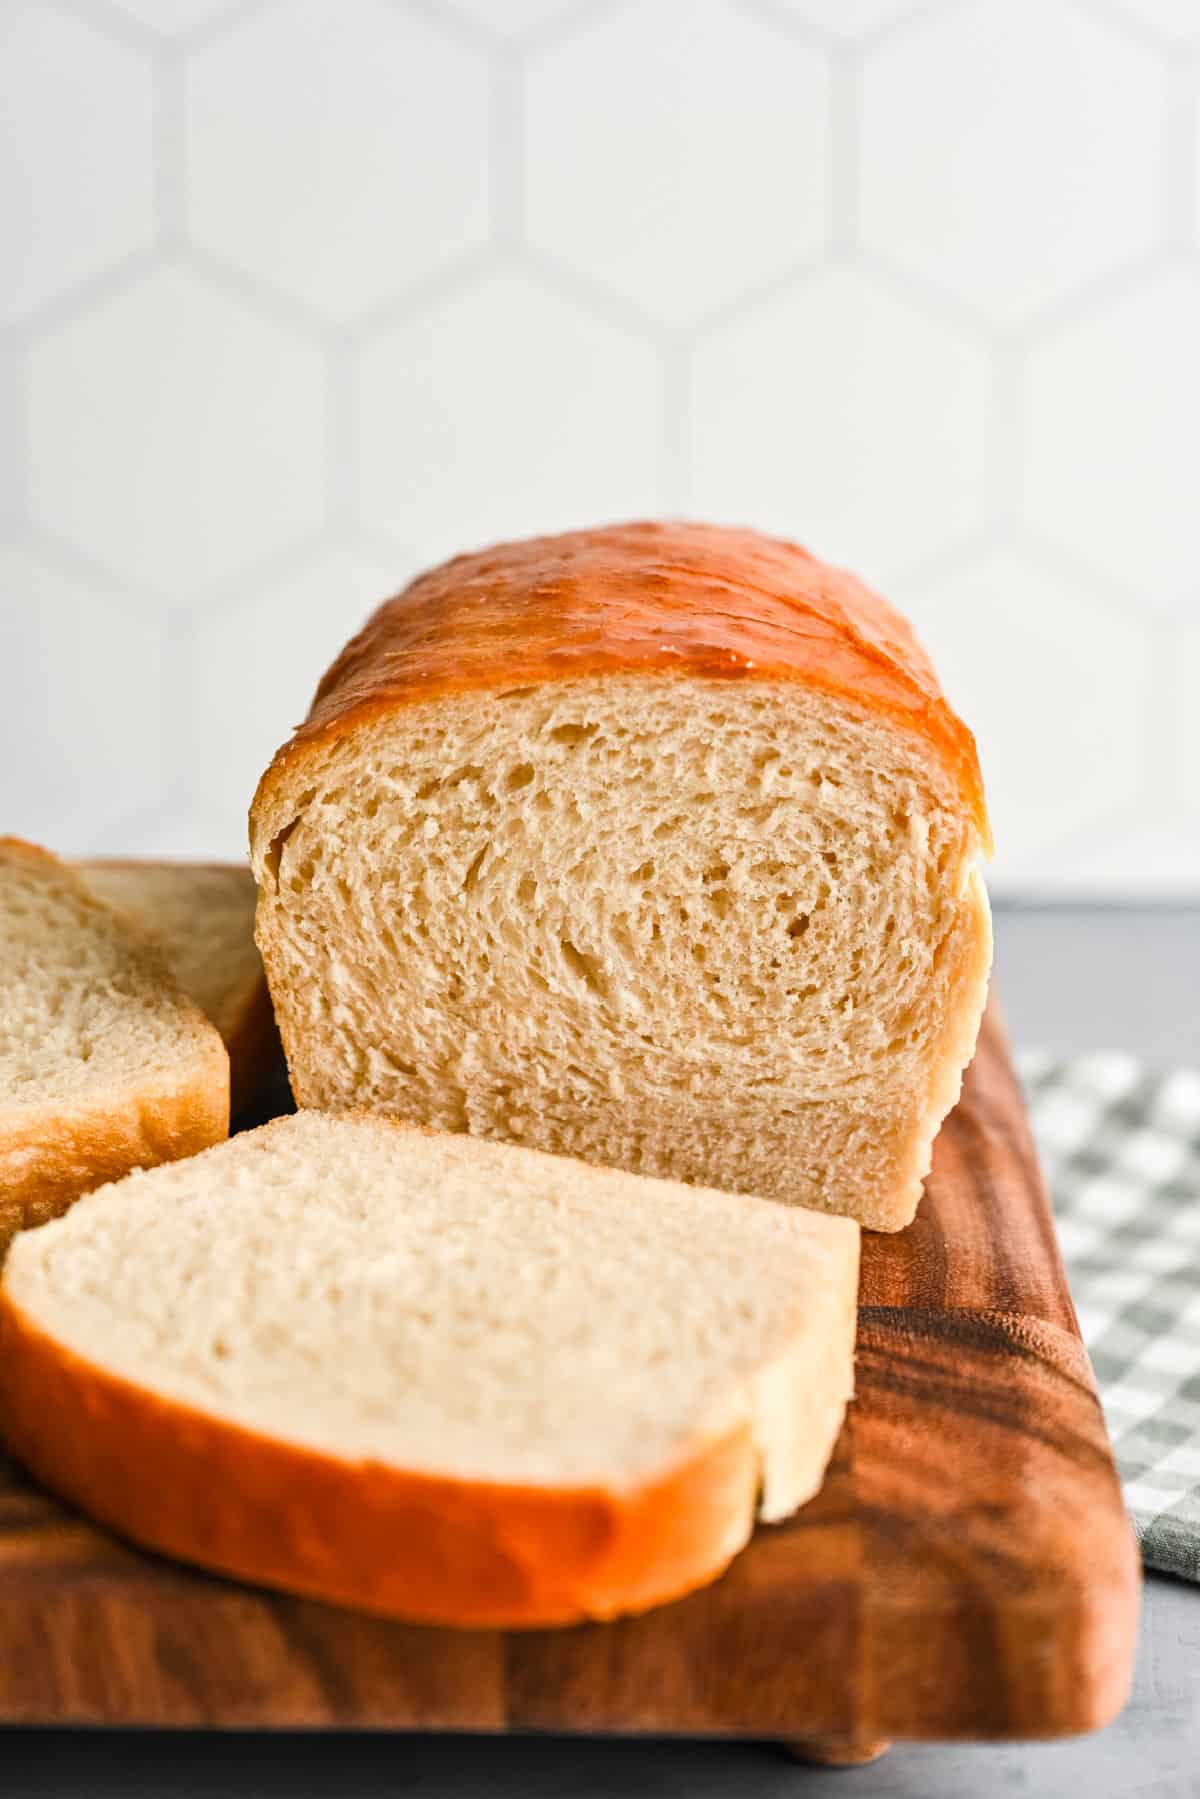
Step 10: Bake loaves in a preheated oven, or until until golden brown. They should sound hollow when thumped.
Step 11: Let cool in pan for 5 minutes, and then remove to a wire rack to finish cooling.
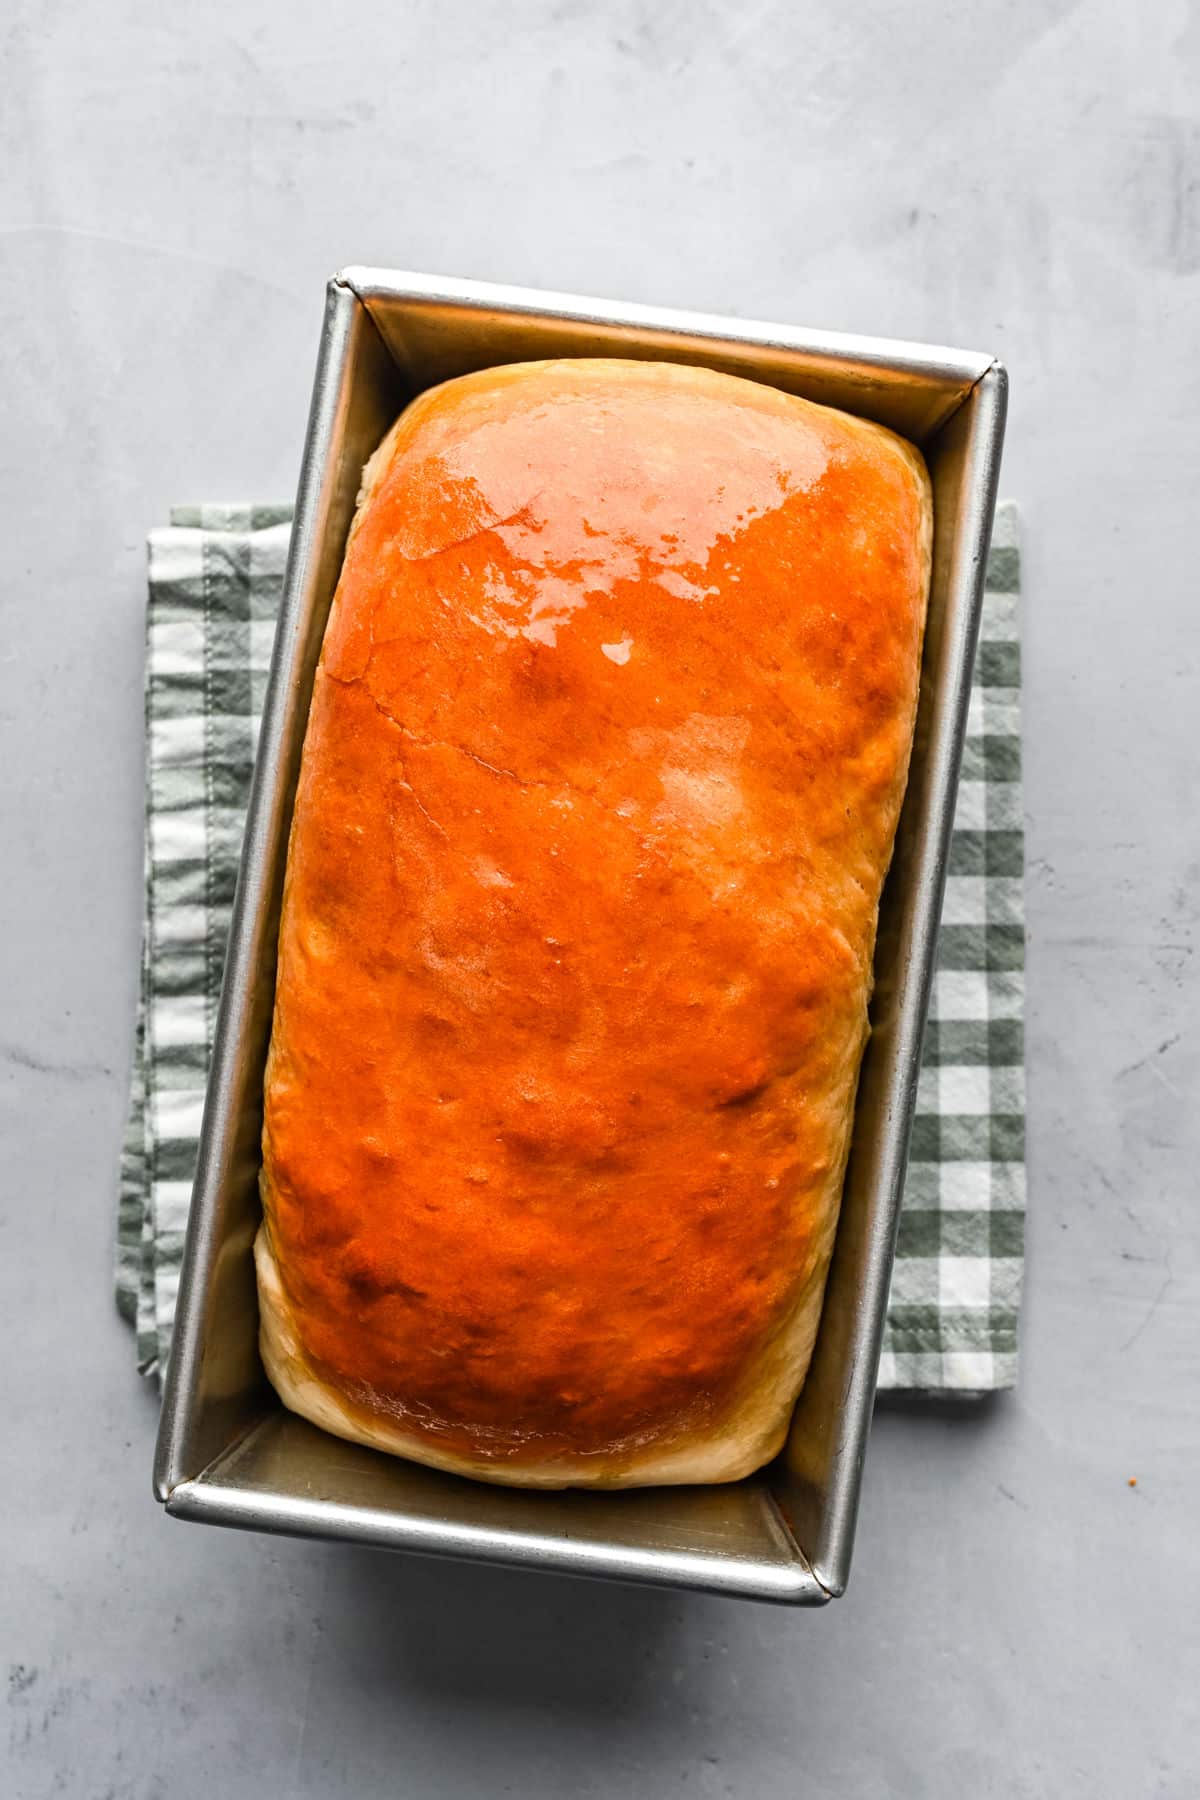
Step 12: Brush top of the loaf with melted butter, if desired.
Recipe Tips!
- Water: The water should feel warm but not overly hot. If it’s too hot for you, it’s too hot for the yeast. Water that’s too hot will kill the yeast, and then your bread won’t rise.
- Yeast: You can use active dry yeast in place of instant yeast. Use an equal amount of active dry yeast, but let the mixture sit for 5-10 minutes after step 1 or until it’s foamy. If it doesn’t foam, start over.
- Flour: You may need to use a little more or less flour. The important thing is that your dough is soft and smooth. It should feel a little sticky when you pinch it, but it shouldn’t come off on your fingers.
- Melted butter: The melted butter helps to soften the crust and add flavor.
- Stand mixer: You can stir this dough by hand. You’ll just need to increase the kneading time to about 8-12 minutes.
- Rising spot: It’s important that this yeast dough have a warm place to rise. If your kitchen is cool, you can turn your oven on to 350F for exactly 60 seconds. Then turn it off. This will give you a warm spot to let your bread rise.
Recipe FAQs
You can! All-purpose flour gives the bread softer texture. Bread flour will give the bread more chew. You may need to use more or less flour. I highly recommend adding the flour until the bread dough achieves the texture described in the recipe.
Absolutely! You can mix up the bread dough in a large mixing bowl using a wooden spoon. If you’re kneading by hand, you’ll need to add about 2-3 minutes to the kneading time.
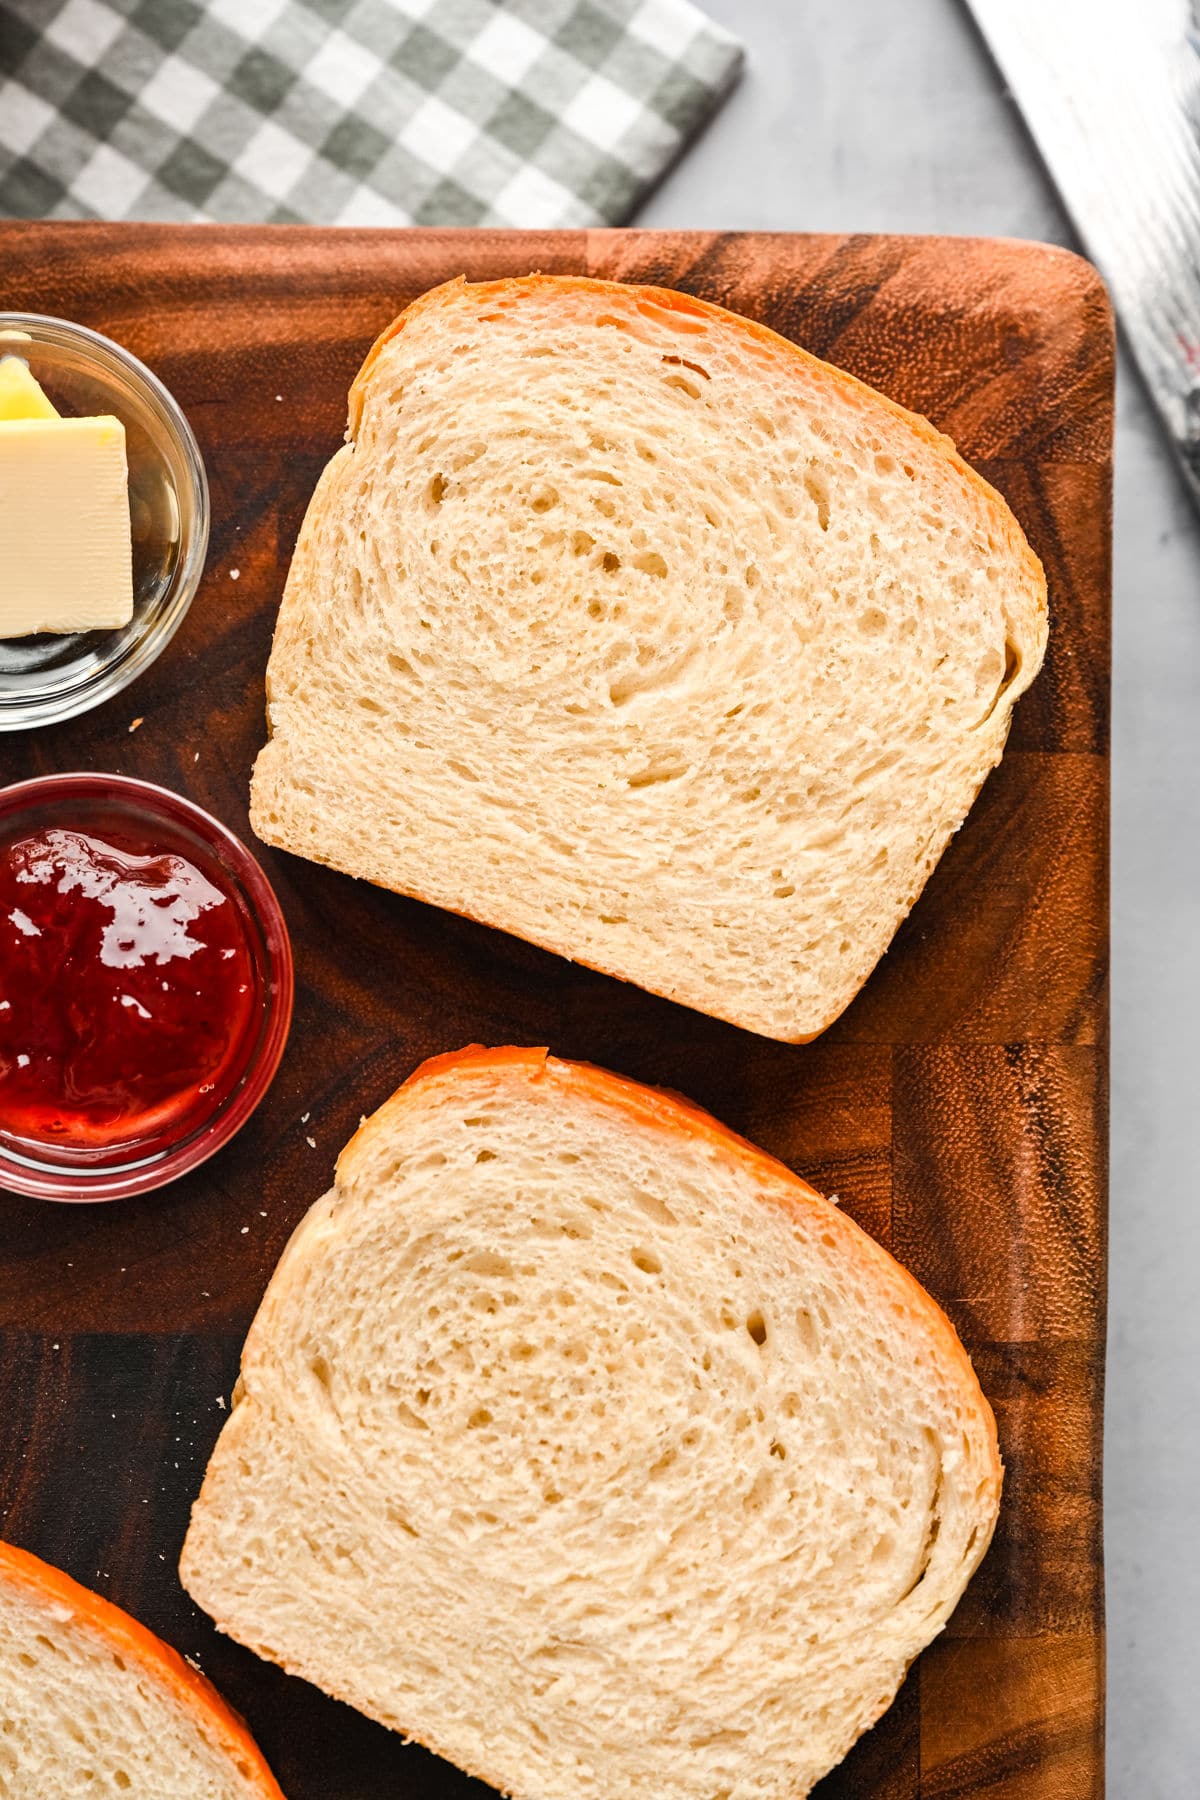
Homemade white bread goes well with plenty of butter. It’s also delicious when slathered with cinnamon butter or jam. The bread also makes a fantastic side for dishes like lasagna soup or beef stew.
How to freeze
This bread can be frozen after baking. To freeze, let the baked bread cool completely on a wire cooling rack.
Then, wrap the cooled loaf tightly in plastic wrap and place in a resealable freezer bag. It can be frozen for up to 3 months.

Storage
This bread can be wrapped in plastic wrap or stored in an airtight container at room temperature for up to 4 days.
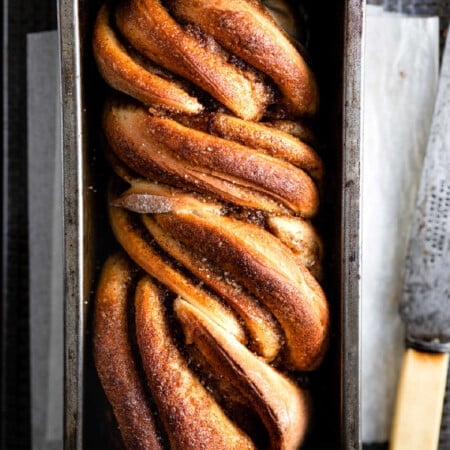
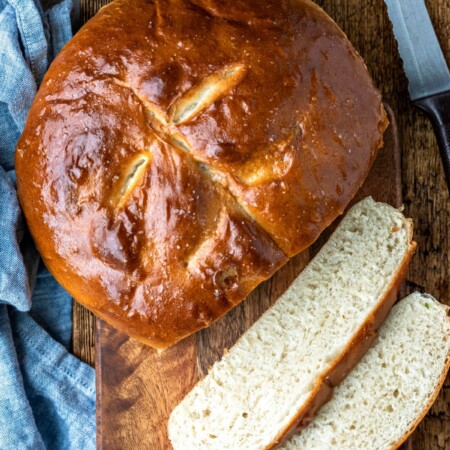
More bread recipes!

If you’ve tried this white bread recipe, don’t forget to rate the recipe and leave me a comment below. I love to hear from people who’ve made my recipes!
You can subscribe to receive my latest recipe newsletters or follow me on Facebook, Instagram and Pinterest for even more delicious food.

White Bread Recipe
Equipment
Ingredients
- 1 ⅔ cups warm water 100-110F
- 2 ¼ teaspoons instant yeast
- 3 tablespoons honey
- 1 teaspoon salt
- 2 tablespoons butter at room temperature
- 4 ½ cups all-purpose flour
- 1 ½ tablespoons melted butter optional
Instructions
- In the bowl of a stand mixer fitted with the dough hook combine the water, yeast, and honey.1 ⅔ cups warm water, 2 ¼ teaspoons instant yeast, 3 tablespoons honey
- Add salt, butter, and 3 cups flour to the bowl.1 teaspoon salt, 2 tablespoons butter, 4 ½ cups all-purpose flour
- Continue to add in flour ¼ cup at a time until it forms a soft, sticky dough. You may not need to use all of the flour.
- Knead on low for about 5 minutes, or until the dough clears the sides of the bowl and is soft and smooth. If the dough is too sticky, add the flour 1 tablespoon at time until it feels slightly sticky when you pinch it but doesn't come off on your fingers.
- Cover with plastic wrap, and let rise in a warm spot for about 45 minutes or until doubled in size.
- Turn the dough onto a lightly floured surface.
- Divide it into two equally sized portions.
- Gently pat each half into an 8×12 inch rectangle.
- Starting at the short end, roll up the rectangle into a tight roll and pinch the seams to seal.
- Tuck the ends of the roll slightly underneath and place each loaf into a greased 8×4 inch loaf pan seam side down.
- Cover with a greased piece of plastic wrap and let rise for about 45 minutes in a warm and spot until doubled in size.
- Toward the end of the rising time, preheat oven to 400 F and adjust oven rack to lower-middle position.
- Bake loaves for 20-25 minutes, or until until golden brown. They should sound hollow when thumped.
- Let cool in pan for 5 minutes, and then remove to a wire rack to finish cooling.
- Brush the loaves with melted butter, if desired.1 ½ tablespoons melted butter
Notes
- Water: The water should feel warm but not overly hot. If it’s too hot for you, it’s too hot for the yeast. Water that’s too hot will kill the yeast, and then your bread won’t rise.
- Yeast: You can use active dry yeast in place of instant yeast. Use an equal amount of active dry yeast, but let the mixture sit for 5-10 minutes after step 1 or until it’s foamy. If it doesn’t foam, start over.
- Flour: You may need to use a little more or less flour. The important thing is that your dough is soft and smooth. It should feel a little sticky when you pinch it, but it shouldn’t come off on your fingers.
- Melted butter: The melted butter helps to soften the crust and add flavor.
- Nutrition values are estimates.
Nutrition
Did You Make This Recipe?
Share it with me on Instagram @i_heart_eating and follow on Youtube @katedean and Pinterest @katedean for more!
Originally published 3/21/20.
Reader Interactions
Love this recipe?
Share your thoughts below and let’s chat! Make sure to connect with me on your favorite social platform below and show me what you made!


Comments & Reviews
Lisa says
So simple, and absolutely delicious!
Very happy!
Kate says
Thank you!
Leigh says
I made this recipe using honey and 1 9×5 pan. It was amazing! Thanks for the recipe
Kate says
Thank you! I’m glad you liked it!
Racquel says
Hello Kate, Merry Christmas, i did your bread again and i used honey, i don’t have a standing mixer, so i kneaded the dough for 12 minutes. Followed the recepie to a T and it came out wonderful! I have a son that does not eat bread, he sure are a half a loaf be y himself! Thank you. Found my go to bread recepie.
Kate says
Yay!! I’m so glad!
Jessica says
Best homemade bread I’ve ever made!
Kate says
Thank you! I’m glad the recipe worked out well for you! =)
Sandra says
Great recipe! I can’t buy my bread and I guess I have to learn to bake it. The recipe was easy to follow and the bread tastes great. Thank you for sharing.
Kate says
I’m so glad the recipe worked well for you. Thanks for commenting! =)
Juli says
I may have missed this but step 1 says to add half of the water…when do you add the second half?
Kate says
Hi! Thanks so much for catching that! You add all of the water in step 1, and I’ve corrected it.
Racquel says
Hi i m from Jamaica and i tried your recepie before and i did something wrong. However few months later i tried it again and it came out great! I don’t have white sugar can i use brown sugar instead? Hope to hear from you
Kate says
Hi! Do you have honey? If not, you could use brown sugar.