Easy skillet bread recipe! This simple recipe takes just 6 pantry staple ingredients and makes a loaf of light and fluffy bread.
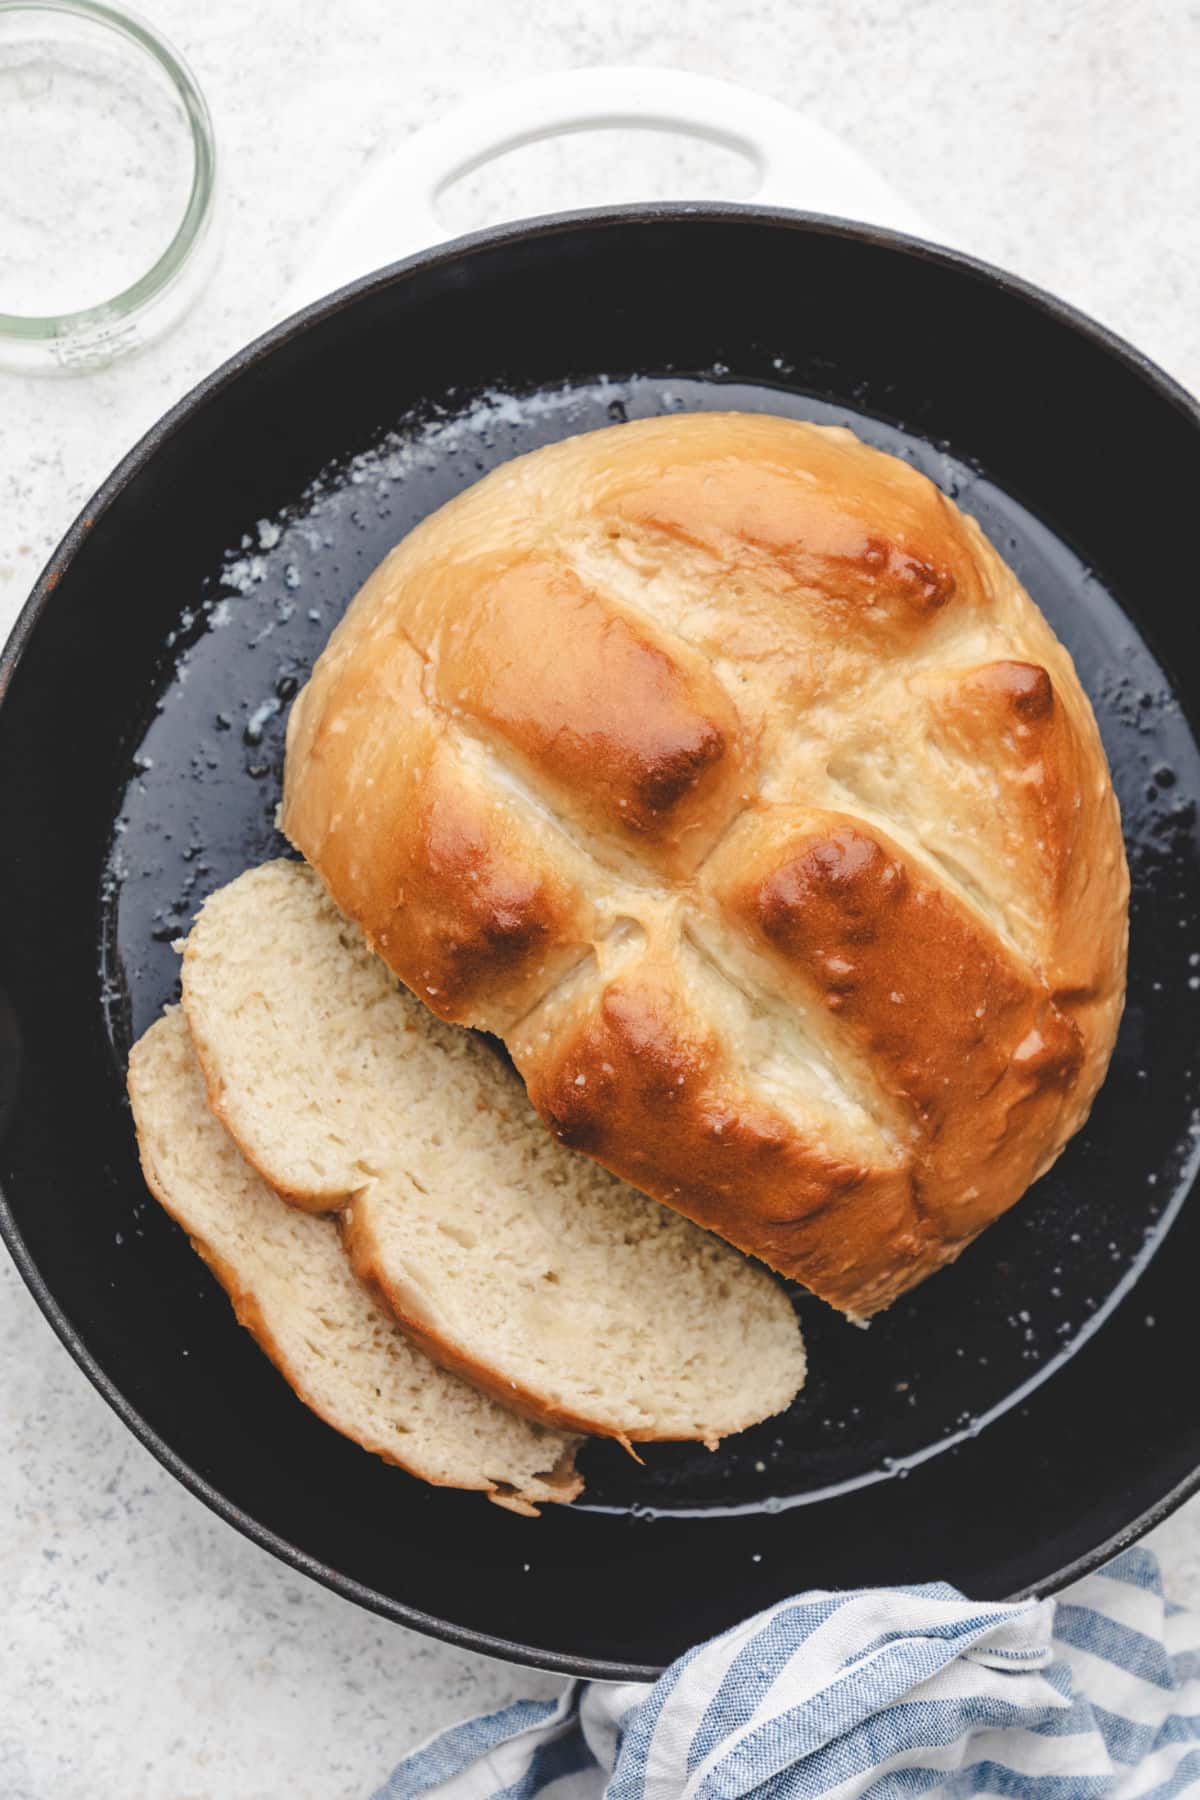
Whether you’re intimidated by yeast and looking for a good beginner recipe or just looking for an easy recipe, this is the recipe for you!
This simple skillet bread recipe only takes about 90 minutes total, and it’s made with 6 basic ingredients. The hands-on time for this recipe is minimal, and most of the time is just rising or baking time.
And the recipe makes delicious, fluffy white bread. I serve this as a table bread and just serve it right out of the skillet at dinner.
“Easy and delicious! The texture is very soft and tender!” – Pat
Ingredient notes and substitutions
- Water: If you don’t have a thermometer, feel the water. It should feel a little warmer than bath water but shouldn’t feel uncomfortably warm. If it’s too hot for you, it will be too hot and could kill the yeast.
- Oil: I like to use olive oil in this recipe. Another neutral oil should work in place of the olive oil.
- Flour: All-purpose flour will also work in this recipe. You may find that you need to adjust the amount of flour, and that’s ok! Just go by feel to avoid adding too much flour.
How to make skillet bread
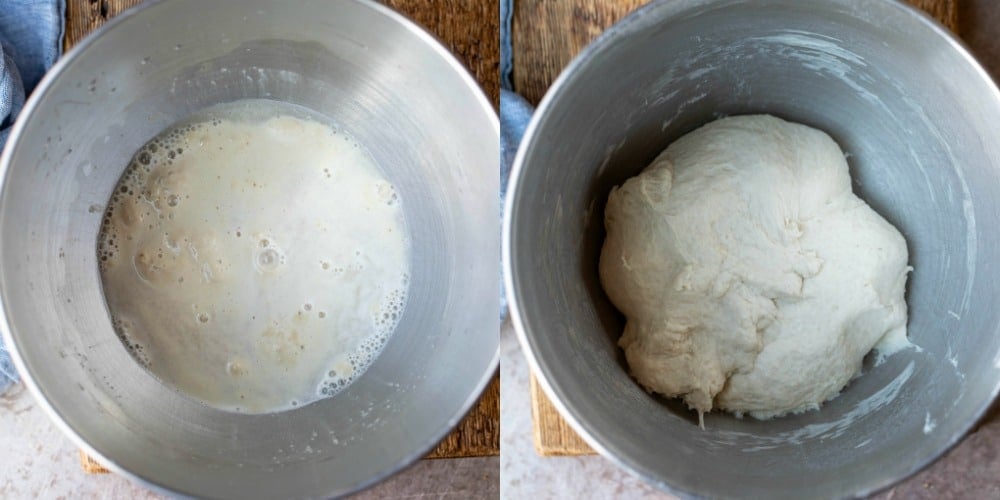
Step 1: In the bowl of a stand mixer fitted with the dough hook, stir the water, honey, and yeast together. Let mixture sit for 5-10 minutes, or until foamy.
Step 2: Add part of the flour, olive oil, and salt. Knead on low, continuing to add flour 1/4 cup at a time until it forms a soft, smooth dough that clears the sides of the bowl.
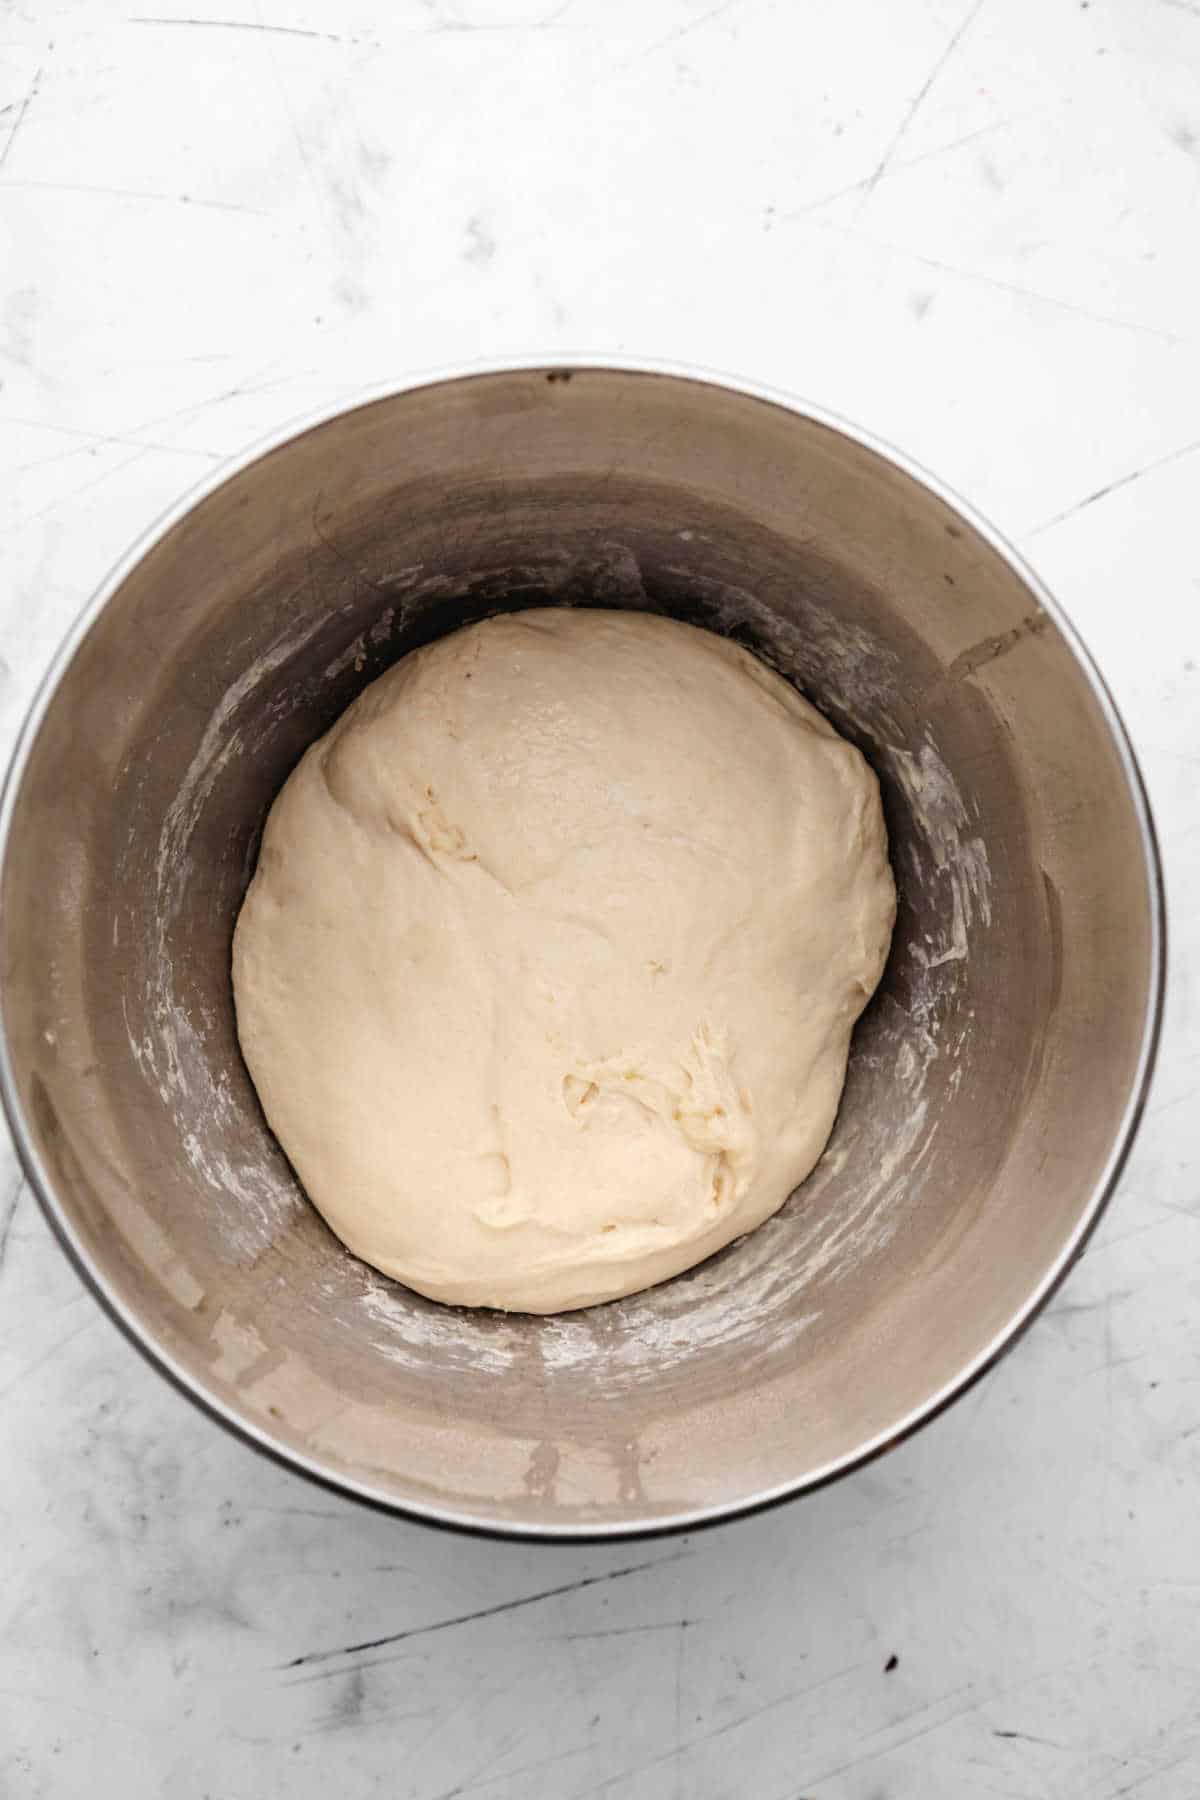
Step 3: Once it forms the dough, continue to knead for 5 minutes on low.
Step 4: Cover and let rise for 30 minutes.
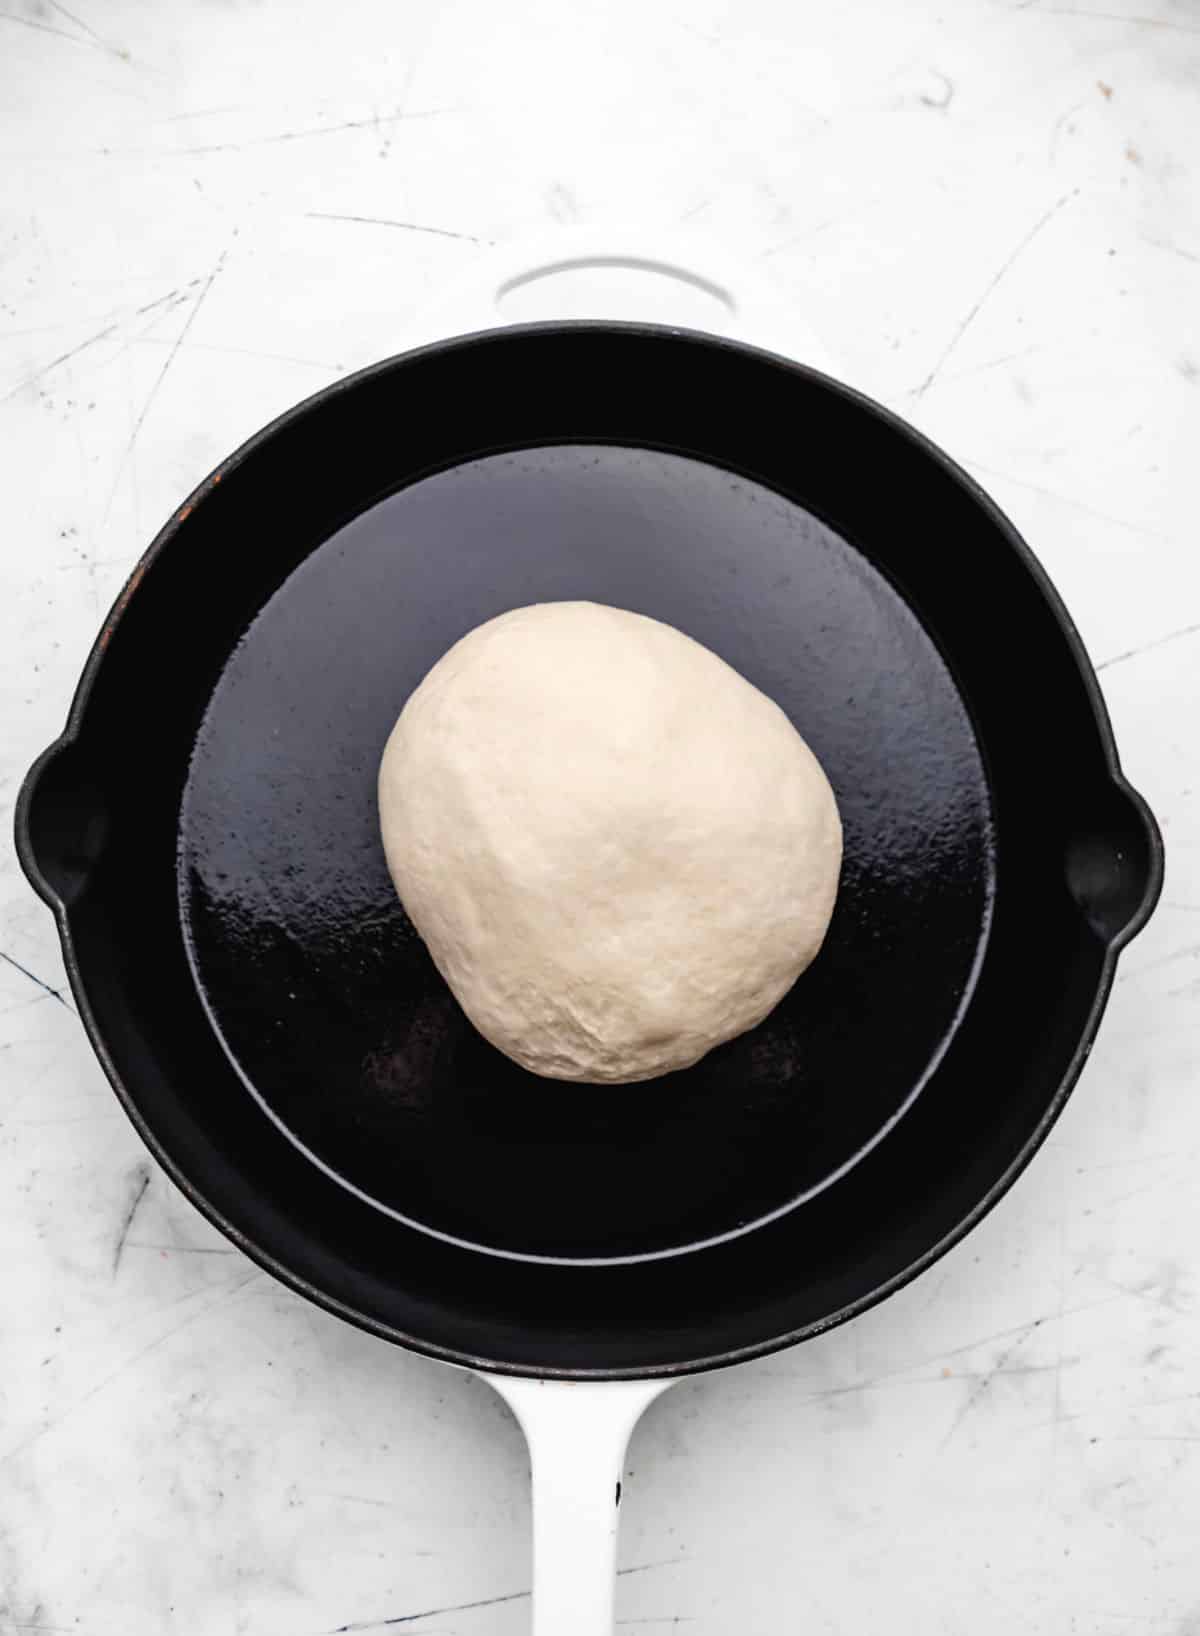
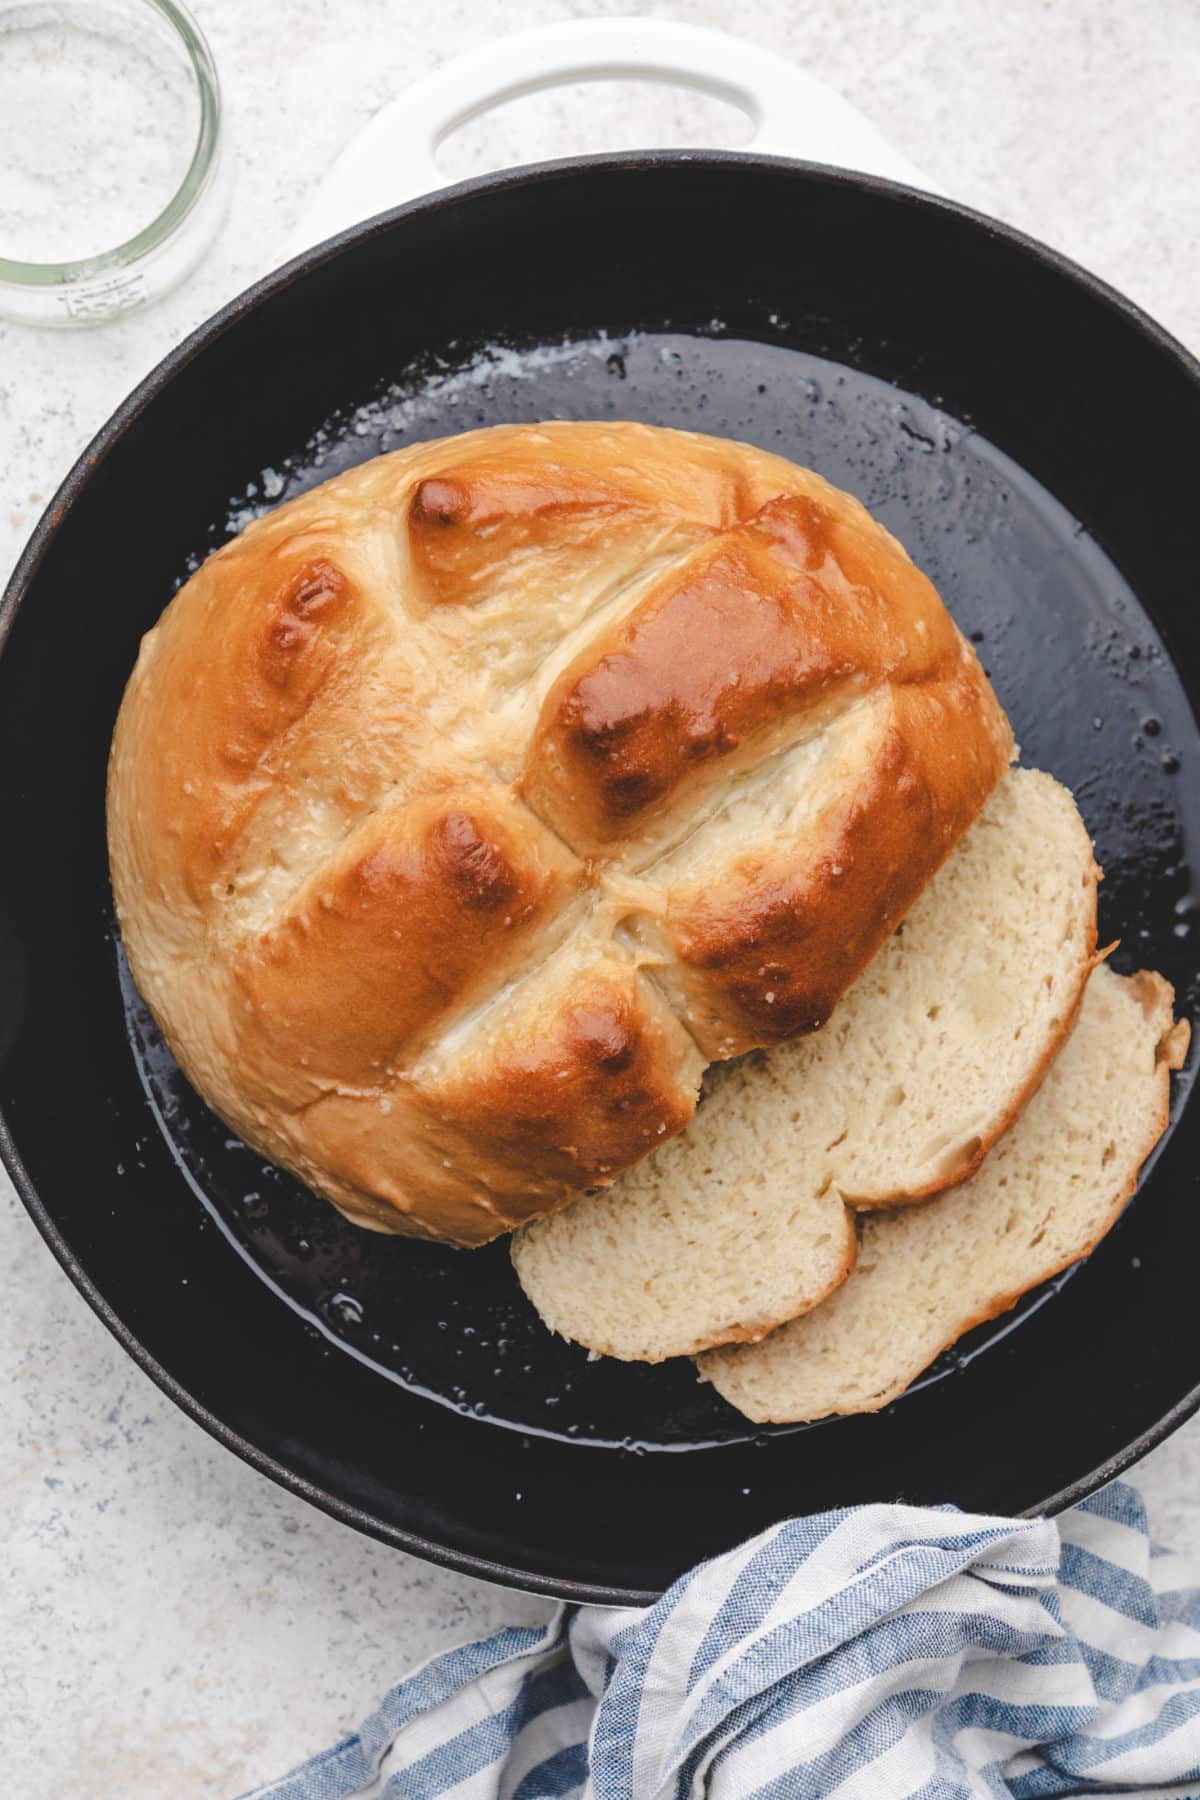
Step 5: Form the dough into a tight ball and place in a cast iron skillet. Cover and let rest for 30 minutes.
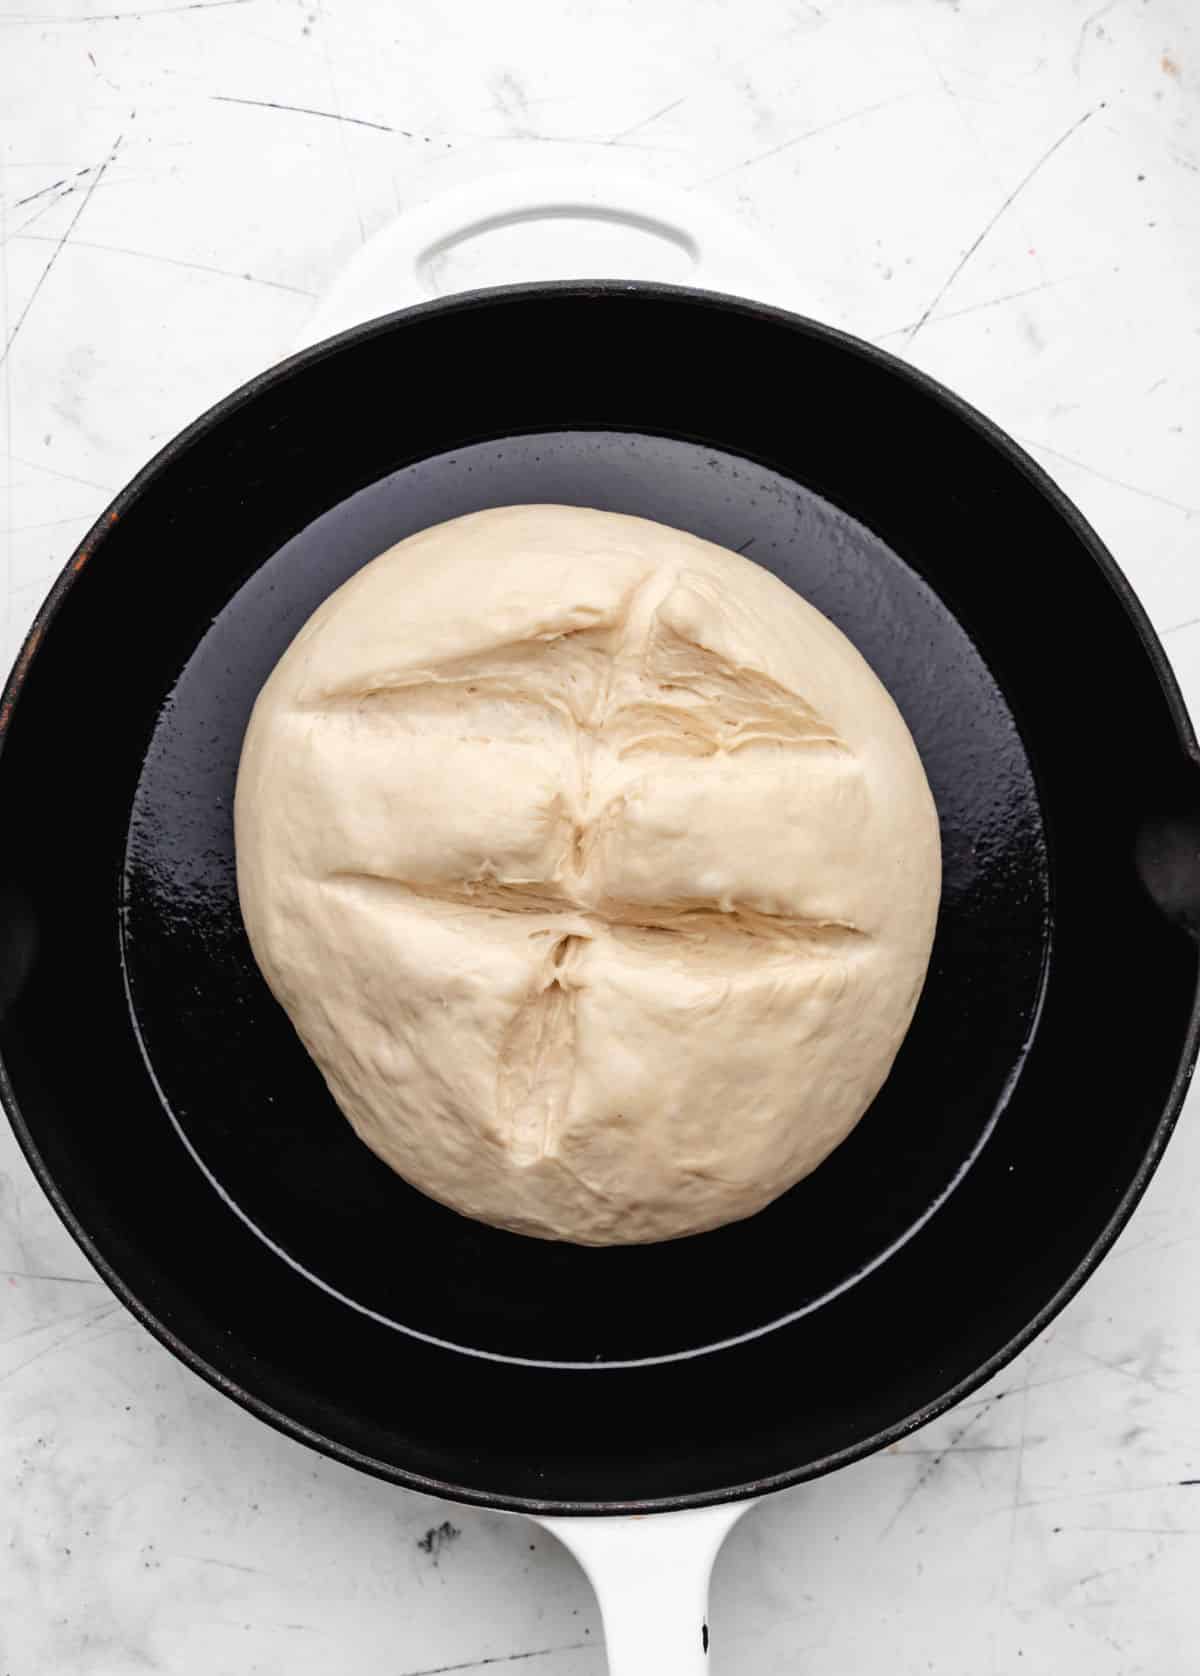
Step 6: Just before you place the bread in the oven cut two slits width-wise and one lengthwise.
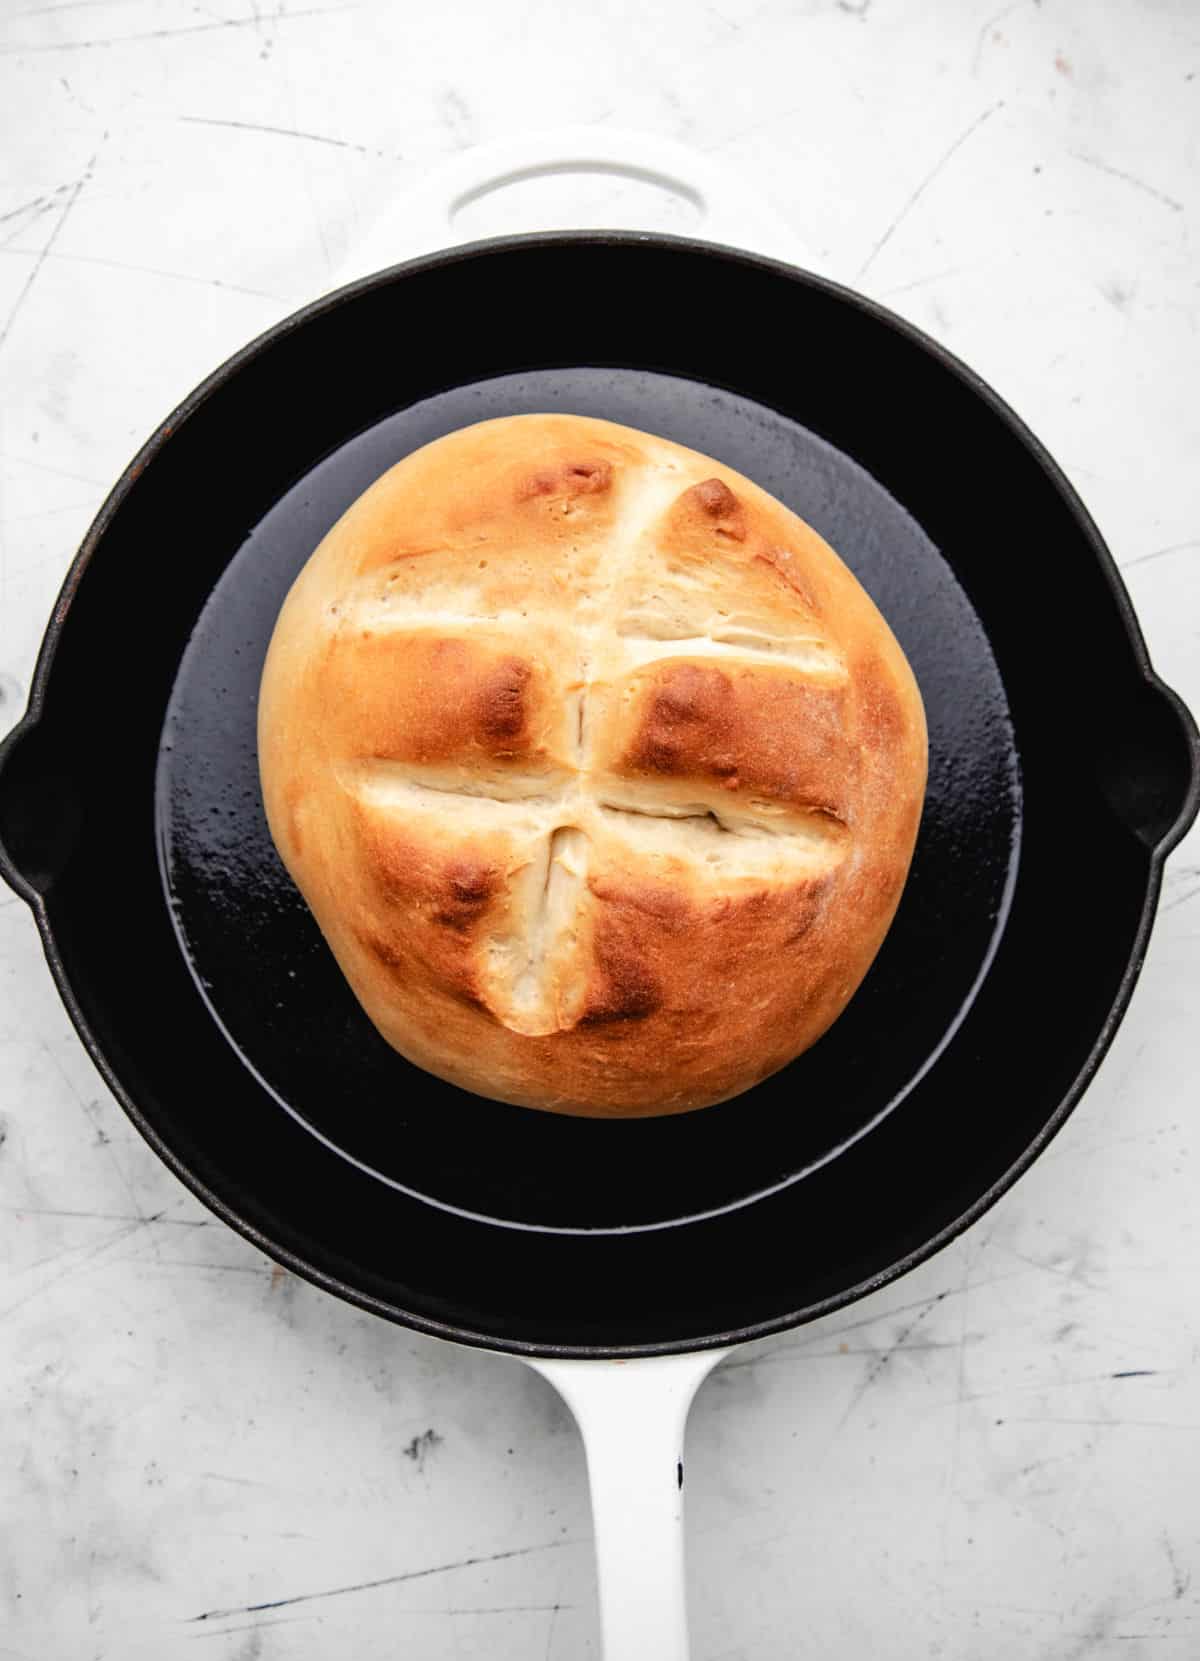
Step 7: Bake. The bread will brown quickly toward the end of the baking time, so keep an eye on it.
Recipe Tips!
- Cast iron skillet: I’ve only used a cast iron skillet to bake this bread.
- Skillet prep: Feel free to lightly coat your cast iron skillet with a little oil. I don’t recommend using nonstick spray as it can damage a cast iron skillet.
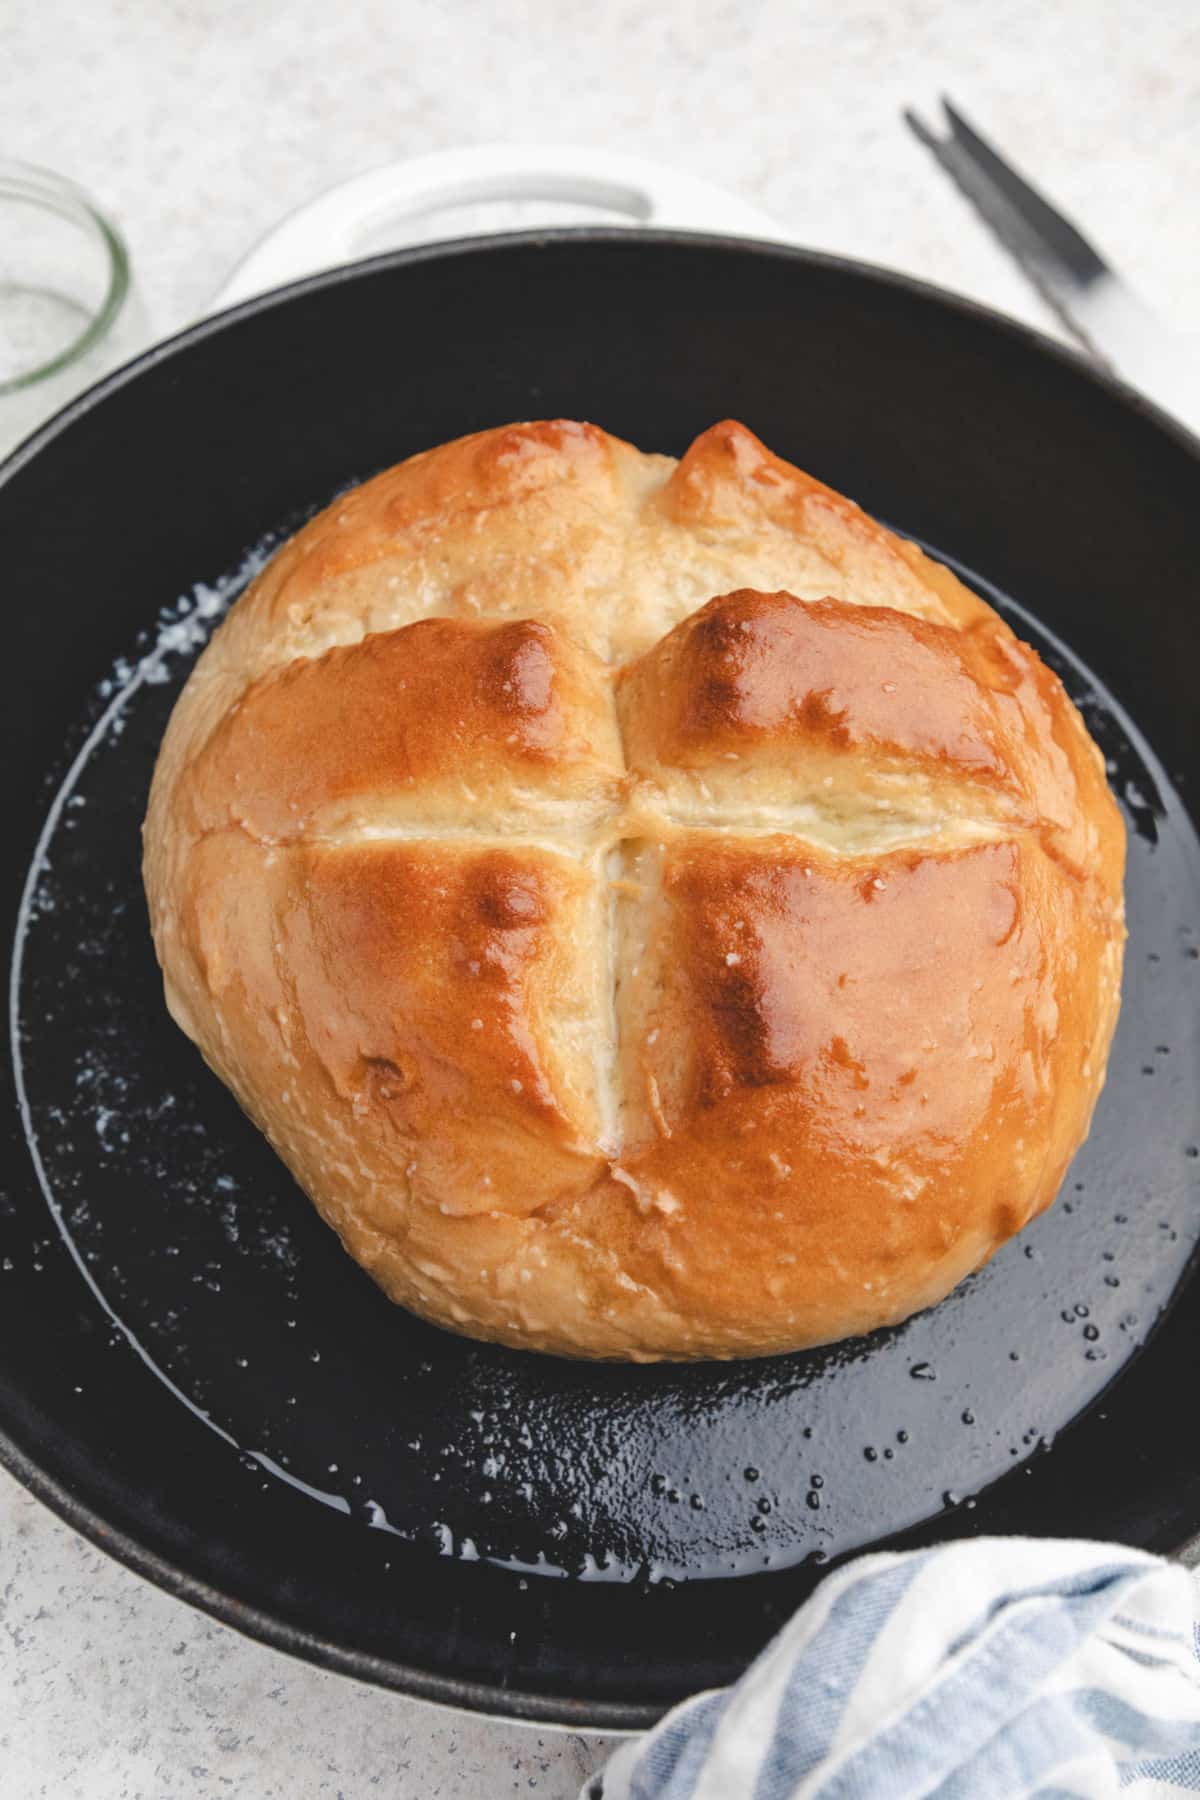
- After baking: I lightly brush the outside of the bread with butter and lightly sprinkle it with sea salt. It’s optional, but the butter does help to keep the crust soft.
How to serve this bread
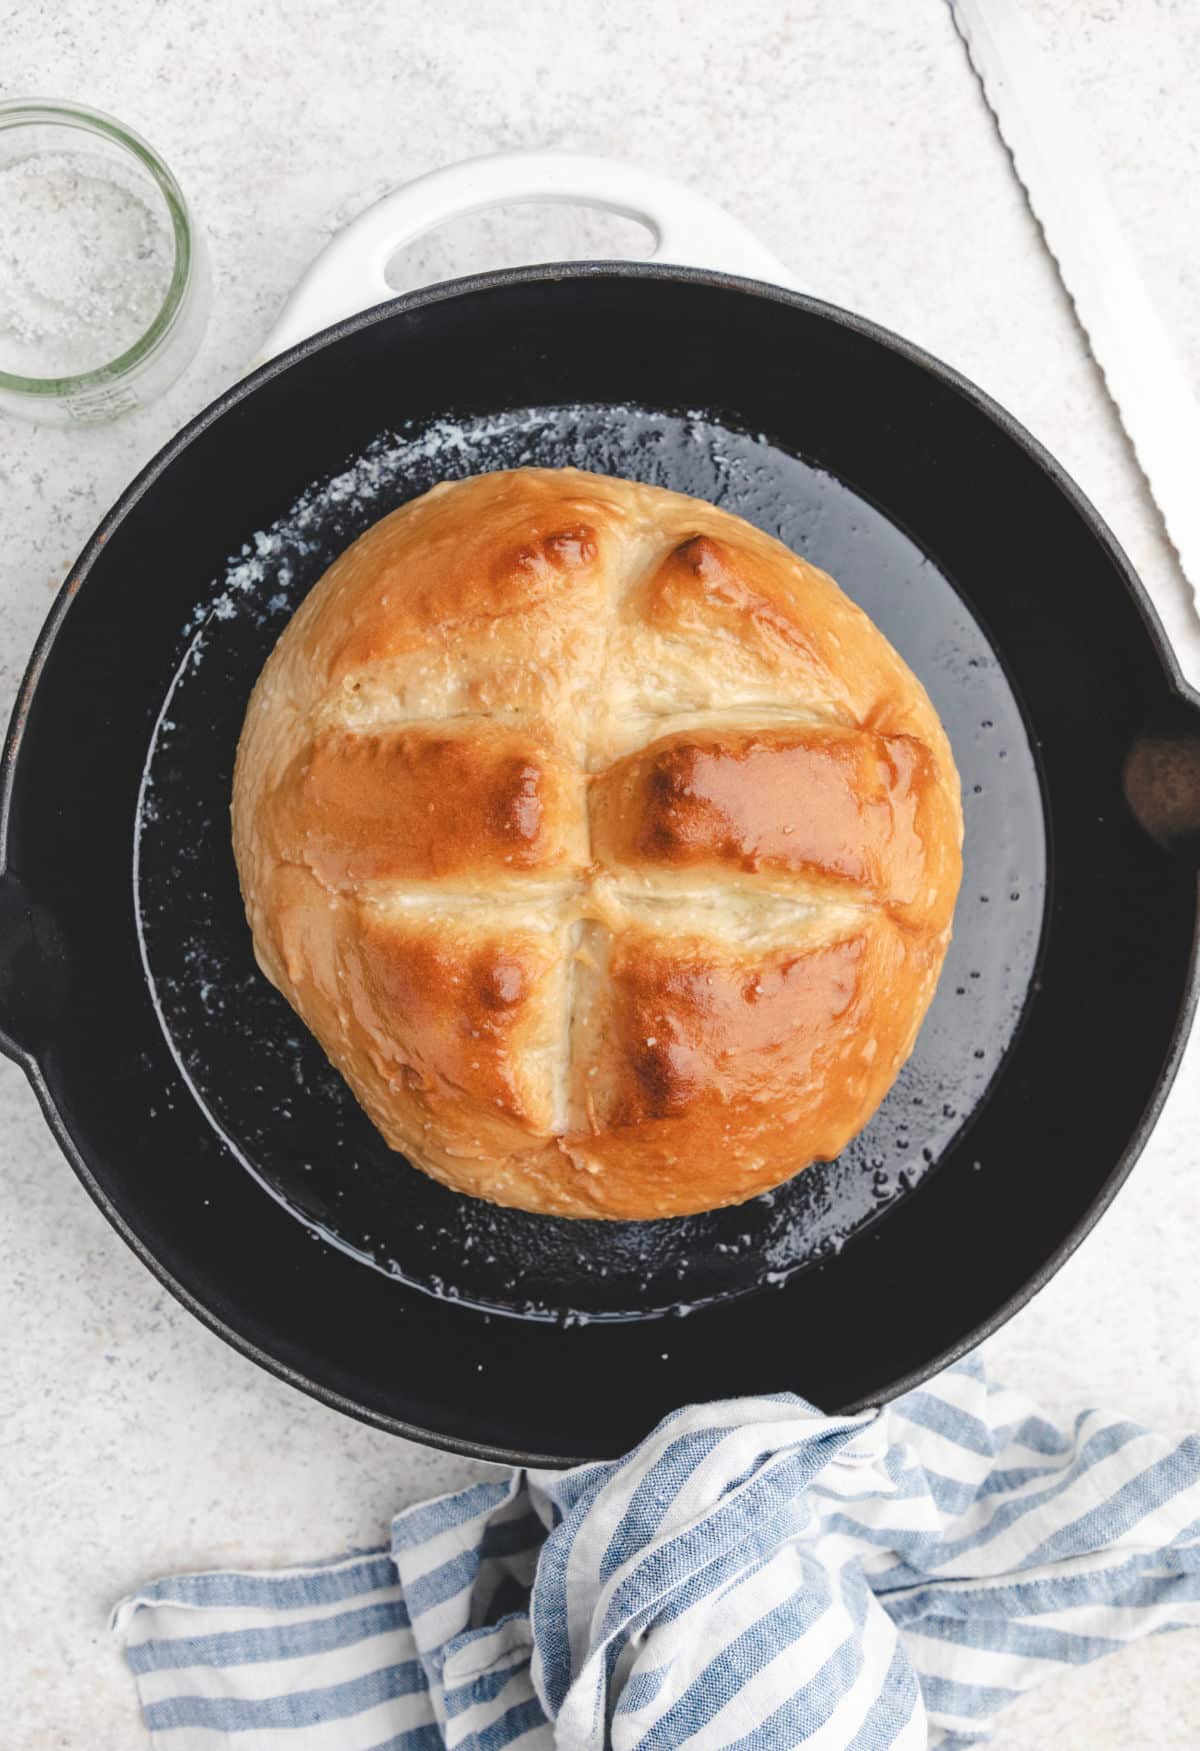
Since this bread is soft and fluffy, it’s great spread with butter or honey butter. Though it isn’t crusty, this bread is also delicious dipped in olive oil and balsamic vinegar.
Storage
Store any leftover bread in an airtight container at room temperature. The bread will keep for 2-3 days when properly stored.
More easy homemade bread recipes!
If you’ve tried this skillet bread recipe, don’t forget to rate the recipe and leave me a comment below. I love to hear from people who’ve made my recipes!
You can subscribe to receive my latest recipe newsletters or follow me on Facebook, Instagram and Pinterest for even more delicious food.

Skillet Bread
Equipment
- cast iron skillet
Ingredients
- 1 ½ cups warm water 105–115 degrees
- 2 tablespoons honey
- 2 ¼ teaspoons active dry yeast
- 2 tablespoons olive oil
- 3 ½ – 4 cups bread flour
- 1 ½ teaspoons salt
Instructions
- In the bowl of a stand mixer fitted with the dough hook, stir the water, honey, and yeast together.
- Let mixture sit for 5-10 minutes, or until foamy.
- Add 2 ½ cups of flour, olive oil, and salt.
- Knead on low, continuing to add flour 1/4 cup at a time until it forms a soft, smooth dough that clears the sides of the bowl.
- Once it forms the dough, continue to knead for 5 minutes on low.
- Cover and let rise for 30 minutes.
- Form the dough into a tight ball and place in a cast iron skillet. I use a 12" skillet.
- Cover and let rest for 30 minutes.
- Toward the end of the second rising time, set your oven rack to the lower middle position and preheat oven to 400F.
- Just before you place the bread in the oven cut two slits width-wise and one lengthwise.
- Bake for 12-20 minutes. The bread will brown quickly toward the end of the baking time, so keep an eye on it.
- OPTIONAL: I brush a little melted butter over the baked bread and sprinkle sea salt on top.
Video
Notes
- Water: If you don’t have a thermometer, feel the water. It should feel a little warmer than bath water but shouldn’t feel uncomfortably warm. If it’s too hot for you, it will be too hot and could kill the yeast.
- Oil: I like to use olive oil in this recipe. Another neutral oil should work in place of the olive oil.
- Flour: All-purpose flour will also work in this recipe.
- Cast iron skillet: I’ve only used a cast iron skillet to bake this bread.
- After baking: I lightly brush the outside of the bread with butter and lightly sprinkle it with sea salt. It’s optional, but the butter does help to keep the crust soft.
- Nutrition values are estimates.
Nutrition
Did You Make This Recipe?
Share it with me on Instagram @i_heart_eating and follow on Youtube @katedean and Pinterest @katedean for more!
Originally published 4/21/2020.
Reader Interactions
Love this recipe?
Share your thoughts below and let’s chat! Make sure to connect with me on your favorite social platform below and show me what you made!



Comments & Reviews
Anna says
Why did my bread come out to dents. I did everything step by step and for the time recommend.
Kate says
Hi! Without more information, it’s difficult to say. There are several things that could have caused that, such as an issue with the yeast that prevented the bread from rising, a cold kitchen that slowed the rising time, or too much flour in the dough. If you’d like to give me more info, I’m happy to help you troubleshoot.
Calco says
The bread is easy to make and I love my cast iron anyway. The family all got the recipe from me. A new batch is rising now. I’m going to separate it and make six hamburger buns for dinner tomorrow
Kate says
Thank you! I’m glad you like it!
Justin says
I make this recipe a lot. it’s my go to lazy bread recipe, but I wanted to give honest feedback for it as I’ve had some problems with the recipe.
Just want to start off by saying that the recipe when cooked is delicious. But I have to believe that either a. My oven Temp is off or b. the author of this recipe is using a convection instead of a conventional oven.
Every time I cook this at 400f for 20 minutes, the dough comes out raw in the center. So I’ve since adjusted the recipe to 25 minutes while leaving it in the cast iron skillet to cool, which seems to do the trick. Im also not sure how the pic looks like that without eggwash. Otherwise it’s delicious.
Perhaps its the rise time as I haven’t tried giving it a longer rise time beyond the 30+30
Kate says
I don’t use a convection oven. I develop all my recipes with a conventional oven. There are a number of factors that can affect the baking temperature in your oven, such as humidity and altitude, so oven temperatures often vary. There’s no way that a recipe author can account for every variation in every oven, so an important part of baking is learning how your oven bakes and making any necessary adjustments.
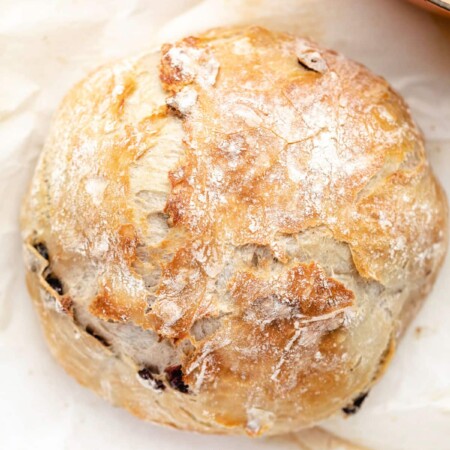
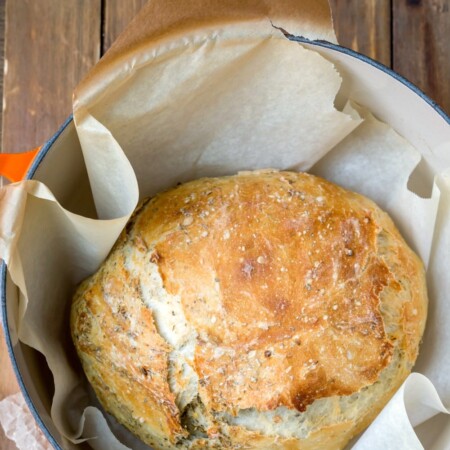
There’s no egg wash on the bread. As I noted, the bread was brushed with butter and sprinkled with salt, and you can see the grains of salt in some of the photos.
Crystal says
Giant hit! I’m just making this bread for my family instead of buying loaves of bread from here on out. Turned out amazing!!! Thank you
Kate says
Thank you so much! I’m so glad that it was a hit!
Robin says
Huge hit at our family dinner last night!
Kate says
Thank you very much!
Sis says
I loved this bread recipe! It was easy and its the first recipe that I have tried that actually produced soft fluffy bread! I had the dough hook and I ended up using 3.5 cups of all purpose flour! Fantastic results, thank you!!
Kate says
Thank you so much! I’m glad that it worked well for you!
Thom says
I have not read other comments so please excuse if this already occurred to someone else. Heat the skillet on stove top to pre heat skillet bottom. Use a glistening of high temperature oil, and when it starts to sizzle, remove from burner then into the oven.
Kate says
Thank you!
Belynda says
making this today is rising now
I did not have any honey and sub of for maple syrup
fingers crossed it turns
Kate says
Hi! That should work. The honey provides sugar to help feed the yeast, and the maple syrup should do the same.
Jeff says
Easy and fun
Kate says
Thank you!
Chris says
This is a great recipe. I’ve made it several times using AP flour and it came out perfect. My oven takes about 25 minutes of baking time to get the nice golden color. Today I added 2 tsp garlic powder to the recipe and it was delicious.
Kate says
Thank you!
MARK Thomas ROBERTS says
This was so delicious and was a hit at a family gathering. It’s one of the best bread recipes that I have ever tried.
Kate says
Thank you so much!
Cora says
In LOVE with this bread! Would give this a million stars if I could haha. A few things to note for anyone reading this and wondering about different types of flour. I made this with all purpose flour, unbleached flour and bread flour. The all purpose flour turned out pretty good but seemed a bit more dense in the middle of the loaf. The ubbleached flour and bread flour both turned out so similar I can’t tell much of a difference!
Kate says
Thank you so much! And thank you for sharing your notes!
Joan Watson says
Hello,
I just made your peasant bread. It did not work for me.
The dough was soft and sticky and didn’t make a ball like your picture. Perhaps I needed more flour. The dough spread more on its rise in the skillet than yours did. Lastly, you don’t say too grease the skillet or I missed it, but my bread stuck to the skillet and was a bit of a mess to get out. I am disappointed on my first try with this bread, but will try again.
Any suggestions.
Thanks
Joan w
Kate says
Hi! It sounds like you needed more flour in the dough. If you pinch the dough, it should be soft and a little sticky, but it shouldn’t come off on your fingers.
A cast iron skillet should be well-seasoned and shouldn’t need to be greased. If yours isn’t, then you may need to grease it with a thin layer of oil before using. I don’t recommend using a nonstick spray as that can ruin your cast iron skillet.
Hope that helps, and please feel free to ask if you have any other questions!
Joan Watson says
Thanks Kate for your answer. I did try again just now. I greased the skillet, but it still stuck, but I was able to get it out so it remained in shape. Yeah! I think you are right it needs more flour. I think the wide gap in cooking time is a bit of a problem for me. How can you tell it is done?
Thanks again. I want to have this work for me😊
Joan
MARK Thomas ROBERTS says
I didn’t worry about the flour. It was a sticky dough so I ended up putting in the full 4 cups (and maybe in little more) in the mixing and kneading processes. I did put oil in my cast iron skillet even though it is seasoned. Actually put in enough to cover the bottom and let it sit during the entire mixing and kneading activities. I took a paper towel and wiped out the excess oil before I put the dough in. And one other thing; I kneaded by hand. I don’t have a mixer with a dough hook and not sure I want to use one anyway. Not that using a mixer is bad. I just get more satisfaction out of feeling the dough ‘come alive’ under my hands.
Kate says
I’m glad that it worked well for you! Thanks for sharing your notes!
Sarah says
I was looking for a quick as easy italian skillet bread to have with spaghetti. I came across this recipe and decided to try it. I just added some Italian herbs. It came out wonderfully. The texture was better than the loaf bread that I make. I’ll be making this recipe again. Without the herbs, maybe with other things. But this bread is absolutely delicious and easy to make! Thanks for this recipe! I’ll be looking through all of your other recipes too. 💖
Kate says
Thank you so much! I’m glad you liked it!
Free Range Bear says
I have made this for my family several times. It always turns out looking like in the photo and tastes better than any bread I have ever tried. We like to cut it in half and freeze one side to use as French toast later in the week.
Kate says
Thank you! I’m glad that you like the bread!
Autumn says
I just tried this for the first time and it turned out fantastic! And I’m new to baking bread. This recipe is a keeper. Do you have any similar skillet bread recipes that are whole wheat and that have lots of seeds (inside and/or out)? Thanks for sharing a fool proof recipe!
Kate says
Thank you so much! I don’t have them posted yet, but I do have more versions, including a honey oat bread and a Dakota bread.
Chris says
I made this tonight & my family loved it. The recipe was easy to follow. It turned out perfect.
Kate says
Thank you! I’m glad you liked the bread!
Fiona says
I made this today and it turned out lovely!
I don’t have a stand mixer so I just did it by hand. I also used Five Roses all purpose flour and sifted it as I put it in. It turned out very soft and fluffy!
I also put in a tablespoon of rosemary as I was kneading it, and then gave it an egg wash before putting it in the oven.
This recipe is 100% a keeper. Thank you so much for sharing it!
Kate says
Thank you so much!
Shawn says
I’m made this recipe with all purpose flour and it turned out great, the only thing I did different was that I; proofed it in the oven by placing it in the skillet and placed a casserole dish with boiled water below it, doubled in size, thx.
Kate says
I’m glad you liked it! Thanks for sharing your tips!
Ginger Vosburg says
Perfect bread and so easy & quick! It’s the family favorite. Thank you for sharing.
Kate says
Thank you! I’m so glad that you like it!
Barbie Dombroski says
Cant wait to make this bread! Do you think self rising flour will work? If not I have all purpose flour? I just hope mine turns out like the picture of yours in the recipe, it looks beautiful!
Kate says
Thank you! Unfortunately, self rising flour won’t be a good substitute in this recipe because self rising flour has salt and baking powder in it. All purpose flour would be a better substitute. You may find that you need to use a different amount of all purpose flour. You’ll know that you have the right amount of flour in the dough when it feels soft, smooth, and a little sticky. If you give it a pinch, the dough should feel sticky to the touch but shouldn’t come off on your fingers. I hope that helps!
Barbie says
Thank You Kate!
Looks like I’ll be getting bread flour, can’t wait to make it! Thanks for the recipe😊
Kate says
Of course! I hope you like the bread!
Isabelle says
Hello. Do you need to cover the skillet while baking? I only have one skillet, no cover. Thanks.
Kate says
Hi! No, you don’t need to cover the bread while it bakes.